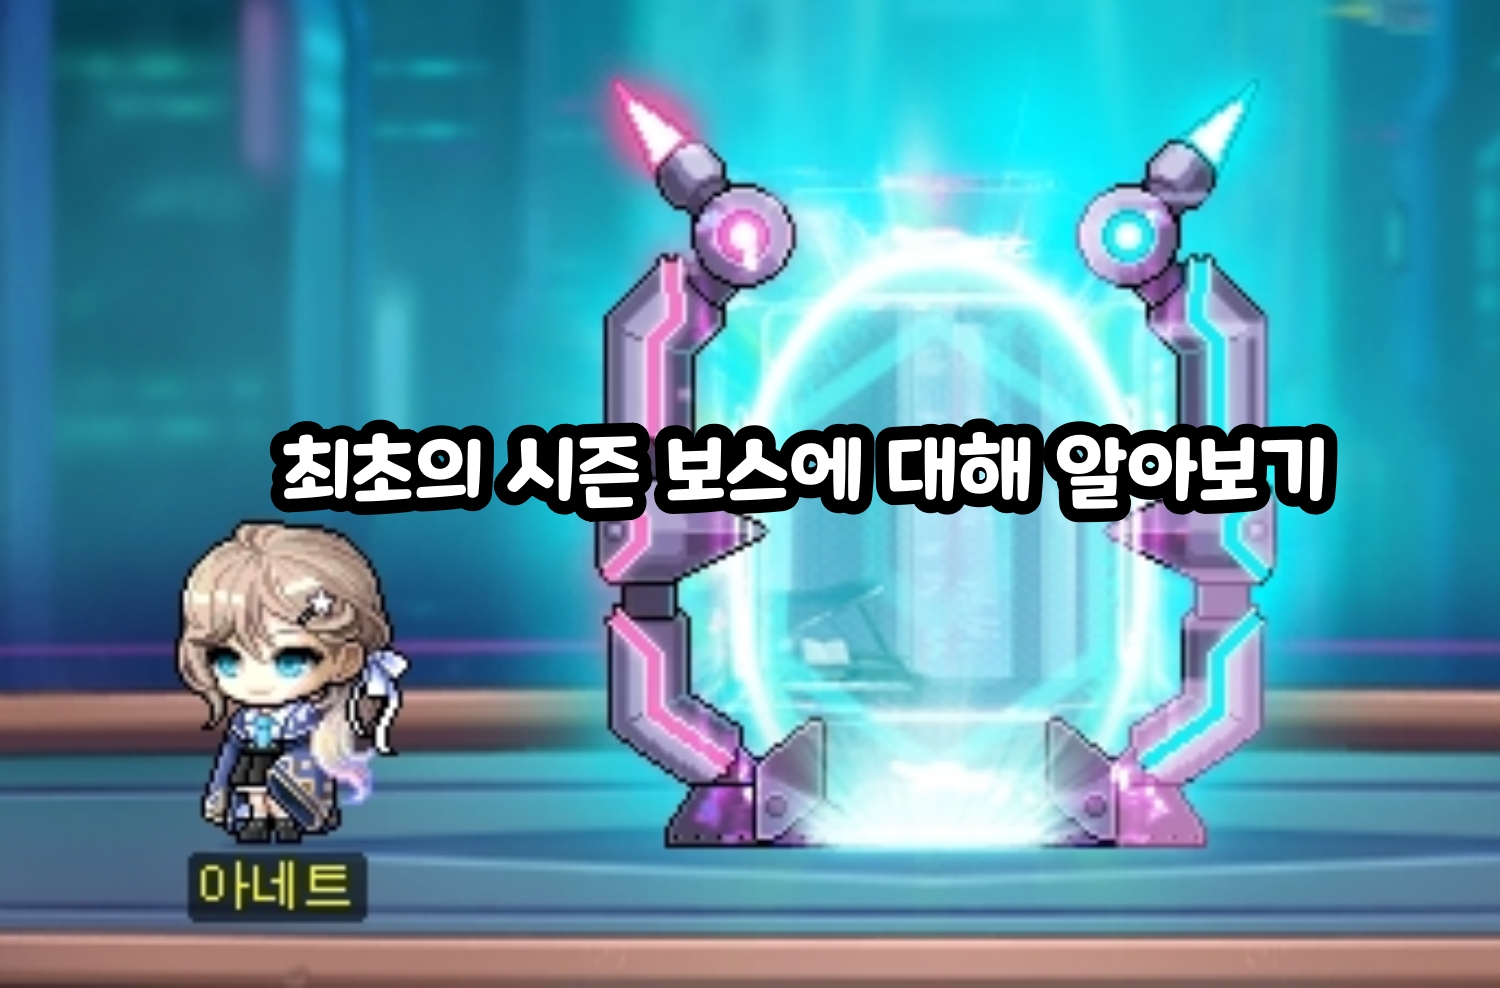
Taking a look at MapleStory’s first-ever seasonal boss #손가락운동
마빡도로시
Hello.
The keyword for this post is finger exercise, and I want to talk about the kinds of game mechanics where timing really matters.
In MapleStory, that point shows up most clearly in boss content, and especially with the more demanding high-end bosses, there are plenty of moments where I end up thinking the people who clear them every single week are genuinely impressive.
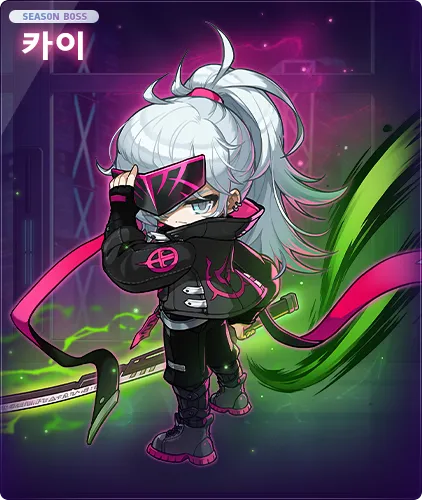
In Kai’s case, recently added as a boss in Challengers World, even though the fight uses a so-called parry system that does require timing to solve, it released at a very reasonable difficulty on Normal thanks to fairly generous timing windows, and that ended up being one of the more well-received parts of this Challengers World season.
The rewards are also a big part of why: on Normal, you get 300 million mesos + a random 20 to 100 Sol Erda Fragments + chase items like a Pitch-Black box, and because the Challengers score and coin payout are high for the difficulty, the overall reward value ends up above pre-Intense Power Crystal adjustment Black+Bottom Sol, which only adds to the positive reception.
Since the difficulty is not especially high, if your spec is already enough and you have just been skipping it because it felt like a hassle, I really do recommend giving it a shot, so I put together the key pattern information below.
Basics
1) You can use 2 exclusive skills while fighting Kai
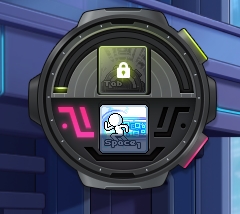

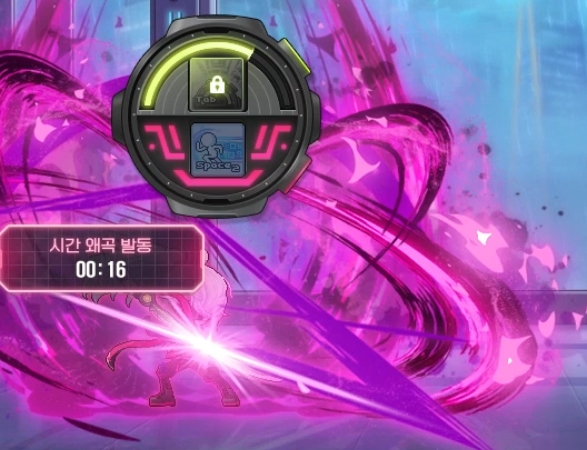
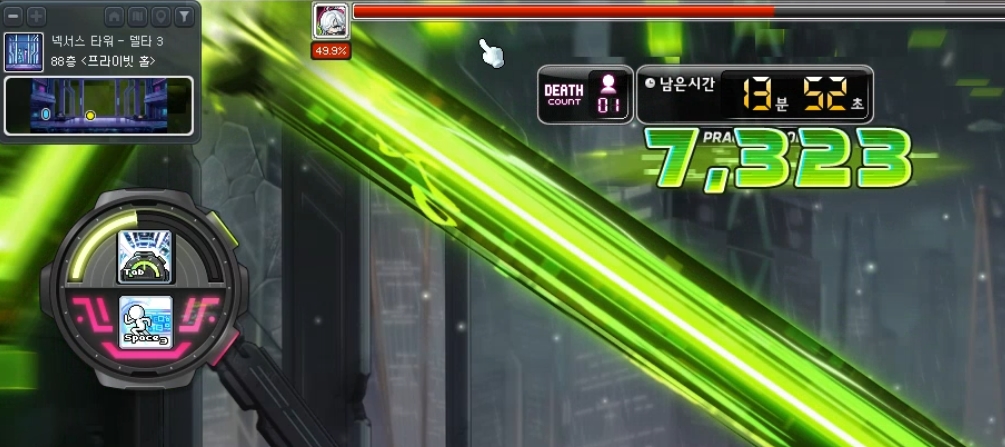
The Chrono Gauge at the top of the UI charges over time and decreases when you get hit by Kai.
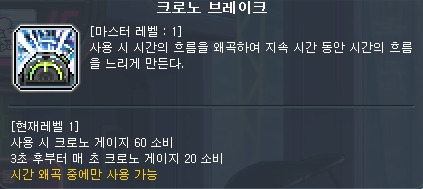
Chrono Break, which you use with the TAB key, consumes the Chrono Gauge shown above and is only used during the Time Distortion pattern. Activating it slows the Time Distortion pattern down.
The base speed of Time Distortion is extremely fast, and because this skill is what resets your available parry count, if it runs out in the middle of a Time Distortion pattern, surviving becomes almost impossible. Because of that, you want to preserve as much gauge as possible by avoiding the normal patterns whenever you can.

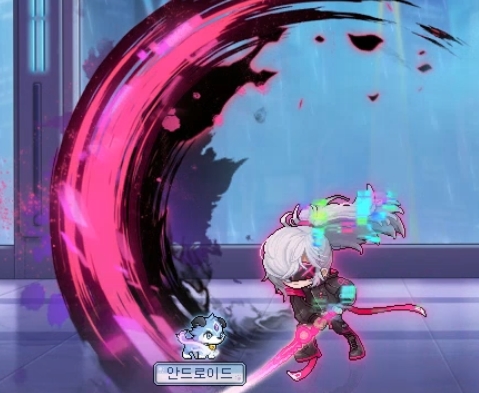
Chrono Step, which is used with the Harvest key, is basically your parry skill, and using it blocks Kai’s patterns. That said, you cannot spam it infinitely in normal mode, so the idea there is to dodge as much as possible without overusing it, while in Time Distortion mode you can use the Chrono Break above to chain parries continuously.
This skill normally comes out with a dash, but if you use it while holding the down arrow key, it activates in place instead, so just use whichever feels more comfortable.
On a successful parry, a blue effect appears on your character.
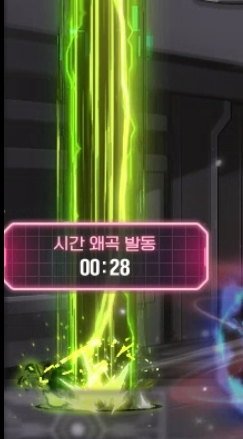
2) Time Distortion system
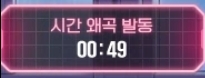
When you enter, you are given 50 seconds, and during that time Kai uses swordsmanship-based normal patterns. If you get hit, the damage is high, or you get pushed a long distance and lose gauge, so you want to avoid them as much as possible.
Once that timer runs out, Time Distortion begins and the special pattern phase starts. In both Phase 1 and Phase 2, 2 patterns out of a total of 3 will appear during that window.
You should use Chrono Break immediately when Time Distortion starts. Since Chrono Break slows the patterns and also applies the effect where successful parries recharge your available parry count, it is mandatory.

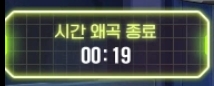
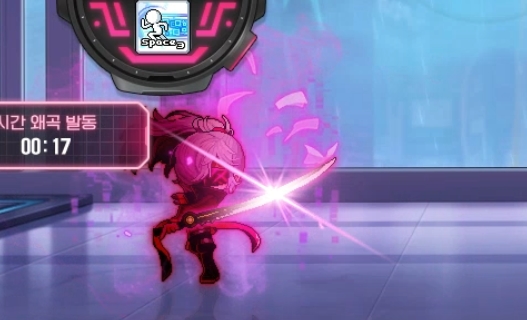
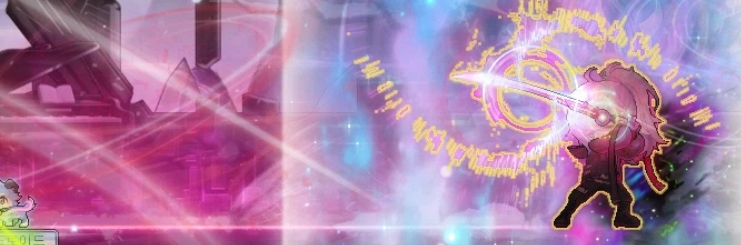
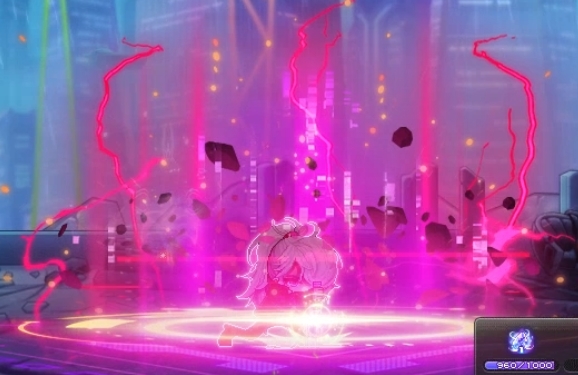
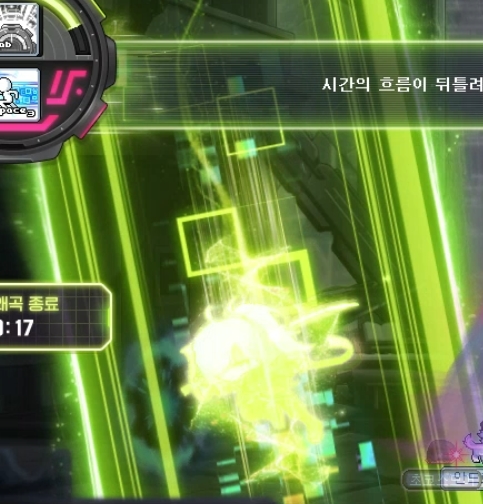
When Time Distortion begins, a number worth up to 10,000 points appears at the top, and it climbs quickly if you dodge patterns, parry them, or avoid getting hit with invincibility skills. It drops if you get hit or die.
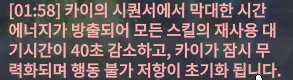
When Time Distortion ends, if you are at 10,000 points, the effect shown above is applied, which lets you use your burst skills more quickly on Kai while he is in a groggy state. Even if you are below 10,000 when the distortion ends, cooldown reduction is still applied in proportion to your score. Because of that, so-called sustained DPS classes are said to have a relatively harder time challenging Kai.
This 50-second and 20-second cycle—actually a bit longer because of Chrono Break—repeats throughout the entire fight.
3) Shared patterns in normal mode
This line that appears across the whole map is not lethal, so it does not really matter if you get hit by it.
These pillars, which are always placed at the far left and far right edges of the map, are lethal. In practice you usually will not run into them on your own, but if Kai knocks you back into one, the repeated hits can kill you, so that is the situation you need to watch for.
If you move more than a certain distance away from Kai, he teleports to your character’s position and attacks twice. This happens in both Phase 1 and Phase 2. The second hit pushes you back hard and hurts a lot, so ideally you do not get clipped by it.
Since staying close to Kai is better for dodging most patterns anyway, and this does not trigger from the kind of spacing you normally use to avoid sword waves, you will get a feel for the distance after a few attempts.
Even if you do not move that far away, he will still use this skill if you up-jump, so in most cases it is easier to play while avoiding up-jumps as much as possible. You can also use that to your advantage: if Kai ends up stuck in a corner unintentionally, using an air Blink while standing near the center of the map can pull Kai back underneath your character.
Phase 1: Normal patterns
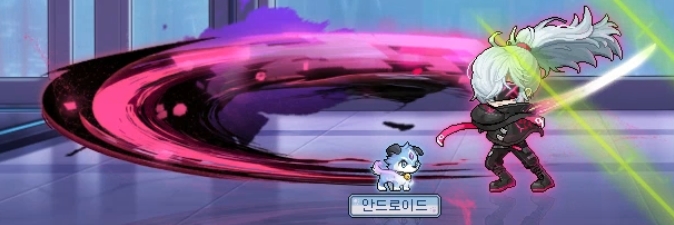
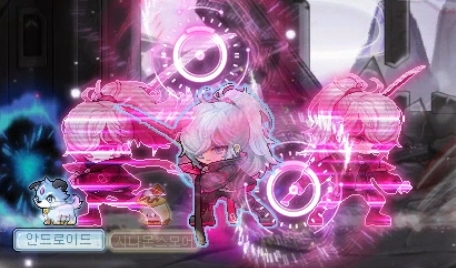
After you enter, the fight begins once Kai ties up his hair, jumps next to your character, and lands. Open with burst immediately, then keep attacking while avoiding the patterns below as much as possible. The telegraphs are readable even on your first few runs, and once you get used to them the fight feels much more comfortable.
1) Charge attack
After the attack range is shown as above, Kai charges and attacks. The easiest answer is to read the direction and move behind Kai.
After landing, a clone follows up with one more attack either to the left or right, and since the range is telegraphed, you can dodge it the same way.
2) Two attacks in place

He attacks twice in place. You can dodge it by moving opposite the direction Kai is facing before the attack comes out.
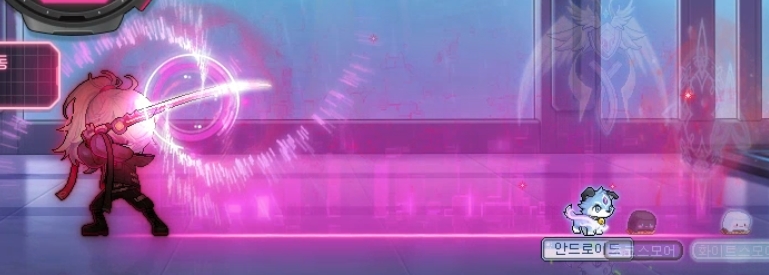
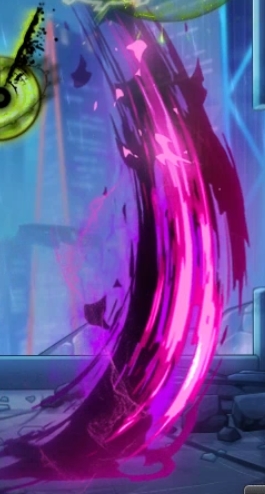
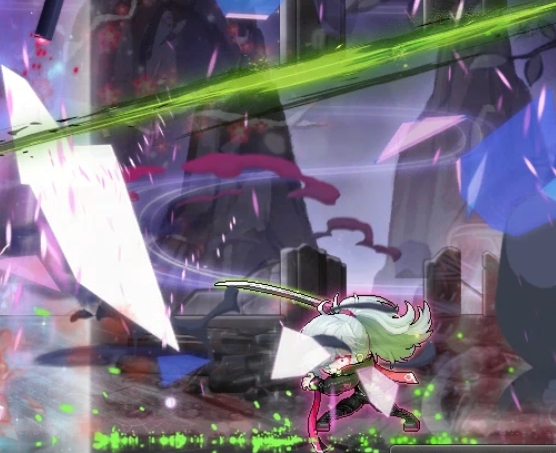
3) Sword wave release
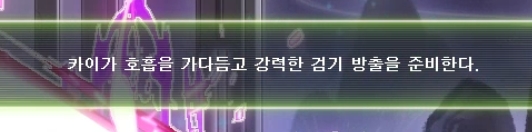
When the message above appears on screen, Kai uses a wide-range attack in 2 waves.
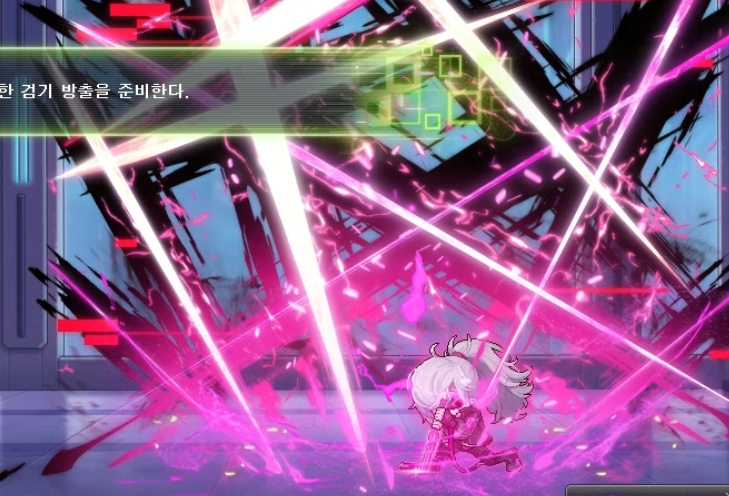
As soon as you see the message, back away from Kai and you will avoid it. After that, you can move back in and keep attacking until this pattern comes up again.
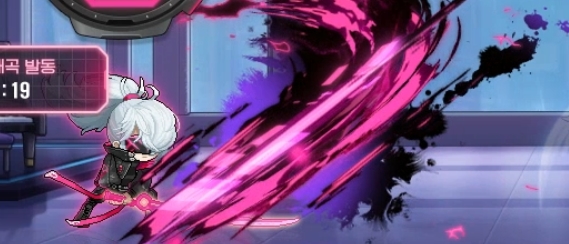
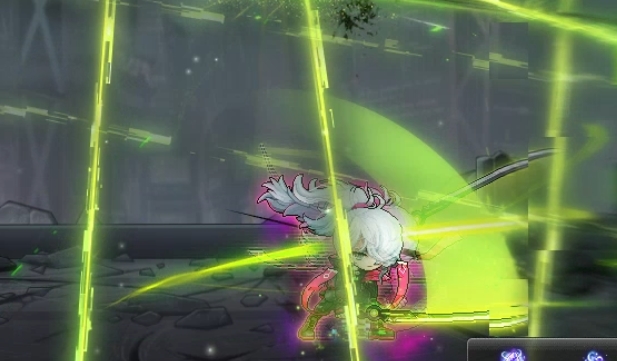
4) Spinning sword attack that must be avoided with a parry

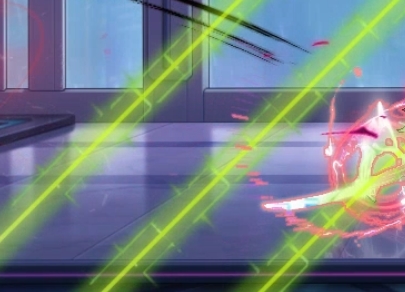
After the sword flashes, he tosses it upward, spins it, catches it, charges power, and then attacks. When the attack comes out, sword energy spreads to both sides of Kai. If you parry toward Kai when the sword lights up and stick close to him, you can avoid it.
Phase 1: Time Distortion patterns
As soon as the special pattern starts, do not forget to press TAB immediately and use Chrono Break. After that, you can avoid Kai’s green-pattern attacks by pressing the Harvest key and parrying them on timing. That said, you do not strictly have to use the parry skill every time here—regular movement or invincibility skills also work. The parry window is fairly generous.
In each Time Distortion, 2 out of the 3 possible patterns will appear.
You can still attack Kai during Time Distortion, but unless you are on a true minimum-clear setup, you should prioritize dodging first.
1) 4 hits / 4 hits / 4 hits / 1 hit
Kai rises into the air, then dashes in quickly and attacks. He does 3 sets of 4 hits in a row, pauses briefly, then fires the final 1 hit.
A lot of people rate this as the trickiest pattern in the fight on Normal, but once you get used to using the moment that circular effect closes toward the center as your cue, it becomes much easier, and using an invincibility skill here is also a valid option.
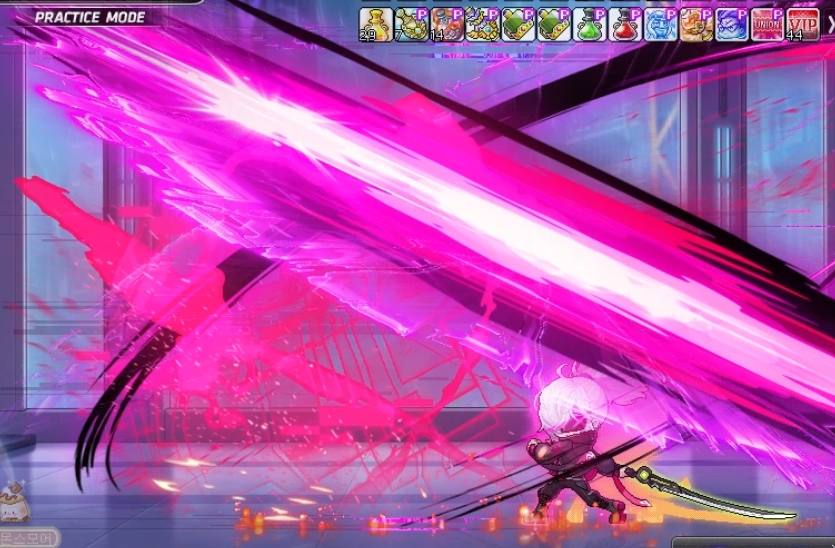
2) Large lasers from both sides, 7-hit attack
Large lasers sweep across the map from the left and right sides, hitting a total of 7 times. Just watch the pattern and keep using the parry skill in sequence.
3) 5 laser bombardments from the sky
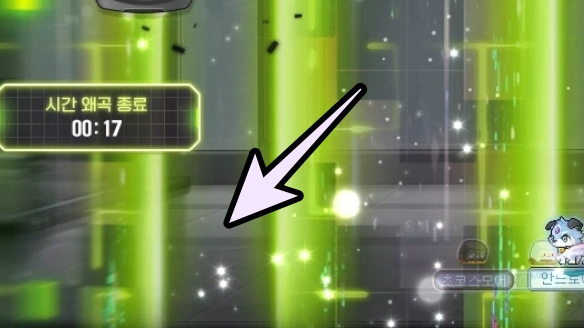
After Kai sends sword energy upward, the attack drops to the ground following the telegraph shown above. When that effect appears, move your character into the space between the pillars nearest to you—the area indicated by the arrows—and you will avoid it.
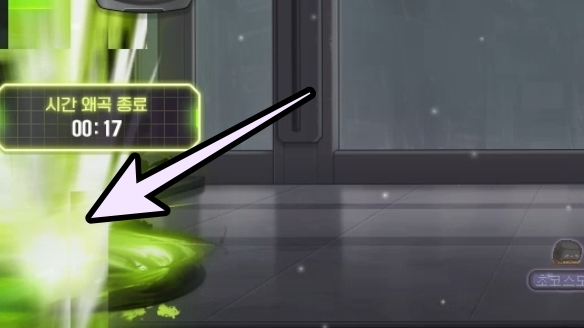
After dodging from the position shown above (1st), next move to the spot immediately left of where the attack lands (2nd), then on the next one dodge the same way to the spot where the attack lands on the right side (3rd). After that, stay still once (4th), and for the last one, use the parry skill in time with the attack coming down (5th) to finish the pattern.
As you repeat this, once Kai’s HP reaches 50%, all patterns stop and the fight immediately transitions into Phase 2. Depending on the situation, it can be better to hold your burst a bit.
Phase 2: Normal patterns
Since this phase is basically an upgraded version of the Phase 1 attacks, the core way you handle them stays the same.
1) Enhanced charge attack
It is the same charge attack, but after reaching the end point, instead of sending a clone in just one direction, he sends clones to both sides. Once the first hit is over, you can avoid it by sticking close to the Kai in the center.
2) Two attacks in place: same as Phase 1
3) Enhanced sword wave release
Just like in Phase 1, the same message appears and you still deal with it by backing away. After that, the second hit adds giant sword waves firing out on both sides of Kai. You can avoid that by using a parry after he plants the sword and before the attack fires.
4) Enhanced spinning sword attack
This is handled the same way as in Phase 1 with a parry, but 2 extra sword waves are added for a total of 3 shots. Just like before, parry toward Kai and stay close to avoid it.
Phase 2: Time Distortion patterns
This works the same way as Phase 1 as well. Activate Chrono Time as soon as it starts, and it ends once you get through 2 of the 3 patterns.
1) Large lasers from both sides: 10 hits + 5 hits
This is handled the same way as the Phase 1 version. The difference is that it is faster and has more hits. After rotating 10 times, it reverses and rotates 5 more times, and that reverse section is fast, so just be a little careful at the start of it.
2) Dodge Lucid-like lasers
You can dodge this the same way you would Lucid’s lasers. Try to weave through the gaps as much as possible, and when it becomes hard to avoid, use a parry to get through.
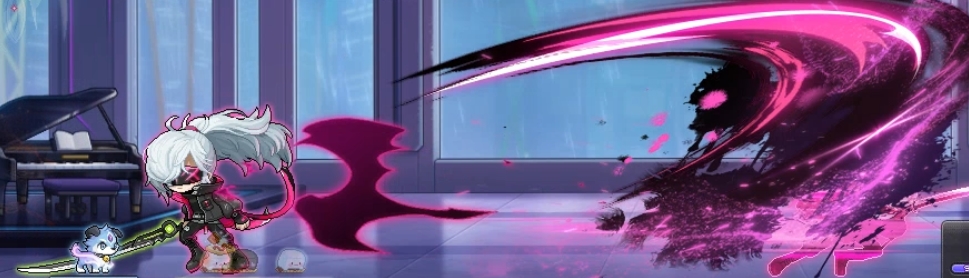
3) Attack that sweeps across the whole map
It starts from either the far left or far right side of the map, and as shown above, the green effect appears sequentially from that starting side toward the opposite end. As soon as you see it, run toward that side.
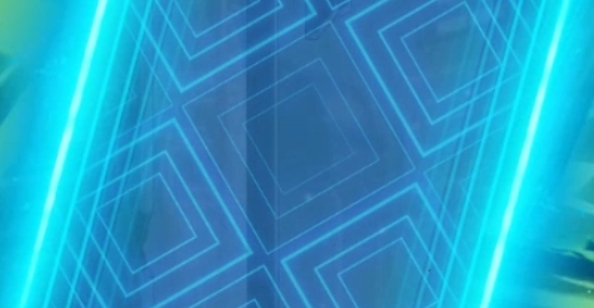
After that, a blue effect appears in order in those same positions where the green effect showed up, and you can move through it by timing your parry skill to block as you go. The timing window is fairly generous.
As for this season boss system, it seems likely to continue in Challengers World going forward, and since this one was explicitly labeled as this season’s boss, it also looks like the boss may change each time; hopefully future versions keep landing at this kind of manageable difficulty and continue the positive reception.
Thank you for reading.

![[메이플] 재미로 보는 캐릭터 일러스트 #퍼스널 컬러 자가진단](https://peak-file.nexon.com/uploads/20260328_1102_63c-f31e-435e-ae3e-05aaae009786)