DNF Mobile new elite dungeon guide: Cavern of Annihilation!
네오필


On January 22, DNF Mobile updated the level 85 elite dungeon, Cavern of Oblivion.
I ran it on 26 characters on the first day of the update.
You can go in without too much pressure. The difficulty is more forgiving than Grassland of Retribution.
Below is a pattern-focused guide to the run.
Ashen Rosenberg

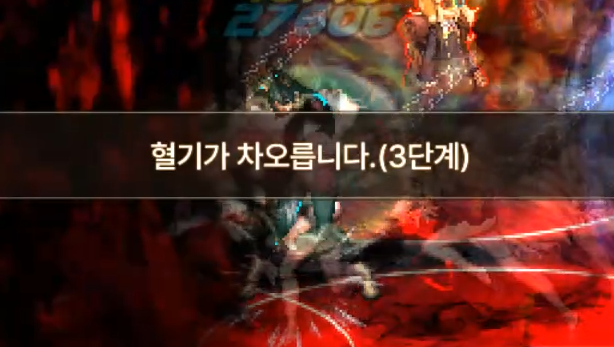
Bloodlust is rising
This message keeps appearing throughout the Ashen Rosenberg fight.
Once Bloodlust reaches stage 3, special patterns like the power struggle and Bloodlust Sword will trigger.
There is nowhere to run
He uses 5 AoE attacks in sequence, alternating left and right.
Just dodge based on the telegraph. If your class has a long Awakening channel, this is also a good window to use it.
Can you withstand this power? (Power struggle)
Step into the red circle in front of Rosenberg and mash basic attacks (X button).
O sword of bloodlust, vanish in pain
Large AoEs appear one after another at a random point among the 11, 1, 5, and 7 o’clock positions on the map.
You can avoid them by jumping or moving a moderate distance away, and there is also a large central AoE at both the start and the end.
In particular, the final AoE is a multi-hit sequence like Berserker’s 1st Awakening, so re-enter slowly.
There are other patterns after this, but for the most part you can handle them by dodging cleanly.
Unless you’re on a character like a Pirate King barracks alt, you can usually skip past them.
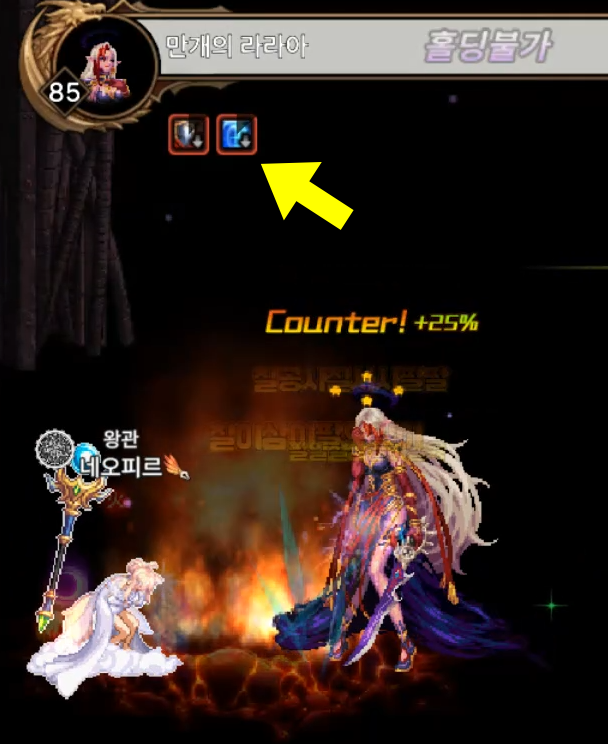
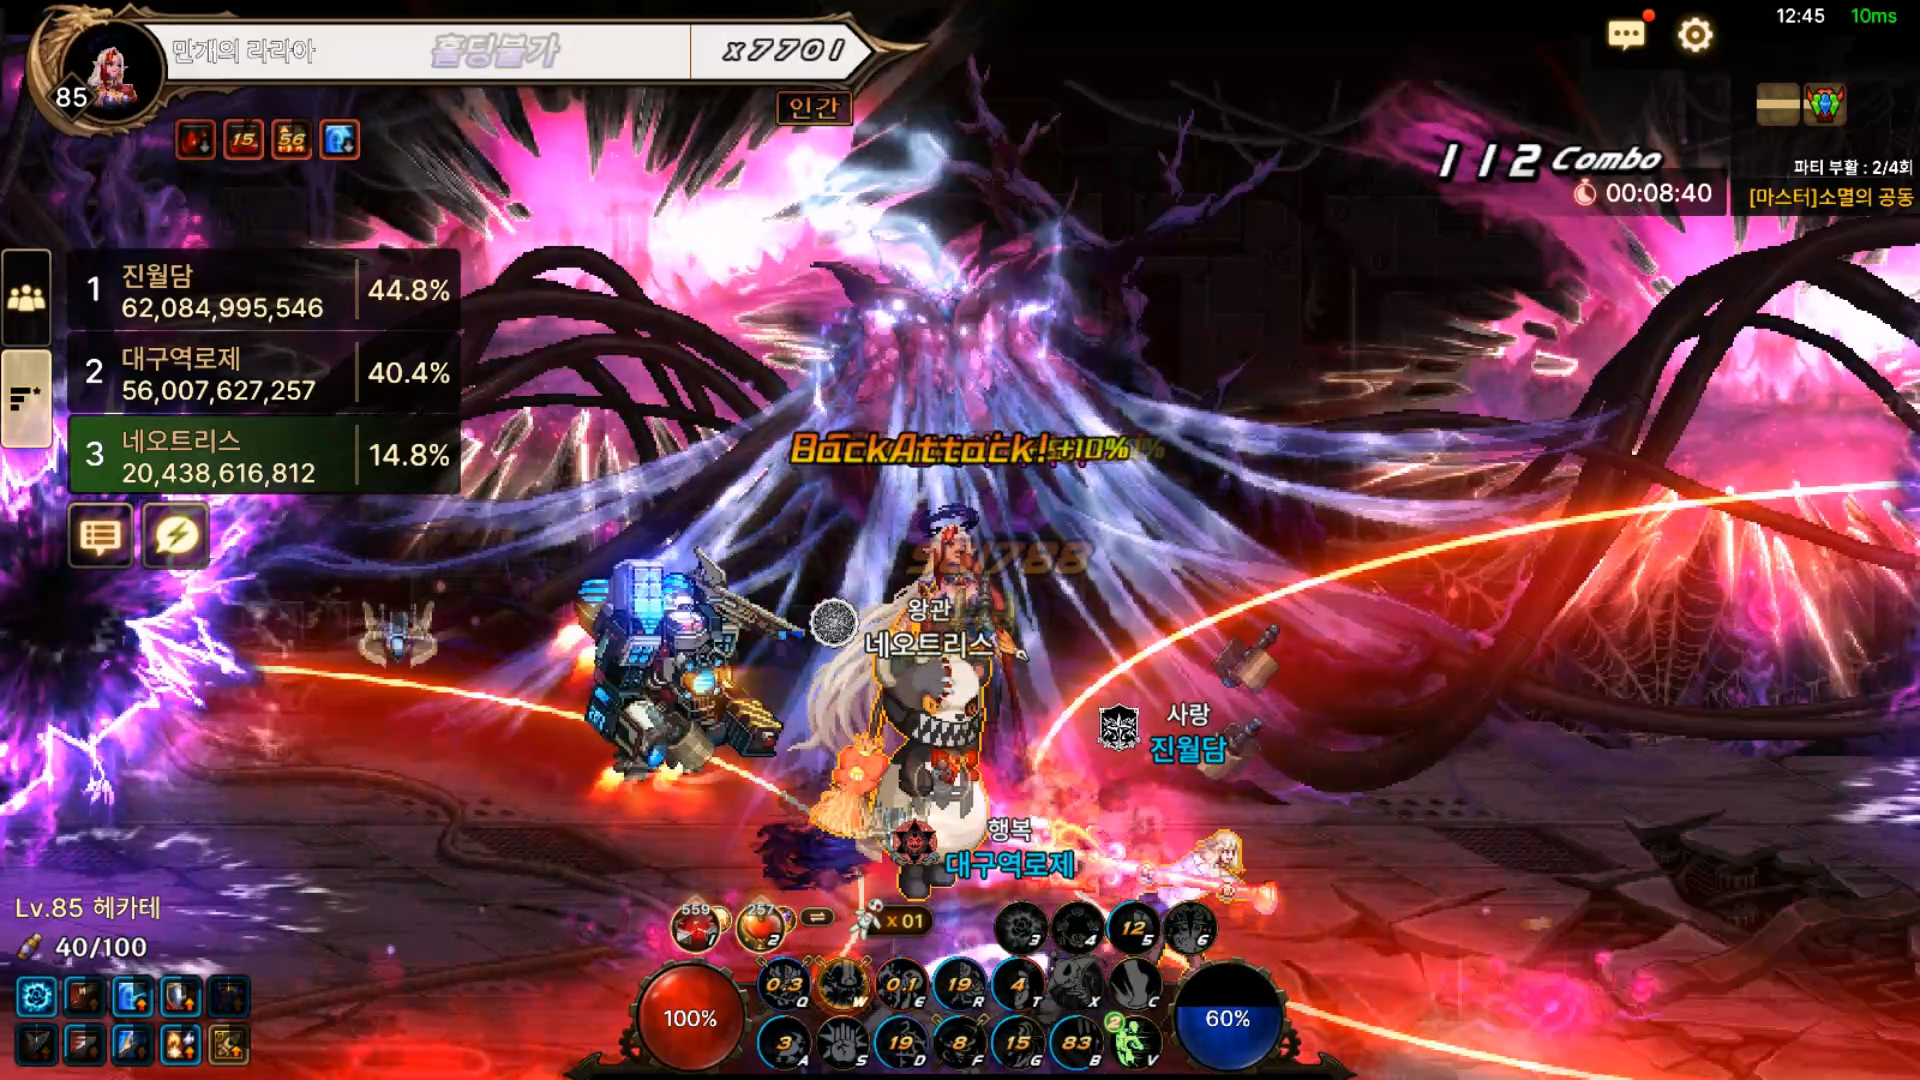
Larah of Ten Thousand Blooms
Larah of Ten Thousand Blooms constantly scatters seeds across the floor.
If you step on these seeds or enough time passes, they turn into exploding AoEs.
They do not hit especially hard, so just avoid them as needed while fighting.

Shall we play a little?
Five Larahs appear. Four are decoys with the same appearance, and one is the real body with a different appearance.
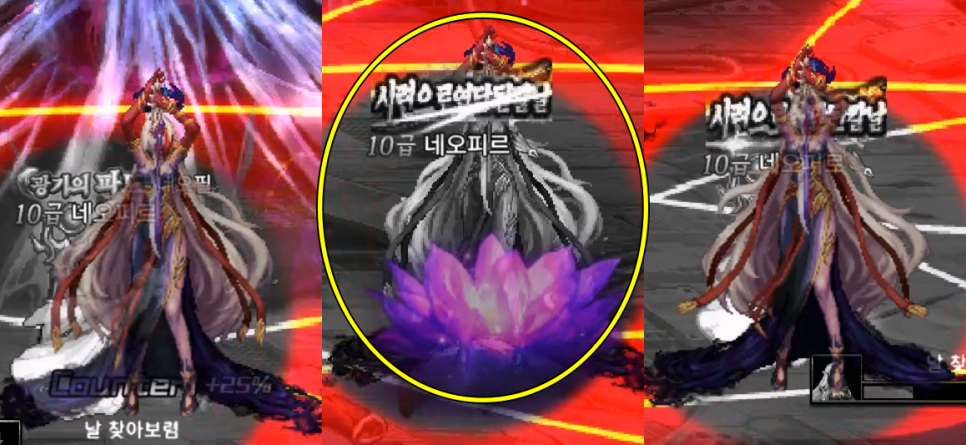

Only one is black-and-white and blooming. The opposite case can also happen.
Only one may have a flower or not, and only one may have color or not.

Here, attack the real body with close-range skills that hit in place.
You need to stay close and land hits so the real Larah becomes visible, which means movement+attack skills may fail to connect.
You also need to deal a fair amount of damage, so it helps to save a few strong close-range cube skills.
If you cannot deal enough damage in time, step outside the AoE (insta-kill attack).

If you keep attacking until all of the AoEs fully shrink, Larah enters a brief groggy state.
At that point, her defense drops, so saving your Awakening for this window is also a good option.
This pattern appears early and may be skipped depending on your damage.

I’ll tear you to shreds
She creates a pulling AoE, and you need to place the small circles at the center far enough apart so they do not bunch up.
Guiding them all the way to the edge is the safest approach.

Also, if possible, it is better to place them toward the bottom.
By the time this pattern appears, the fight is often close to moving into the next phase, and if you place them poorly, you can lose your damage space.

Be swallowed by the waves
If an AoE appears on you, lead it into a purple fissure. If done correctly, a white outline appears.

Shortly after, when wave attacks start coming in from both sides, crossing that fissure at the right moment creates a barrier.
If you put the wall up too early, the later waves can still clip you, so be ready to jump or use emergency dodge.
If you fail to create the wall, use jump and emergency dodge to get through it.
If possible, jump first. If you can tell the jump will not be enough, then use emergency dodge.
Bloom wildly
Purple orbs rotate inward while leaving only a small amount of safe space.
You can stay near the center, dodge, and weave in chip damage, but standing in a corner point (11, 1, 5, or 7 o’clock) also makes the pattern easier to avoid.
You may still get hit depending on the situation, but taking 1–2 hits will not kill you. Use whichever method feels easier.
Devour everything
She starts scattering seeds in large numbers.
Keep moving and fit in chip damage as you go.
You also need to leave yourself enough room to dodge the final part.
Reward differences by difficulty

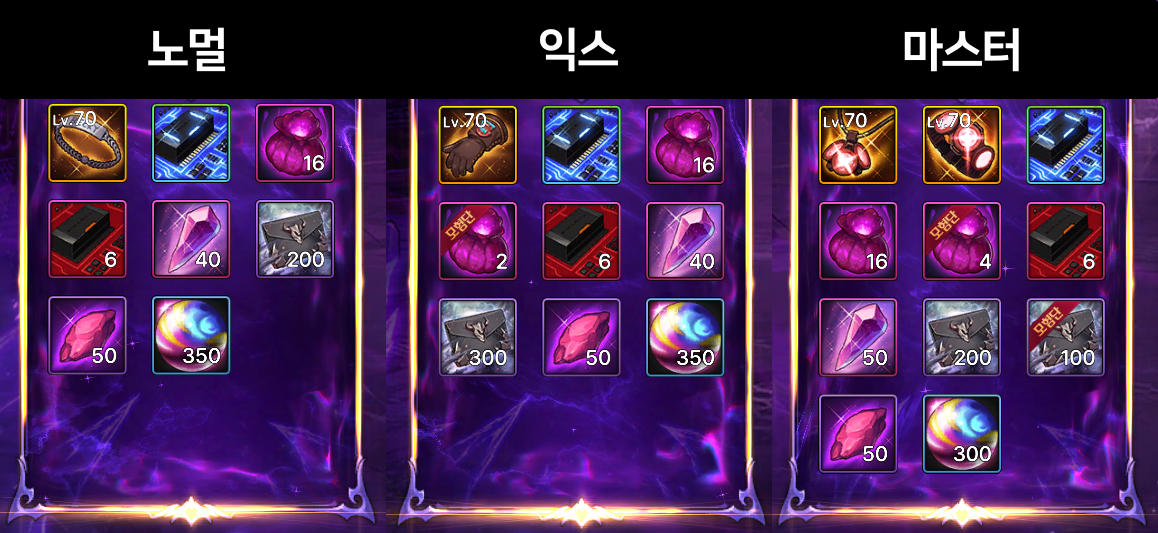
|
Normal (126,500) |
Expert (152,000) |
Master (169,500) |
|
1 Epic–Exceed equipment item |
1 Epic–Exceed equipment item |
Epic–Exceed equipment 2 items |
|
16 Intangible Orbs |
16 Intangible Orbs Intangible Orbs(Adventure Group bound) 2 |
16 Intangible Orbs Intangible Orbs(Adventure Group bound) 4 |
|
200 Invitations |
Invitations 300 |
200 Invitations Invitations(Adventure Group bound) 100 |
|
1 Enhanced Data Chip 6 Data Chips 50 Abyss Embers 40 Grindstones 300–350 Rion Cokes |
There are three reward differences in Cavern of Oblivion.
If you run Expert, compared to Normal you get 2 Adventure Group-bound Intangible Orbs and 100 more Invitations.
If you run Master, compared to Expert you get 1 extra equipment item and 2 more Adventure Group-bound Intangible Orbs, and 100 Invitations are Adventure Group bound.
So if you want to funnel as much as possible into your main, it is best to run the highest difficulty you can.

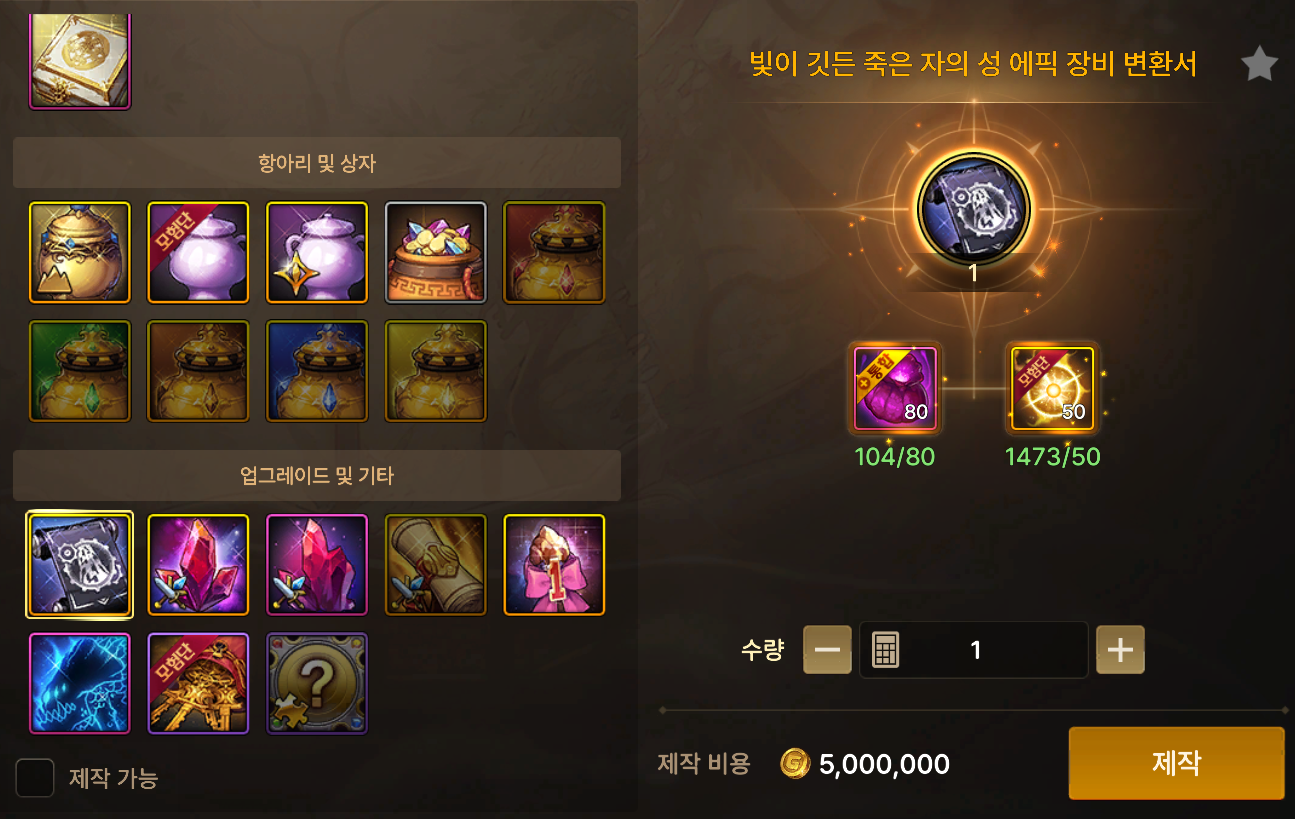
You get about 16–20 Intangible Orbs per run, so after 4 weeks you can make either a Light Epic Prefix Conversion Scroll or an Epic Weapon Effect Conversion Scroll.
But since I have a lot of alts, I already had more than enough to make one in week 1.
Closing

That wraps up this guide to DNF Mobile’s level 85 elite dungeon, Cavern of Oblivion.
You get 4 usable revival coins, which is fairly generous, but it is still easy to die here if you get careless, so I did end up having to retry at times.
So for your first runs, I recommend trying it solo rather than in a party so you can learn the patterns without pressure.