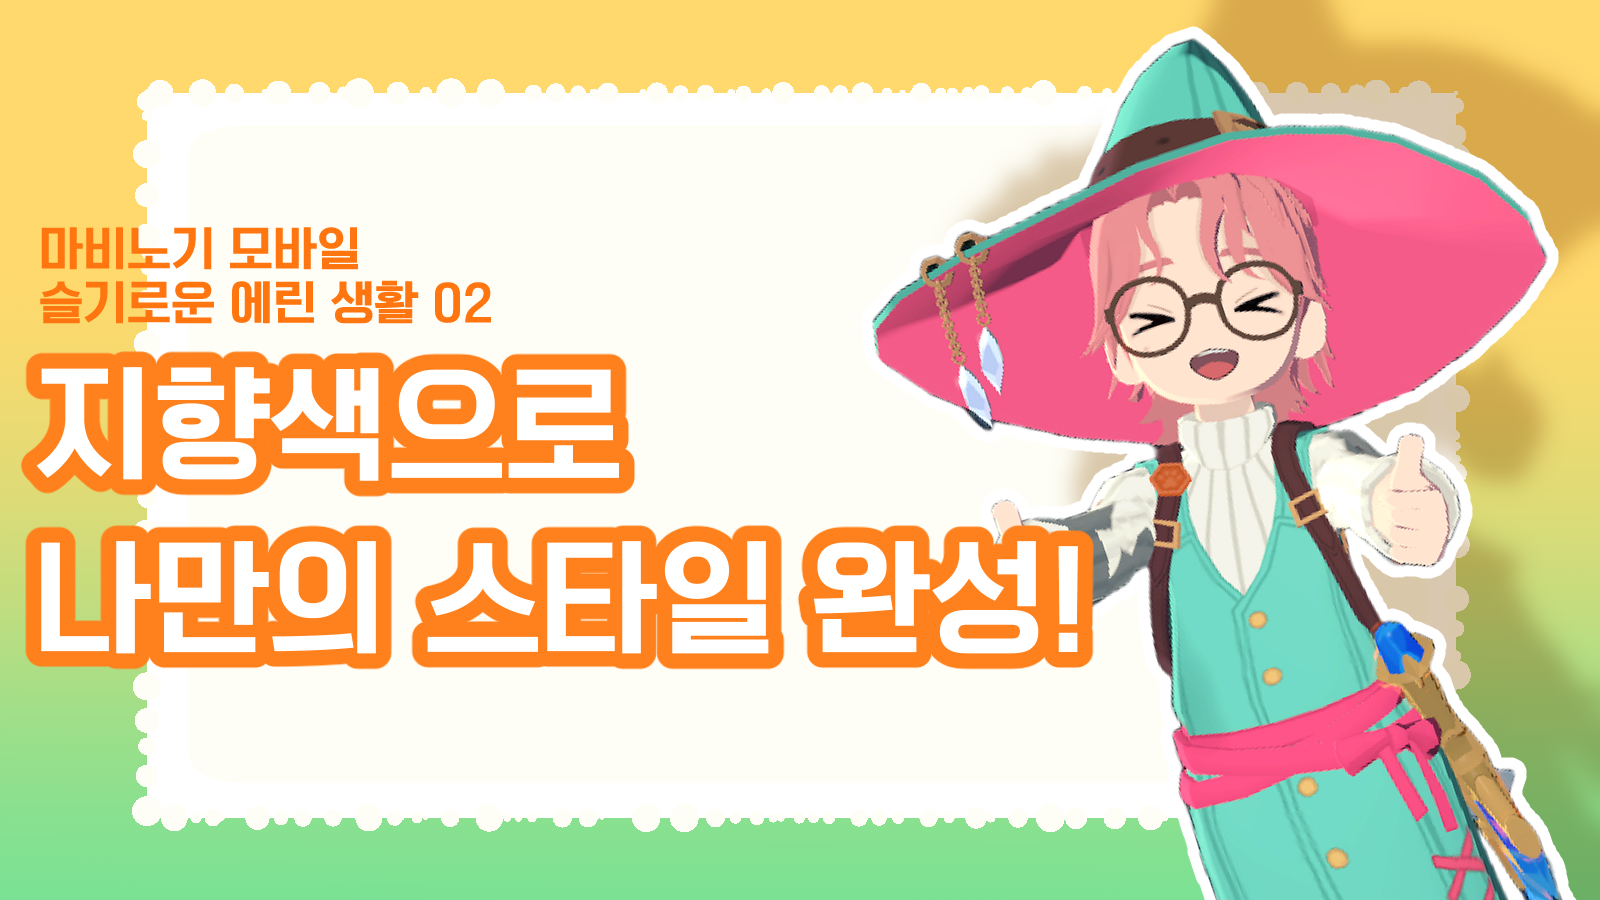
[Mabinogi Mobile] Finish off your own style with your signature color! #스불재
슬기로운모험가
![[Mabinogi Mobile] Finish off your own style with your signature color! #스불재](https://peak-file.nexon.com/uploads/20250830_0705_fbe-d7b0-4285-884f-ac609aa272cf)
Hi, adventurer~!
Hope you’re having a fun and savvy life in Erinn!
Today, I want to talk about outfit dyeing.
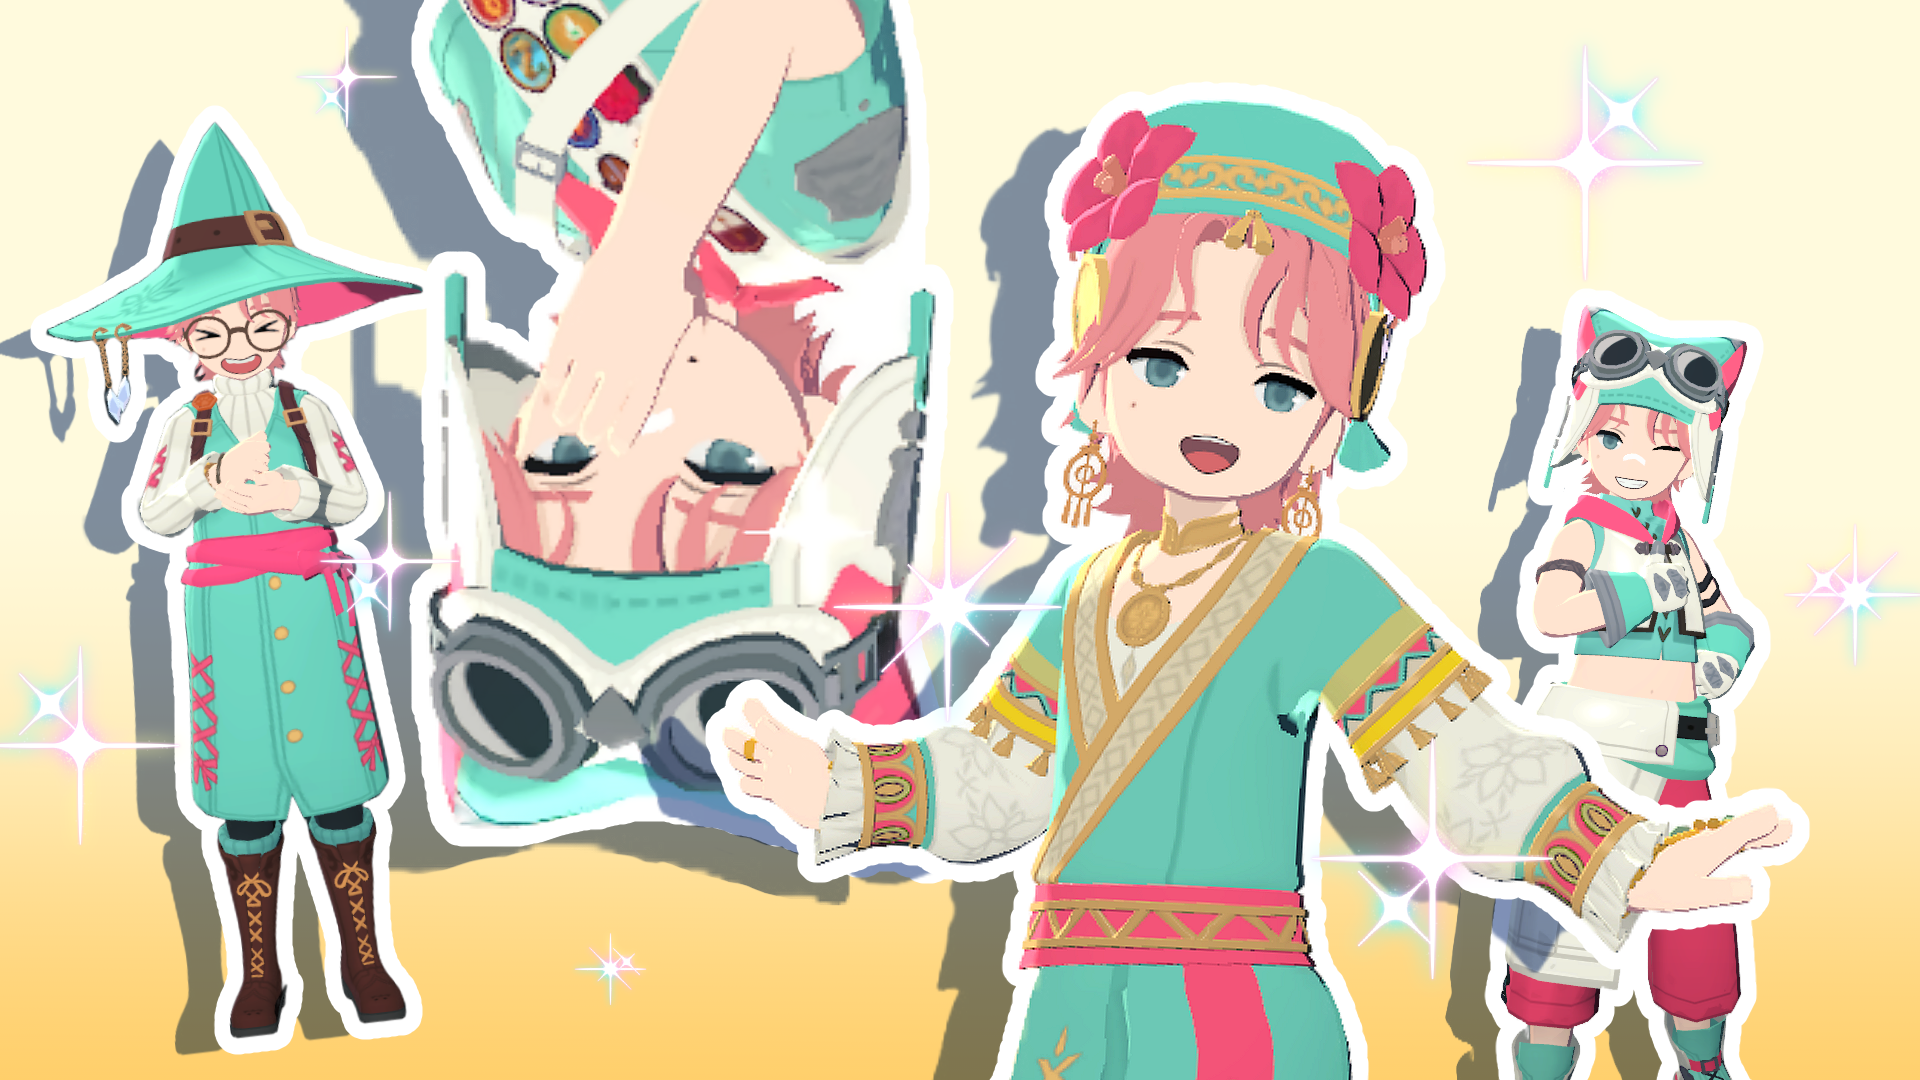
I’ll share some handy tips for dyeing, and while I’m at it, show off my 지향색 too!
Hm? You’re wondering what '지향색' means?
Just like it sounds, it means the color, or color combo, I personally aim for.
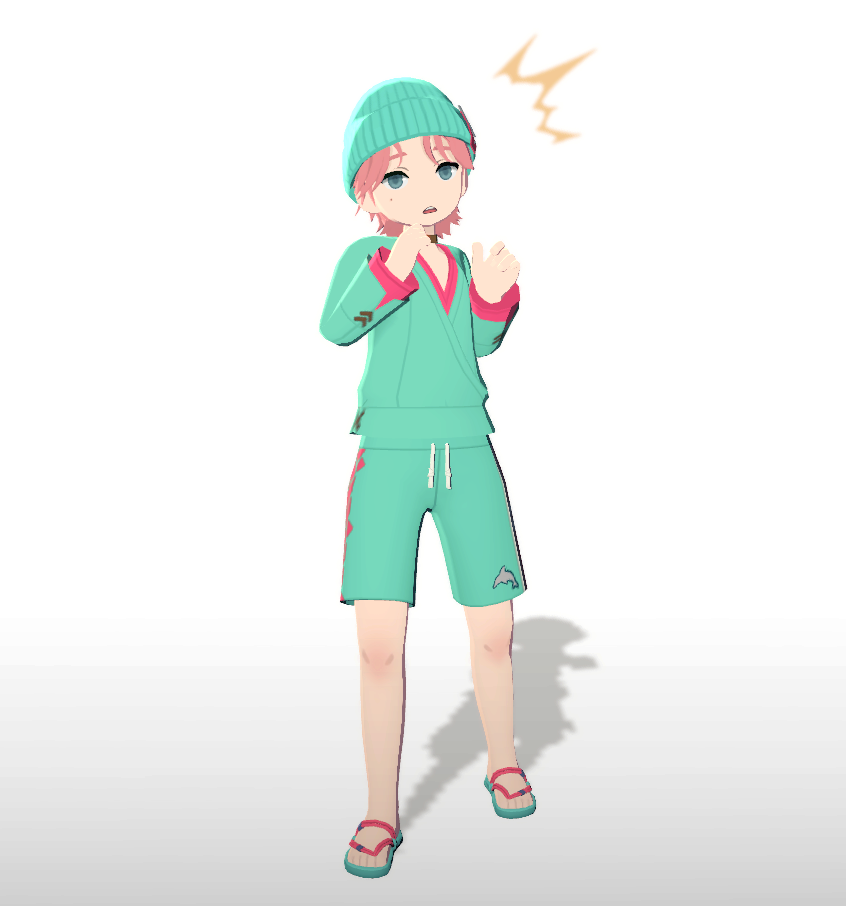
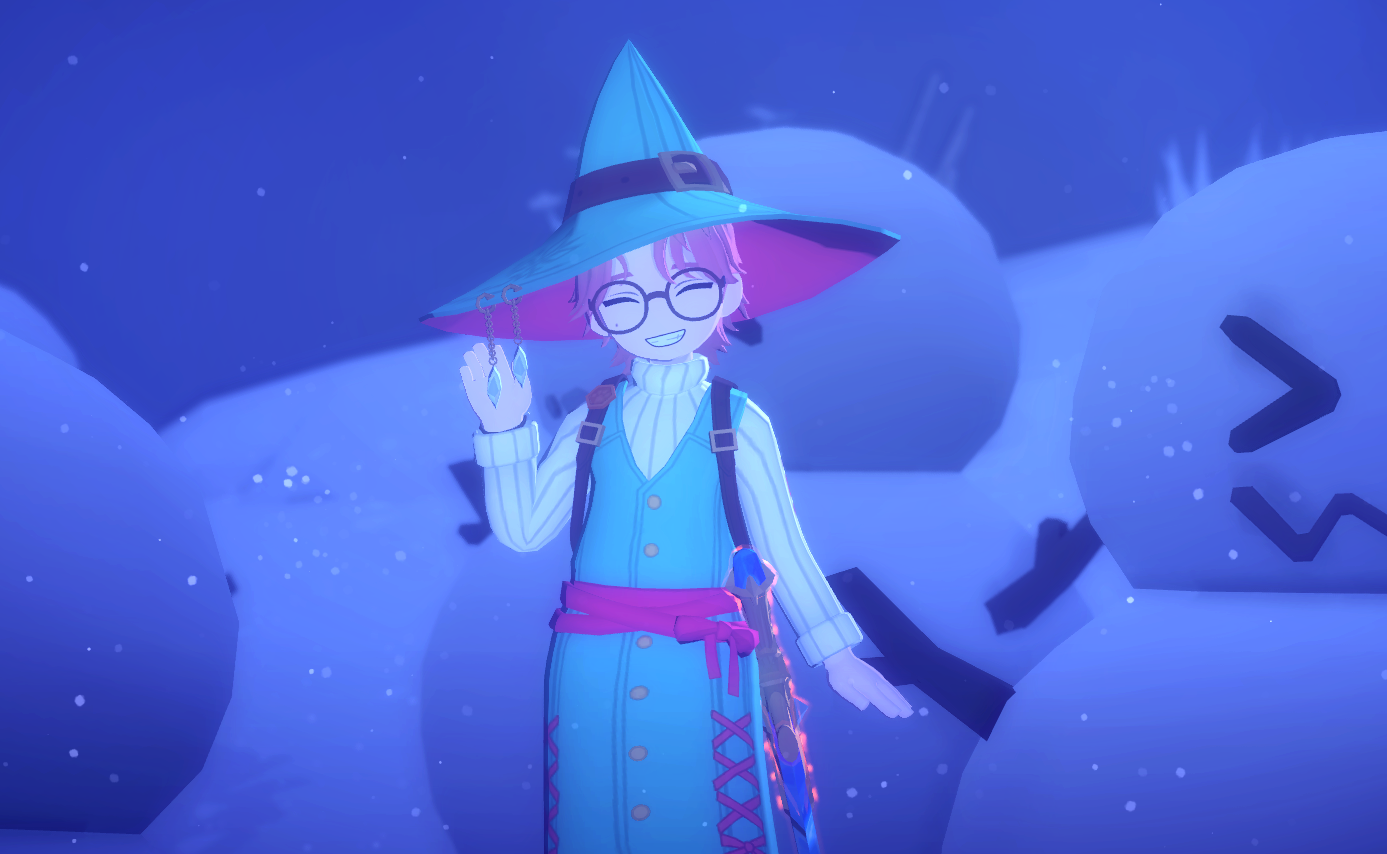
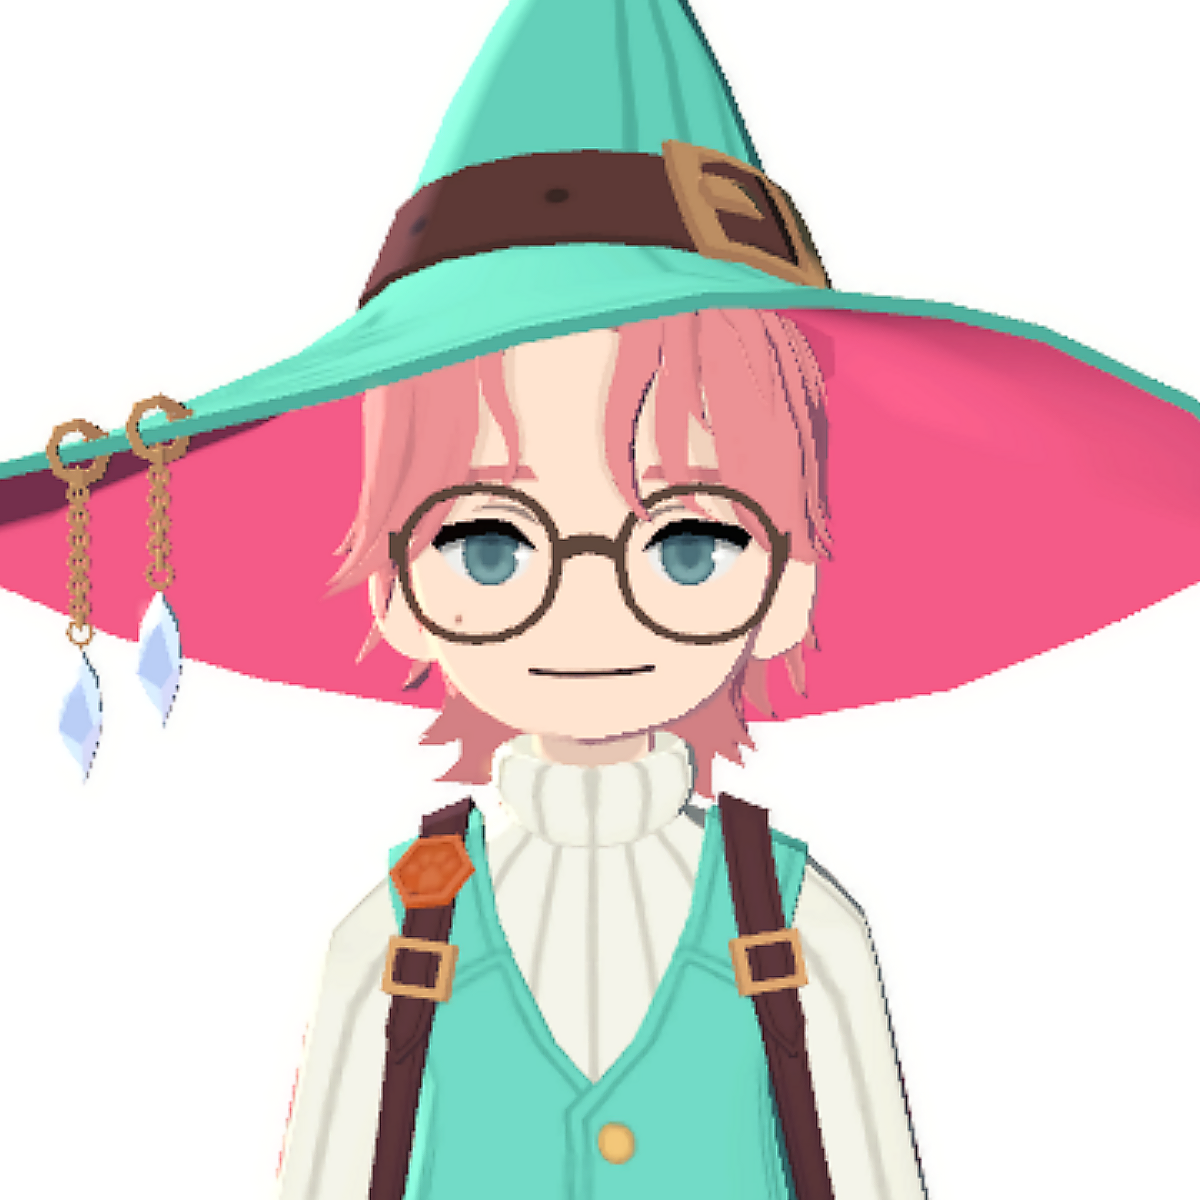
As you can see, I’m fully committed to the mint-and-pink combo.
Once you settle on colors like this, your character gets a more distinct style,
and it’s honestly so convenient because you don’t have to keep debating what colors to use every single time you dye something!
My goal is to fill my wardrobe with mint-and-pink combos.
Of course, just because you picked your colors doesn’t mean dyeing suddenly becomes easy,
so you’ll still end up making a bunch of attempts to find the exact shades you want...
But once you finally finish, wow, the satisfaction is so good~
Sometimes it really does feel like a disaster I summoned with my own two hands,
but if we want to get what we’re after, this much suffering is only fair, right?!
Alright then, for fellow adventurers out there putting real effort into dyeing like me,
let me share a few things that might help!
The tips below aren’t perfect,
but they’re written with the goal of making the best compromises possible to get your dye job as close to perfect as you can.
So keep that in mind while you read!
First!
Decide on the color codes you want
If you haven’t chosen your target colors yet,
pick one outfit, start dyeing it, and look for a color you really like.
Personally, I recommend choosing one main color and one secondary color,
and since most outfits have at least three dye parts, I recommend using a free shop fixed dye for the remaining part.
*White is the safest choice, and you can also use the color of any non-dyeable parts already on the outfit as a reference.
As you can tell from the color palette,
the vibe of a color changes a ton depending on its saturation and brightness,
so it’s better to use the dye window and actually check how it looks on your character
before deciding on the color, right?
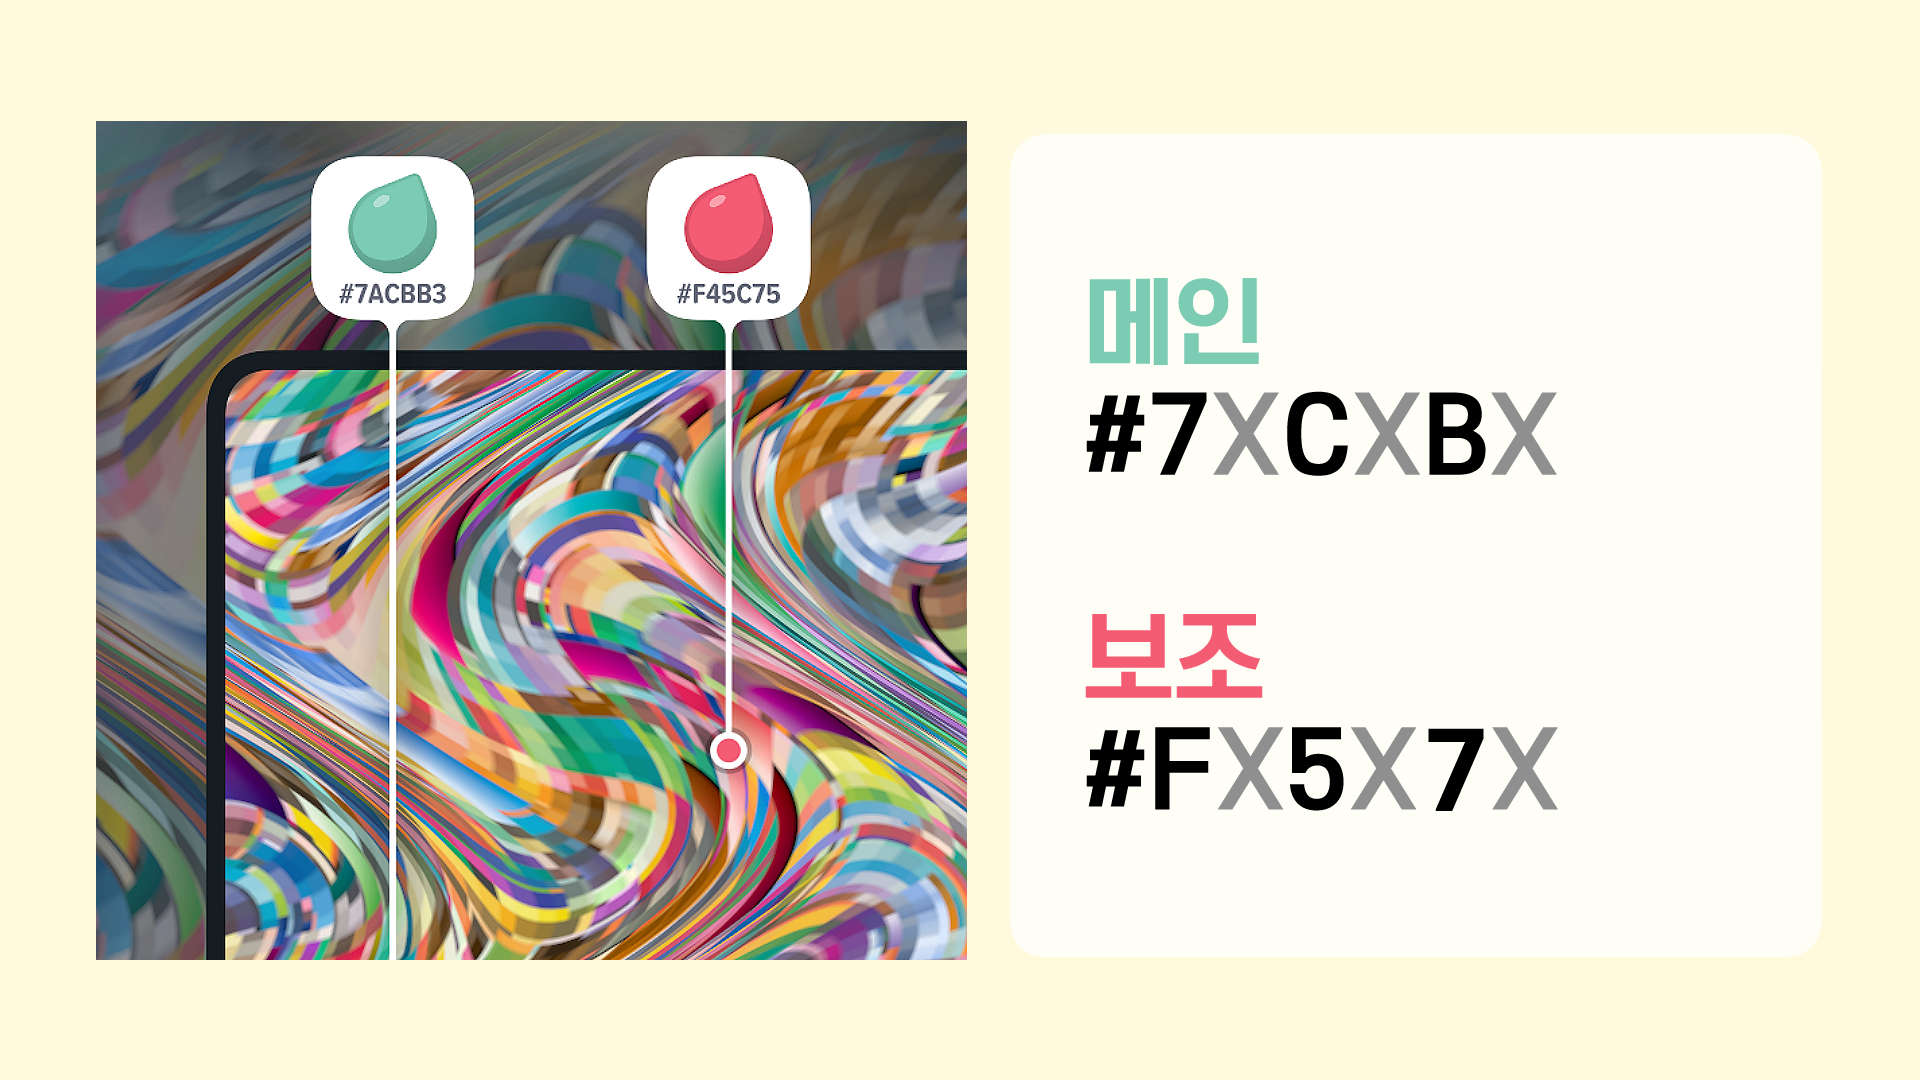
Once you find a color you like, finish the dye and make a note of that color code.
After that, there are really just three parts we need to focus on.
Like I wrote in the image above, split the six-digit code into pairs and just memorize the first digit of each pair.
Of course, it’d be amazing if you could find the exact full six-digit code and dye every part perfectly.
But there are five areas to dye—hair, top, bottom, gloves, and shoes—
and each one has at least three parts, so for your own sanity, it’s better to find a reasonable compromise.
And if you’re planning to dye accessories and even fashion weapons too,
going for the exact full six-digit code every single time is just way too rough, isn’t it?
Let’s aim to get as close as possible to the color we want within the time we’ve got~
Second!
Compare colors across your equipment pieces
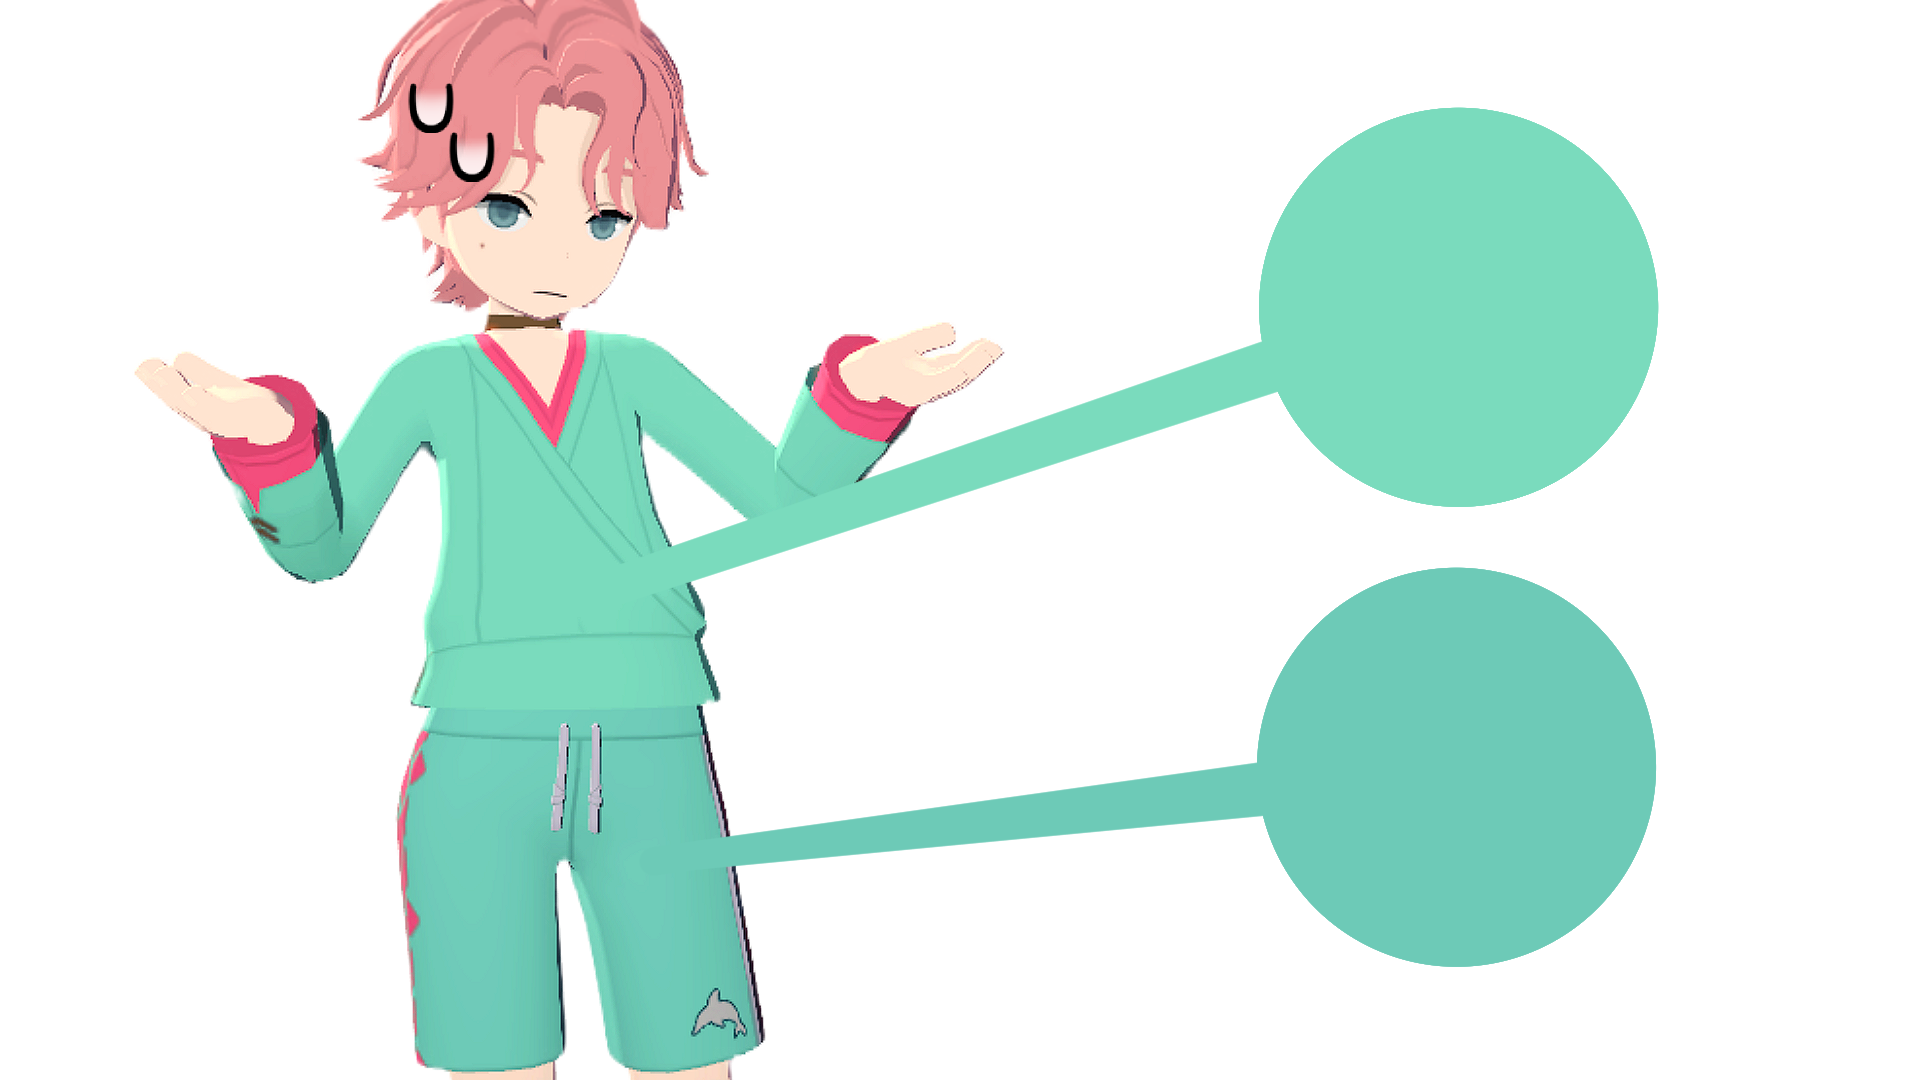
Even if you follow the first tip and match the three key digits exactly,
there’ll still be times when the top and bottom look way more different than you expected, like in the image above.
Since you’re not matching all six digits exactly,
sometimes the finished dye can end up with a pretty big visible difference like this.
To minimize that problem,
when you dye, make sure to zoom in and out so your other gear is clearly visible,
and unless you have a specific reason, I recommend not using the option to hide other fashion equipment.
On the other hand, if you’re planning to match the full six-digit code exactly,
then it helps to adjust the view so only the piece you’re dyeing is visible.
If you’re going to use a fixed dye on the third and final part,
make sure to double-check that every other area has been dyed properly first.
If you skip that check and slap on the fixed dye right away, it’ll feel like such a waste when you have to fix it later~
Once you’re done dyeing and want to check the overall colors, try using the camera.
It’s really great to turn on Studio Mode, set the background to white, and check the colors there!
If you want to see how the colors look under light from different angles,
I recommend a snowy area with bright white snow, like 'Sidshe Sneachta'.
It’s much easier to check colors when you look at your character during a bright time of day against a white snow background~
Third!
Plan your parts before you start dyeing
*This part might be getting a little into advanced dyeing...?
To make this easier to understand, I’ll use a sample outfit as an example!
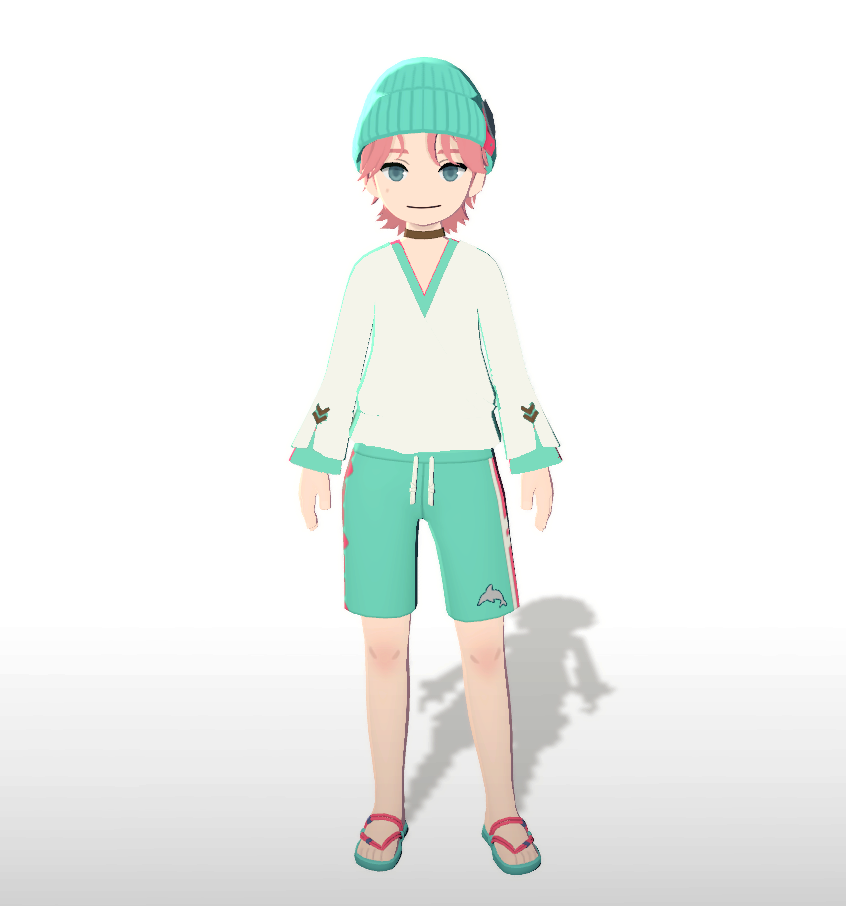
Even though it’s dyed nicely in mint and pink—my 지향색—it still feels a little stuffy somehow,
and gives off that “Uh... is this really it...?” kind of feeling.
At a glance, mint is technically the main color, but one color is taking up way too much space,
so the secondary color doesn’t really get a chance to shine.
Hmm... so this time, should we try adding white based on the string on the pants?
Welp...
It definitely looks less stuffy and a lot nicer than the first version,
but now the main color, mint, got pushed into the secondary role, and the secondary color got pushed into an accent role.
White accidentally became the main color.
If you like the final result, then of course that’s totally fine,
but if you plan to keep dyeing lots of outfits in your 지향색 from here on out,
dyeing them so the main color doesn’t show properly can make it harder to mix and match them with other pieces.
Especially since people’s eyes usually go to the face and upper outfit first when looking at a character,
it’s better to dye the top in your main color so your character’s intended color identity is immediately clear.
Then, move the main color into a supporting role on the bottom, and bring the secondary color up as the main one.
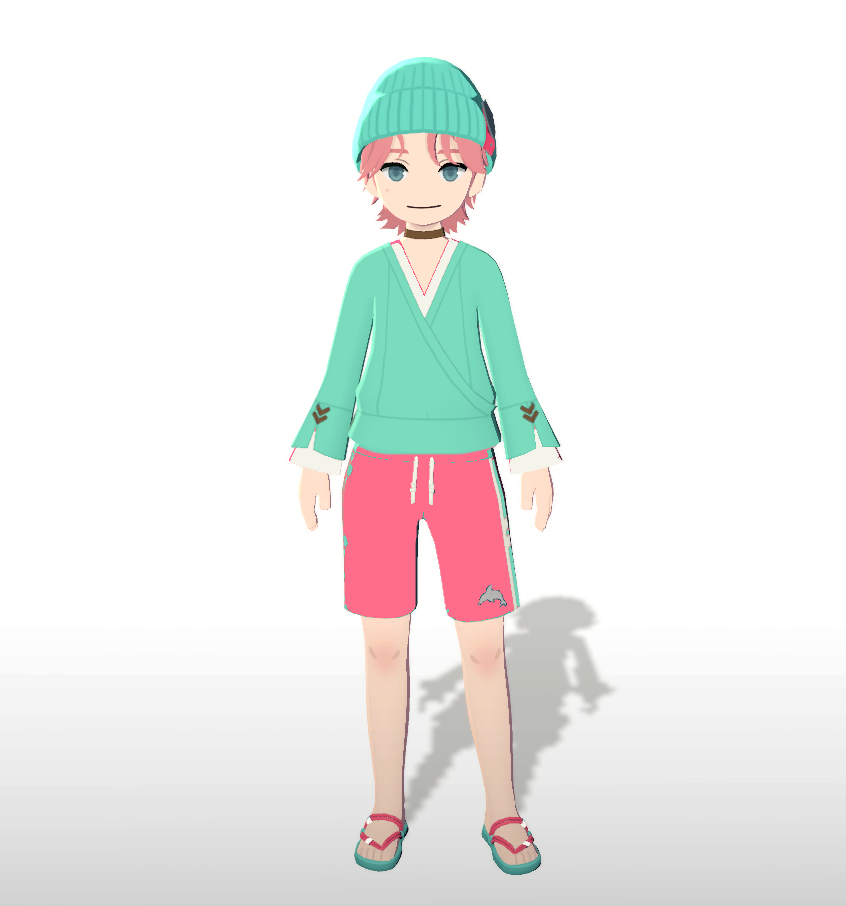
Alright, after some trial and error, this is the finished result after redistributing the parts.
The main mint color stands out right away, and the secondary pink keeps it from looking bland.
For the last part, I used the same white as the pants string for a little accent!
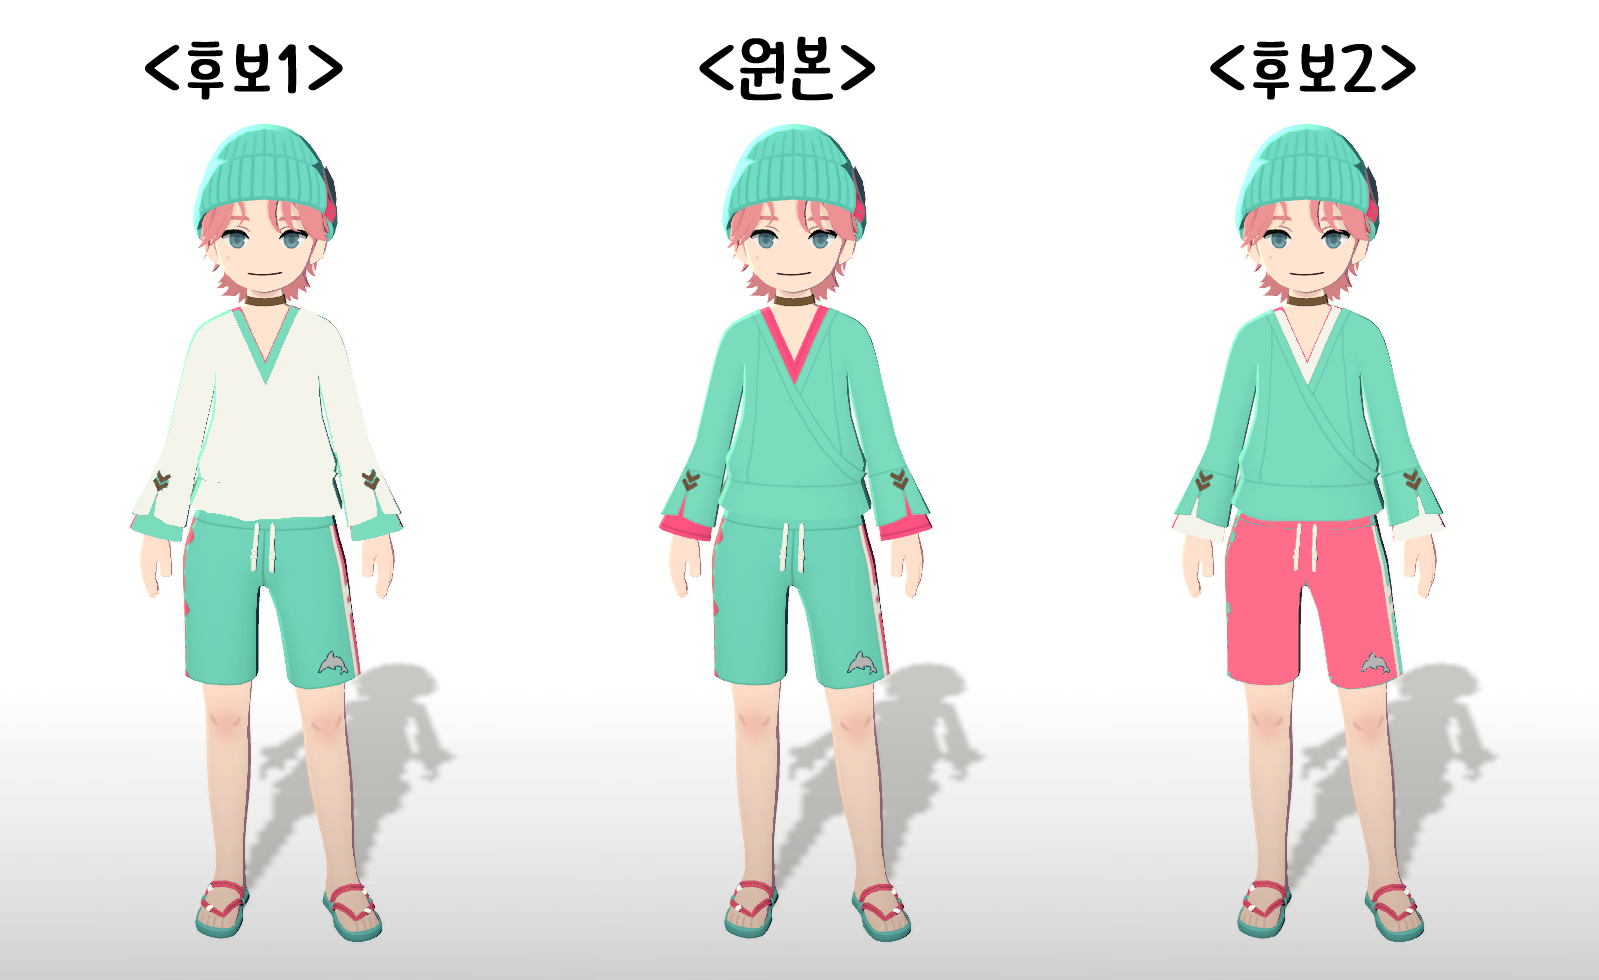
Let’s put all three versions together in one place so they’re easier to compare.
Looking at them like this, Candidate 2 is definitely the one where the mint&pink combo shows best, right?
Of course, I’m not saying the original or Candidate 1 dye jobs are bad.
Since it’s purely a matter of personal taste, feel free to divide the parts however you like!
I wanted people to look at any outfit I wear and immediately go, “Aha, that color combo!”
So I always pay attention and dye things more like Candidate 2.
Of course, when there’s a large non-dyeable section taking up space,
or when I just can’t find my 지향색 in special materials like leather or metal,
there are times when I have no choice but to compromise a little.
Always remember!
Don’t let dyeing stress you out too much!
Sometimes I sigh and wonder why I ever started doing this in the first place... but hey, I brought this on myself...
Alright then, I hope everyone manages to dye their outfits in the colors they want,
and that’s where I’ll wrap up today’s post!
See you again next time!
Bye~🖐🖐
![[마비노기] 에린의 귀염둥이를 움직이는 이모티콘으로 만나자!](https://peak-file.nexon.com/uploads/20251129_0346_ab2-df1e-4152-a918-0cbb5188c3c5)
![[모비노기] NPC들이 #체육대회를 연다면?](https://peak-file.nexon.com/uploads/20260509_1044_3ba5db6b.png)