[Mabinogi Mobile] Worried About Letting Your Team Down? Essential Tips for Making the Most of Raid & Abyss Practice Modes (Includes a Quick Guide to 에이렐’s Additional Mechanics on Very Hard)
자경씨

This post was created as part of
NEXON PEAK activities.

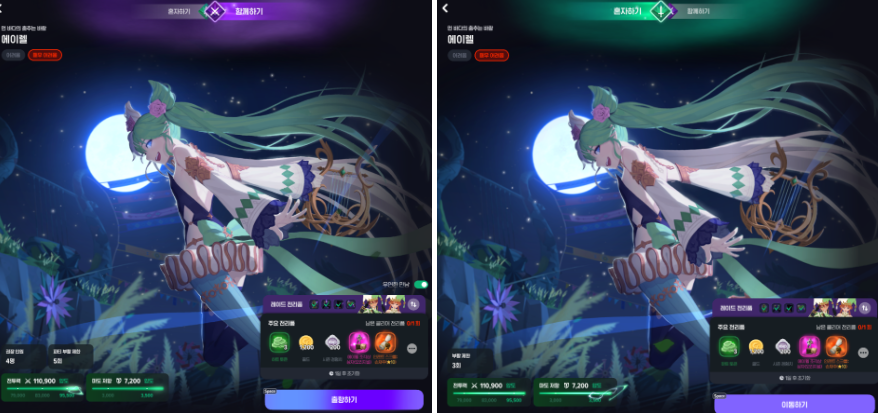
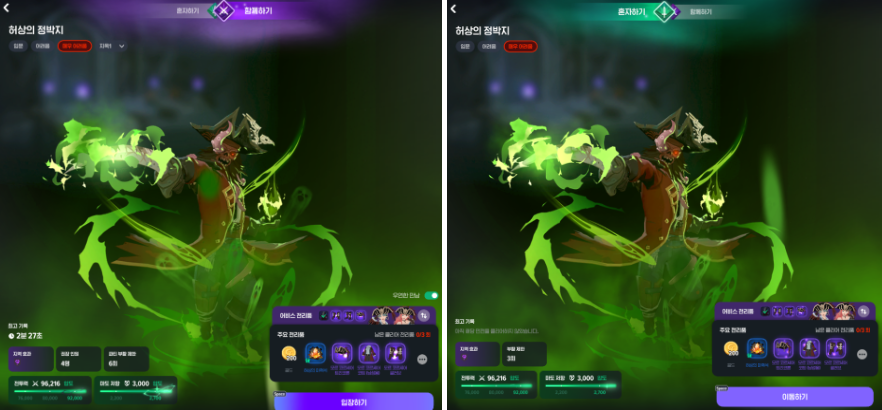
Raids and Abyss are usually tackled with a party, so it’s only natural to make mistakes or stumble a little on your first attempt. That isn’t much of a concern just after release, but once most players have learned the mechanics, it can make you feel a little self-conscious. When that happened to me, I would practice in Solo mode to get a feel for the mechanics ahead of time! Can you spot the difference in the screenshots below? That’s right—you can choose between the Solo and Party tabs.
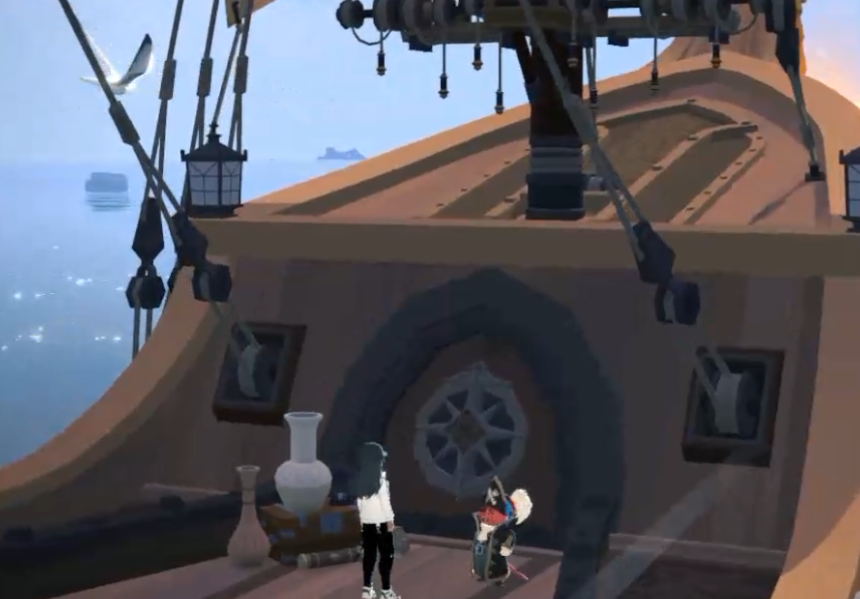
I suppose boarding the ship alone means I’m the only one talking to the captain on deck, too. Let’s set sail.
The 에이렐 fight on Very Hard shares some mechanics with Hard difficulty, but there are a few differences. Sonata of the West Wind, Rubato, Accelerando, Riding the Wind, Capriccio, Chorus for Two, and Leggiero remain the same, but I found that three mechanics deserved a closer look.
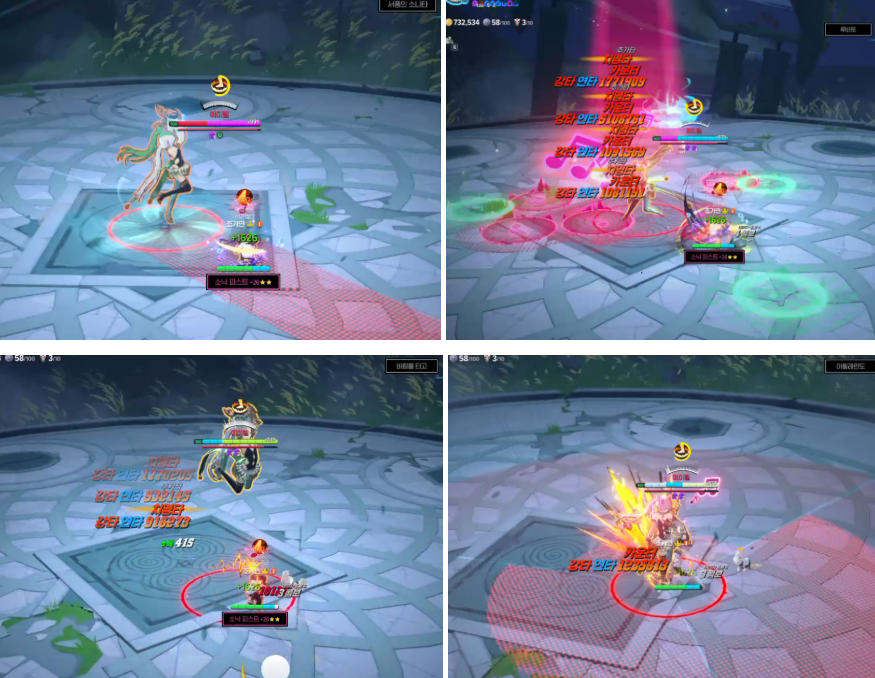
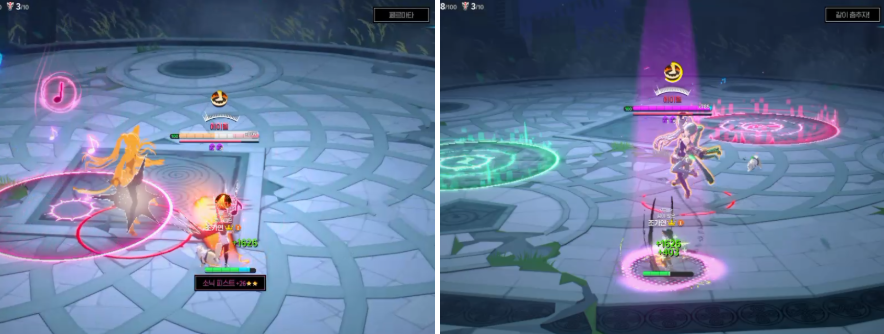
The first was Fermata. The green and pink areas on the ground explode after a set amount of time, and stepping on them before that happens increases or decreases your green or red stacks by 1. Leave them untouched, though, and they explode—with extra stacks thrown in for good measure. It occurred to me that, in a party run of 에이렐 on Very Hard, this could leave every party member with +1 stack of the Dancing debuff.
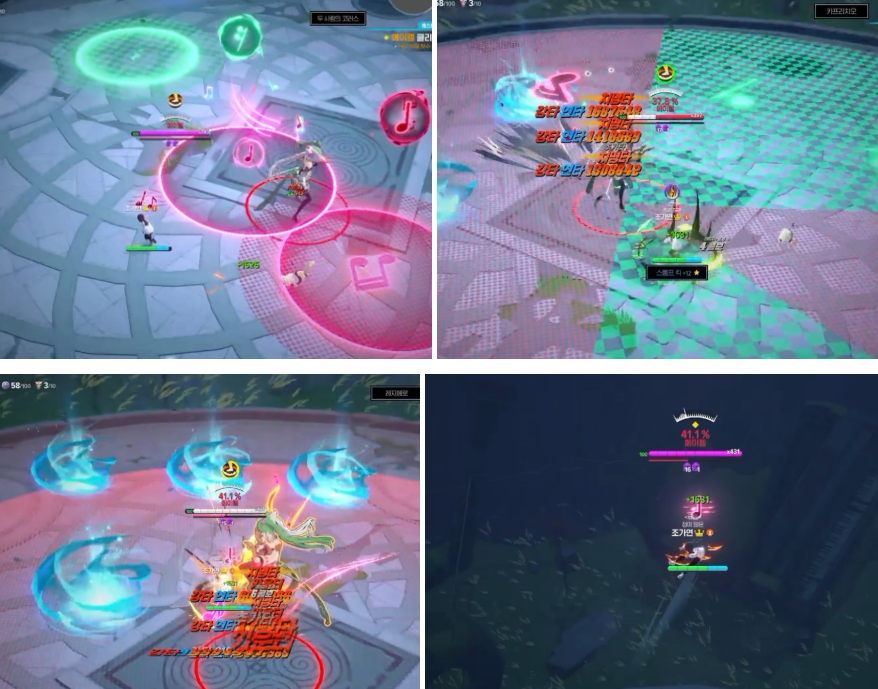
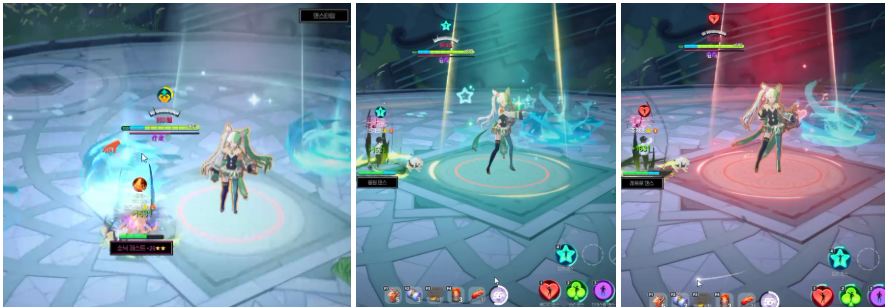
The second was Dance Time. As 에이렐 runs to the center, “Dance Time” appears on the right, which is your cue to press the hand icon to interact. As you can see in the screenshot, I was caught in a whirlwind at the time, so the interaction only took effect once I’d been thrown into the air and landed again. After that, just copy 에이렐’s dance.
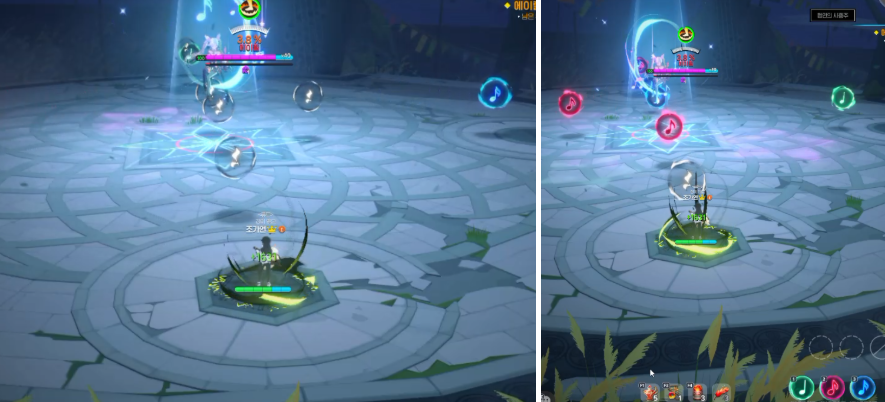
The third and final mechanic is Concert Quartet, which also appears in Solo mode. Everything else works the same way, but a rest appears in place of a note you would normally click. When you see a rest, let it pass without pressing anything—pressing another note instead will reduce your buff stacks.
I recently switched from Pyromancer to Fighter, and that gave me a little more to worry about. I was already prone to worrying, but moving from ranged DPS to melee DPS made me even more nervous, so I went into Solo mode to practice handling the fight and figuring out where to move. That helped me build a little confidence! Solo mode is available in Abyss, too.
As far as I know, monster stats and encounter values are adjusted for Solo and Party mode, since a solo player and a full party have different damage output. If you’re having trouble finding party members or worrying about letting others down, why not practice in Solo mode? Along with learning the ins and outs of your character’s class, you can work on movement and dodging, with much less pressure if you die or fail to clear the encounter. It’s practice, after all.
There’s also a training dummy at the school in Tir Chonaill, where you can experiment with your class and skills and measure your damage output. I found it satisfying to build my proficiency that way, too. Of course, when a new difficulty, raid, or Abyss comes out, there’s plenty of fun to be had going in blind with your party, putting your heads together to figure things out, and dying along the way. I’m not saying you always need to practice in Solo mode—I just wanted to share an option for those times when you want to improve and do a little better.