[PEAK Challenge] Stick together or we’re not making it!! : Mabinogi Mobile
유이무
![[PEAK Challenge] Stick together or we’re not making it!! : Mabinogi Mobile](https://peak-file.nexon.com/uploads/20260708_0440_e46214b1.png)
[Participating in the Nexon PEAK Post Challenge]
https://peak.nexon.com/post/editor/blog?id=2073

You know that saying, “If we don’t stick together, we die!!” Ever heard it?
Well, Mabinogi Mobile has an Abyss where that’s basically the rule... if you don’t group up, you die.
You’ve at least heard of it, right? Hell difficulty!!! Not just 1, but a whole Hell 15!!!!
Mabinogi Abyss difficulty had Easy, Normal, Hard, Very Hard, and then Hell 1-15.
Usually, up through Hell 10, if your combat power was decent and your gear was at least somewhat built, you could clear it without too much trouble.
But Hell 15 was different.. The patterns were different, the damage I took was absurd, there were way more mechanics to handle, and more than anything, it demanded perfect teamwork. It was just on a completely different level.
Now Mabinogi is in Season 2, the Abyss has changed, and Hell difficulty still isn’t open yet—but it should be soon. So before that happens, I wanted to share my clear of the previous season’s Abyss, the one that really felt like walking through hell.. it was that brutal.
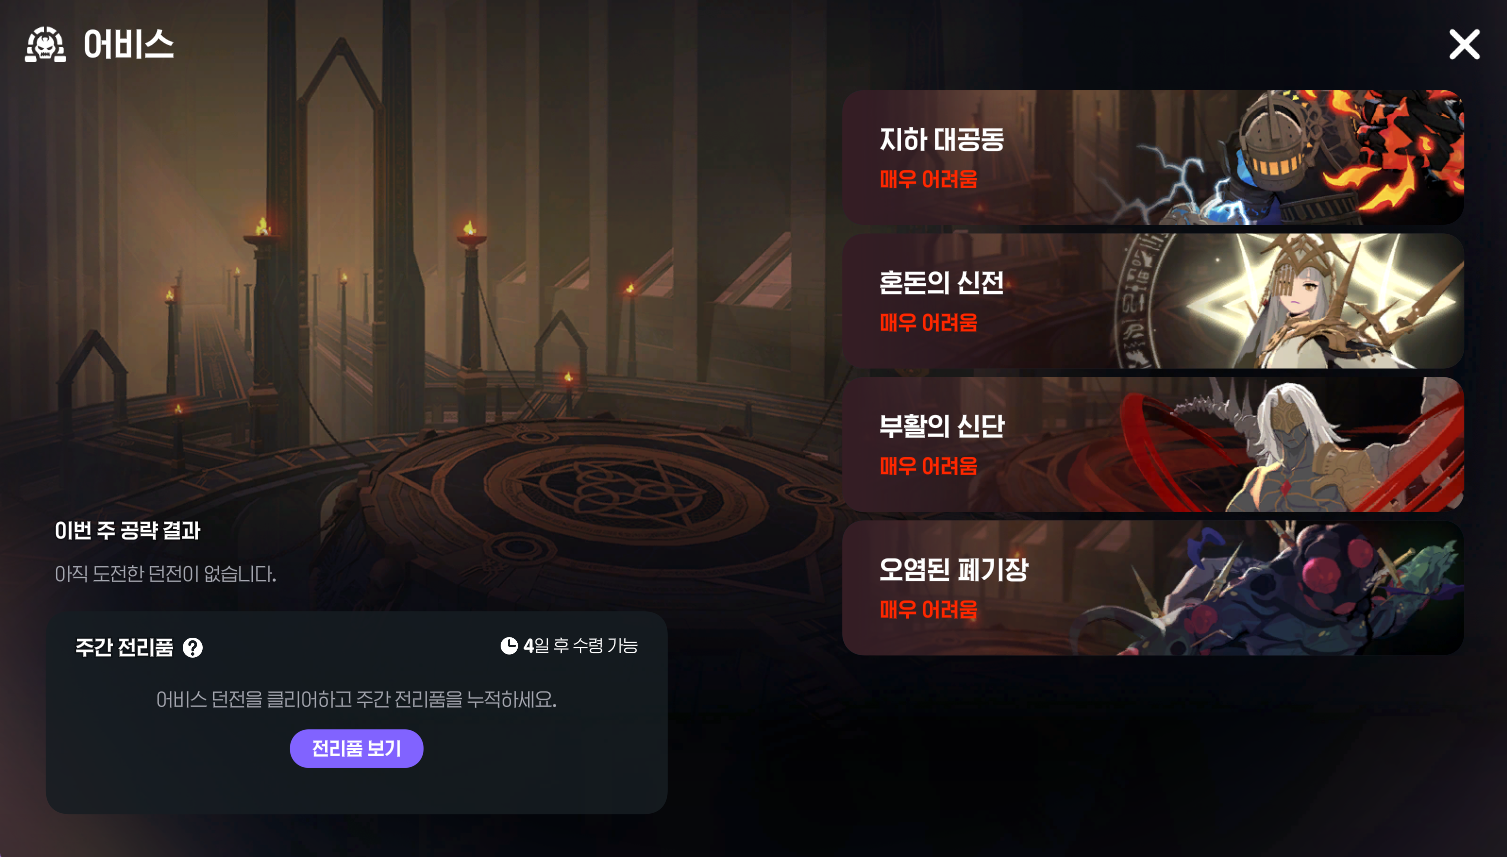
First off, Bari Abyss in Mabinogi Mobile Season 1 has a total of four bosses.
They appear in the Great Underground Cavern, Temple of Chaos, Altar of Resurrection, and Polluted Junkyard,
so let’s go through how I cleared each one, plus my thoughts after!
(Note: I’m a Cryomancer, so a lot of these play tips are from a Cryomancer point of view)
1. Great Underground Cavern
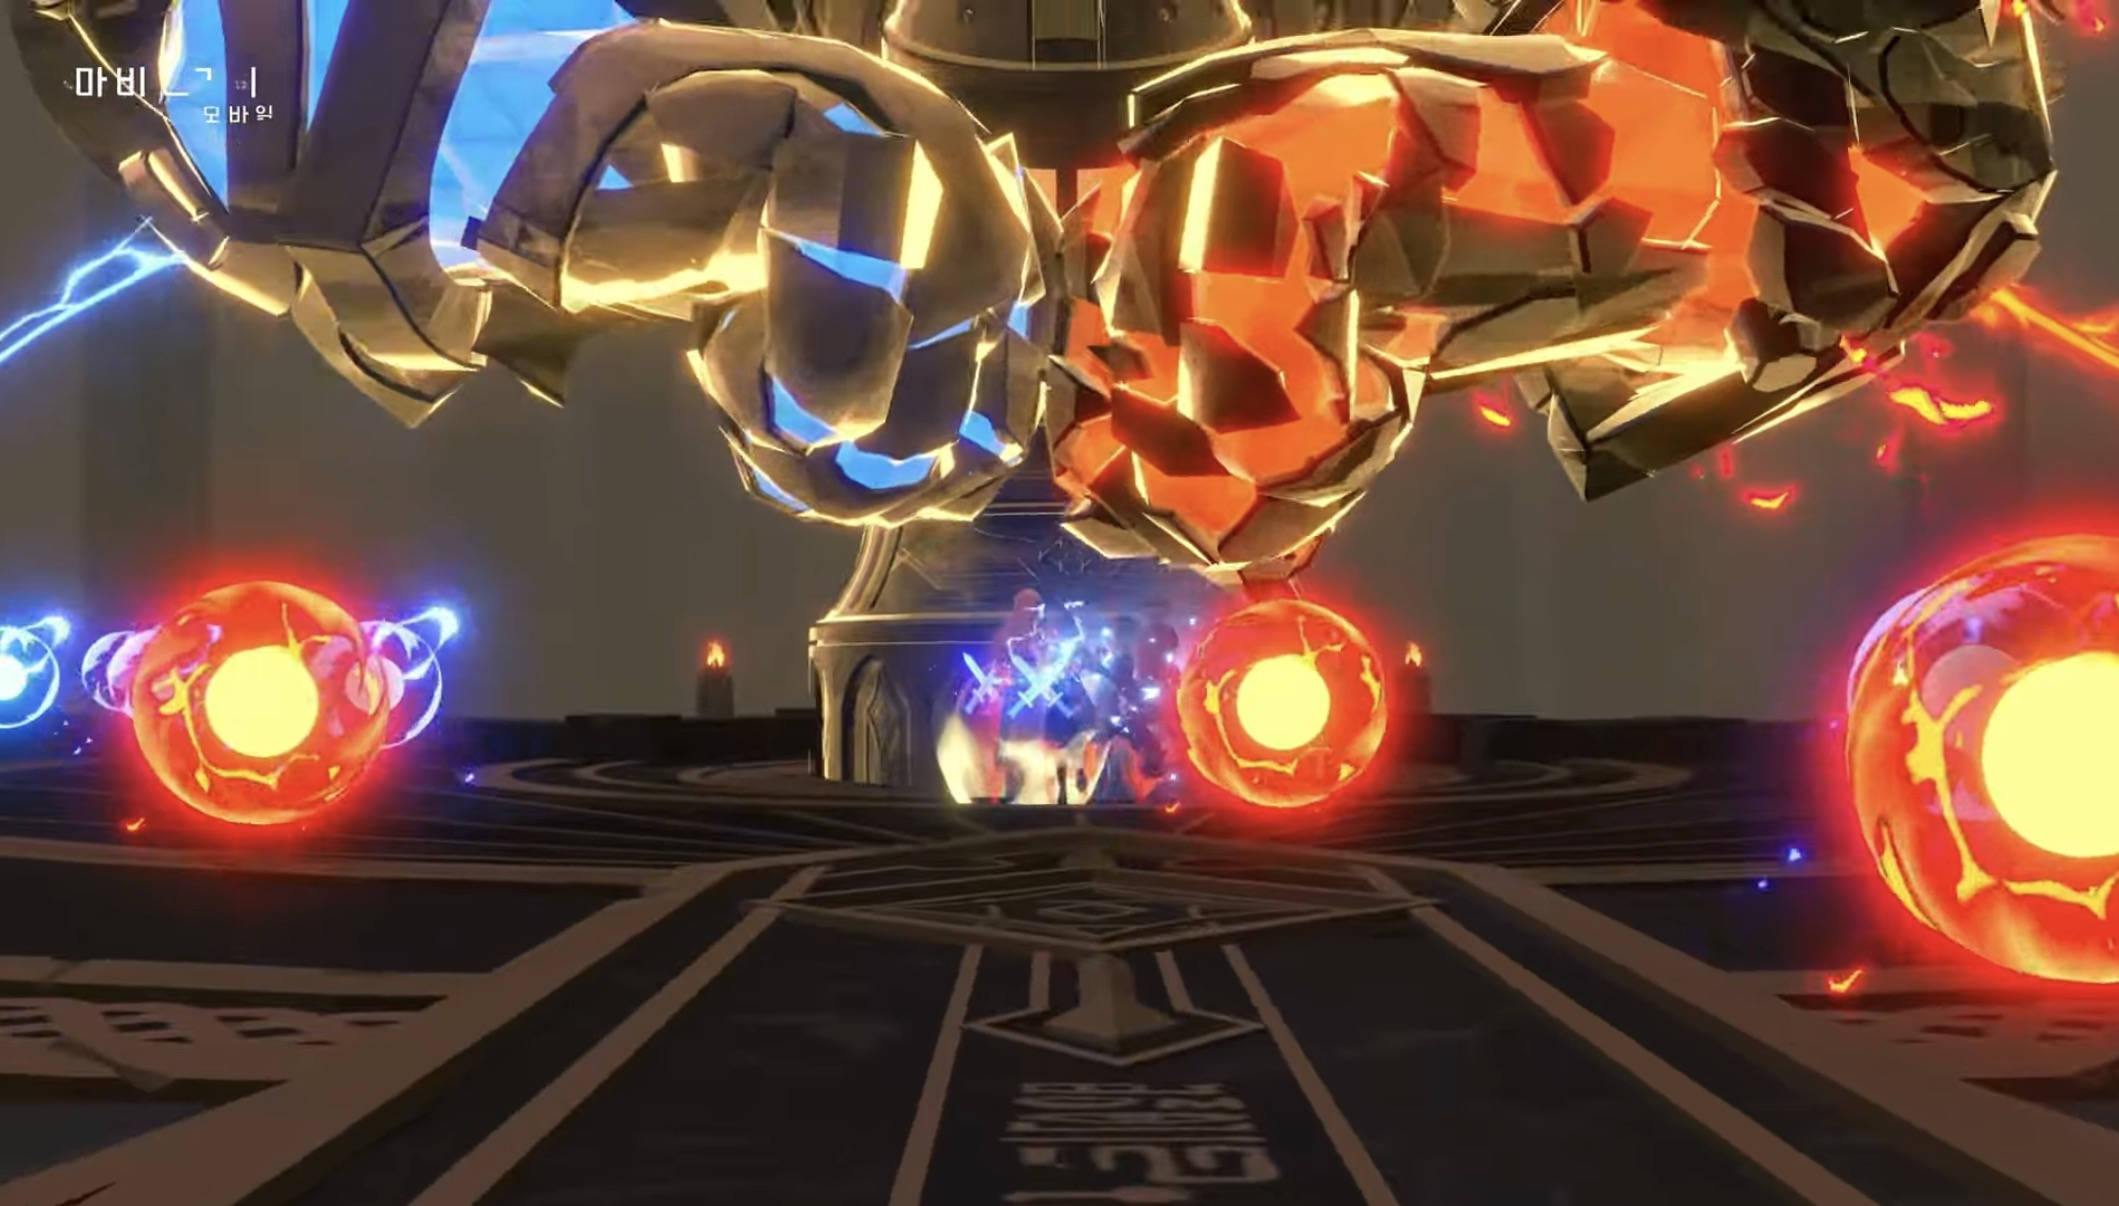
- Room 1 : Try to spread Skill 2 onto as many mobs as possible.
- Room 2 (Beetle) : When the beetle drops poison puddles, whoever has aggro should pull them out to the outer edge.
- Boss Room : If you break the blue orb first, the boss uses a wide fire AoE. Take the first one alone, dodge the second. Then stand by yourself on the opposite side so the DPS don’t get hit, taunt the boss, and keep attacking it solo.
- Thoughts : Since you could kind of just push through it with damage, this one was relatively easier than the other rooms.
2. Temple of Chaos
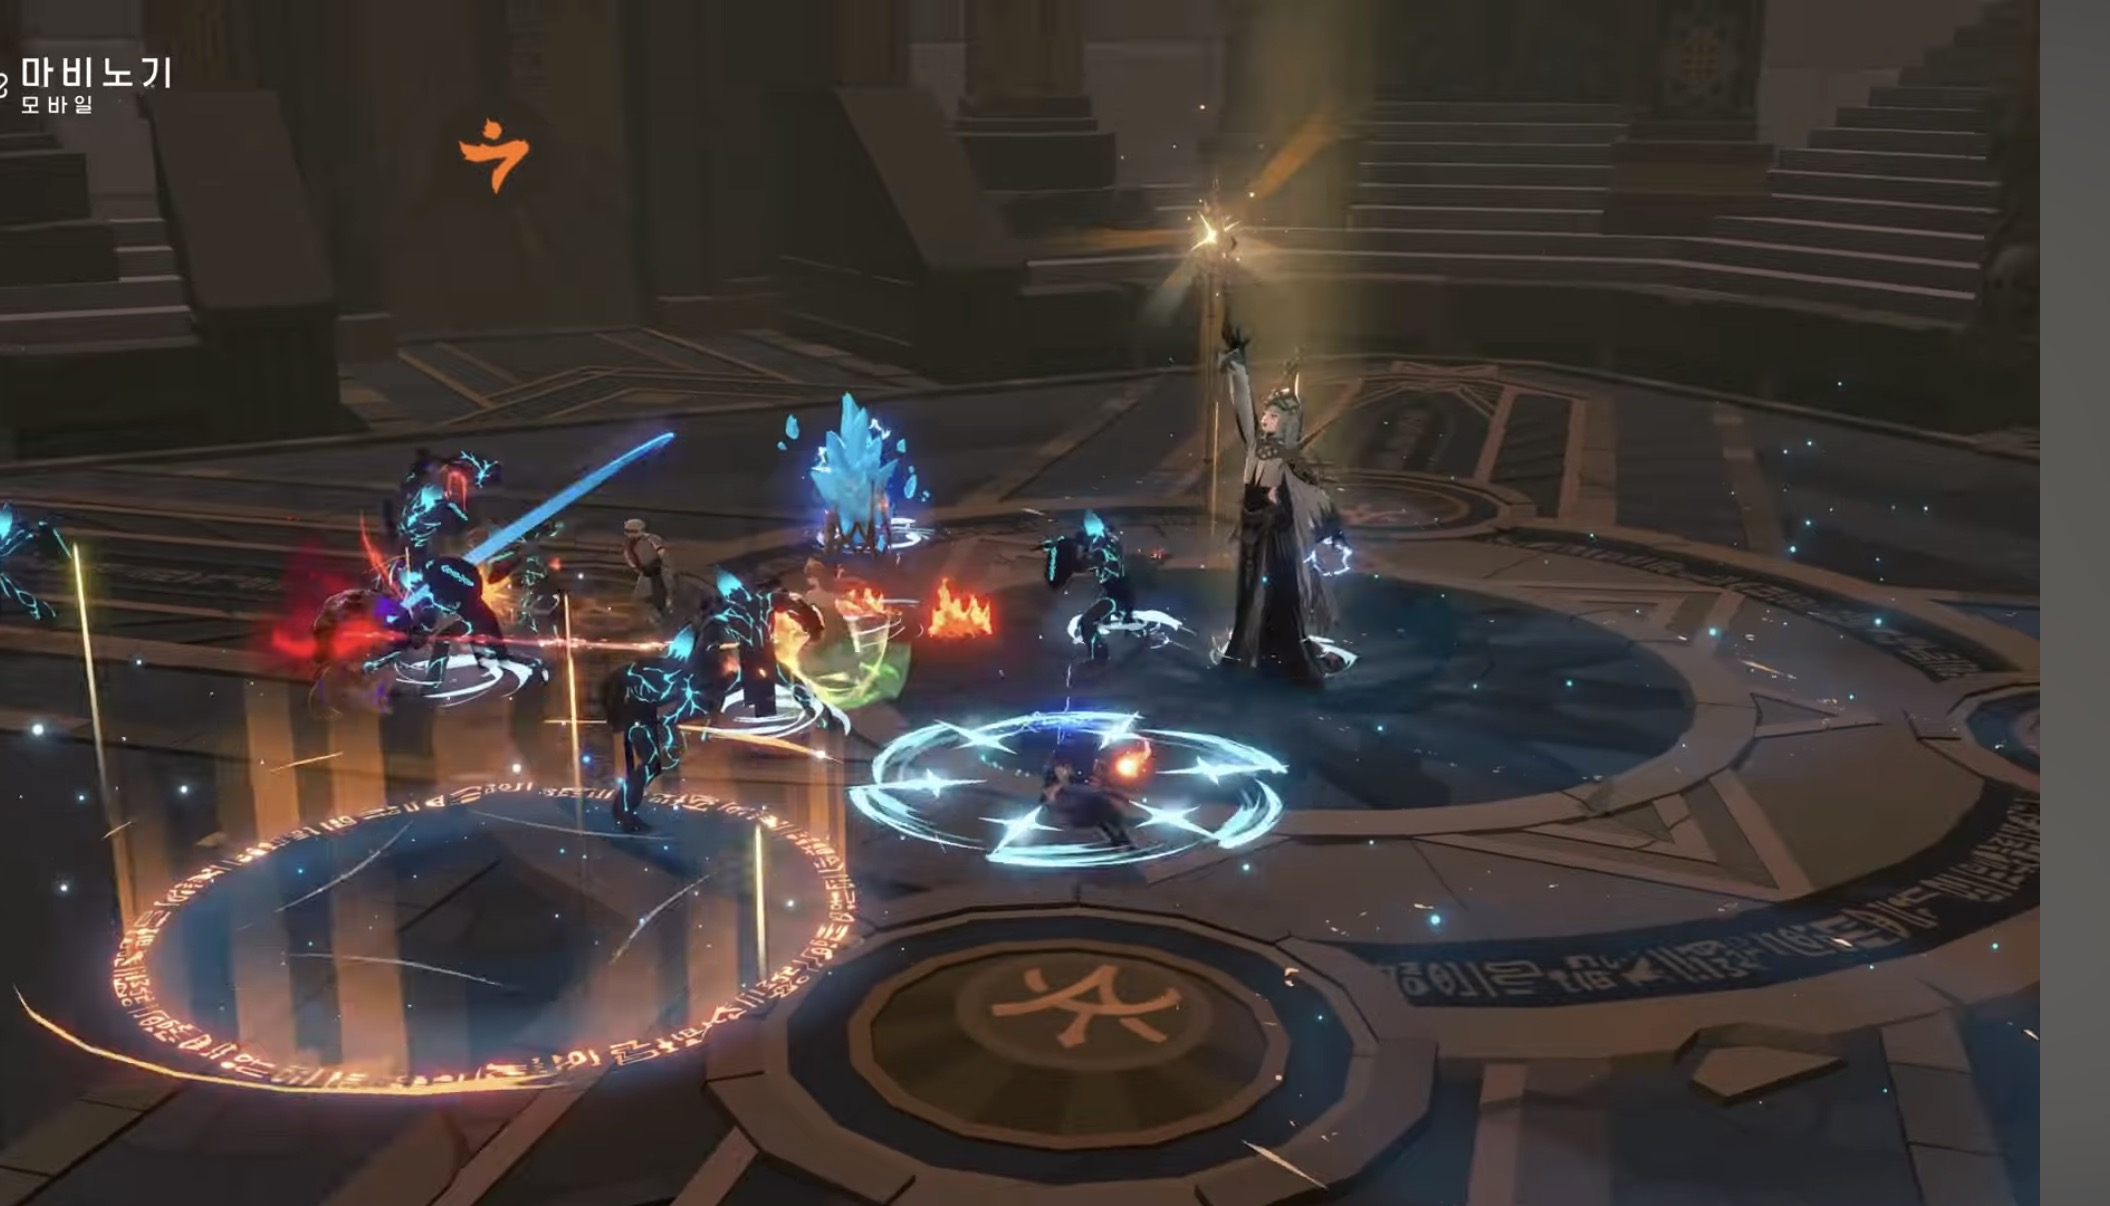
- Room 1 : Equip a rune called “Sweeping Wind” on one of your armor pieces, go in first, and hit the mob in the middle with Skill 1 to gather them into one spot. (Makes it easier for the DPS to hit everything)
- Room 2 : You have to break the four monuments separately by color, so all 4 players should focus one monument together and break it fast(or everyone dies) And once you’ve finished one full round of monument breaks, make sure to dodge the boss’s cross-pattern skill too(one-shot move)
- Boss Room : You DPS like normal, but instead of collecting light, you get forced to fight your own clone. But if you just attack carelessly, you die. So when you come back out, don’t trigger break right away—wait until you’ve confirmed everyone is out, then trigger break so everyone can burst together.
- Thoughts : At the end, in the boss room, our signal for confirming everyone had made it out was each person typing 11 in chat. It was my first time doing something like that, so.. it felt so cool, so awesome, so thrilling.. absolute one-heart teamwork!! This one was relatively manageable too.. the other two were the real go-to-hell stages..
3. Altar of Resurrection
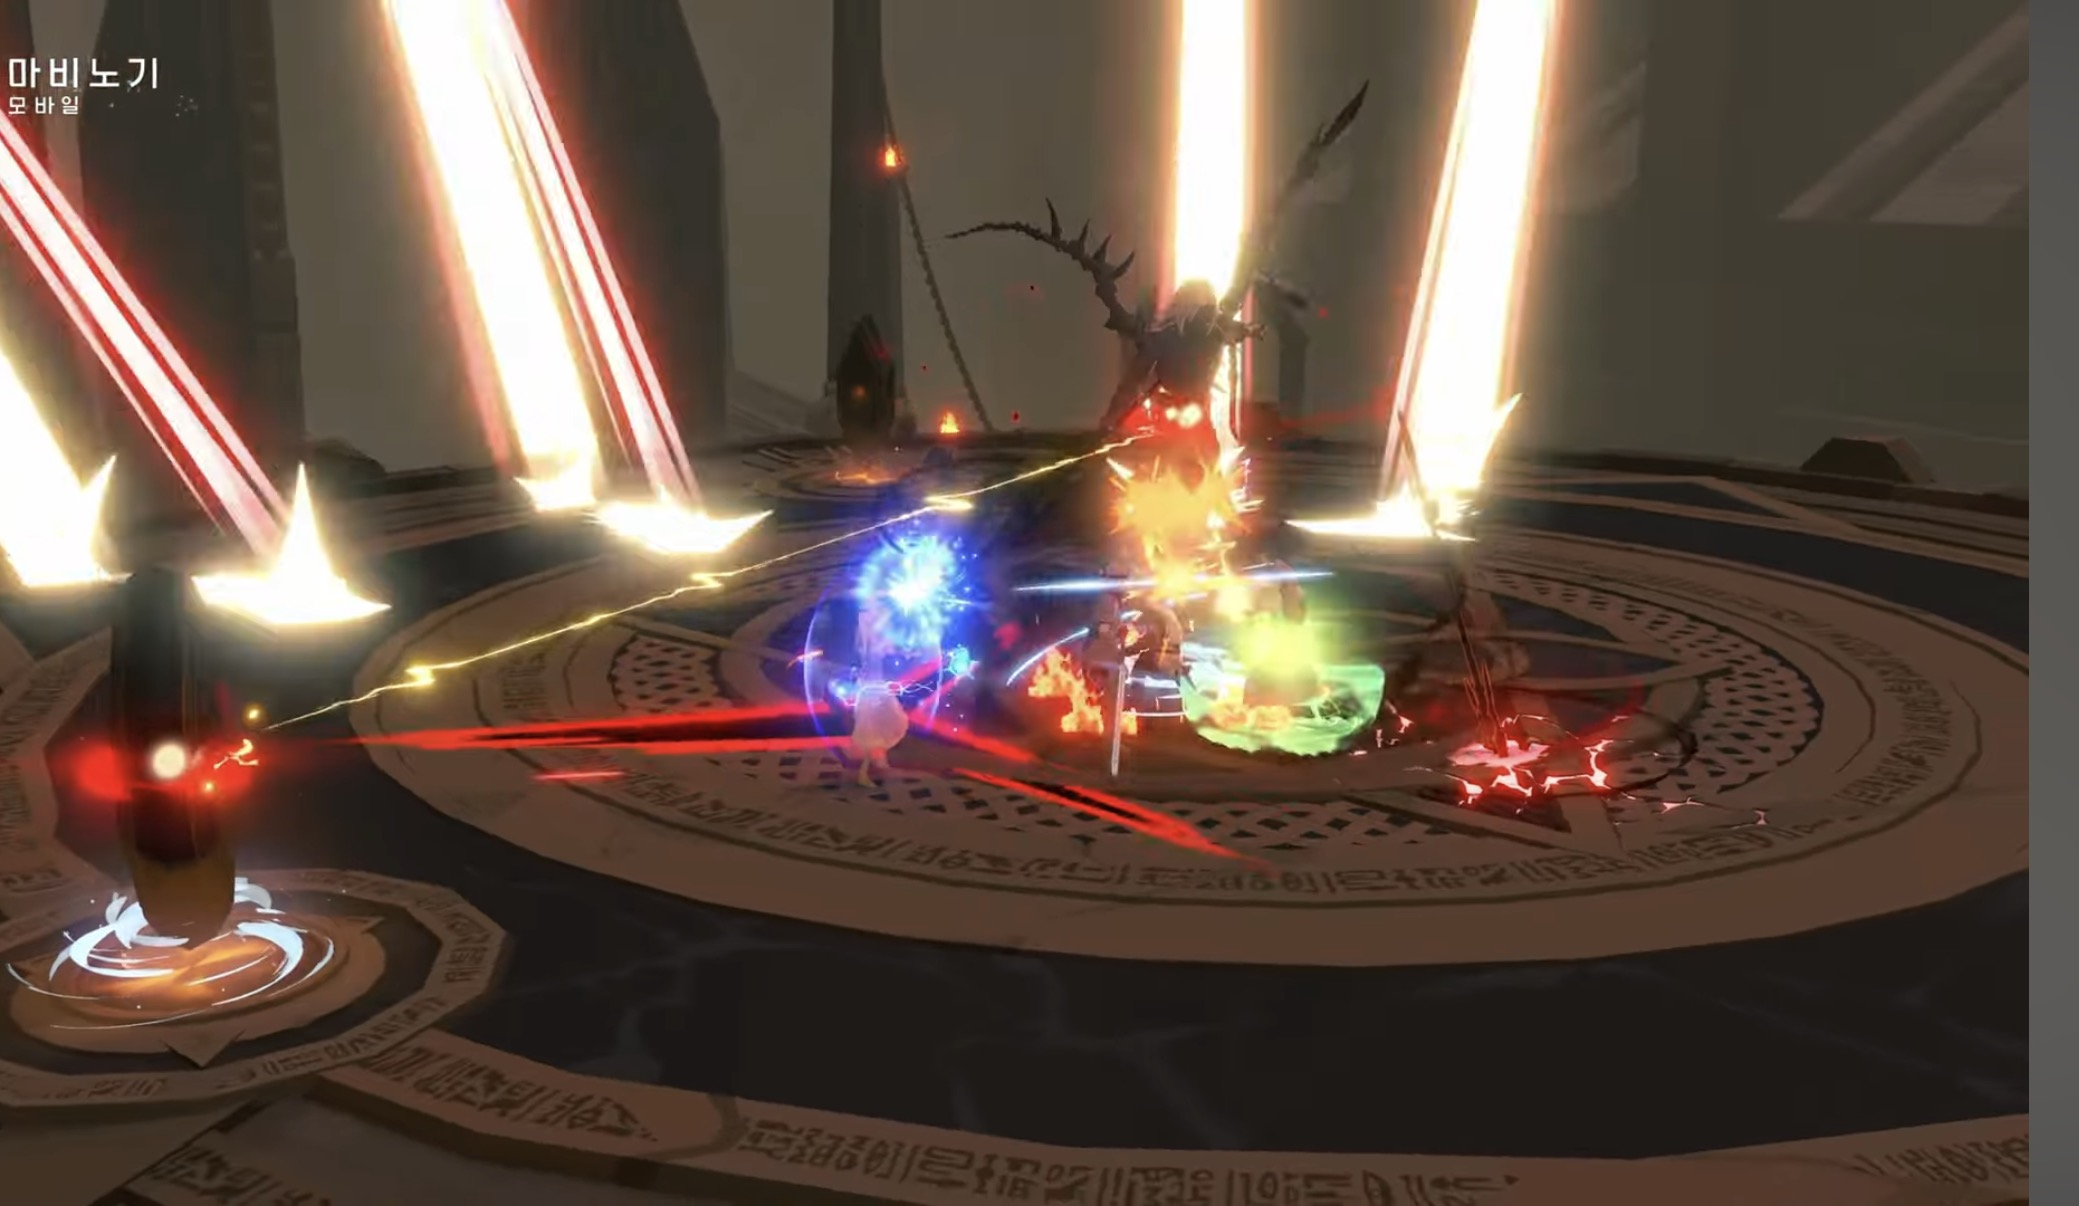
- Room 1 (2 Dragons) : The dragons have a sweeping attack, so the tank should stand opposite the party first and attack from there. Once the first dragon gets broken and goes down, use Nyan Nyan Grenade on the second dragon to build break gauge, then trigger break and DPS.
- Room 2 (Cube) : All four players rush the purple cube at the same time and trigger break. When the boss becomes vulnerable, the DPS focus the boss, and Cryo keeps hitting the cube.
- Boss Room : Throw the red spears right away (3 of them), and only throw the purple one (Spear of Obedience) when the leap pattern appears (if you fail to throw it, it’s a one-shot..). During the boss’s 3-monument skill, don’t try to use Cryo ult to trigger break because it doesn’t work, so destroy the monuments at the same time instead.
- Thoughts : The other parts were manageable enough, but,, the boss room was actual hell,,, I was dodging boss damage, throwing spears, trying to DPS, and with the boss constantly slamming down, I could barely tell where the floor even was—or whether I was attacking the right thing at all.. Nevron (boss name).. let’s never see each other again..
4. Polluted Junkyard
(This place was the most hellish)
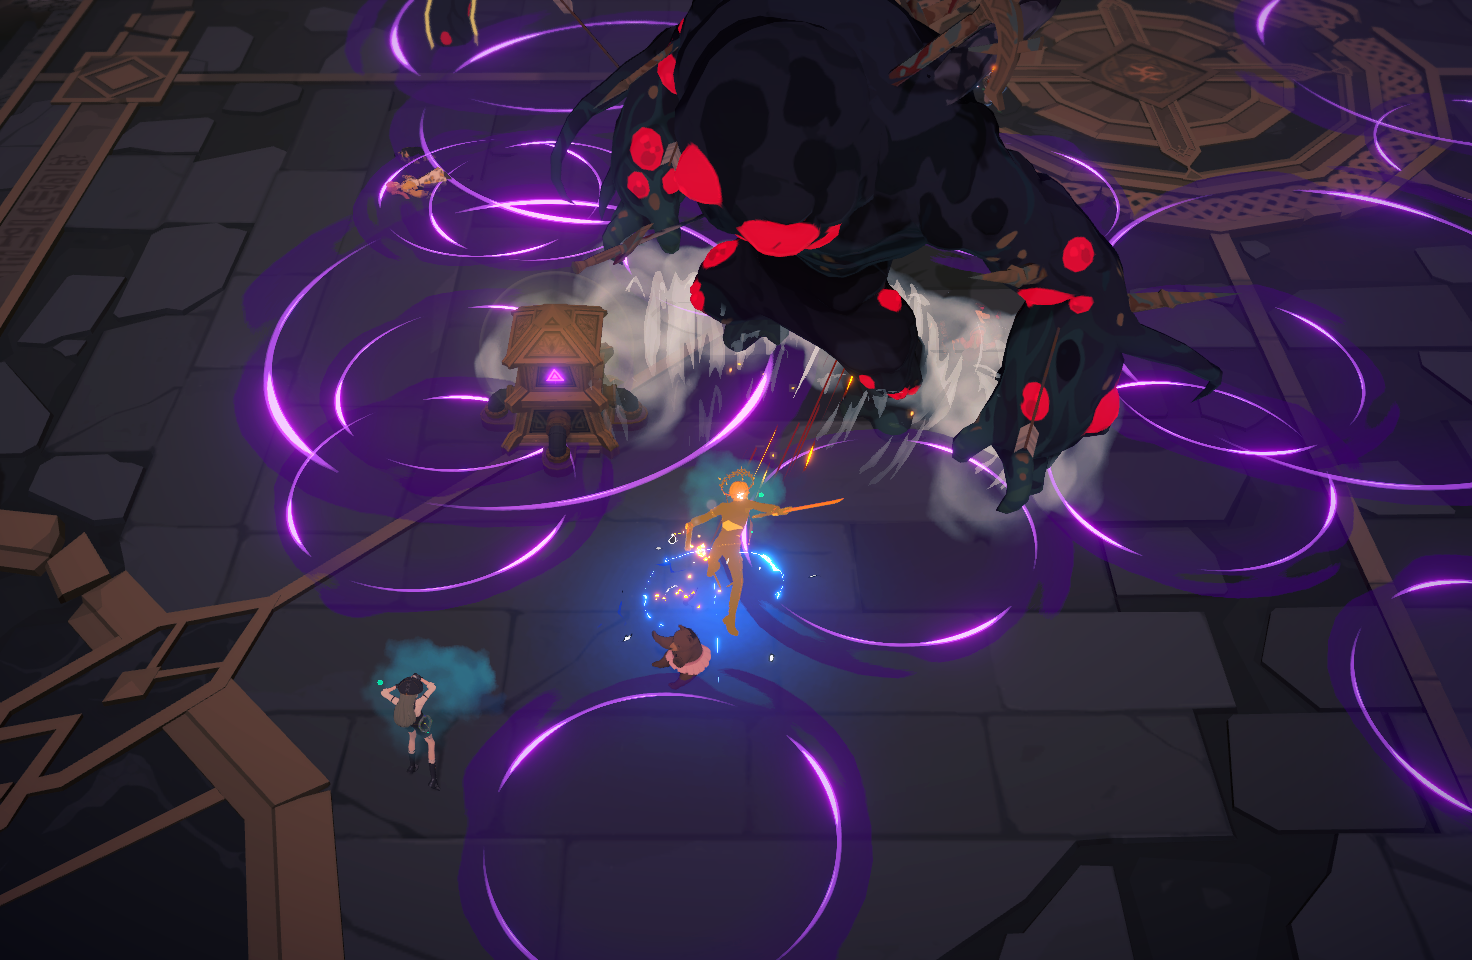
- Room 1 : The person with the Sweeping Wind rune goes in first. Move along the left wall, pull the mobs on the left into the center, then group them with Sweeping Wind. (Because unless a player gets hit or attacks first, the time attack timer stays fixed instead of ticking down, which helps reduce time loss)
The other 3 waiting at the entrance should start moving when that player is about to move from the left wall over to the right. Don’t attack first before Sweeping Wind goes off. If the mobs don’t look grouped up neatly, anyone can toss a Wind Grenade. After killing the grouped mobs in the center, ignore everything else, move to the lower door, and attack the boss linked to the blue monument. If all 4 players hit together, you can ignore the blue monument and just power through with damage.
- Room 2 (Ogre) : Most of the ogre’s big attacks are basically one-shots, so dodge them whenever you can. The tank goes in first and takes aggro. The other 3 dump burst damage when the ogre’s vulnerable window opens.
When the vulnerable phase ends, the ogre becomes 2, and at that point 2 random players get targeted by falling-rock aggro. If you have aggro, a small red circle appears under your character. If those falling rocks land in the path where the 2 ogres are supposed to collide, the ogres’ headbutt collision won’t happen. So if you get falling-rock aggro, you absolutely have to move out to the edge. Once the rocks have been pulled outward, the person holding ogre aggro needs to quickly position things so the 2 ogres can crash into each other.
At first, this part can feel way more hectic and confusing than you’d expect, so after handling the falling rocks, I honestly recommend all 4 players just bunch up together and move in one direction so everyone gets hit by the ogre headbutt in the same direction. During the vulnerable phase after the first headbutt, just free DPS. Once that free-DPS window ends, the break gauge opens, and if you did the mechanic properly, your Awakening will usually come up almost right alongside the second break window. Burst hard there.
If you’ve gotten this far and the ogre still isn’t dead, just repeat steps 2 through 4.
- Boss Room : The tank goes in first, pulls the boss, then drags it near the purifier at 7 o’clock. The other 3 wait near the 7 o’clock purifier, but there’s no need to go all the way into the corner. After the first break, the second break gauge opens, and at that point use Nyan Bomb + Skill 2. If that’s not enough, add Cryo ult too—seeing the second break is ideal. Once the boss’s Ppu-Ppu-Ppu pattern starts, cleanse by role
(Healer: 7 o’clock cleanse / Tank: 1 o’clock cleanse / Crossbow: 11 o’clock pattern handling / Swordsmanship: 5 o’clock pattern handling)
Once the cleanse is done, everyone gathers at 11 o’clock and DPS. The reason for cleansing diagonally is because of Swordsmanship’s Insight direction. After that, you just keep DPSing and hope the mechanics line up nicely. If the floor gets too filthy, the tank should drag the boss toward a cleaner area.
※ If the floor is too polluted, or the DPS players’ stacks go over 7-8, then the healer or support class should handle the cleanse. If the cleansed player rubs up against party members, or party members rub up against the cleansed player, the stacks reset, so pay attention and get cleansed when needed.
- Thoughts : This was the hardest one for me,,, the junkyard from hell,,, First off, in the second room, I basically never dodged the ogre’s big attacks... I got hit every time, it hurt every time, and I didn’t even know how I was supposed to dodge them. And then came the absolute worst part: the boss room... You can literally see the corruption stacks piling up in real time, and once they stack too high, you die. So I’m trying to dodge the floor, DPS while dodging, cleanse, and at that point I just can’t make sense of anything anymore.. Is this the floor? Is this a spot I can stand and attack from? Is this a skill effect? What even is this..? It turns into total mental-overload where you can’t tell anything apart at all.. and yep, that’s how my mental completely shattered.
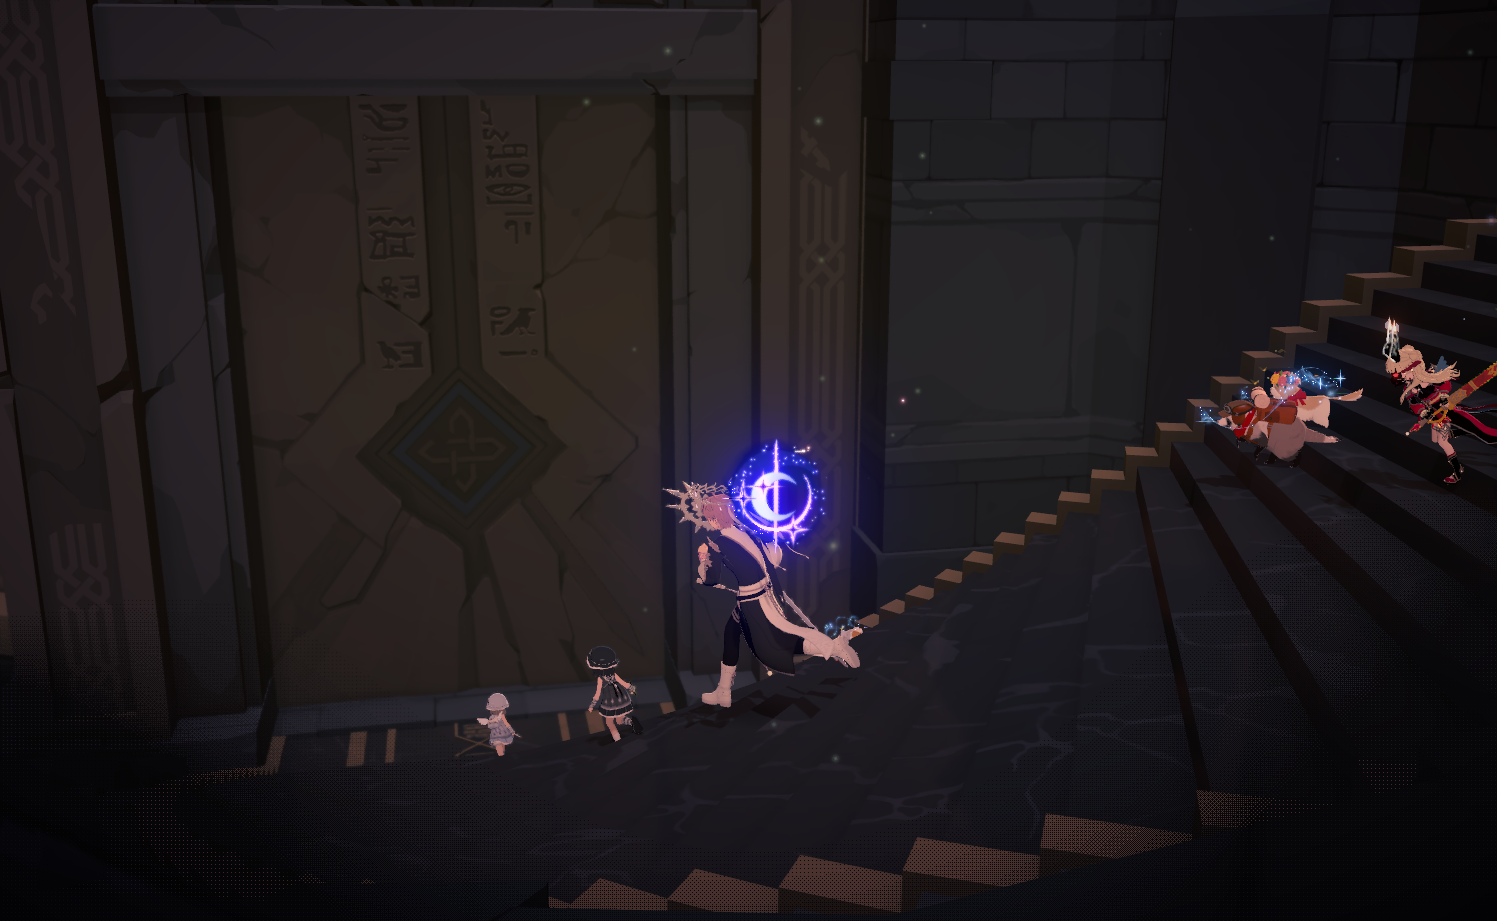
The method I used to clear it was a time attack, basically a clear-it-within-the-time-limit method. But that’s really just the basics, and apparently the rankers practice like crazy just to shave off a few more seconds.. seriously, that’s amazing.
When I first tried Hell 15, it was the first time I’d ever felt truly defeated by a game. I had no idea how I was supposed to clear something this hard, or even what I was supposed to be doing.. it felt hopeless. Since I normally played on auto and just handled mechanics, everything here felt unfamiliar and difficult. And in party play, the pressure that if I messed up, everyone could die—that weighed on me hard.
And one more thing that was honestly the most annoying(?) and difficult for me was having to constantly swap runes.
I’d basically never changed runes while playing before, so I wasn’t used to it. You have to swap runes in that tiny bit of time after clearing one room and moving to the next, and you also have to prep things like grenades or food, and all of that felt hard for me.
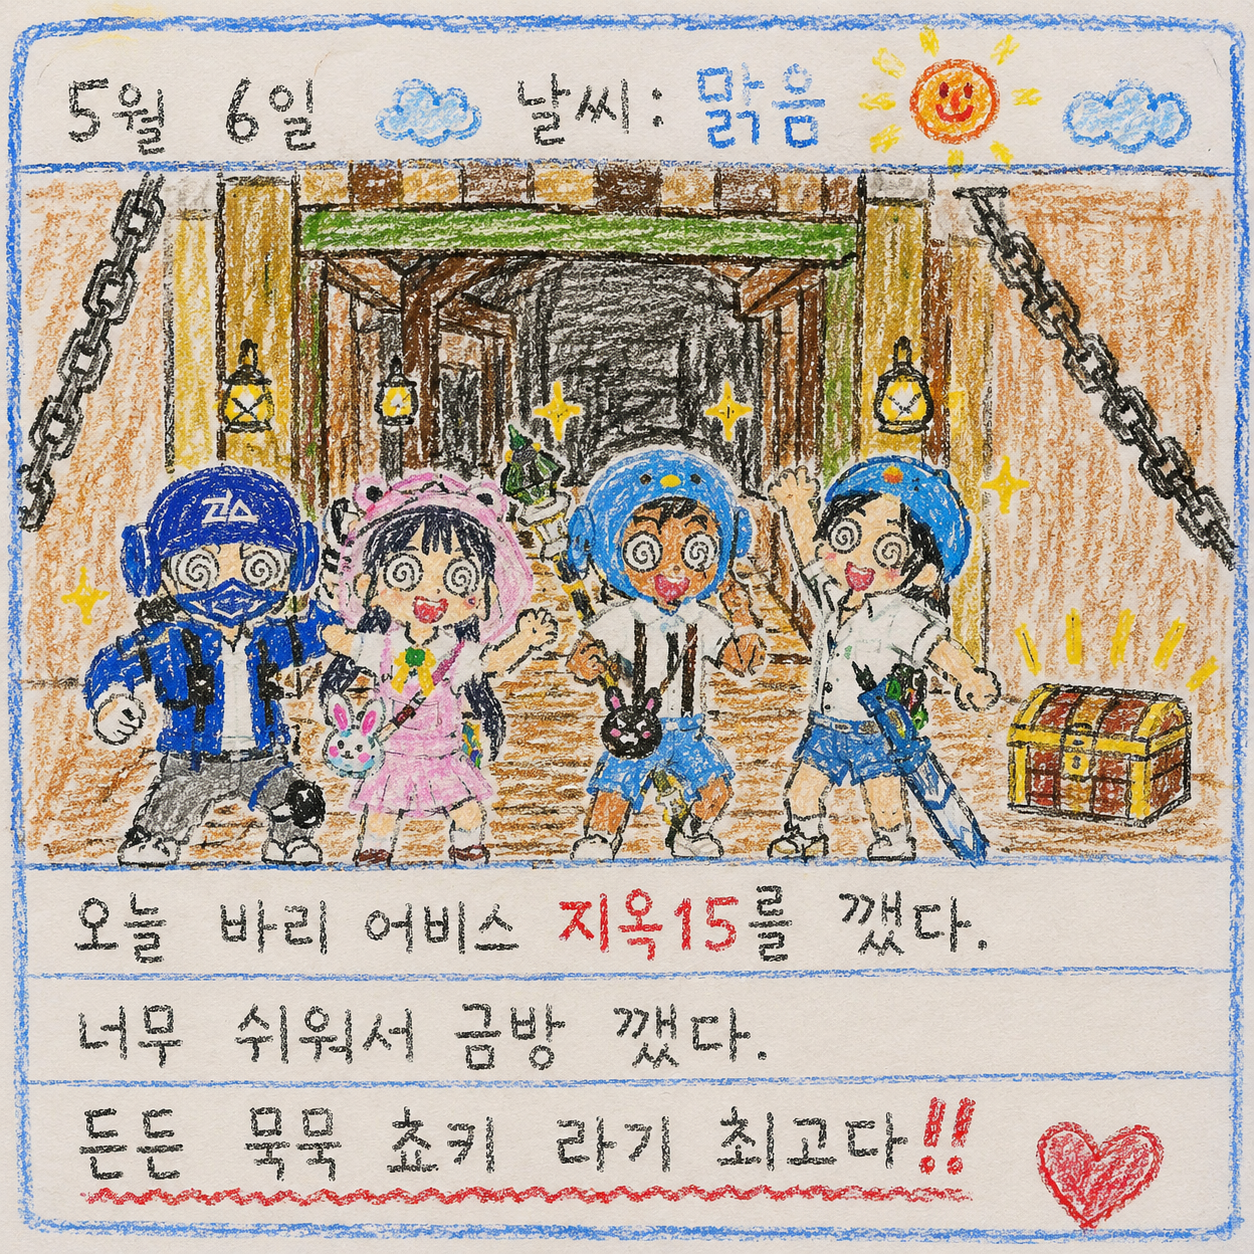
But the more I ran it, the more I realized the best part was clearing it together through teamwork!
We prepared food together and ate together, and when one approach didn’t work, we tried another. After attempt after attempt, when we finally got the clear, I felt such a huge sense of accomplishment and fun. I used to wonder why rankers would grind such brutal content over and over again, but after struggling through it myself and finally pulling it off, I feel like I understand that feeling now.
Up until now, I’d never really felt a sense of accomplishment from combat content in games, but challenging Hell content became a great chance for me to discover how thrilling battle can be. To the point that I’d actually want to do something like this again next time!!
So if there’s something difficult in front of you too, go crash into it! You’ll definitely learn something in the process! Anyway, have a great day today too!!
< Today’s Final Summary >
Climbing Hell 15 really is hell!!!
![[피크 챌린지] 함께 기다리는 즐거움이 있는 스트리밍, 마비노기 모바일 쇼케이스](https://peak-file.nexon.com/uploads/20260714_0158_d773fa61.png)
![[피크 챌린지] 도와줘요 모비노기!](https://peak-file.nexon.com/uploads/20260704_1145_e27fc64f.png)
![[피크 챌린지] 일일숙제부담적은게임 FC 온라인, 짧게 들어가도 할 일이 분명했습니다](https://peak-file.nexon.com/uploads/20260708_0511_ad304afe.png)
![[피크 챌린지] 캐릭터모션좋은게임 퍼스트 디센던트, 움직임이 살아있어서 계속 보게 됩니다](https://peak-file.nexon.com/uploads/20260701_0119_89896948.png)