Challenge the Legendary Weapon Master! DNF Mobile Sol Doros Guide
네오필
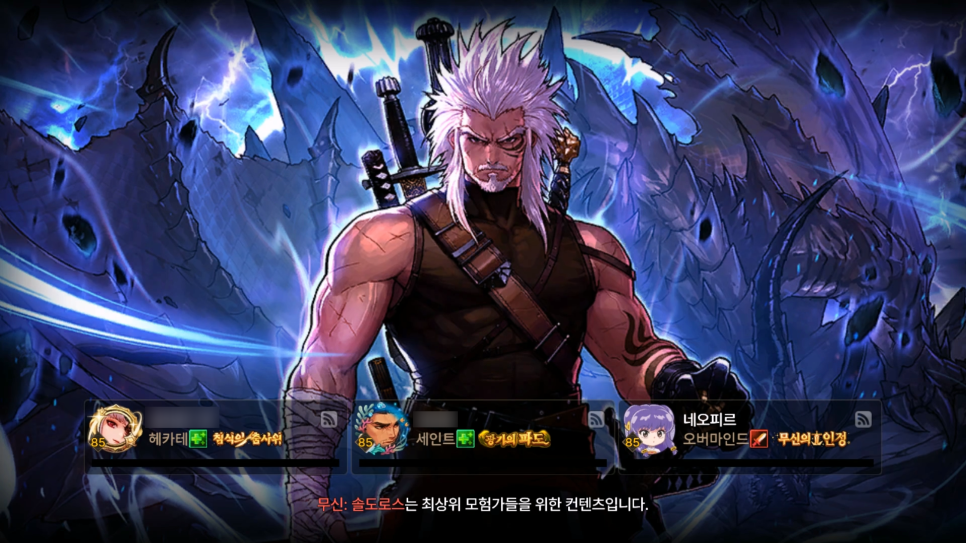
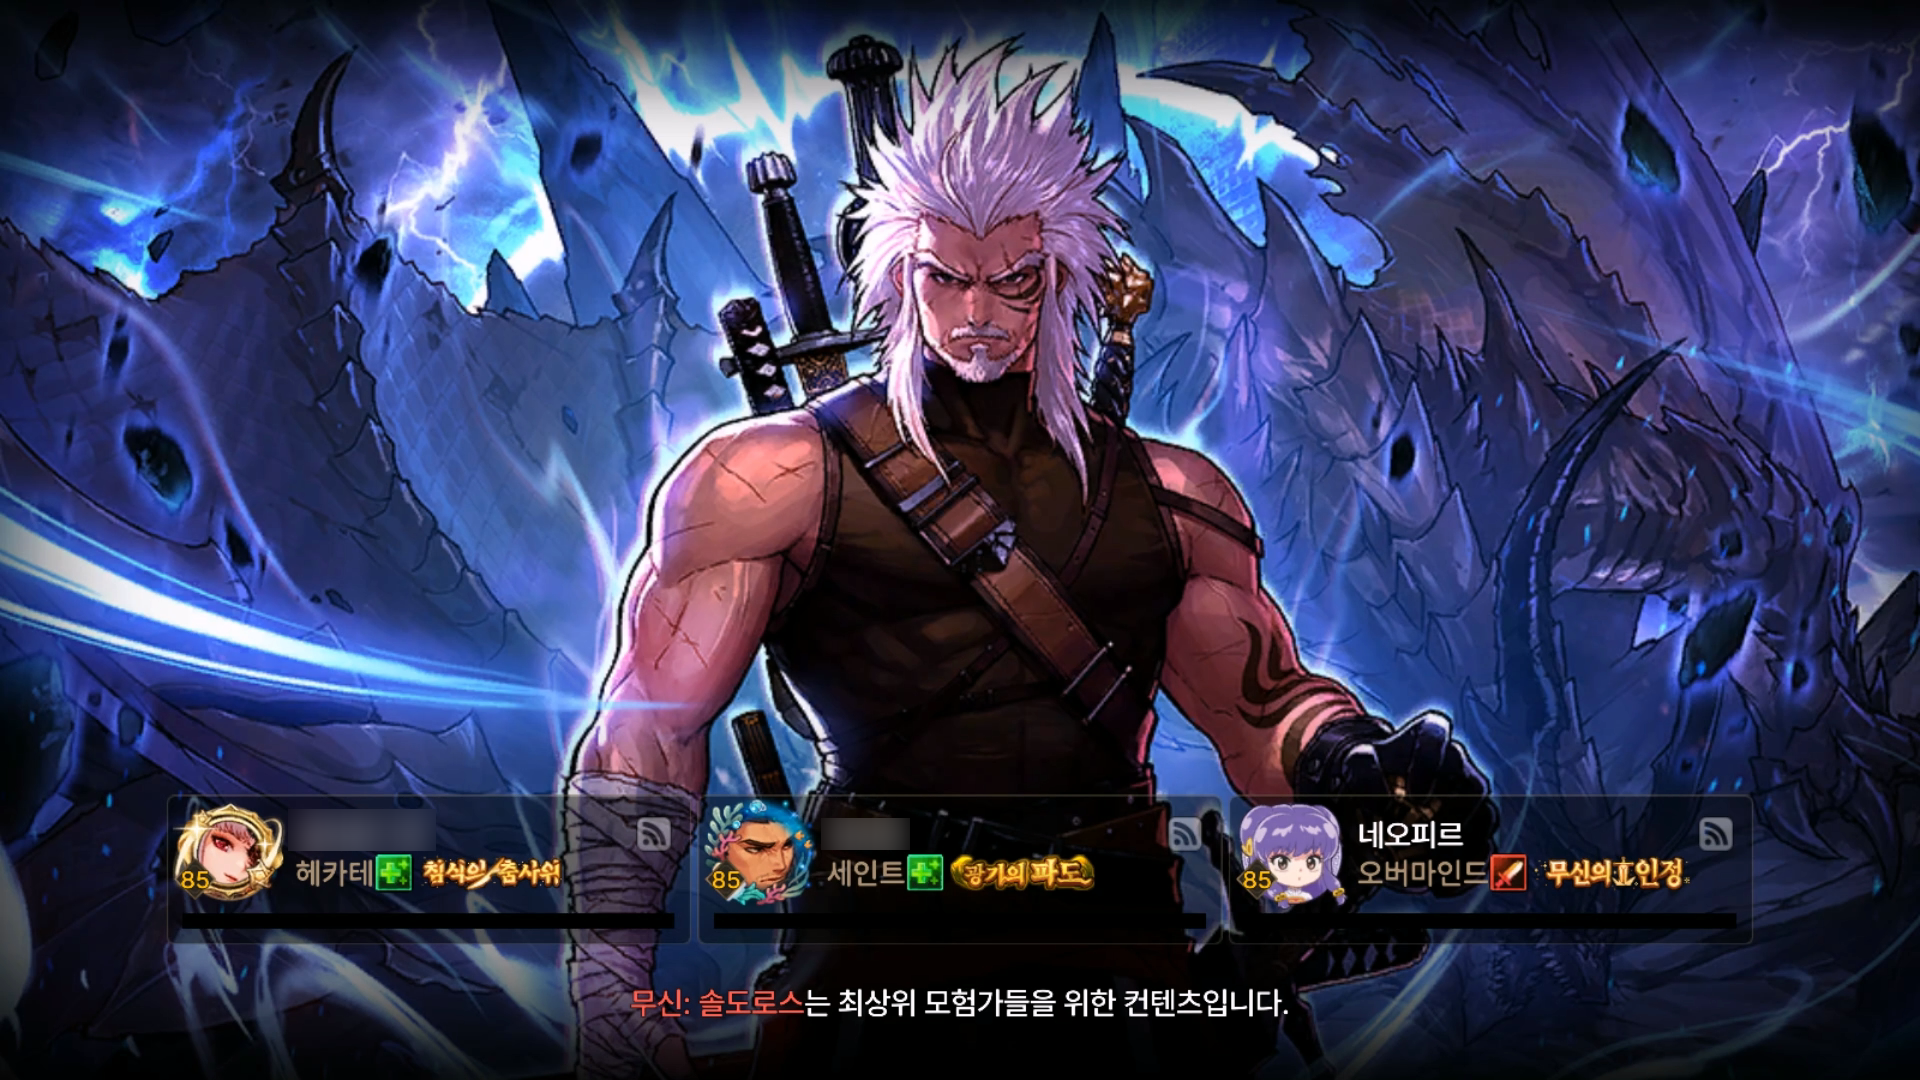
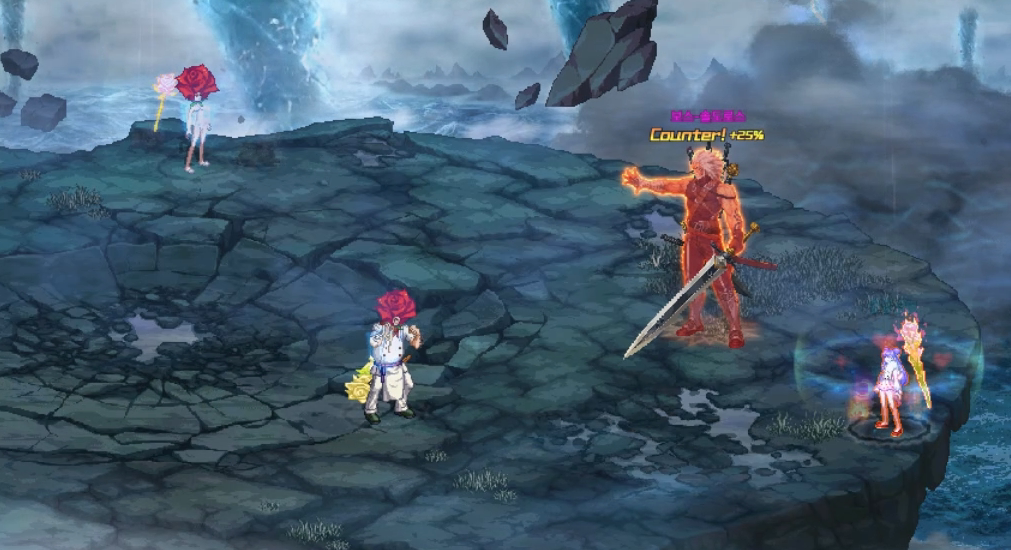
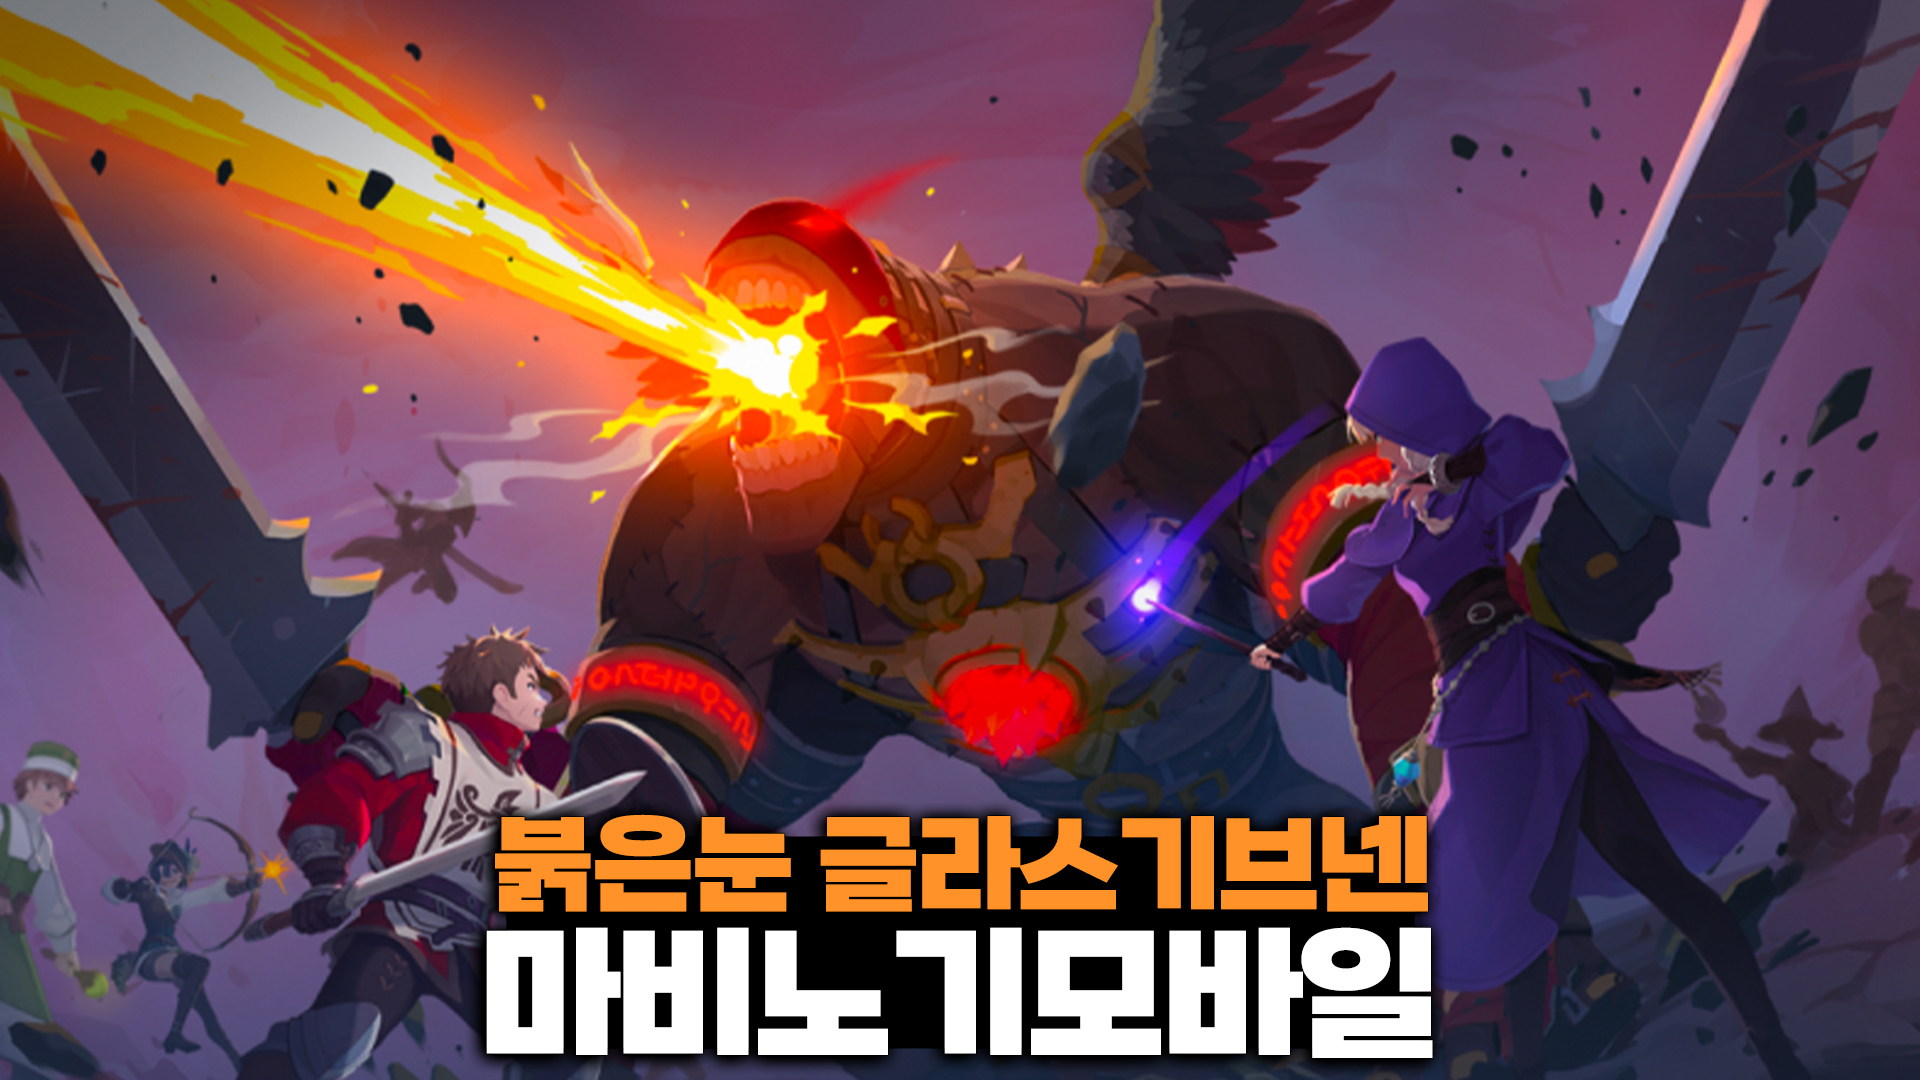
Soldoros, the boss of the Martial God Dungeon recently added to DNF Mobile, is a legendary Weapon Master every DNF player knows.
That alone had a lot of players excited before release, and now that I’ve cleared it myself, here’s a full breakdown of the fight.
Soldoros Guide: Gear Setup

In Dungeon Fighter Mobile, Martial God Dungeon Soldoros consists of 20 stages and 3 phases. If you’re using a fully built DPS with 200,000+ Adventurer Fame, the damage check for a clear is fairly forgiving. Because of that, both DPS and synergy classes should run survivability-focused setups.

First, everyone should equip 2 Guardian Runes and 2 Protection Runes. If your class has a skill that improves survivability, like the Female Mage’s Aura Shield, make sure to invest in it.

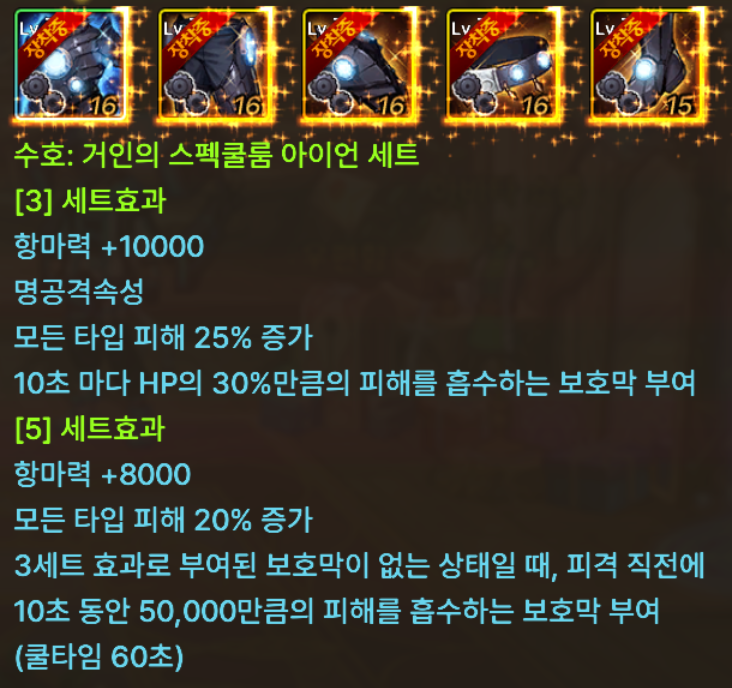
DPS should run the Guardian Giant Set. Once Phase 3 starts, a lot of patterns start clipping you from all directions, so having a shield makes the run much more stable.

Synergy classes should run the Guardian Set. Either Illusion or Protection works, but Illusion is generally preferred. Along with the defense boost, the cooldown reduction lets you cycle your survival skills more often.


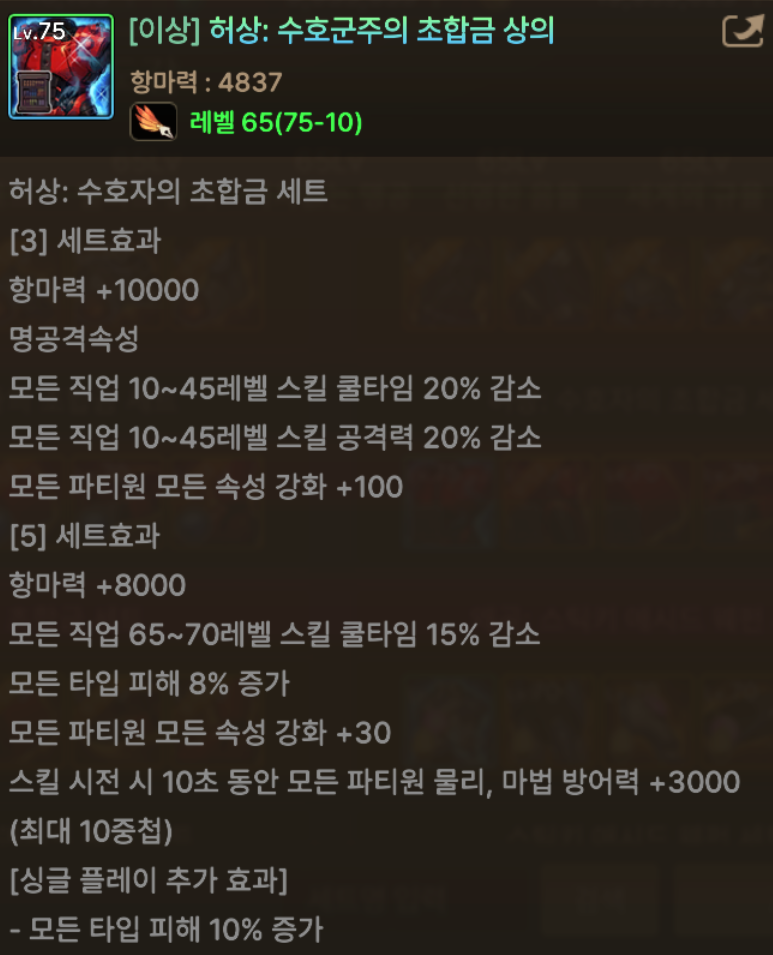
For the same reason, special equipment should be the Cataclysm Guardian Set. A full 20% incoming damage reduction feels very noticeable in practice.
A case of surviving thanks to HP stacking
On top of that, it helps to do a bit of “HP stacking” by taking HP increase options on Magic Seal and Enchant. Once you’re at around 200,000 HP or more, the run feels noticeably safer. It’s also worth picking up movement speed through the Holy Ahn’s Seal option.
The recommended Soldoros comp is 2 DPS + 1 Crusader or 1 DPS + 1 Crusader + 1 Enchantress. Enchantress can take part of the damage aimed at the DPS, and skills like Eternal Possession and Mischievous Prank greatly improve the party’s overall survivability.
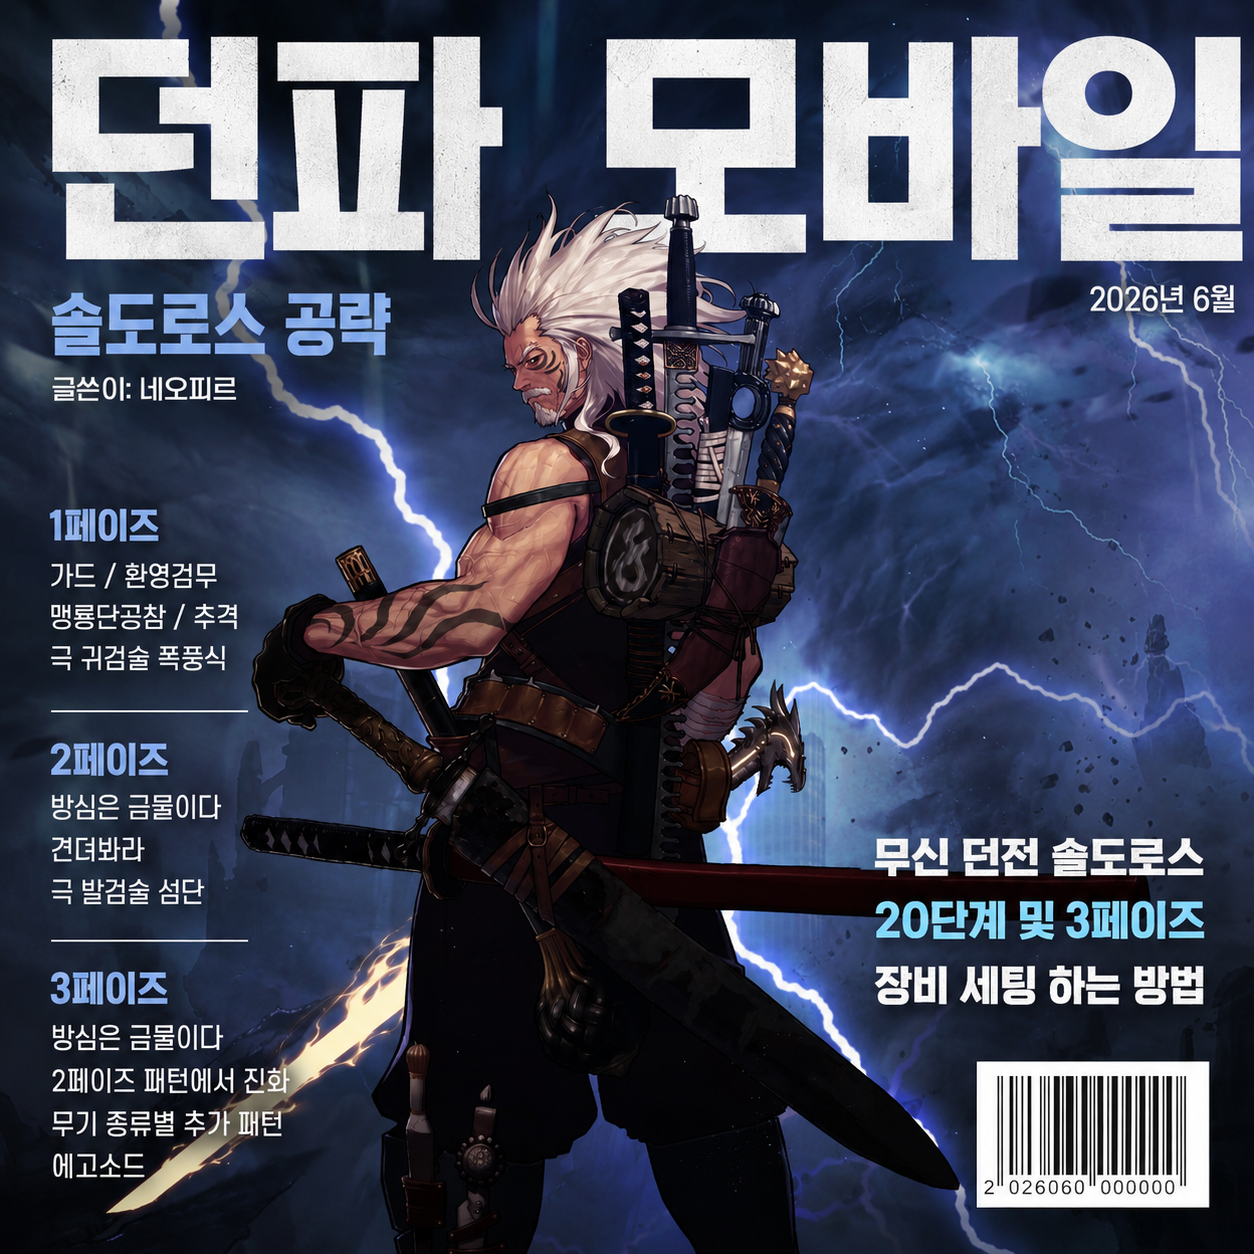
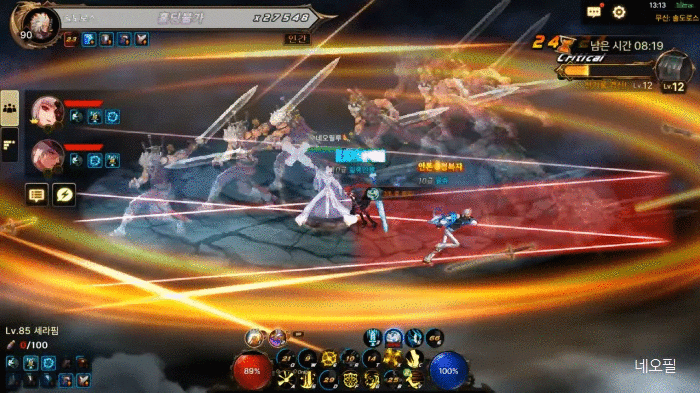
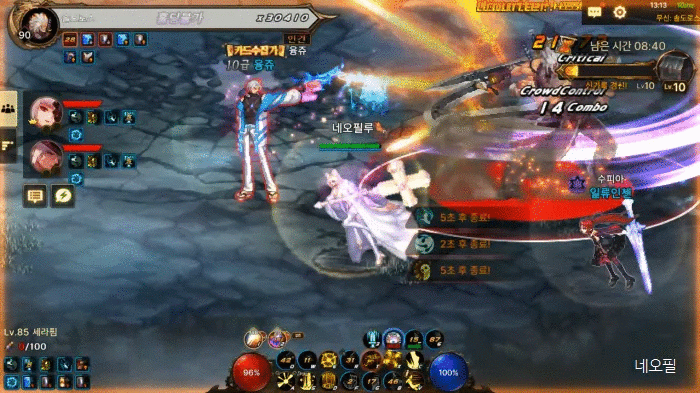
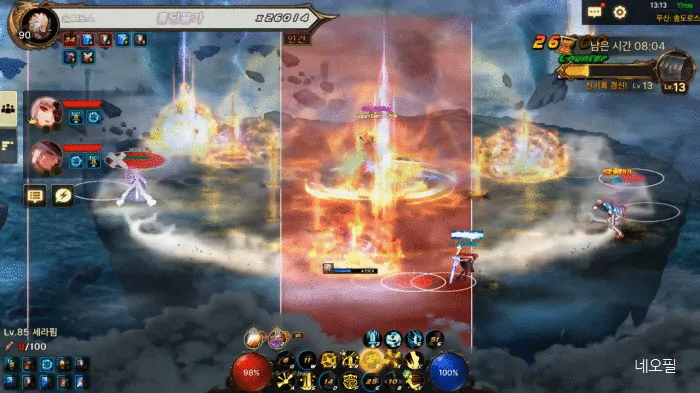
Phase 1 (Stages 1–7)
The guard pattern triggers a counter if you deal enough hits to Soldoros within 5 seconds. Sometimes it’s just a light uppercut on the spot, but he can also chase the farthest target. Depending on your party’s comfort level, you can either ignore it and keep DPSing or simply stop and wait it out.
This guard pattern often comes out right after another major mechanic ends, so be ready whenever one pattern finishes.
Getting clipped by the final hit
Phantom Sword Dance looks like a minor filler pattern, but from Phase 2 onward, it can pull players in at the end and finish with a near one-shot blow. Keep your distance no matter what.
Fierce Dragon Slash is easiest to handle by staying near the center and moving up and down. The reason is that it sometimes mixes in an irregular turning attack, and at that point he uses Fierce Dragon Slash diagonally. If you sit in the side corners, your chance of getting hit goes way up.

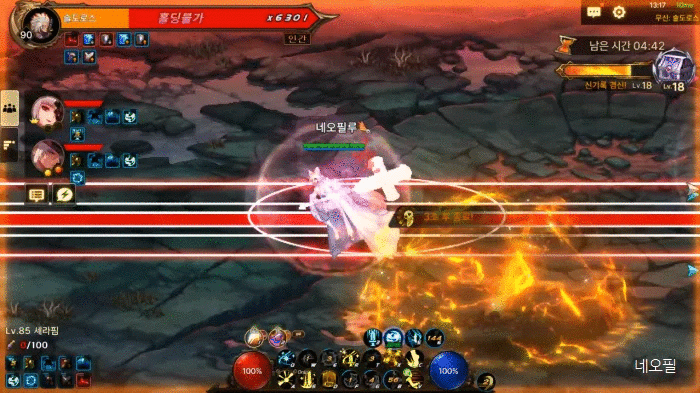
The Strong Pursuit pattern that starts with “Ho... try dealing with this too” is lethal if you get grabbed. Even if one player gets caught, the pursuit keeps going, so Nen Master or Enchantress can’t skip the pattern anymore.
Escaping by mashing Phase Shift the moment the grab lands. Even then, you still need to chain Emergency Dodge or an invincibility skill right away to survive.
Female Mages can escape the grab with Phase Shift, and if you place Nen Guard where the party member lands at the end, they can live. The issue is that the landing spot varies, so reacting in time isn’t easy.
Getting caught by the final dash
Also, in Phases 1–2 this pattern does not end with a dash, but in Phase 3, it does, so make sure you dodge accordingly.
Sweet free DPS window
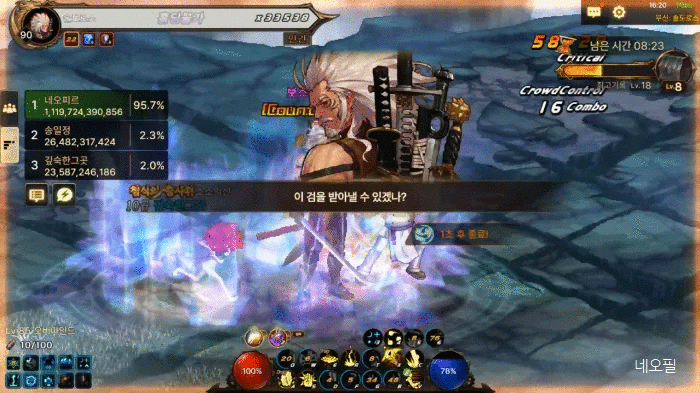
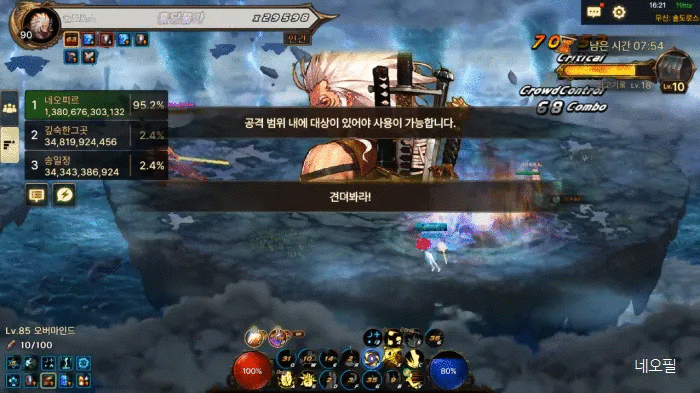
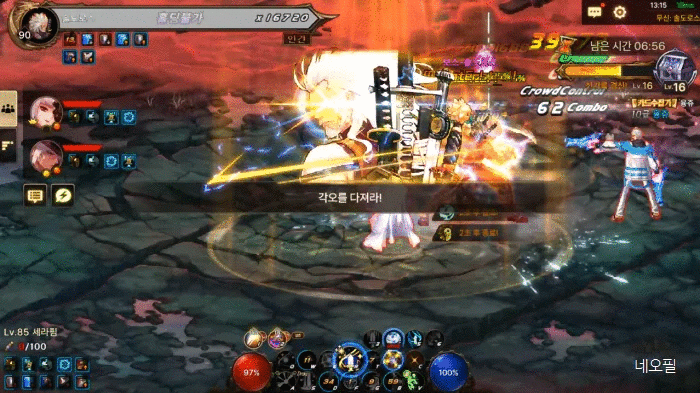
At Stage 8, he uses Ultimate Ghost Sword Art: Storm Style with the line “Can you withstand this sword? (In Phase 3, you’ll need to give it everything you’ve got)”. Don’t move outside. Stay inside the circle and dodge Soldoros’s attacks.
Crusaders can survive this reliably by using Aria of Regeneration. The final slam comes out very fast, so Emergency Dodge is the safer play.
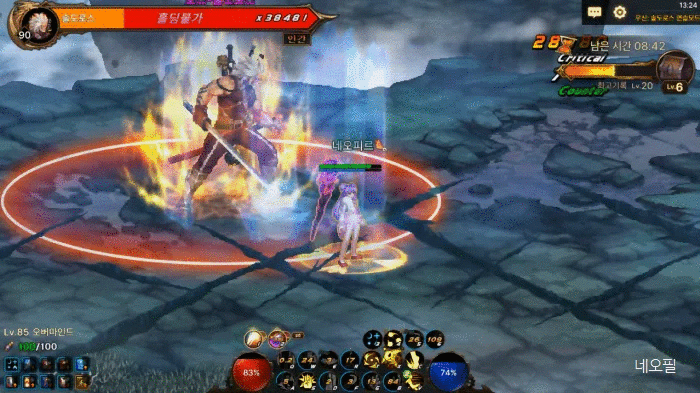
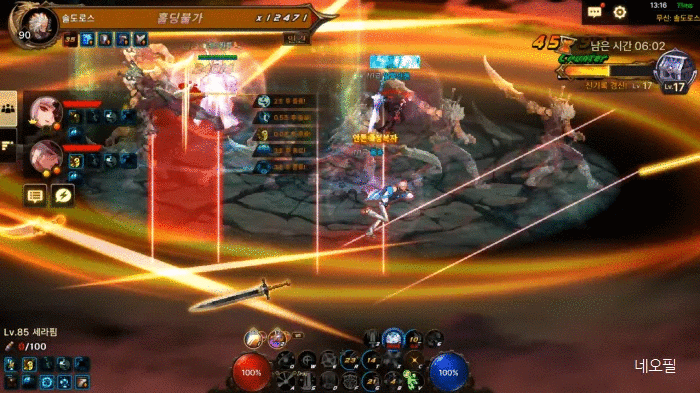
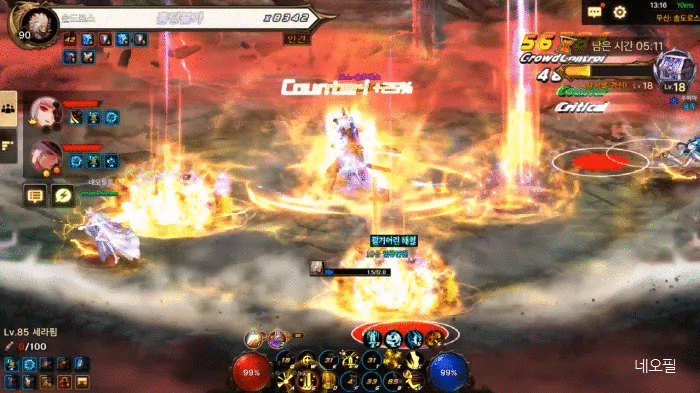
Phase 2 (Stages 8–15)
He moves to another map with the line “Let’s change the battlefield.” As soon as you arrive, he immediately follows with a rectangular near one-shot pattern tied to the line “Don’t let your guard down”. So the moment you land, dodge upward or downward.
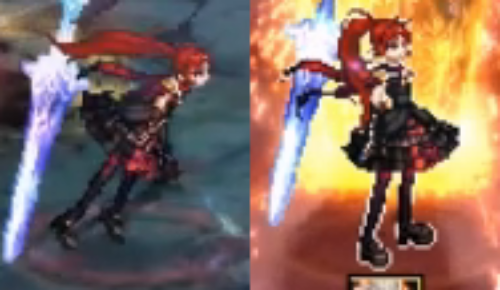
An extra attack comes out because he’s using a lightsaber
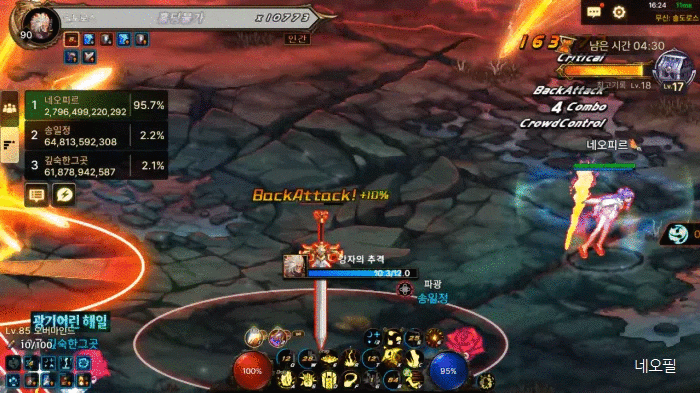
“Endure this (Steel your resolve)” is the pattern you need to respect the most. It targets one party member for the first hit, then the second attack gradually fills the ground AoE in a zoom-in style, which makes safe spots hard to read.
The key is to keep watching it until the pattern becomes familiar, and it’s worth using Emergency Dodge and invincibility skills freely here. If he’s holding a lightsaber, it can continue into a third attack, so stay alert.
Ultimate Draw Sword: Flash puts tracking AoEs on each party member, then drops a bundle of swords at the end. Hide behind that sword bundle so Soldoros’s final slash doesn’t hit you.

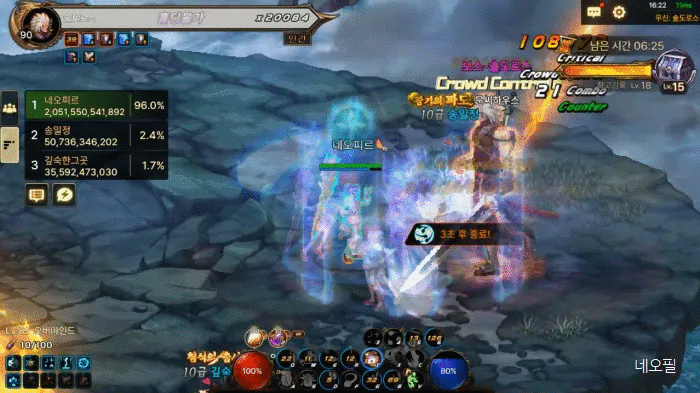
Normal state vs. when the white border appears
If you want to make sure, check whether the white border that indicates invincibility is active.
Watch out for the straight-line AoE cutting across the map.
Also, in Phase 3, extra attacks that cause knockdown and stun get added on top, so go in with the mindset that nothing is safe to get hit by.
At Stage 16, he uses the “Don’t let your guard down” pattern again with an even wider range. As you get close to Stage 16, either hold position at the very top or be ready to use Emergency Dodge.

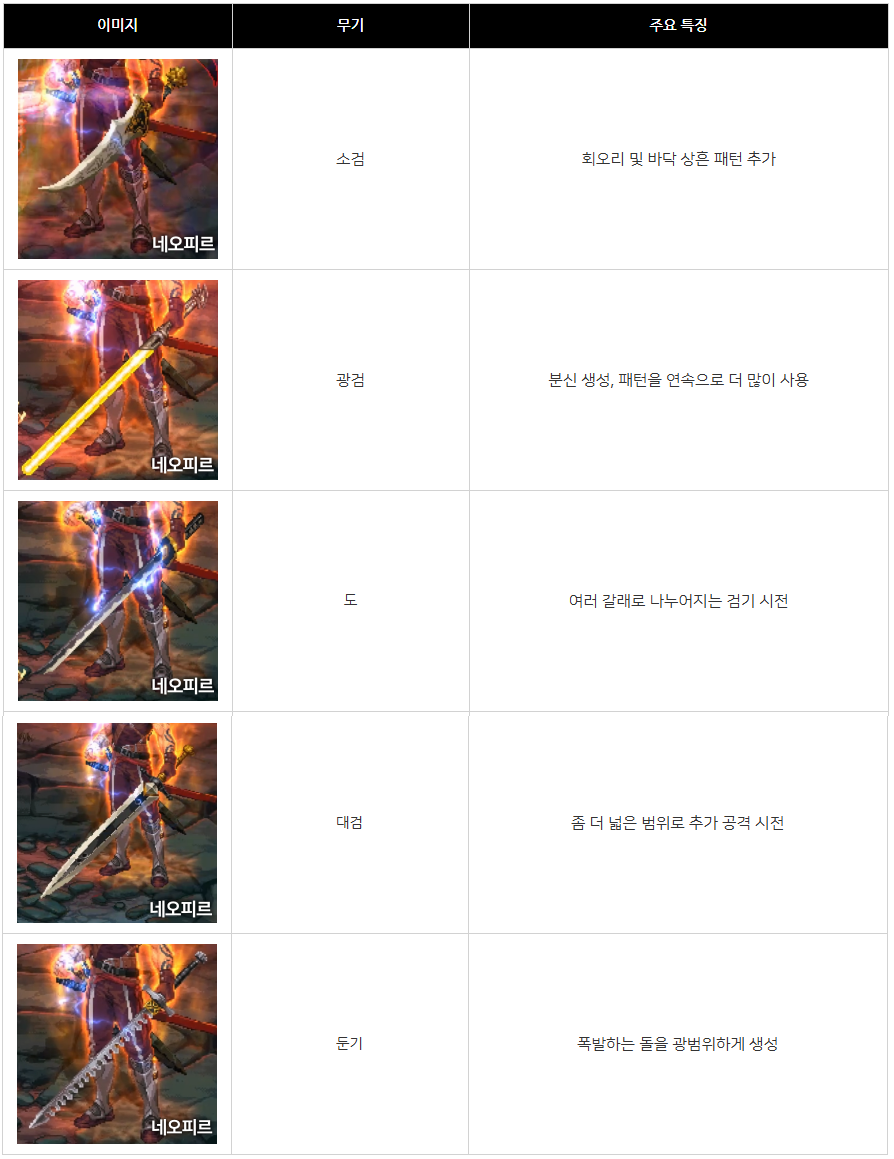
Also, starting in Phase 2, Soldoros fights while swapping between five weapon types: blunt, greatsword, katana, lightsaber, and shortsword. Depending on what he’s holding, extra effects get added to his base patterns. A clear example is the extra attack added to the Endure This pattern when he has a lightsaber.
I’m mentioning this at the end because it carries straight into Phase 3.
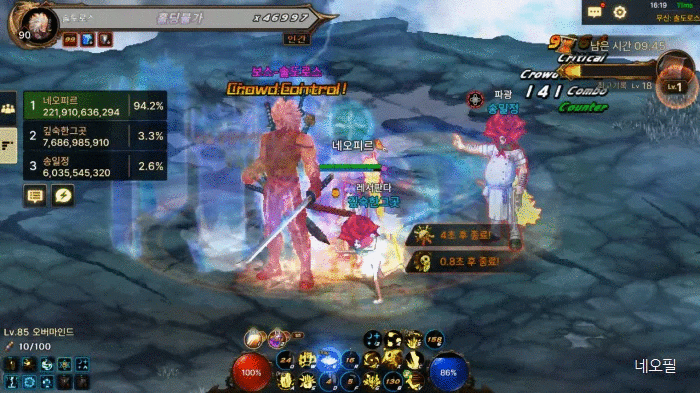
Phase 3 (Stages 16–19)
From Phase 3 onward, patterns from Phases 1–2 come back, but depending on the weapon he’s holding, those same patterns gain even more added mechanics. In general, most players seem to find the blunt weapon version the hardest, but it varies a bit by class and playstyle. The best approach is to learn by experience and stay extra careful when the weapon you personally struggle with shows up.
Survival first, DPS later
On top of that, Ego Sword appears alongside him and starts using pursuit attacks, while Soldoros himself becomes stronger and faster. If you break through his guard, he can counter up to 3 times, and there are even attacks that cause knockdown through Super Armor or shields. In short, the whole phase is extremely hectic.
So prioritize survival above all else, and only commit to damage during clear, reliable DPS windows. For Enchantress, it’s standard to start using Eternal Possession from Phase 3.
Personally, I think if you can get through the Endure This pattern consistently in Phase 3, your clear odds jump up a lot. It often comes out very suddenly, so if you’re not mentally ready for it beforehand, that’s where most deaths happen.
Wrapping Up
That covers the patterns you especially need to watch out for. For the smaller patterns, I recommend using Practice Mode and getting used to them yourself. The fight is difficult, easily on par with Hasmar, but the DPS check is forgiving, so don’t rush—play it slow and secure the clear.


![[모비노기] 시즌1 어비스 4종 지옥15 공략! 새 시즌 전 내미는 도전장](https://peak-file.nexon.com/uploads/20260612_0425_d6bda1b2.png)