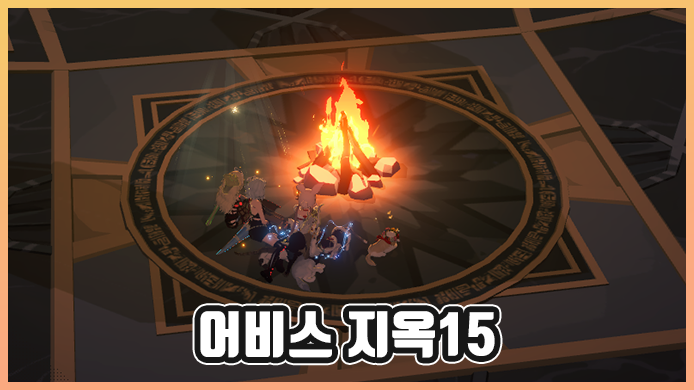
[Mabinogi Mobile] Season 1 Abyss: Hell 15 Guide for All 4 Types! One Last Challenge Before the New Season
제이메르
![[Mabinogi Mobile] Season 1 Abyss: Hell 15 Guide for All 4 Types! One Last Challenge Before the New Season](https://peak-file.nexon.com/uploads/20260612_0425_d6bda1b2.png)
Hello,
I’m Jaymer, a Nexon Picker.
There isn’t much time left before the Mabinogi Mobile Season 2 update goes live!
A lot of players are pushing high-difficulty content to wrap up Season 1 on a high note.
From Abyss Hell floors 11–15 onward, the difficulty changes quite a bit compared to the earlier stages,
with extra mechanics that can easily trip you up.
So today, for anyone who still hasn’t cleared Hell 15,
I’ve put together the key strategy points for all 4 Abyss Hell 15 stages.
Before we get into the guide, one quick note: in the setups below, the 'Defenseless setup'
refers to a build that runs runes like Destroyer, Crush, and Rake Claw, so keep that in mind.
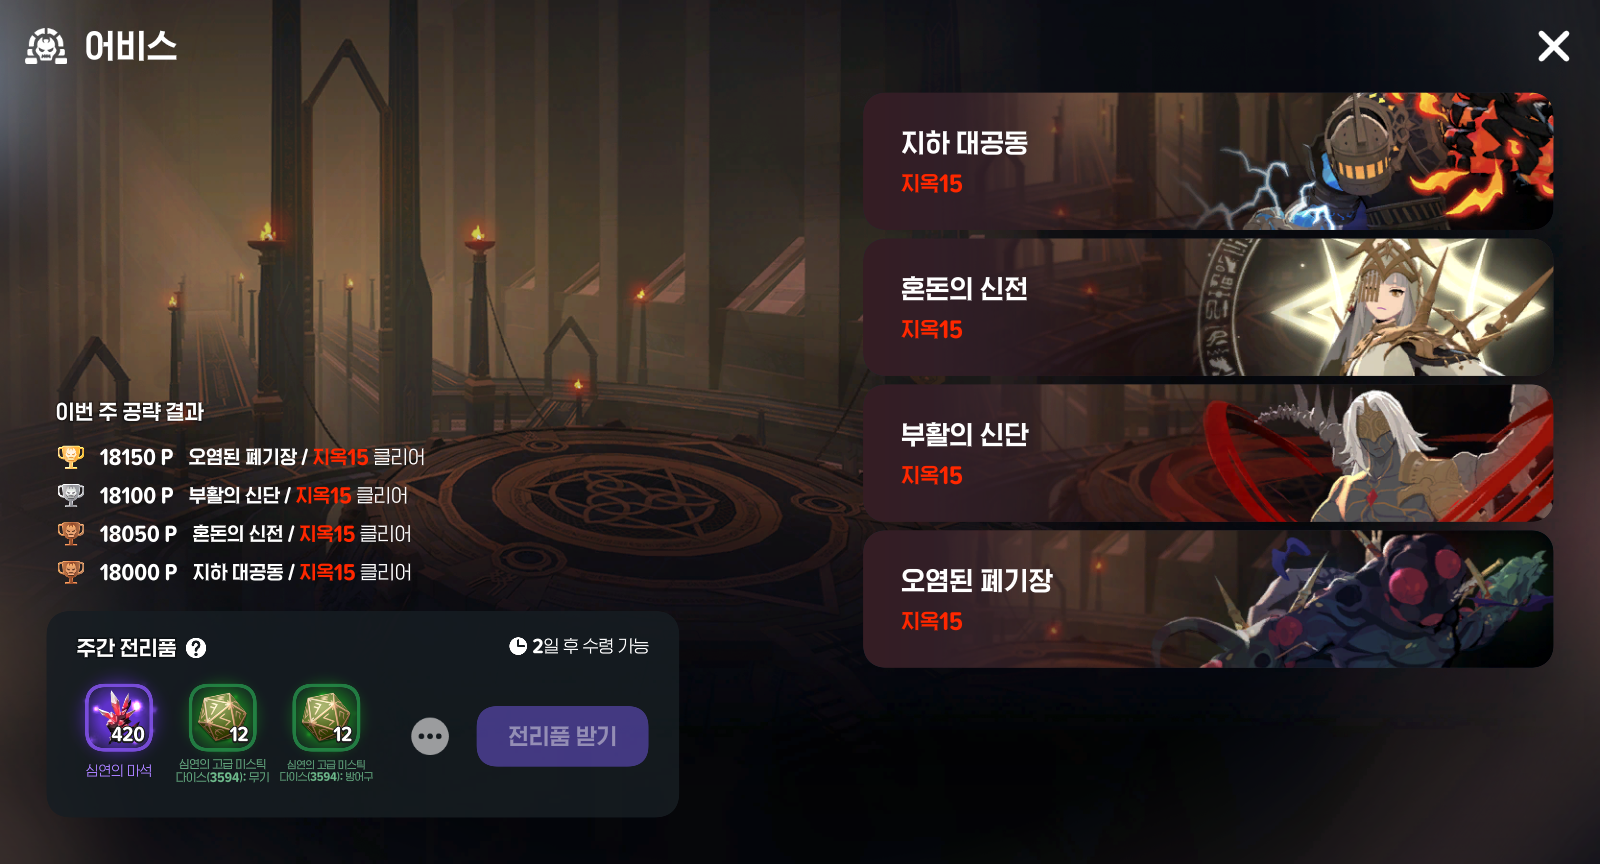
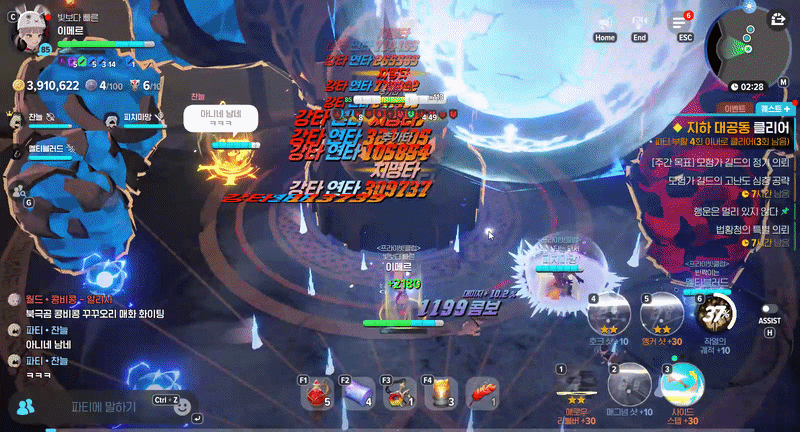
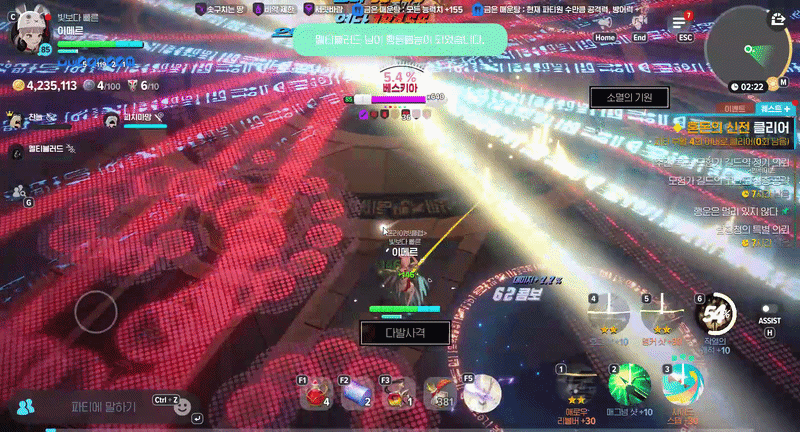
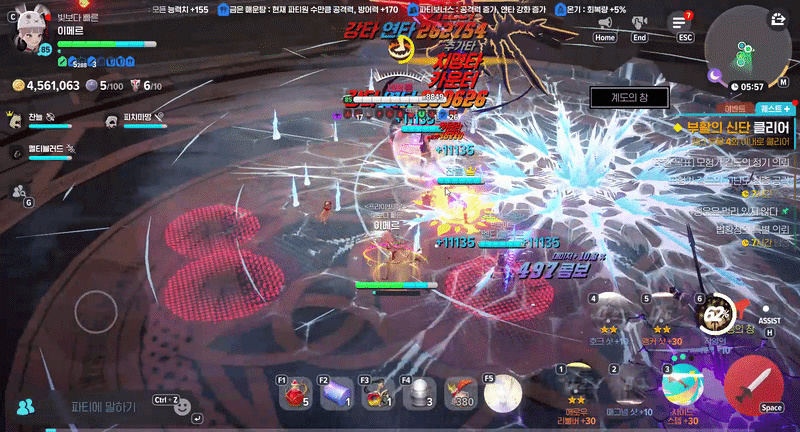
1. Underground Great Cavern
Room 1: Standard setup + Wind Grenade
Room 2: Defenseless setup + Meow Meow Bomb
Boss room: Standard setup + Acid Grenade
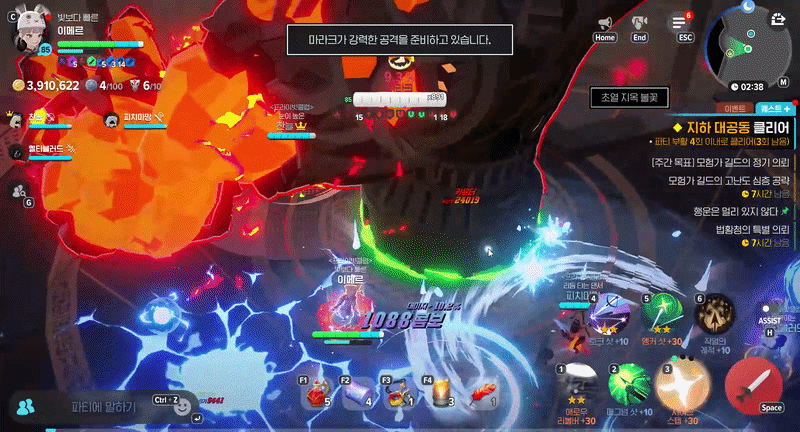
In the boss room, the pattern shifts slightly depending on which magic orb you destroy first.
If you break the 'Lightning Magic Orb' first, you’ll get the hellfire pattern.
You can stack with the party for the first hit,
but when the second large fire AoE appears, everyone has to spread out and dodge it. (You cannot avoid it with your ultimate)
If you break the 'Flame Magic Orb' first instead, the magnetic field storm pattern will appear.
In that case, spread out first, then group back up and hit the boss once the ring disappears.
The counterplay is pretty intuitive, so this one is fairly manageable.
2. Temple of Chaos
Room 1: Defenseless setup + Meow Meow Bomb/Wind Grenade
Room 2: Defenseless setup + Meow Meow Bomb
Boss room: Standard setup + Acid Grenade
The altar mechanic comes up twice in the second room, so stay alert.
Don’t panic—just destroy the blue altar -> red altar in that order.
In the boss room, if you get pulled into the dark room mid-fight,
you can return to the original room by killing the clone mob. That part works differently than before.
Aside from that, the rest felt pretty easy.
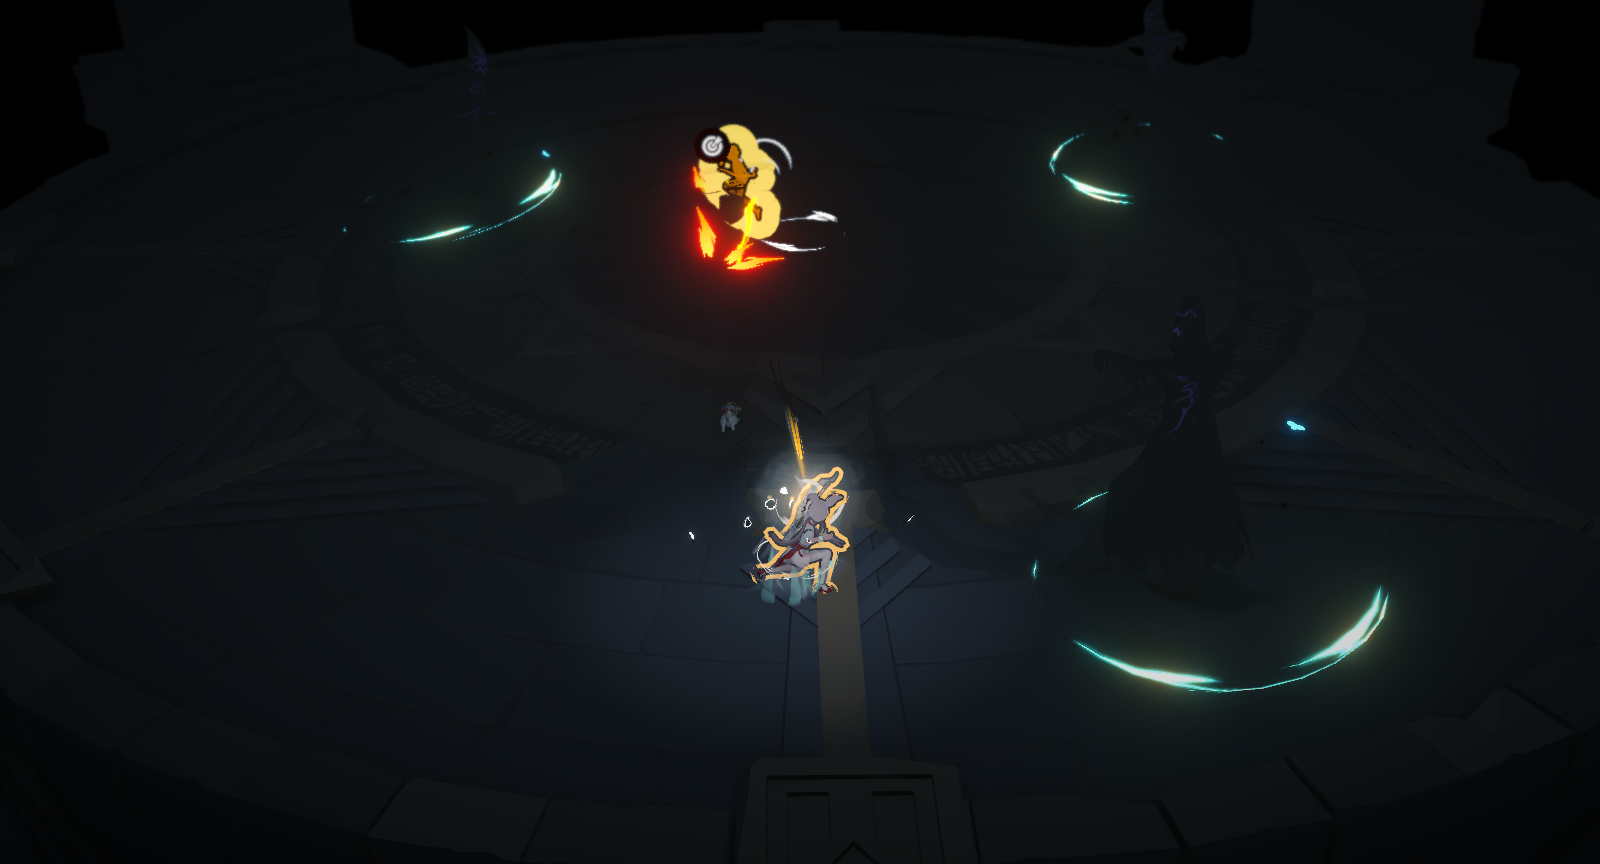
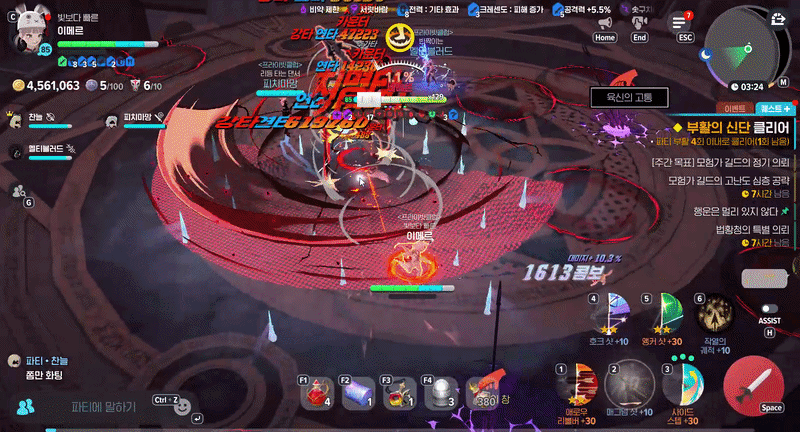
3. Altar of Resurrection
Room 1: Defenseless setup + Meow Meow Bomb
Room 2: Defenseless setup + Meow Meow Bomb
Boss room: Standard setup + Meow Meow Bomb/Flame Grenade
The first room doesn’t have much going on.
Once you enter the second room, a purple cube appears and starts attacking players.
A lot of deaths happen here because people get careless, so make sure you stay sharp on dodging.
If a red AoE and a purple AoE overlap, it’s better to take the purple one if you have to. (It hurts less.)
In the boss room, the 'Spear of Compliance' that removes the boss’s damage buff appears in purple.
If you throw it carelessly, it triggers a very punishing AoE attack, so be careful.
You can safely ignore it since skipping it won’t stop you from clearing,
but if you do want to use it, throw the 'Spear of Guidance' three times first, then throw it when the boss is in Break.
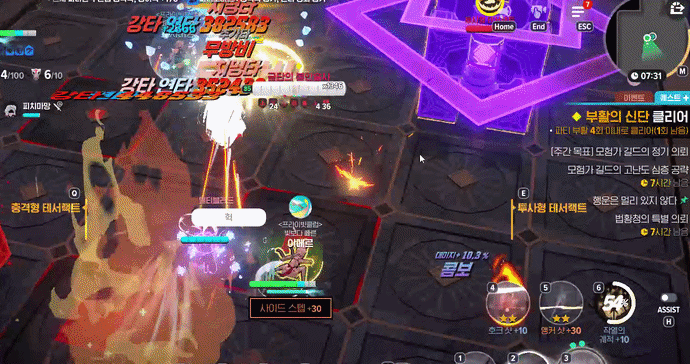
4. Contaminated Waste Yard
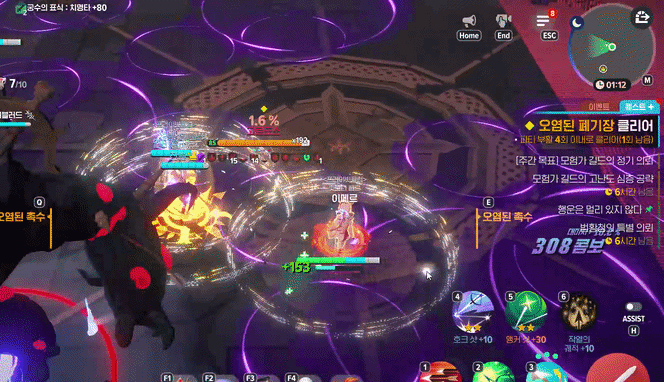
Room 1: Defenseless setup + Wind Grenade
Room 2: Defenseless setup + Meow Meow Bomb
Boss room: Standard setup + Meow Meow Bomb/Flame Grenade
Out of the four Abyss stages, this one has a reputation for being the hardest and most punishing.
In the first room, move straight to the very front as soon as the fight starts and group the monsters there before you kill them.
If the monsters’ Break gets locked, quickly destroy the green altar.
In the second room, it’s best to bait the clones into colliding with each other,
but two rocks have been added to the map and they get in the way, so the trick is to keep the rocks out of the path as much as possible.
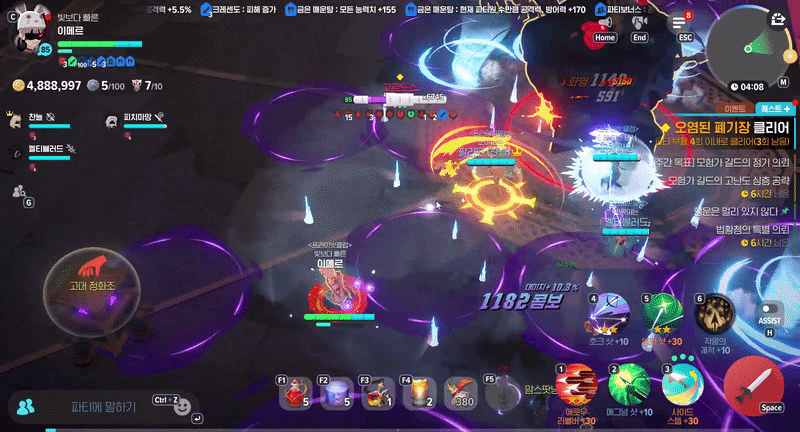
The boss room is all about managing your poison stacks.
Once you go over 10 stacks, it becomes very hard to survive, so make sure you activate the purifier at the right time.
The newly added wave pattern does not reach the entrance side of the map, so you can use that area as a safe zone.
Even this brutal Waste Yard stage, which felt like the nastiest of the bunch,
was cleared safely in just 2 tries thanks to the reliable help from my guildmates.
My guildmates were all so strong that I didn’t really need to change my setup at all..!ㅎㅎ
Big thanks to my PrivateClub guild members Channeul, MeltyBlood, and PeachMamang for the help!
Season 2 is almost here now.
If you still haven’t cleared Mabinogi Mobile Season 1 Hell 15 difficulty,
use the guide above as a reference and try to get your clear in before the new season starts!

![[마비노기모바일] 매너있는 플레이로 깨끗한 에린 환경 만들기!](https://peak-file.nexon.com/uploads/20260111_1212_683-d612-49a6-9562-3502ce094d02)
![[메이플] 만약 메이플스토리가 실사화 된다면? 현실 고증 100%](https://peak-file.nexon.com/uploads/20260422_0624_ad8ffa44.png)
![[마비노기모바일] 에린과 비슷한 느낌을 주는 애니메이션을 알아보자~](https://peak-file.nexon.com/uploads/20260517_1024_75066ad5.png)