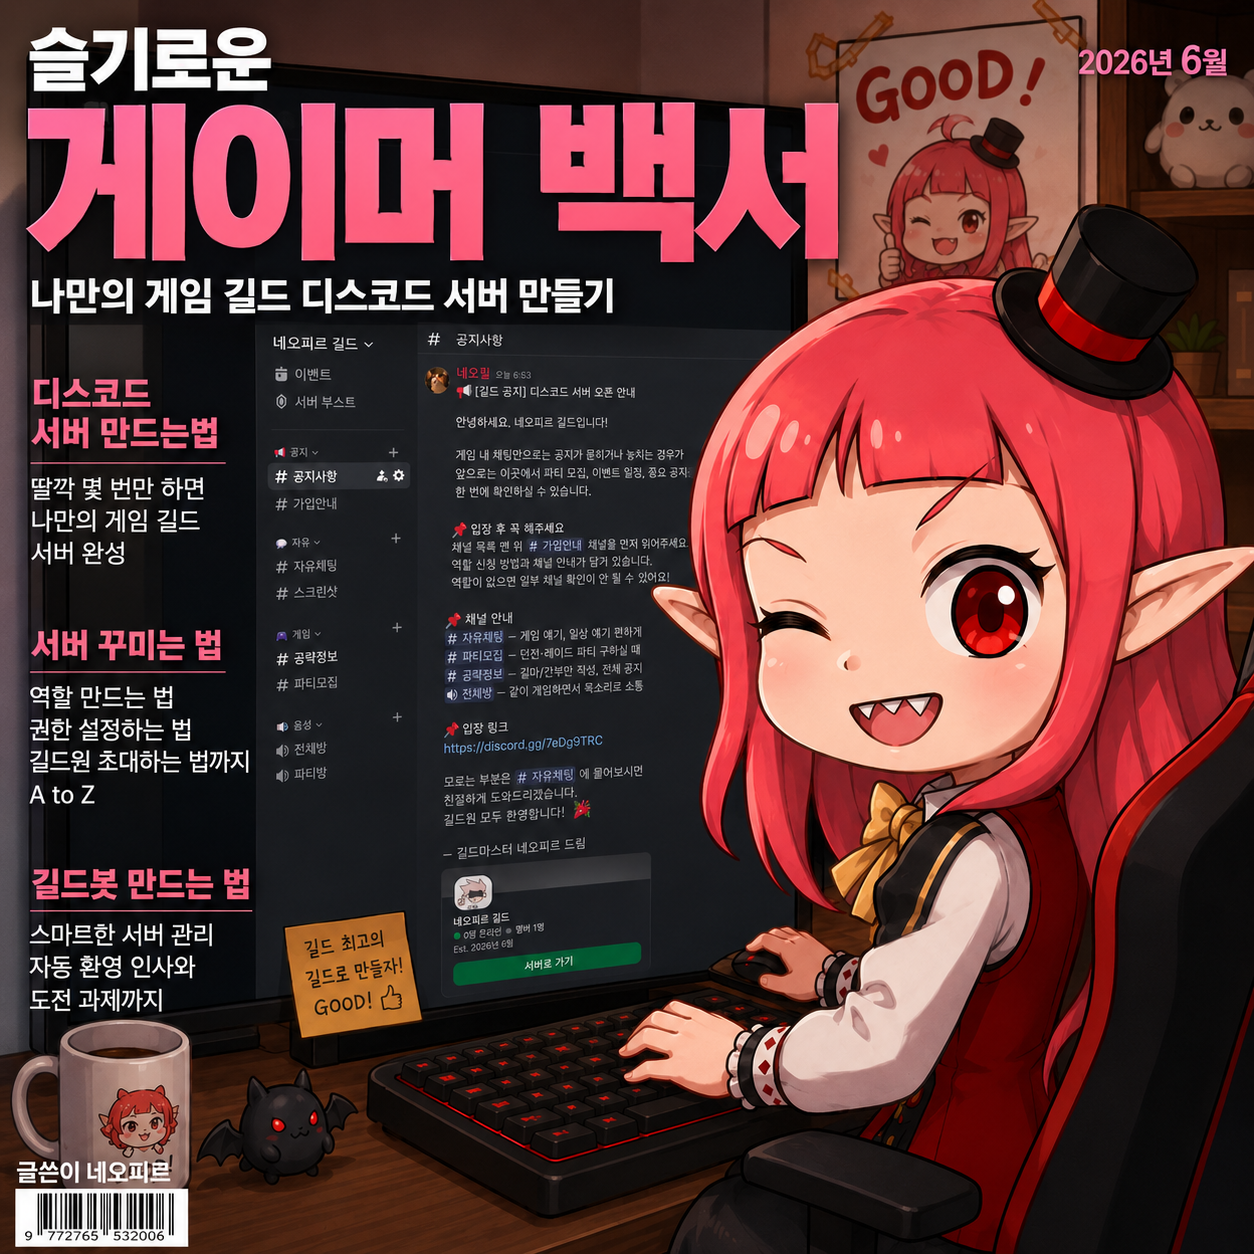
How to Create Your Own Small Gaming Club Discord Server, A to Z
네오필
If you were active in a game guild back in the day, you were probably active in community cafes too. They gave you a place to post longer messages that did not fit well in chat, and sharing screenshots or face photos helped build a stronger sense of connection.
These days, using a Discord channel is more common than using a cafe. It offers the usual community features, plus voice chat rooms, and real-time interaction is much more convenient.
With that in mind, this guide walks through the process step by step so that even someone who has never used Discord before can create their own guild server. I tested the setup from start to finish myself, so you should be able to follow along without running into problems.
How to Create a Discord Server

Open the Discord app or website, then sign up.
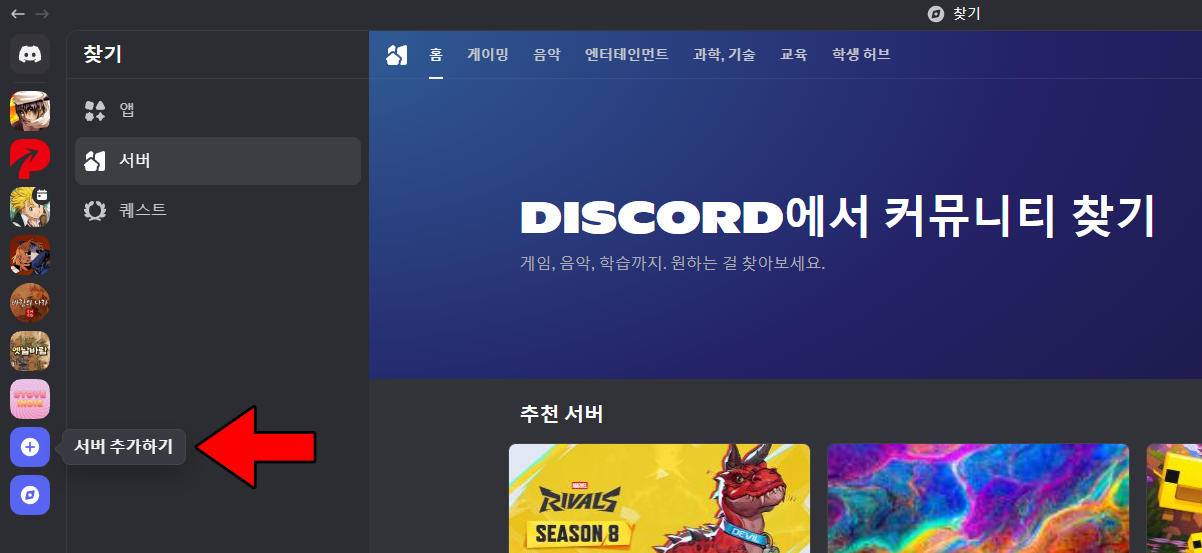
Click the + button on the left, then select 'Add a Server'.
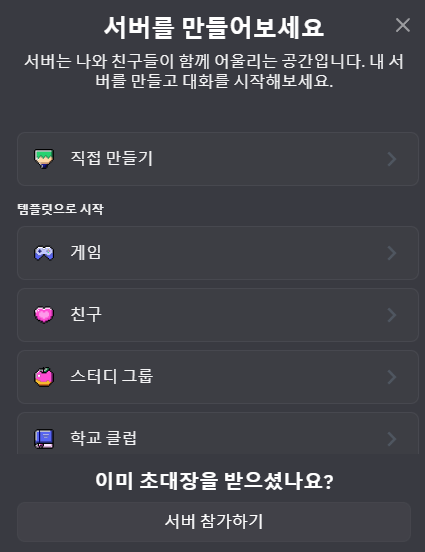


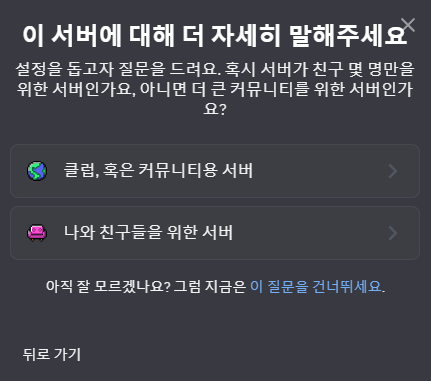
Proceed in this order: 'Create My Own' → 'For me and my friends'.

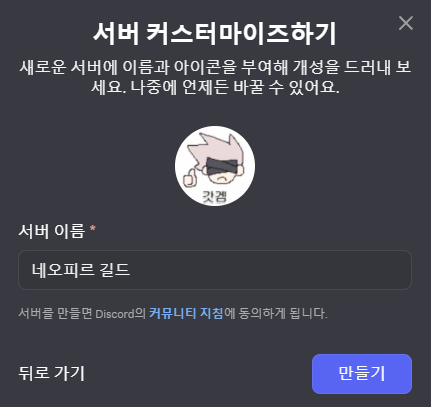
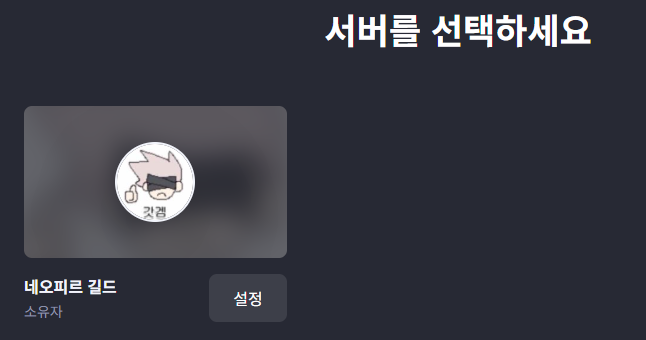
Enter a server name, add a 1:1 guild icon if you have one, then click the 'Create' button.
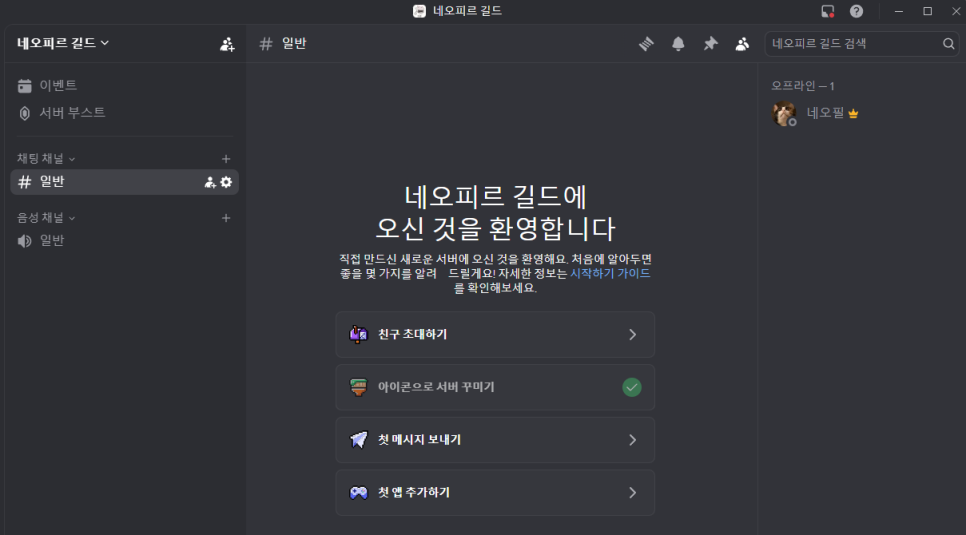
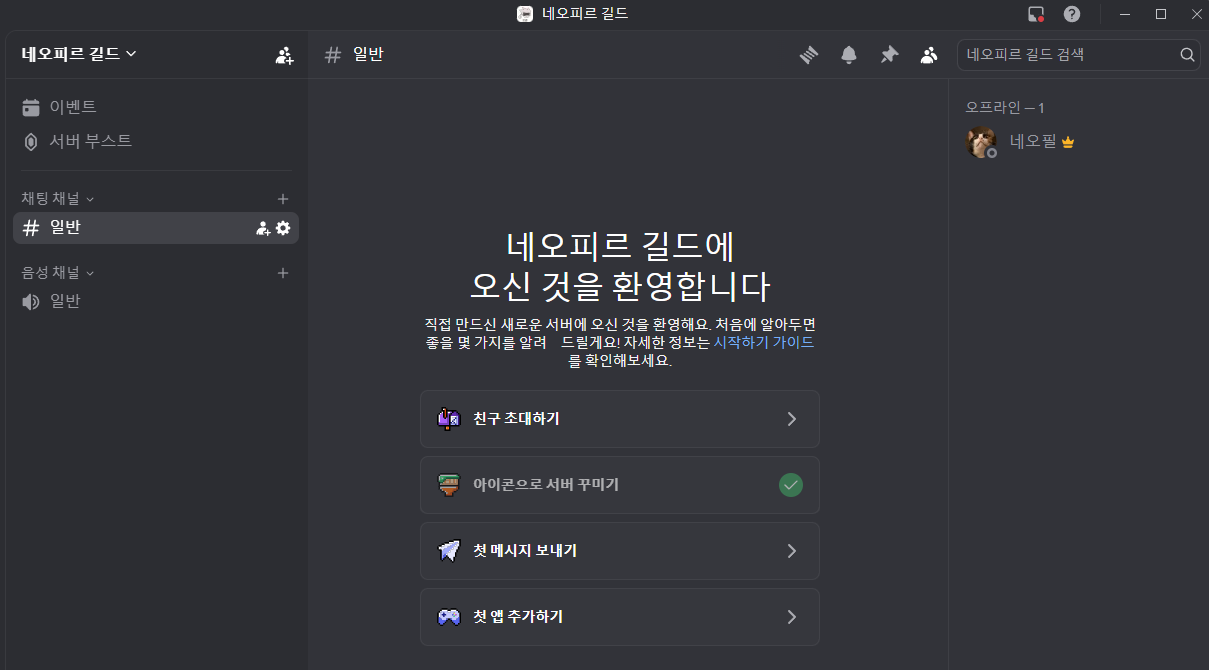
That is all it takes to create your own game guild server.
How to Organize Your Server

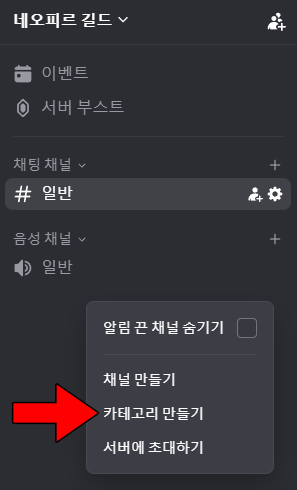
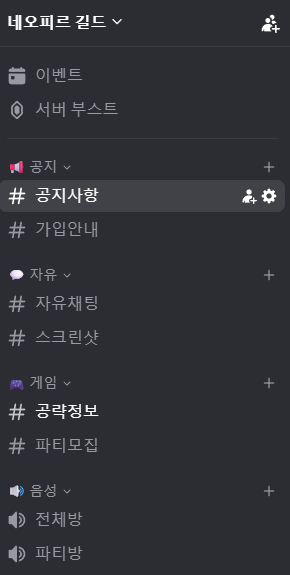
Right-click the channel list on the left and select 'Create Category'. Start by making your top-level sections first, such as notices, free chat, games, and voice.

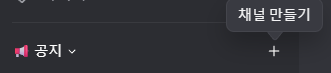
Once the categories are in place, the next step is to add sub-channels.
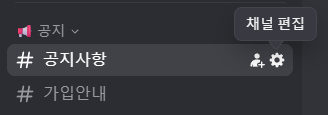
For example, if you create a notices category, you can click the + button on the right and add channels such as 'Announcements' and 'Join Guide'.
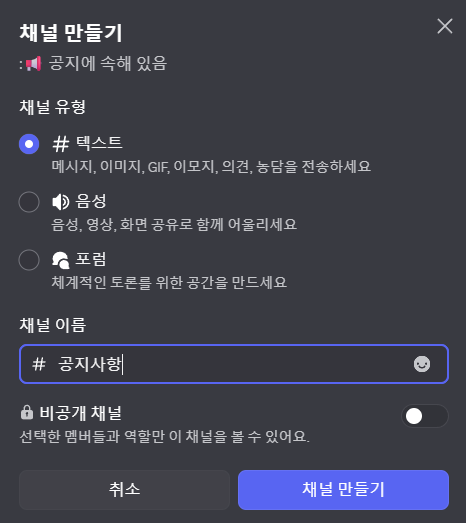

For the channel type, it is common to choose either text or voice.

At first, I recommend creating only the essential channels like this, then adding more as needed while you run the server.

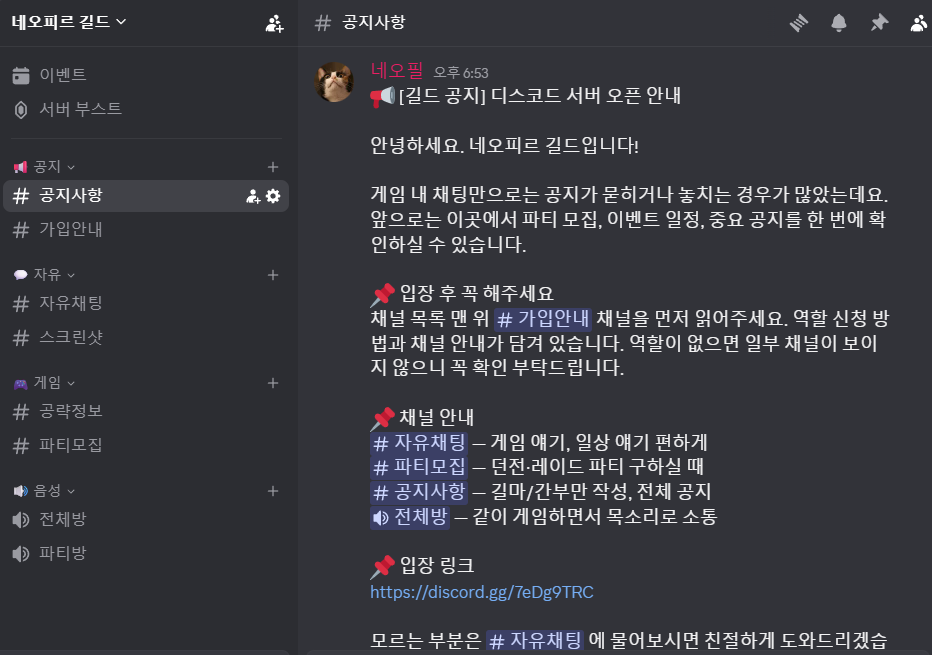
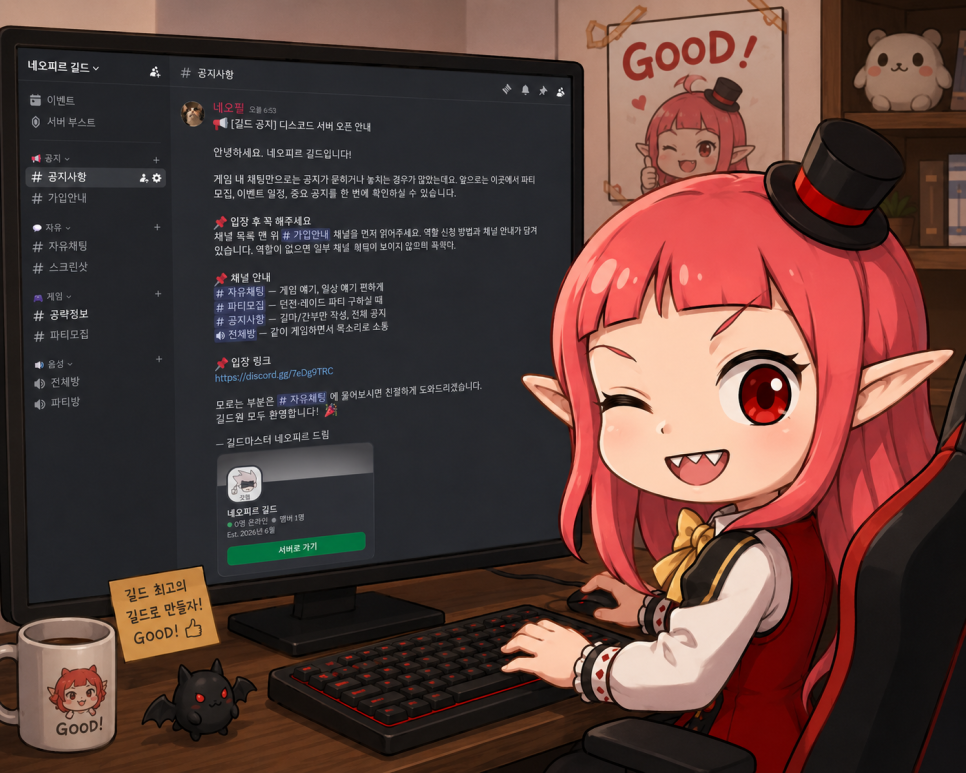
Go into the announcements channel and try writing a notice the same way you would send a chat message. One useful tip: if you type a channel name after a hash (#), Discord creates a blue highlighted link that jumps directly to that channel. You can also attach images and emojis, so make use of them.
How to Create Roles

Next, create the 'roles' you will use to organize guild members who join the server.
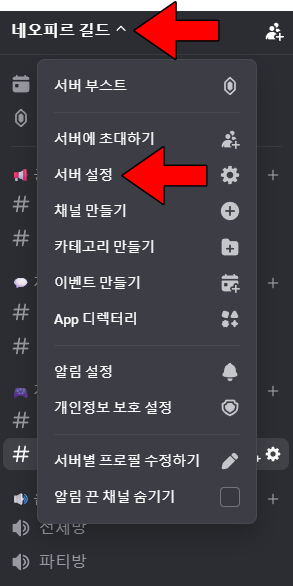
Click the server name in the top left, then open 'Server Settings'.

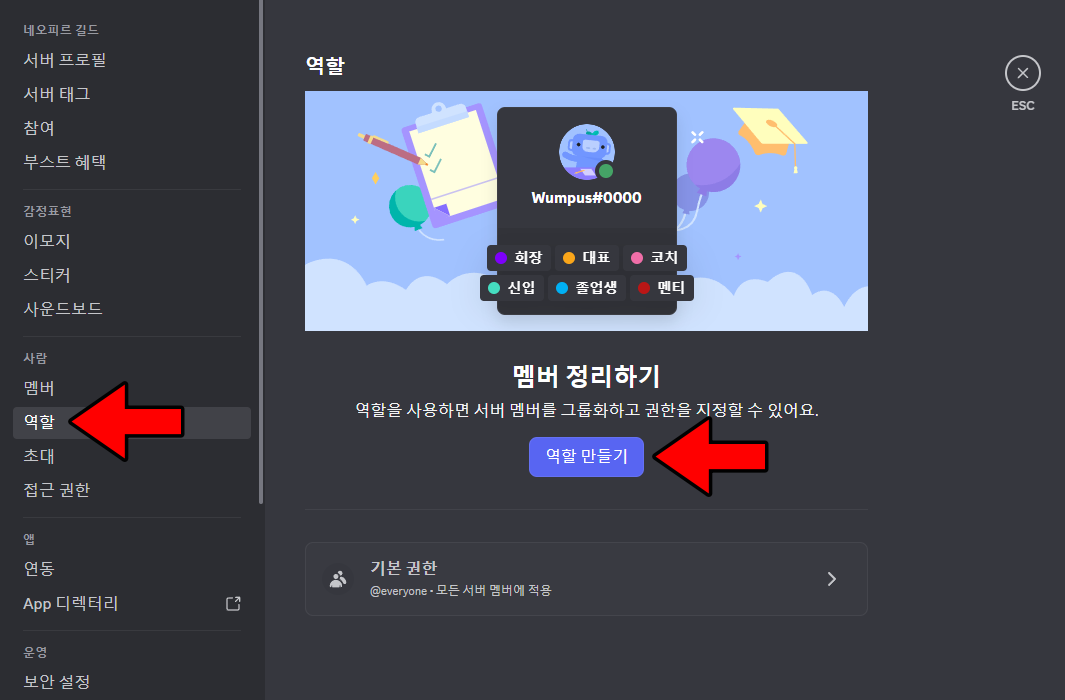
In the 'Roles' tab, select 'Create Role'.

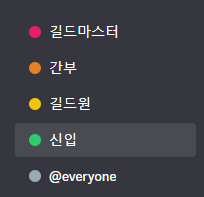

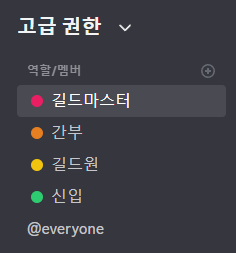
Example guild server roles
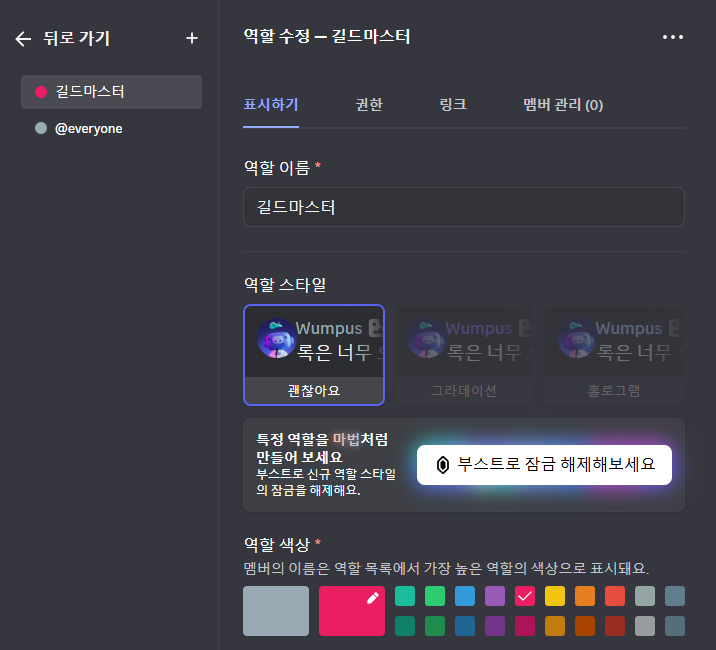
At the beginning, setting just the role name and color is enough.

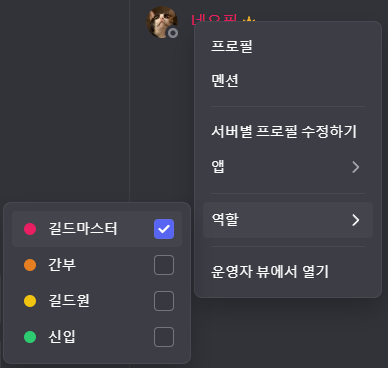
Once you have created the roles, right-click the person you want in the participant list on the right and assign the role.
How to Set Permissions

Right-click the category or channel you want, then select 'Edit Category/Channel'. It is also helpful to know that if you set permissions for a category, the same settings apply to its sub-channels as well.

In the Permissions tab, click the + button under Advanced Permissions to add the roles you created earlier, then set permissions for each role.
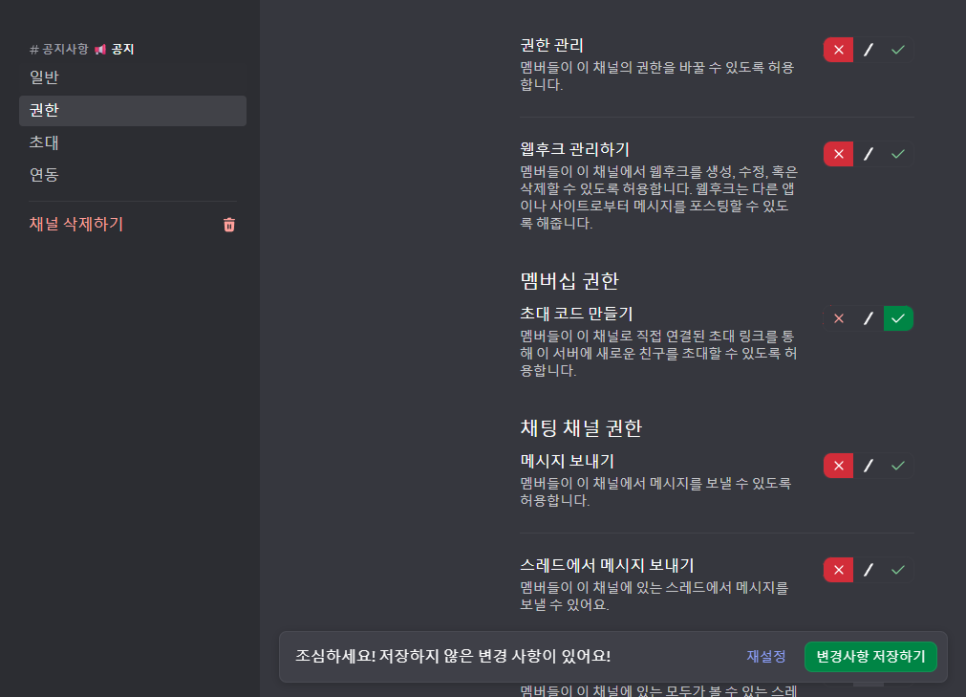
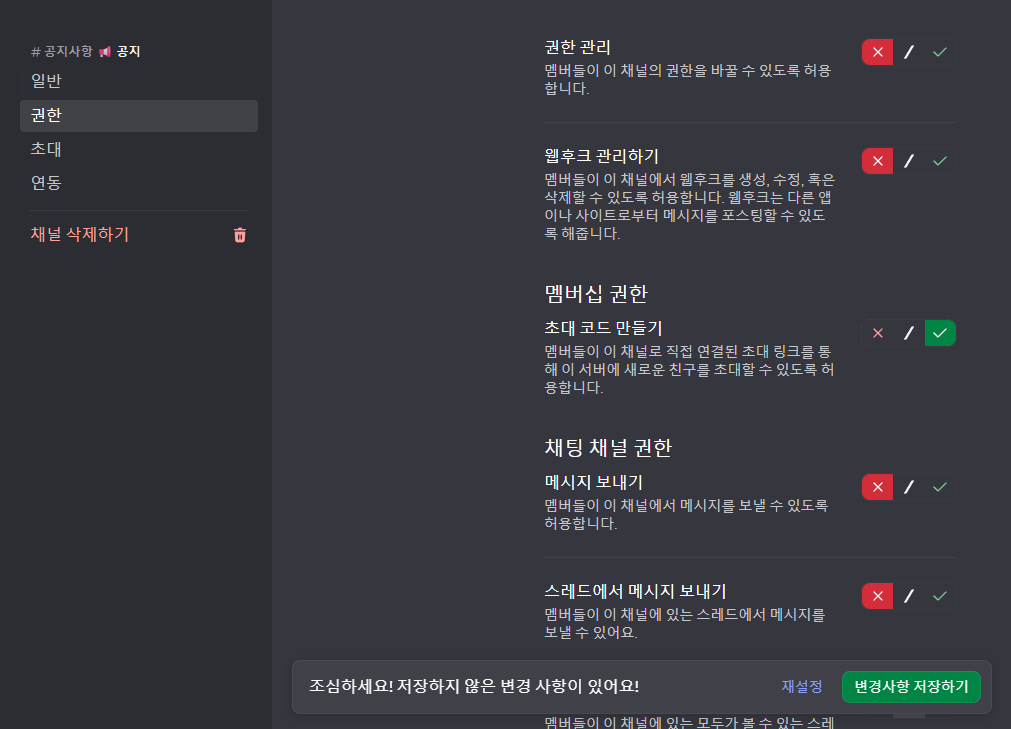
For example, you can set the notices category so that only the guild master and officers can send messages.
The default '/' means a neutral state that follows the higher-level setting.
How to Invite Guild Members

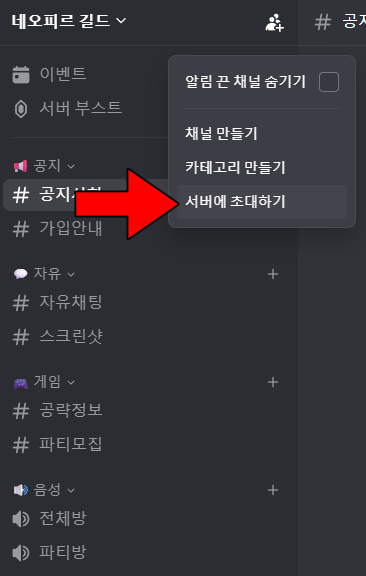
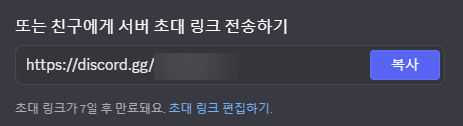

Now that the basic setup is done, it is time to invite your guild members. Right-click the server and select 'Invite to Server' to generate an invite link. The default expiration period is 7 days.

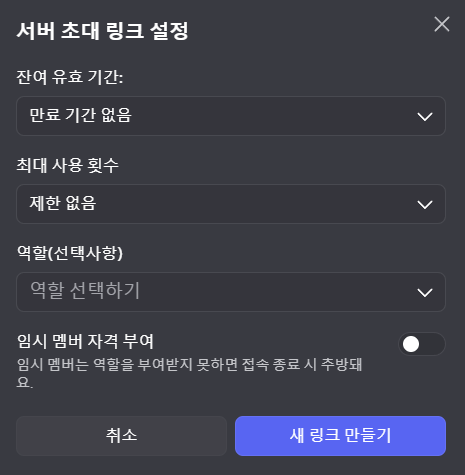
Here, under 'Edit Invite Link', you can set the expiration period and usage limit yourself.
How to Add a Guild Bot

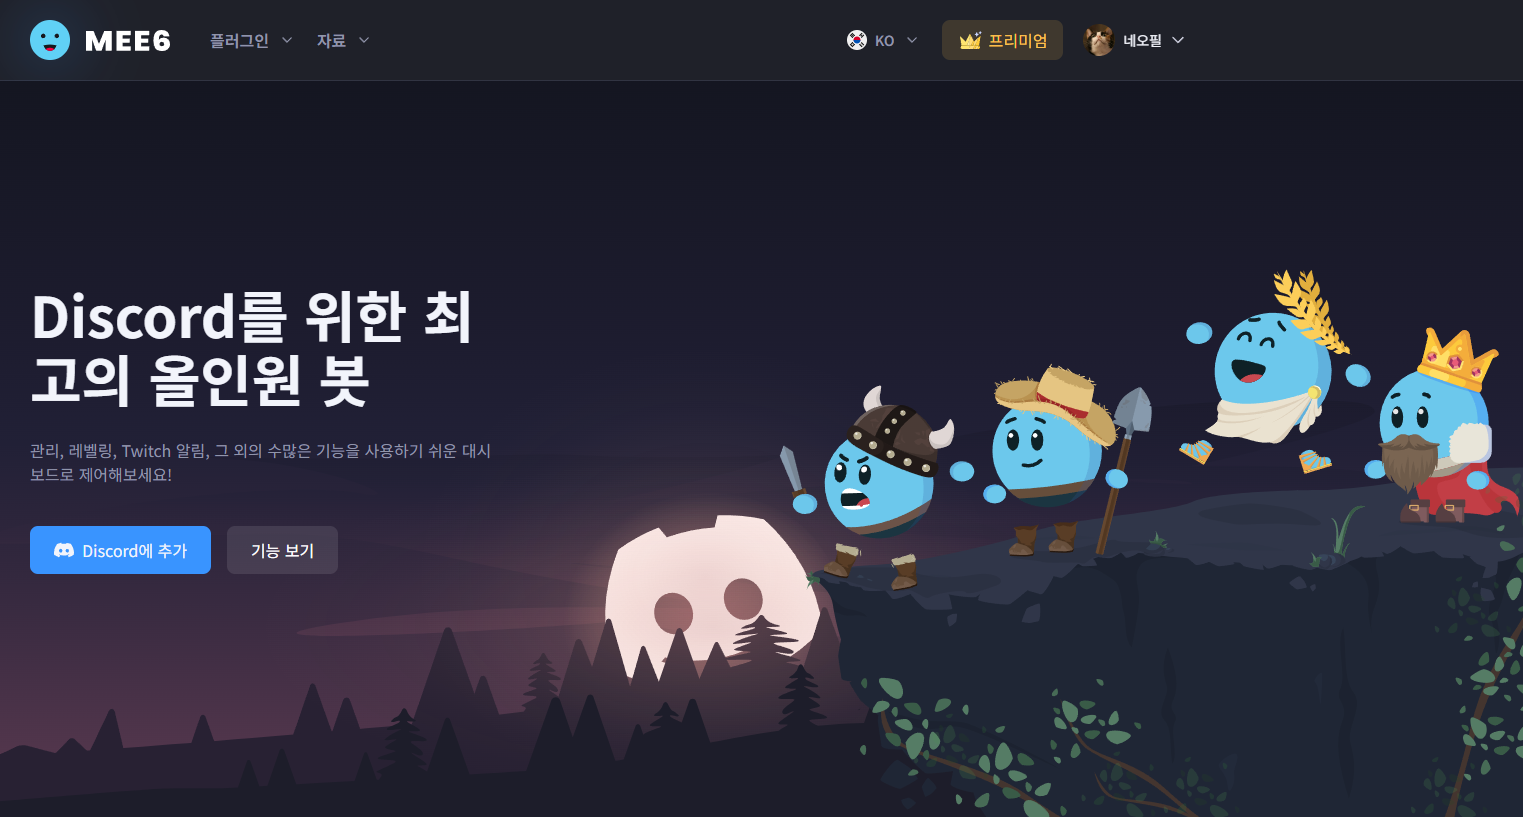 On the MEE6(https://mee6.xyz/ko/) main screen, click the Add to Discord button.
If you want to manage your server more efficiently, using a guild bot is worth considering. One of the best-known options is MEE6. It is paid (lifetime plan $45), but it is useful for building out your server by adding plugins one at a time.


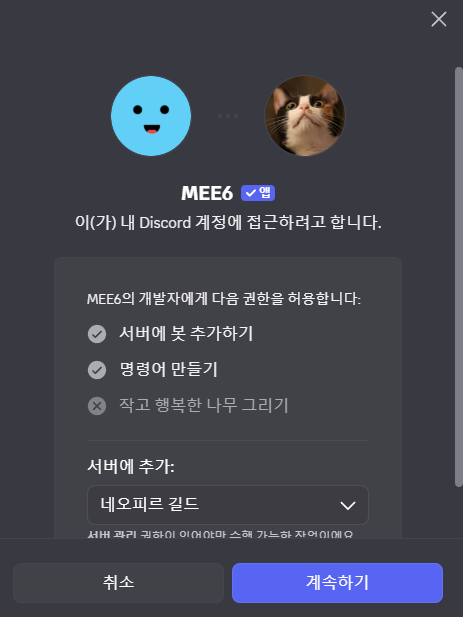

MEE6 is easy to connect if Discord is already open when you visit the official site. You can leave everything at the default settings and simply click Continue - Authorize.

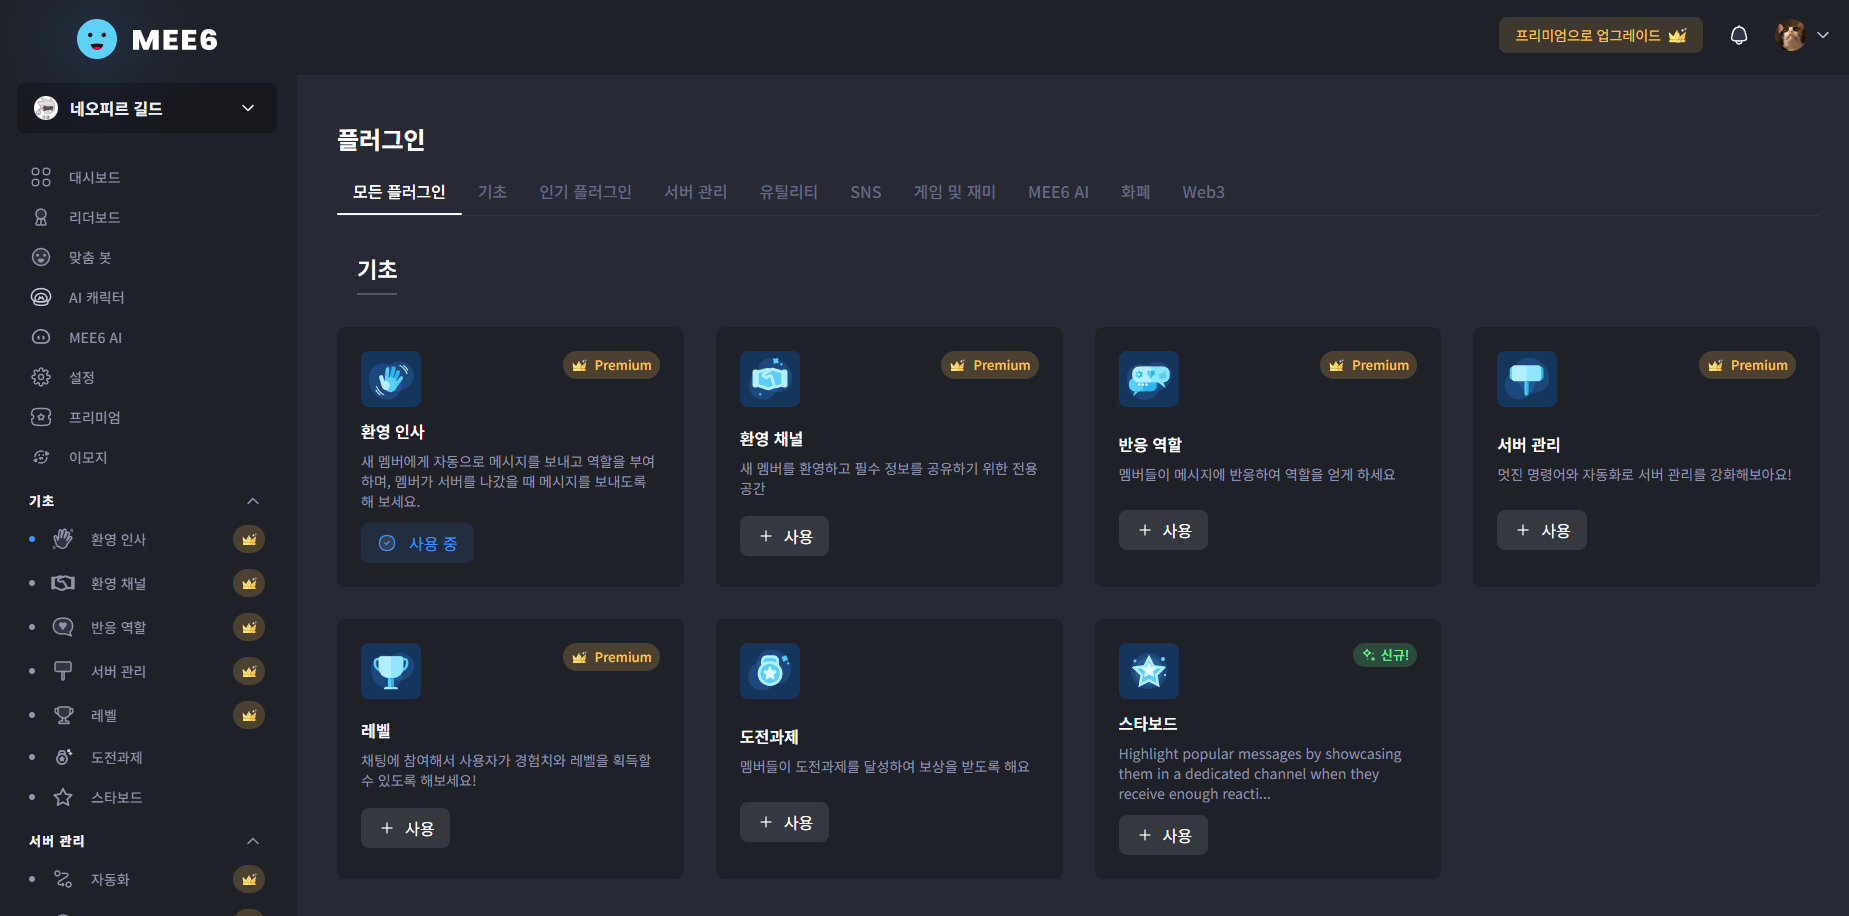
After connecting it, open the dashboard to see the available plugins.

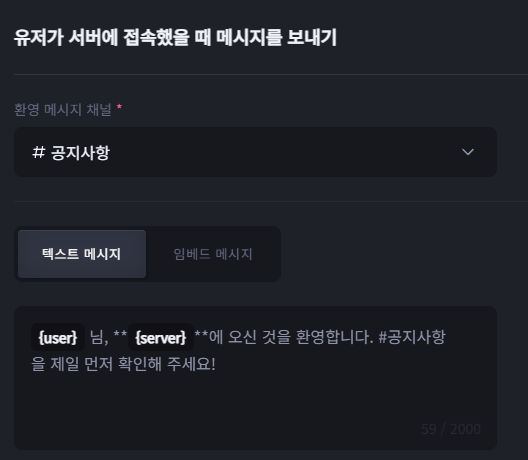
One simple feature worth trying is the welcome message. It automatically posts a greeting and assigns a role when a new member joins.

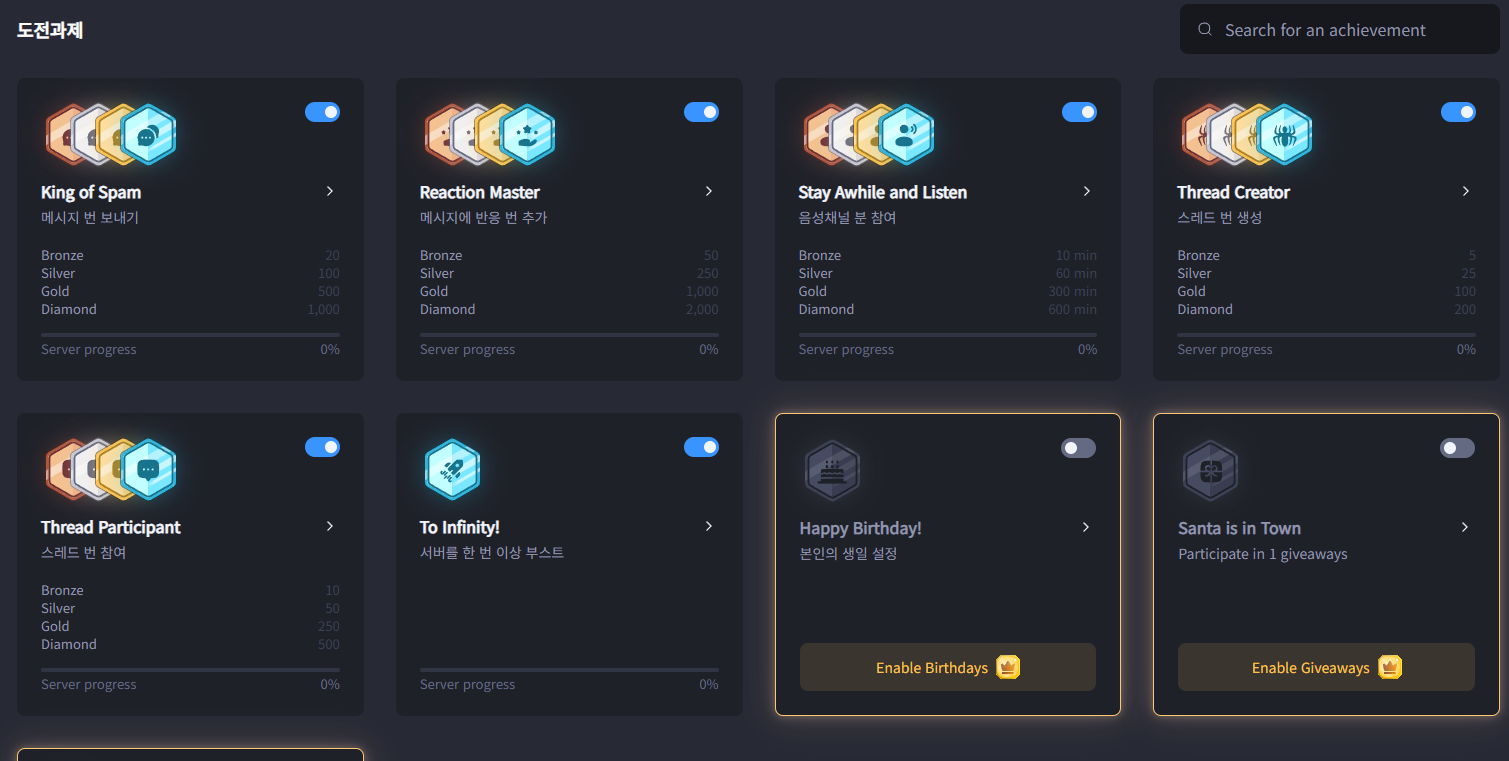
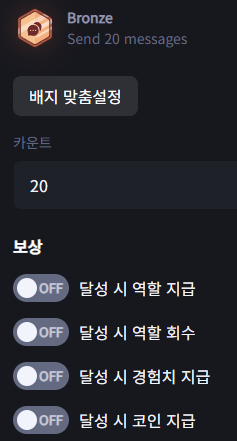

If you are a gamer, the achievement feature may also catch your eye. For example, a user might earn a bronze badge after sending 20 chat messages, and a diamond badge after sending more than 1,000. If you reward certain badges with in-game items, it can help keep the guild server more active.
Closing

That covers how to create your own game guild Discord server.
When you create a Discord server for the first time, the many settings can feel overwhelming. But once you try them one by one, the overall structure is actually simple. You create categories, add channels, and assign roles. I hope this guide helps make your guild activities more enjoyable and better organized.
![[모비노기] 1년 넘게 푹 빠진 비결? 길드원과 함께하는 정겨운 소모임](https://peak-file.nexon.com/uploads/20260607_0139_f7c59dff.png)
![[마비노기모바일] 다함께 모여서 즐기는 시간, 어떤 걸 해볼까?](https://peak-file.nexon.com/uploads/20260606_0104_9af7b42c.png)