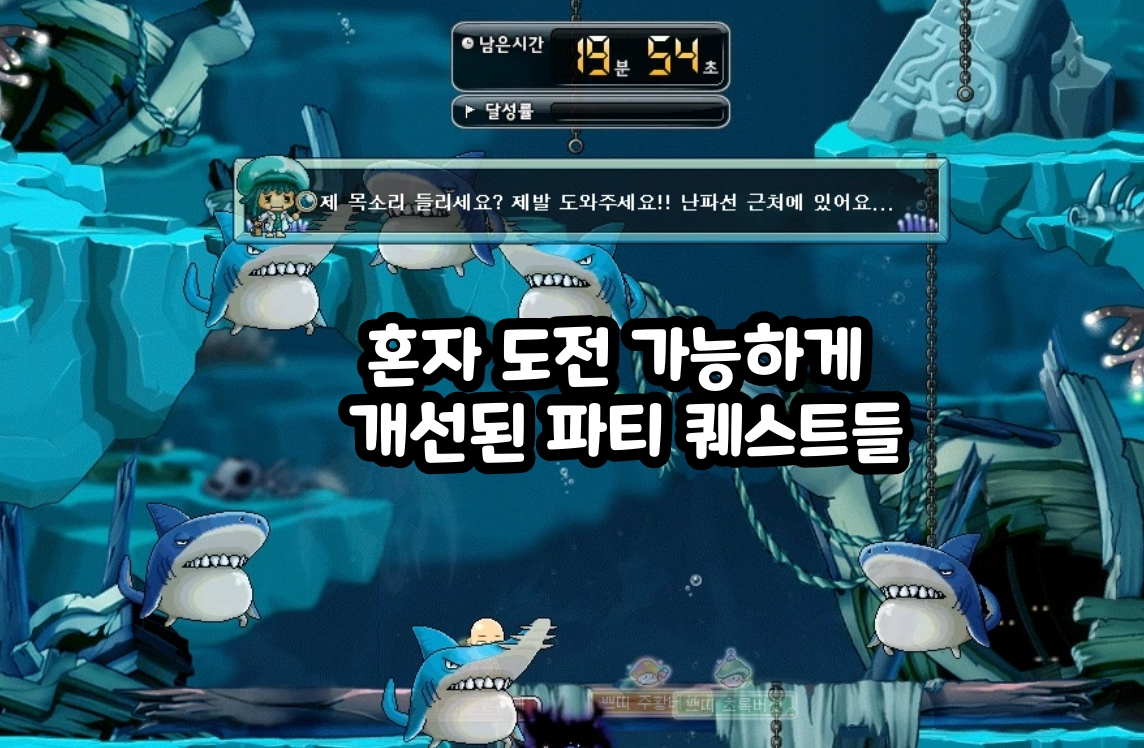
Party quests in MapleStory that have been updated so they can now be cleared solo as well #황금연휴 게임
마빡도로시
Hello.
This time, the keyword is games for the Golden Holiday, so I wanted to write about something that feels worth revisiting on a day off.
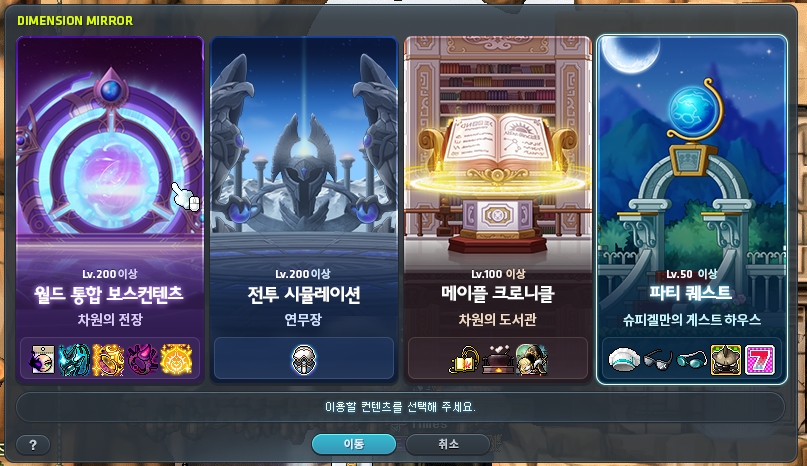
While thinking about what might fit, I was reminded of one of MapleStory’s recent updates, the patch that made solo entry possible for Party Quests, and decided to put together a few thoughts on that.
Before getting started
Of course, even with solo entry now available, these are not the kind of activities most people would spend a very long time on in the current version of MapleStory, where there is already plenty else to do.
Still, because most Party Quests date back so far, there is a good chance that many players have at least a few tied to their own memories, and in a situation where there was never much reason to go out of your way to gather party members just for that, the fact that you can now enter alone whenever you like makes them feel like the sort of thing worth trying once in a while for fun when you have some spare time.
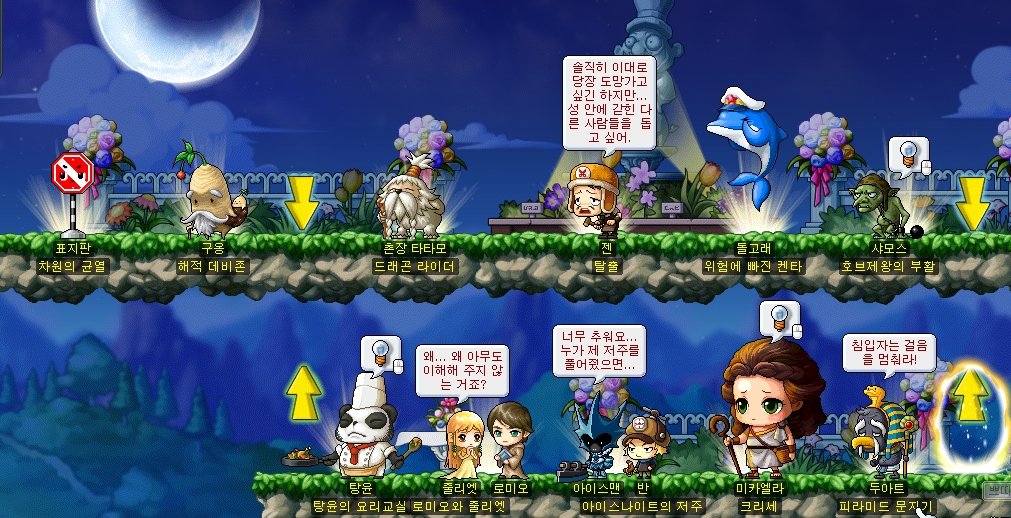
The Party Quests changed in the last update to allow solo entry are as follows. In practical terms, aside from Ludibrium’s Party Quest, Dimensional Crack, you can more or less think of the rest as now being available for solo entry.
-
Romeo and Juliet
-
Nett's Pyramid
-
Pirate Lord
-
Escape
-
Dragon Rider
-
Kenta in Danger
-
Resurrection of the Hoblin King
-
Moon Bunny's Rice Cake
-
Remnants of the Goddess
-
Forest of Poison Haze
-
Ariant Coliseum
Because of this, anyone working on the Monster Collection entries found in Party Quests can now do so much more easily. I personally started with the three that stayed with me the most. Since everyone’s memorable Party Quest will be a little different, I would recommend trying the ones you remember when you have the time.
[Nett's Pyramid]
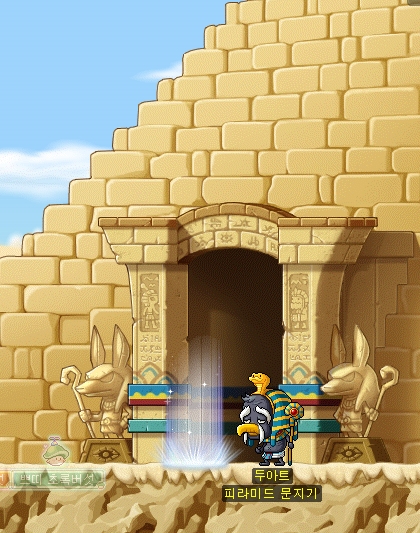
I imagine a lot of people remember doing Nett's Pyramid mainly for experience in the past, and I more or less remember it that way too.
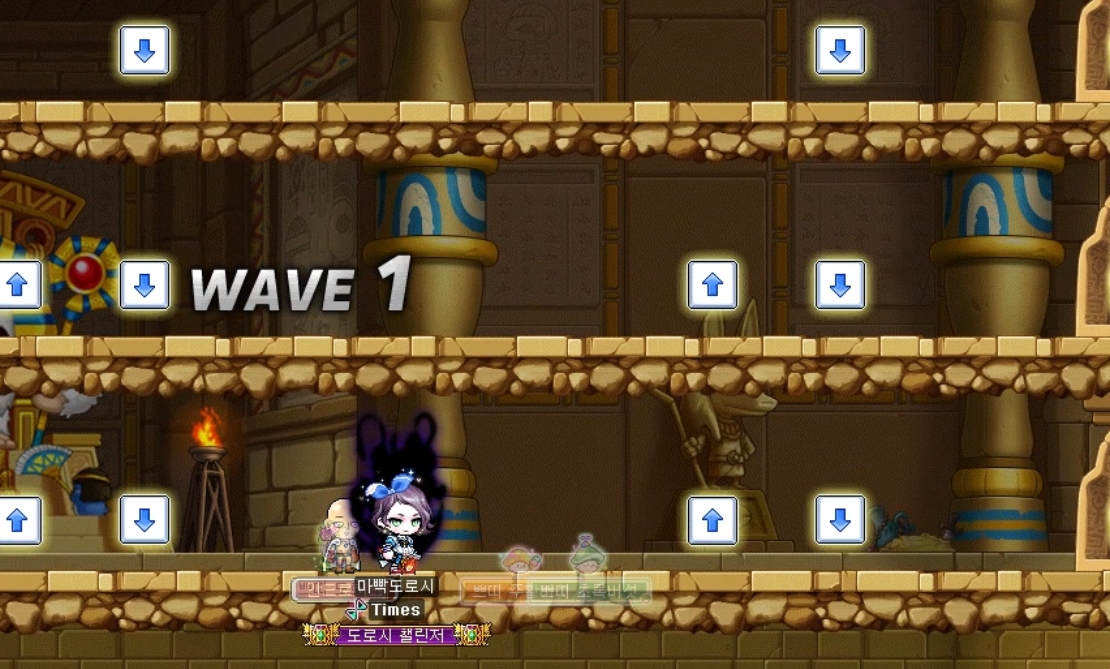
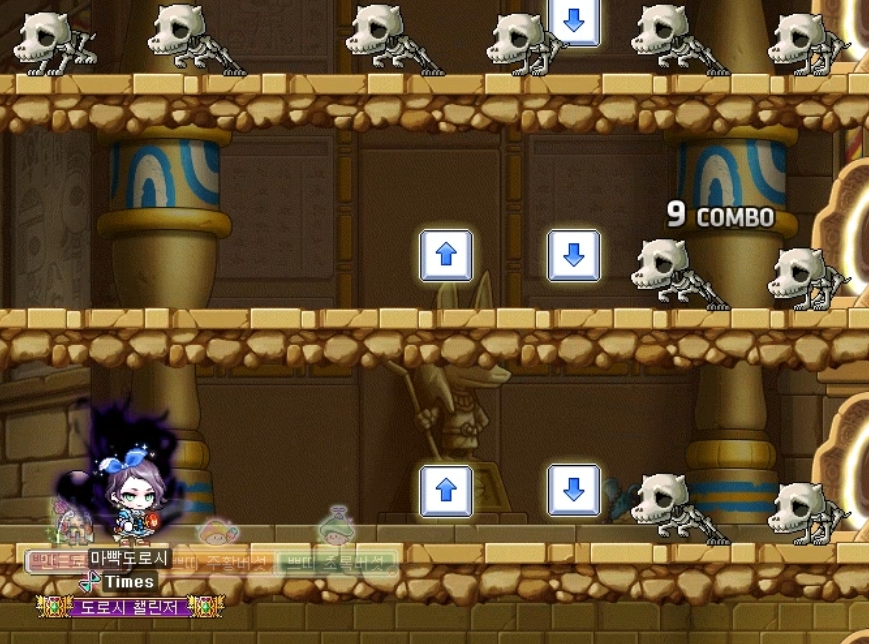
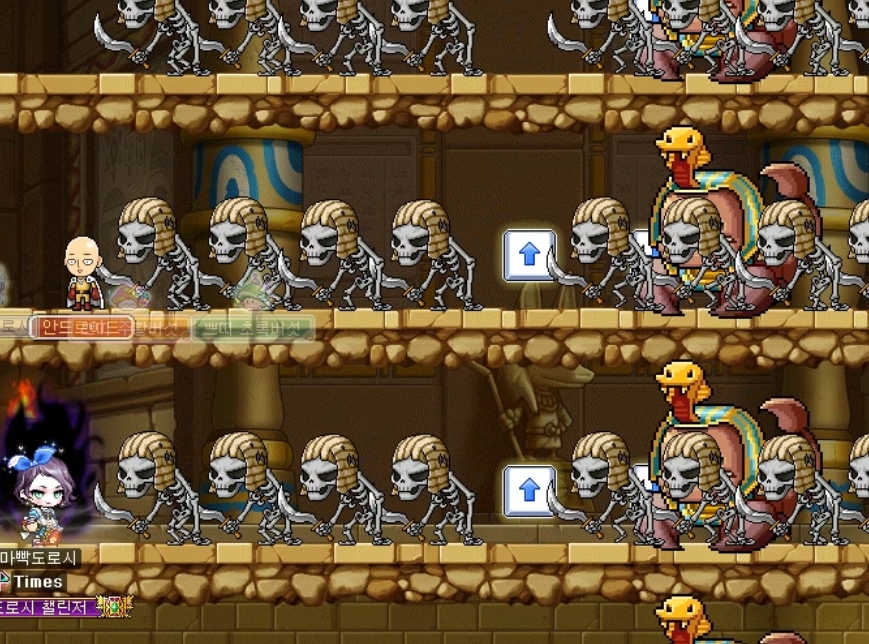
There are four lanes in total, but considering the range of modern summons and attack skills, it is a little striking now just how manageable that feels.
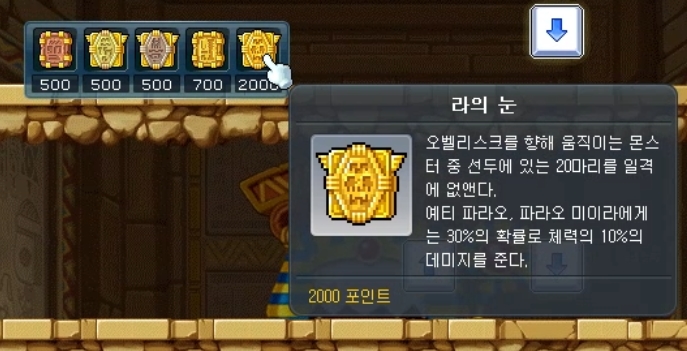
There are special skills like these as well, though at this point there is really no need to use them.
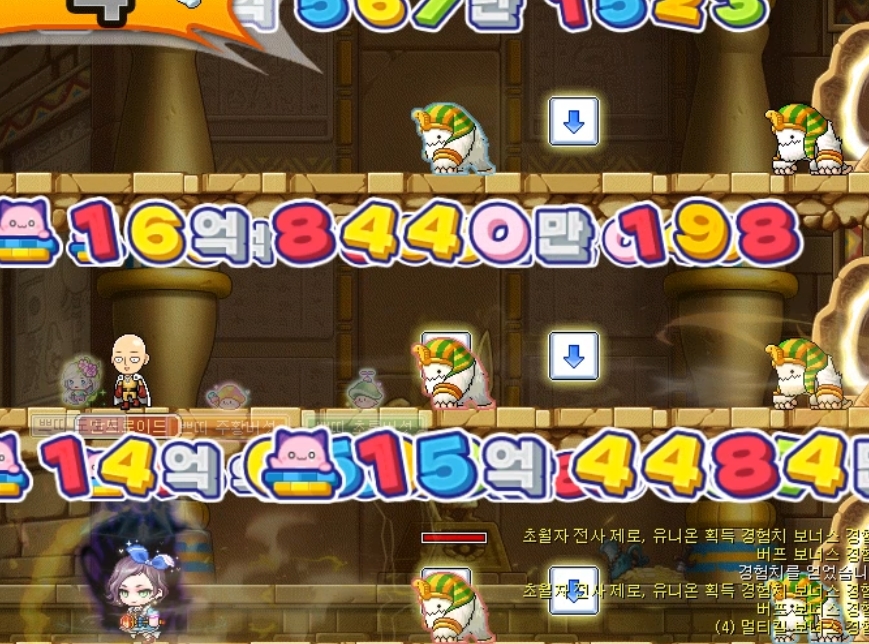
What stood out to me while doing it again was that it consists of 20 waves in total, so it takes longer than you might expect. Back when people were running it for experience, that was probably part of the appeal.

The Monster Collection for this one takes up a full line like this.
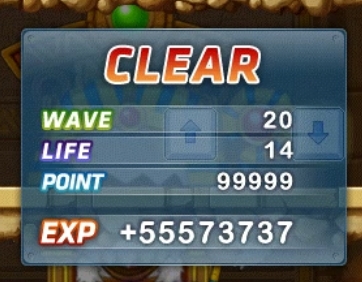

Clearing it gives you experience along with Nett's Emerald.
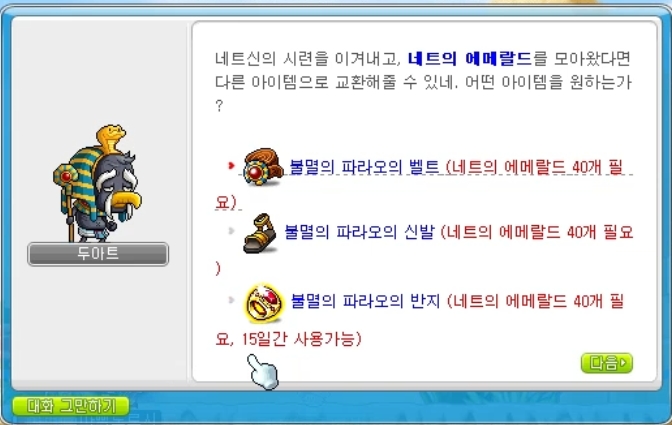
Nett's Emerald can be used for item exchanges, and what stood out to me here was that the ring is a time-limited item.
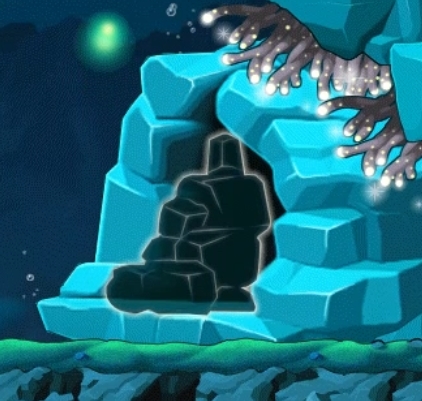
[Resurrection of the Hoblin King]

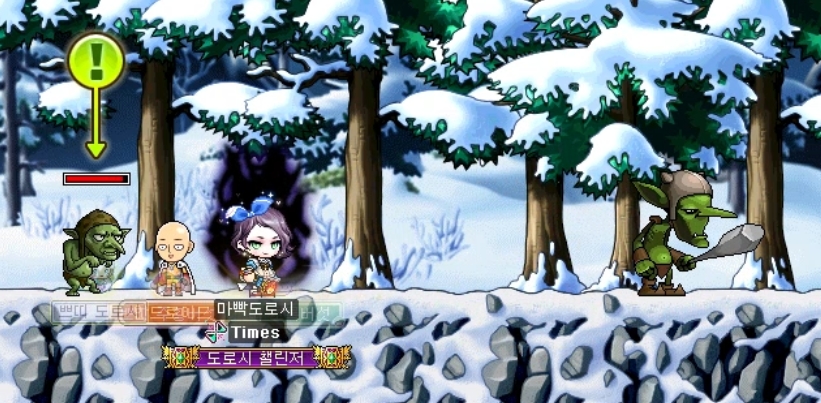
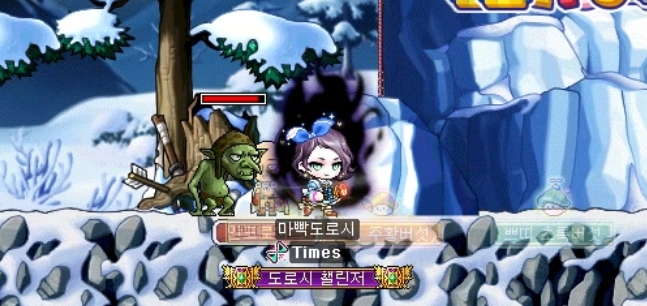
Resurrection of the Hoblin King, which is run through Shammos, is a Party Quest where the goal is to escort Shammos safely to the place where Rex is sealed. There also seem to be a few related regular quests, but you can enter the Party Quest without completing those separately.
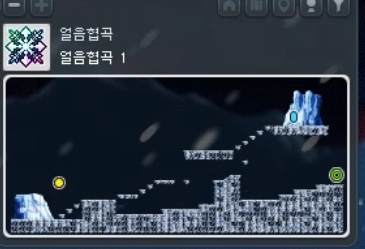
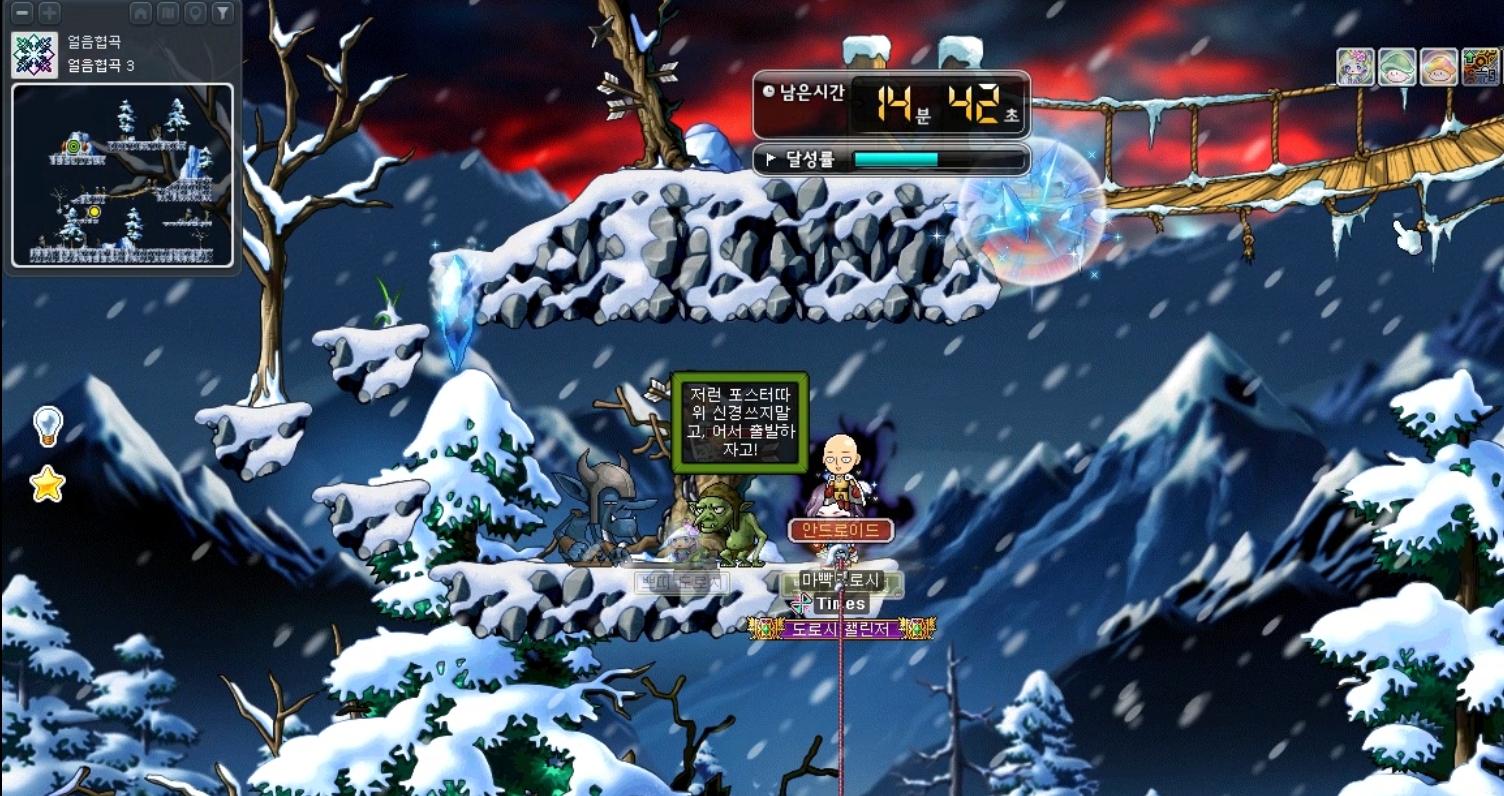
You need to pass through three Ice Valleys in total, and your character can use double jump and other skills freely without restriction. If Shammos’s HP is completely depleted, the run fails.
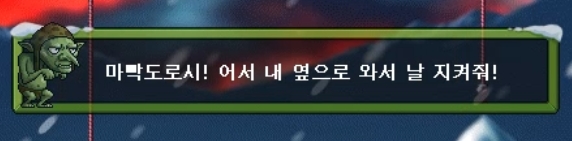
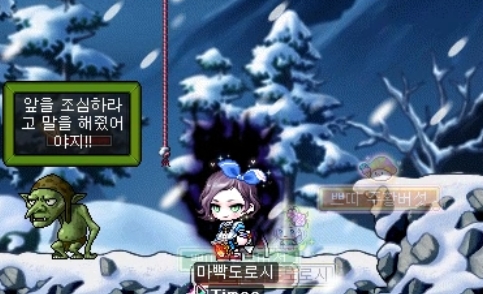
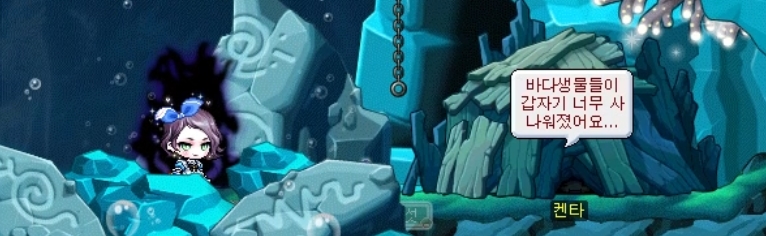
Shammos keeps muttering to himself like this the whole way through.
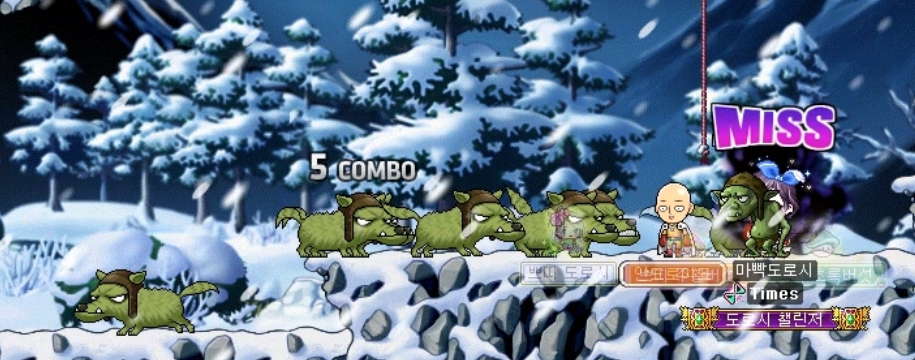
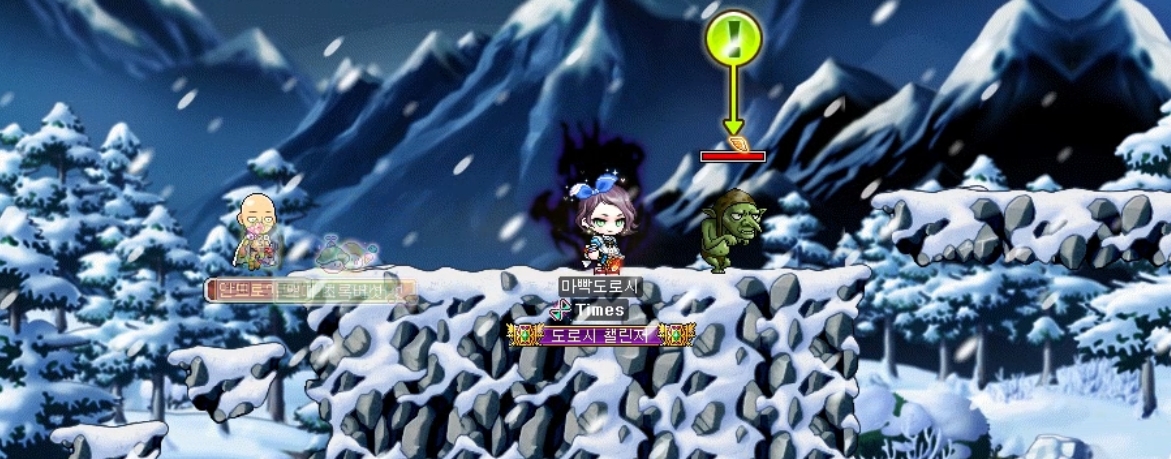
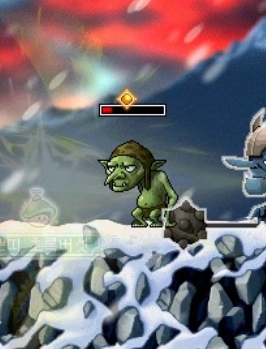
As you move along, monsters keep appearing like this, and there are quite a lot of them.

If you are thinking about Monster Collection, that high monster count does not really feel like a drawback at all, and may even be a positive.
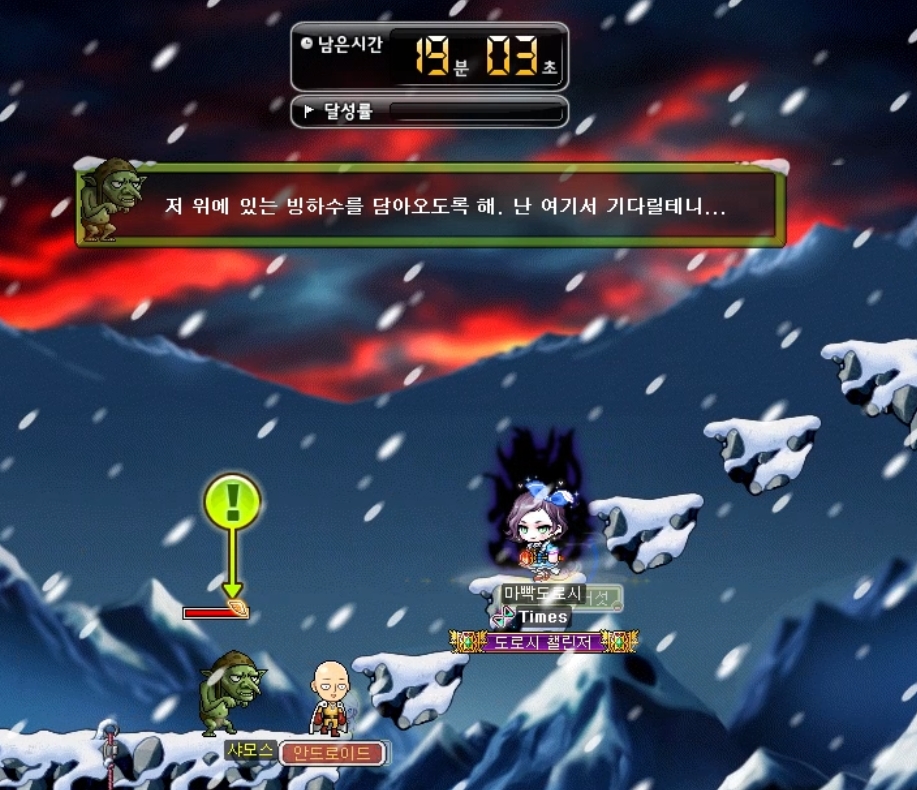
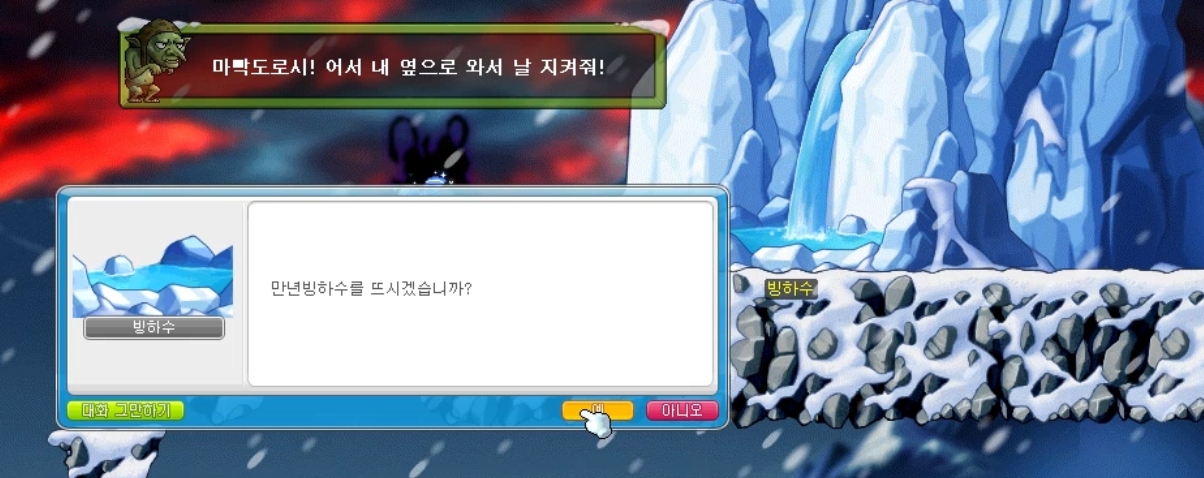
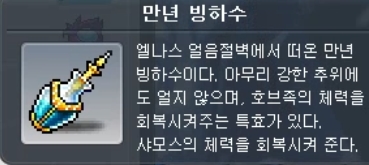
On the first map, you can obtain Ancient Glacier Water like this. Your character cannot drink it, and it is instead used later to restore Shammos’s HP.

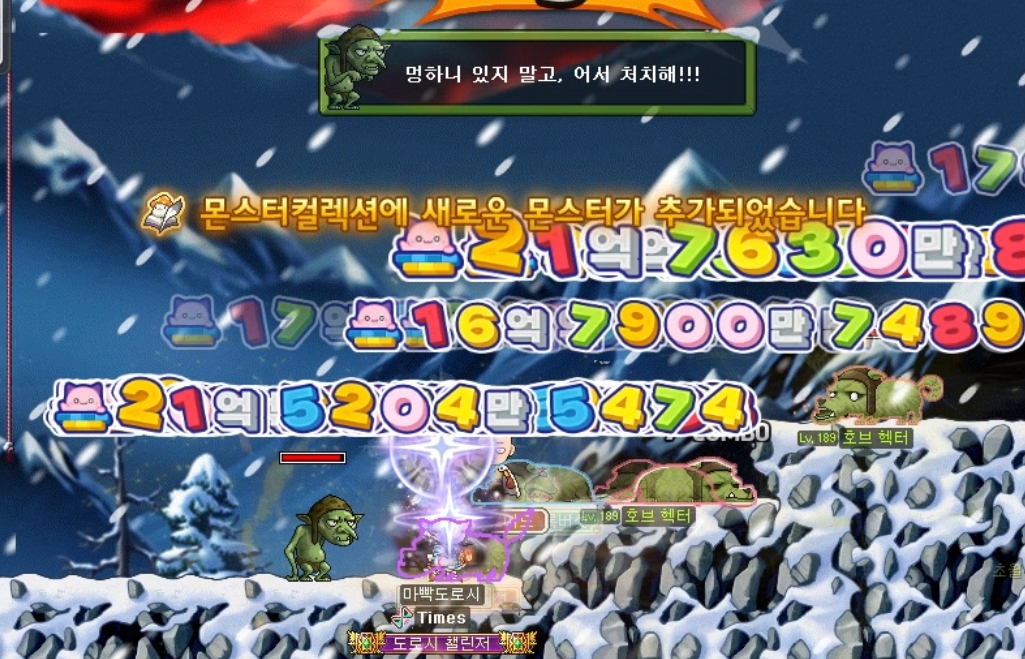
Registered Monster Collection entries
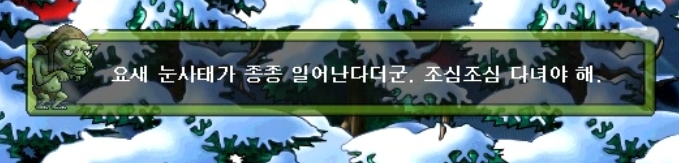


The second map works the same way, and Shammos keeps stopping to talk like that.

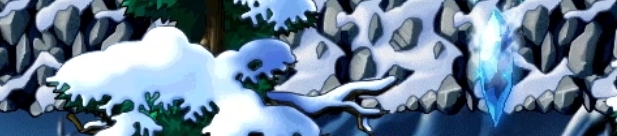
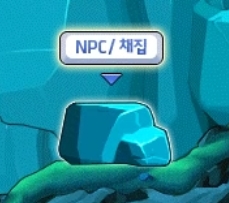
If there is one genuinely useful thing he says here, it is to break the chunk of ice next to my character in the image above first. You can break it with skills as well, but in the case of the final chunk, it seems that only basic attacks work. If you do not break it, Shammos cannot pass through.
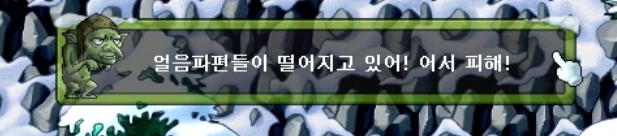

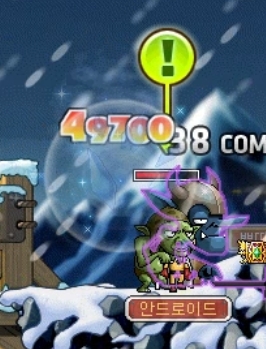
Second, these ice shards are harmless enough if they hit your character, but if they hit Shammos, he takes enormous damage. The monsters deal damage in the 4,000 range, while the ice shards deal damage in the 40,000 range. Even so, that seems to depend randomly on how Shammos moves, so it looks like one of those things you simply have to leave to luck.

The final map follows the same pattern, but as you can see, by the time I reached the last section, Shammos had been hit by so many ice shards that his HP was almost gone. I had already used the Ancient Glacier Water in the previous section, so I was starting to think about a retry, but fortunately I still made it to the exit.
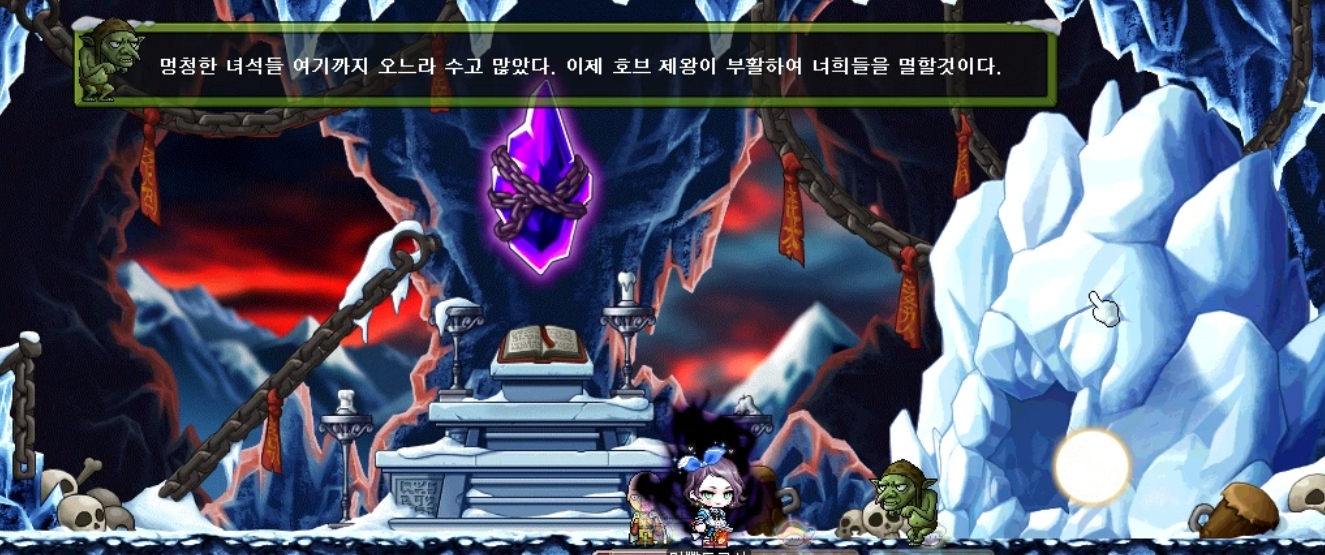
Once you arrive, Shammos turns on you and summons the Hoblin King, though by current standards it is not threatening at all.
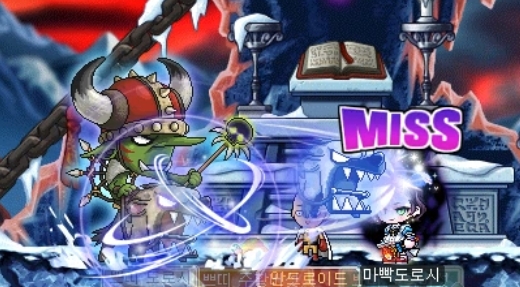
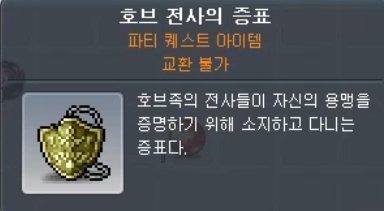
Defeating the Hoblin King makes it drop a Hoblin Warrior Emblem, which completes the Party Quest.

This Hoblin Warrior Emblem can be exchanged with Shammos for items. Complete Rex's Earrings require 5, while Rex’s Hyena requires no fewer than 60. Since I received 1 in this run, if the drop is always just one at a time, then with the daily limit of 5 runs, that means doing all 5 runs every day for a full 12 days to get the mount.

This is what it looks like when mounted. For a reward that asks for a fair amount of time, it may seem fairly modest, but purely in terms of rarity, I do think it ranks quite high.
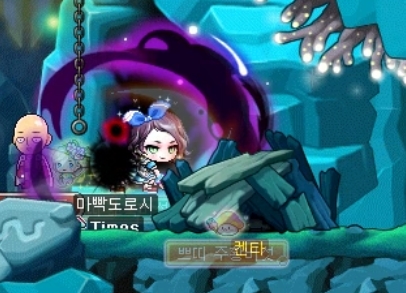
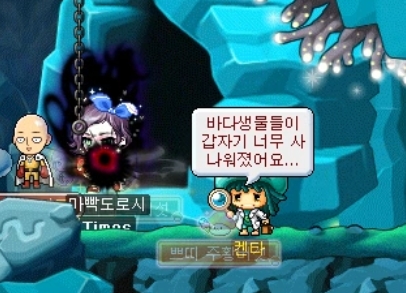
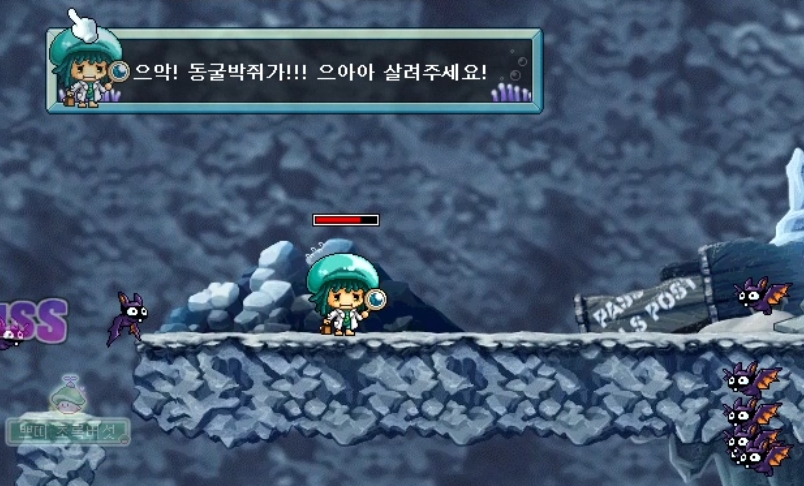
[Kenta in Danger]

Kenta in Danger, which is handled by Dolphin, is a Party Quest where the objective is to rescue Kenta after he gets into trouble during an investigation. As with Shammos, you need to keep Kenta from dying, though the overall risk seems much lower here.
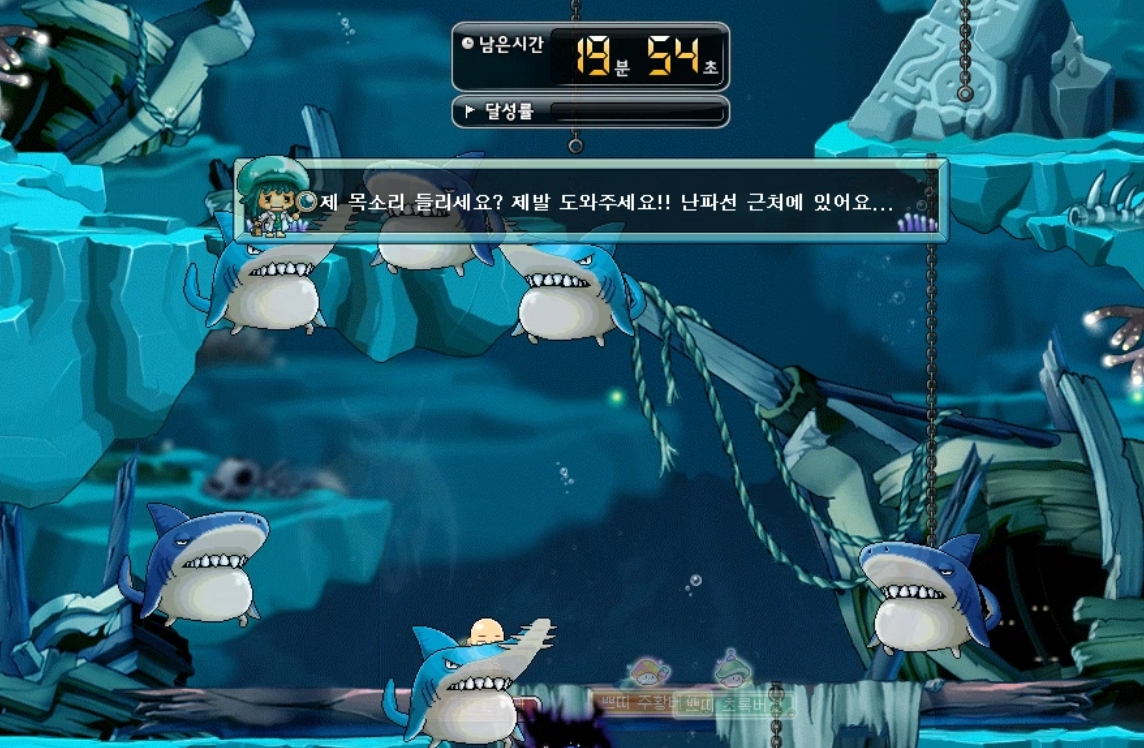
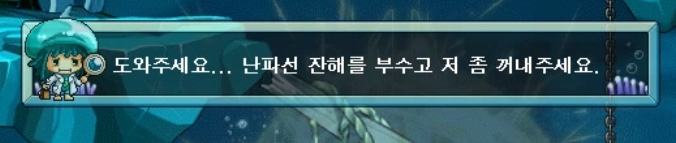
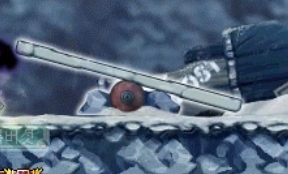
When you first enter, you start in the deep sea of Aquarium, and if you head downward, you can find traces of Kenta.
You can rescue Kenta by breaking that wreckage with a basic attack.

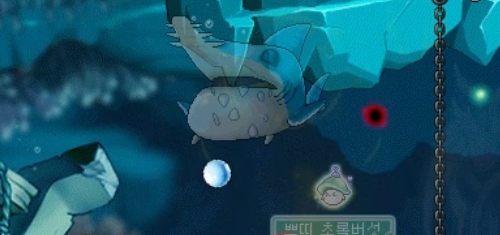
After that, defeat the sharks and collect 10 Air Bubbles to hand in, and Stage 1 will be cleared.
Kenta walks over to the portal.
When you reach the second map, you will see four areas like the ones above, along with bricks in matching colors.

If you pick up those bricks with the harvest key and block all the holes, the stage is cleared.
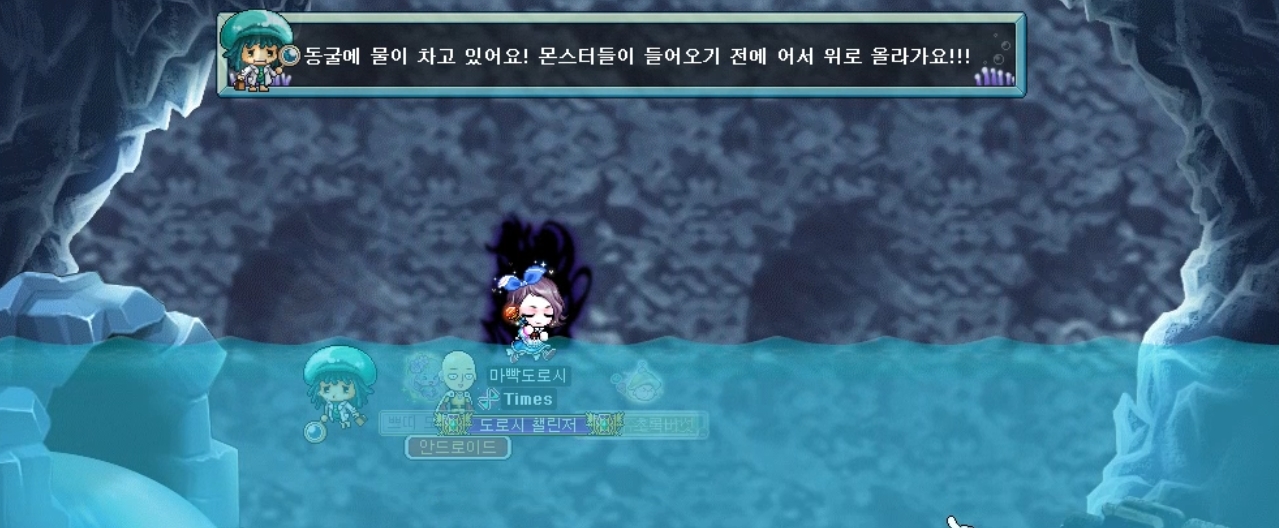
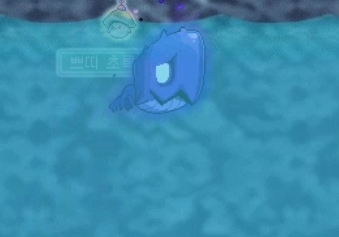
Next comes a cave map where the water rises, and all you really need to do is climb upward. The fish-like monsters in the water felt a little unfamiliar, which I found interesting.

Once you reach the very top, you can jump onto the lever and continue farther up.
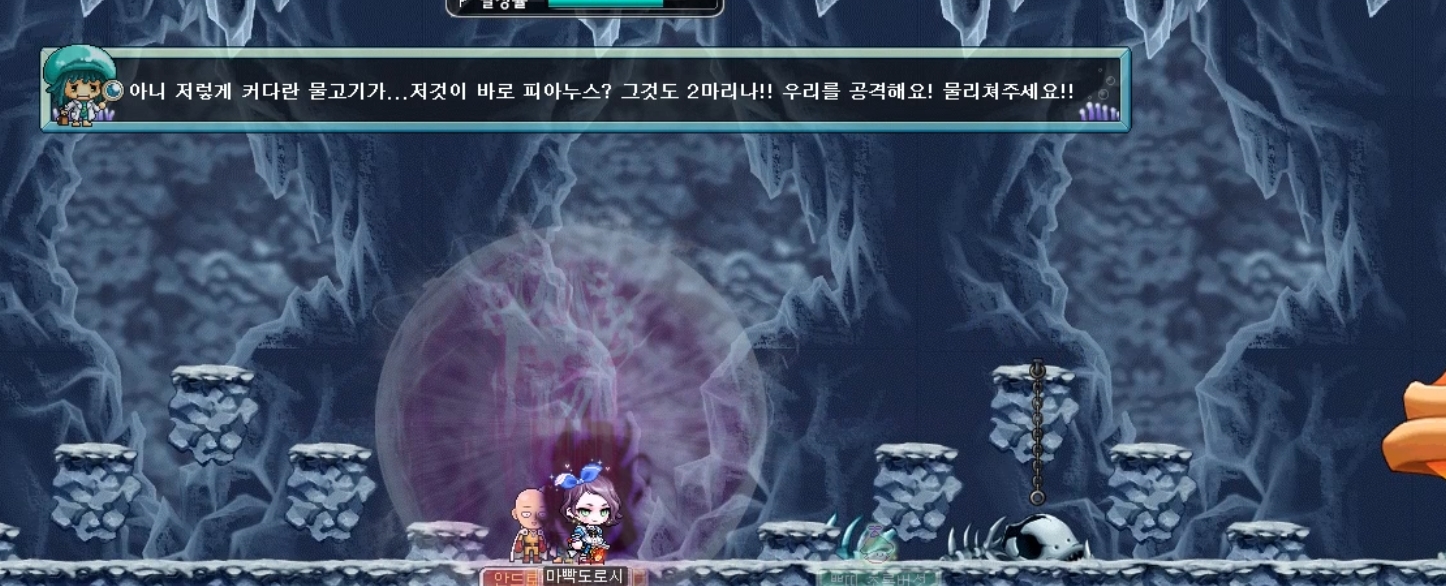
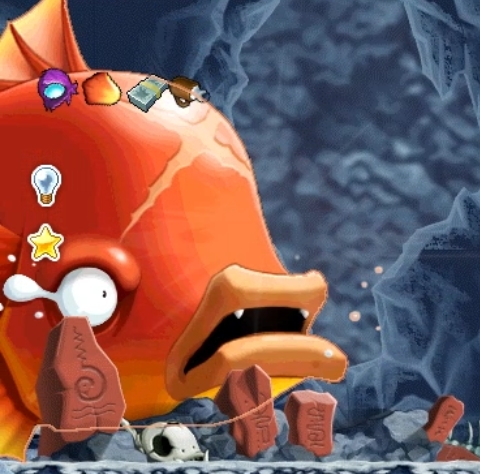
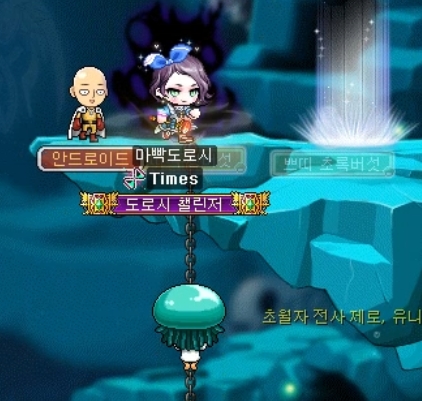
On the final map, two Pianus appear, and once again they are easy enough to defeat now. It does make me wonder what these monsters were like back in the day in terms of stats.

As a reward, this one offers the fairly well-known Kenta’s Goggles, and since two Pianus appear and each drops one scale, doing the daily limit of 5 runs is enough to obtain one pair of goggles.
Thank you for reading.