A beginner’s guide to the three obstacle map types you need to know in MapleStory The Seed #집중력 게임
마빡도로시
Hello
This entry is about concentration-based games, focusing on content that requires timing and control
With that in mind, I covered Floors 22, 23, and 43, which are representative obstacle floors that beginners should learn early on
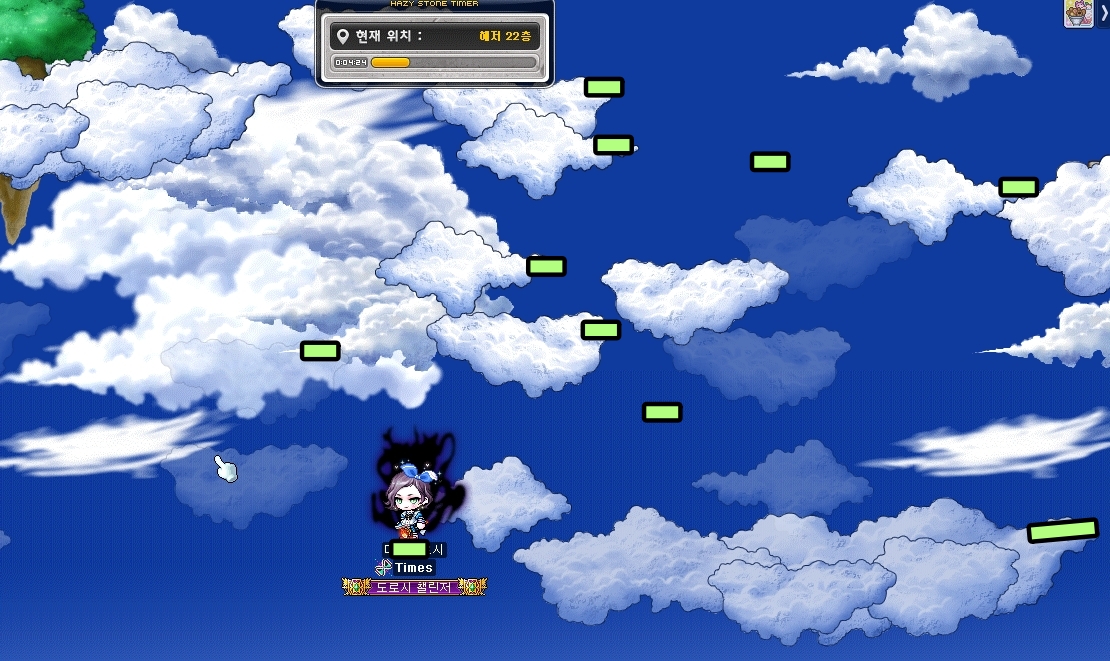
The Seed Floor 22

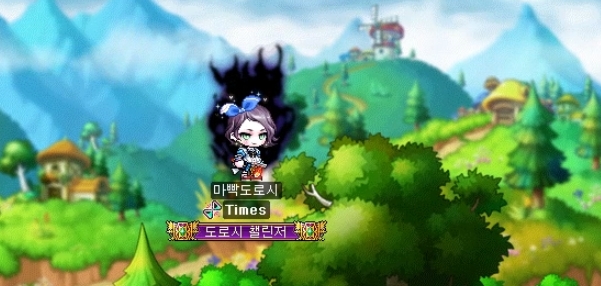
The Seed Floor 22 is an Orbis-themed map. It can feel fairly daunting the first time through, but once you get used to it, it becomes one of the more manageable maps. Being able to practice it with practice tickets is also a significant advantage
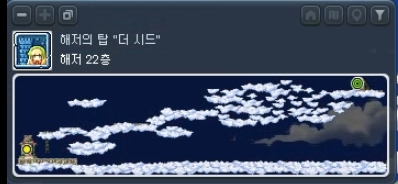
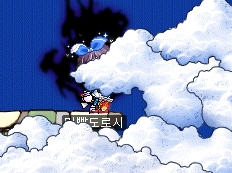
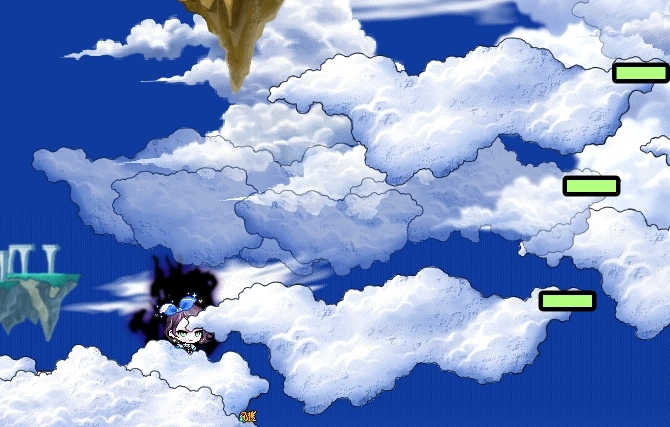
Broadly, the map can be divided into an early section and a later section. The early section includes hidden spikes and openings concealed by clouds, while the later section features cloud platforms that periodically disappear and reappear

One shared mechanic is that if you fall below the clouds, the amount of time you can remain inside The Seed is reduced by 1 minute. If you are taking it slowly through things like World Archive, this is not a severe penalty, but during a time attack, a single fall here effectively means the run is over, so the loss is substantial
The Seed Floor 22 : Early Section
-
Keep holding the right directional key
-
Climb the ladder, then walk right until you get hit by the spikes
-
After taking the spike hit, jump twice in a row
-
Walk down
-
Jump from the edge of the visible platform, take one step, then jump up
-
Jump up near the U-shaped indentation

-
Jump from the edge of the visible platform, take one step and jump, then take another step and jump again
-
Jump up just before the platform's black border
-
Keep walking, then when your head is covered to about this point, jump, take one step, and jump again
-
For the final part, simply jump over the clearly visible boundary

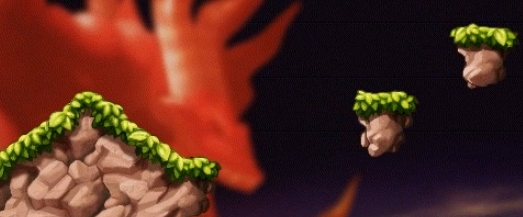
The Seed Floor 22 : Later Section
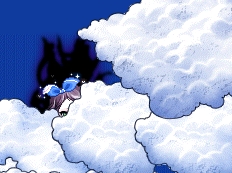
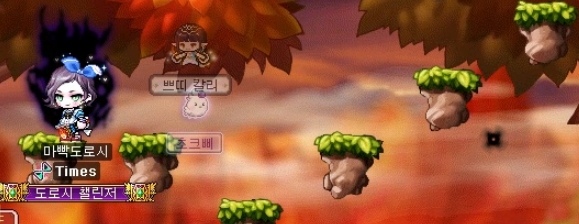
In the later section, the clouds repeatedly appear and disappear on a cycle. However, most clouds have an invisible platform at the far right edge that will keep you from falling even after the cloud vanishes, so as long as you do not rush, you can move through this part safely
At the start, that first section has invisible platforms in those spots, so when the cloud on the first level appears, you can cross over and climb all the way up
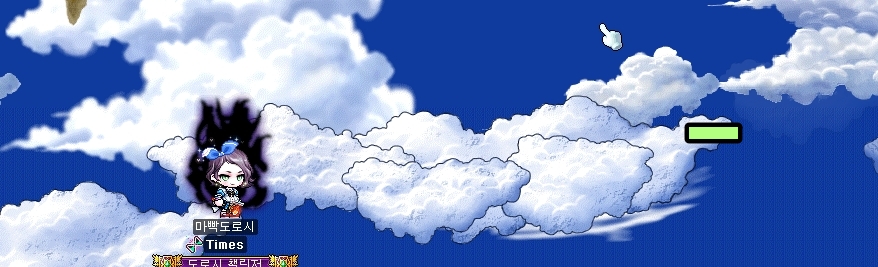
After that, move to the far end of the next long cloud and wait there
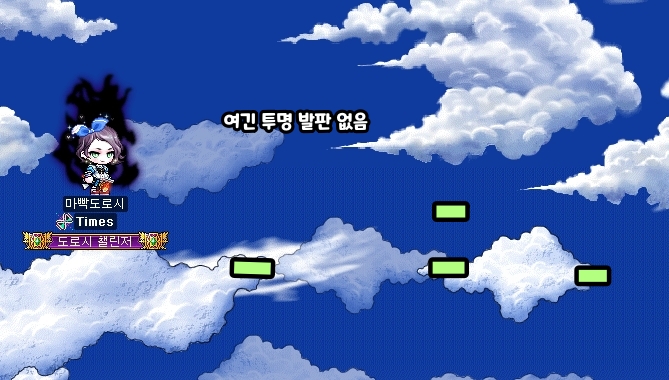
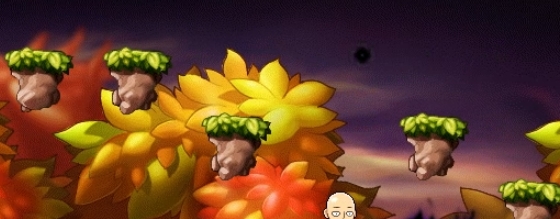
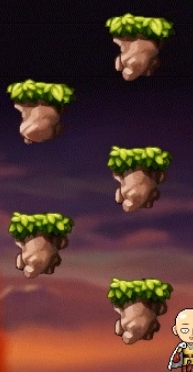
From there, move according to the position of the platform above. The main points are that you should wait at the far right edge, and that some clouds do not have a platform above them. Even on clouds without an upper platform, staying at the far right edge will drop you into a safe zone. The final platform is also slightly small
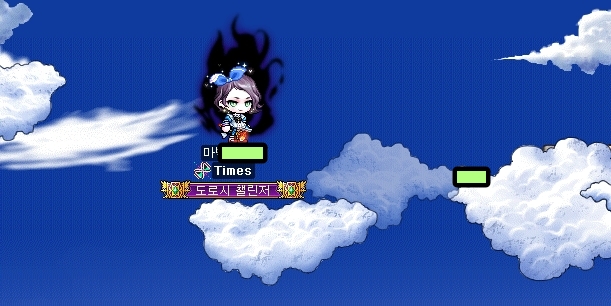
In the final section, you can jump directly to the last cloud, but it is safer to move through after the two clouds before it have appeared
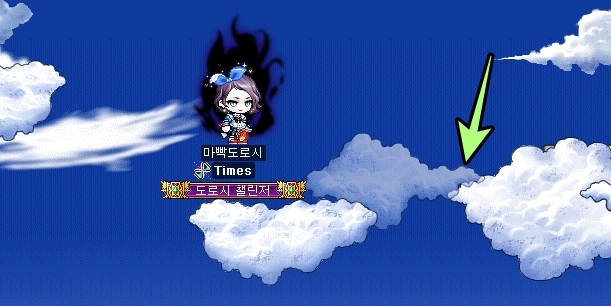
The last platform you need to jump to is the trickiest part of Floor 22. There is only footing up to the protruding raised part, so you need to jump as if bouncing off the edge to reach the landing point. After a few attempts, the timing becomes much easier to read
Finally, even if you fall, there are invisible platforms placed in several spots like this, so you usually have enough chances to climb back up. Unless you have dropped all the way to the very last level, it is better not to give up immediately and instead wait for the timing and go back up
The Seed Floor 23
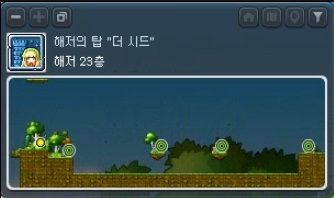
The Seed Floor 23 is a Henesys-themed map divided into three sections, and none of the platforms are visible

Unlike Floor 22, falling does not reduce your remaining time, but because it sends you back to the very start of the map, it is still a penalty during time attack. The fall counter shown there also changes after a certain number of falls, at which point Alicia's line becomes an annoyed remark saying that you fell so many times she forgot how many it was
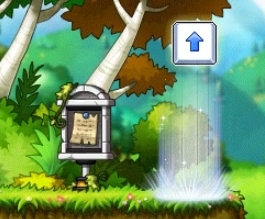

These portals act as save points. Using one briefly reveals the platforms in that section, and if you fall, you are sent back to the portal you activated, which makes them extremely useful while practicing
The most important part of Floor 23 is, naturally, memorizing the route. I have seen some players memorize it using scale degrees, but that was not the case for me, so I used numbers instead. Most people set the floor with the portal as 2, but as long as you can memorize it, any method works, so use whichever approach feels most comfortable
-
Section 1 : 112345565654
-
Section 2 : 2312343
-
Section 3 : 10101234345
When going down, you can simply walk off without making a separate jump. As with most jump-focused content, once you get used to the timing, this floor becomes much easier to clear despite the invisible platforms. In that sense, you could think of it as a smaller version of Floor 48
The Seed Floor 43

The Seed Floor 43 is a map set in Leafre, and in the past it was a random quiz map that pulled questions from your exploration records. After the rework, it became its current form, and the general consensus was that it was much easier than before
To begin with, the first section has no separate penalty. The platforms and throwing stars here also appear later, so you can treat this part as an introduction to how the mechanics work
One point that applies throughout is that when the gap between platforms is wide, as shown above, you need to jump from the very edge of the platform to reach the next one, and
in triangle-shaped sections like this, you also need to jump from the far tip as if bouncing off it to reach the next platform. After trying it once or twice, the feel becomes clear. The same principle applies in the later sections as well
This zigzag platform layout appears again later, and as long as you are not jumping only from the absolute edge every time, it is not especially dangerous
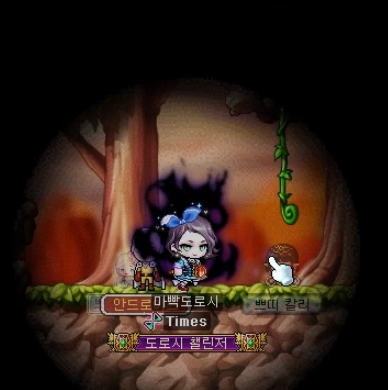
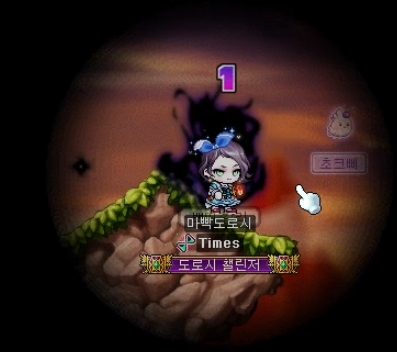
Once you take the portal into the second section, the Darkness status effect is applied, limiting your view to the area around your character. The floor visible when you first climb the rope does not have any throwing stars, so you can move through it slowly

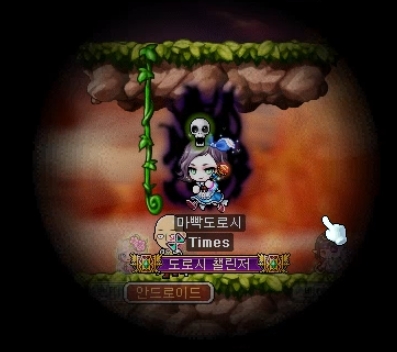
After climbing the rope, throwing stars begin to appear. Even if you are standing at the edge of the platform, you will still get hit if you remain upright, so you need to crouch, watch for the throwing star, and then move. In the second and third sections, it is better to play safely and confirm the star timing before proceeding
If you climb the zigzag platforms, there is another throwing star waiting above, so do not move immediately. Go to the opposite side first, then continue
In this triangle section, it is fine even if you get hit, so the only thing you need to watch for is the edge jump mentioned earlier

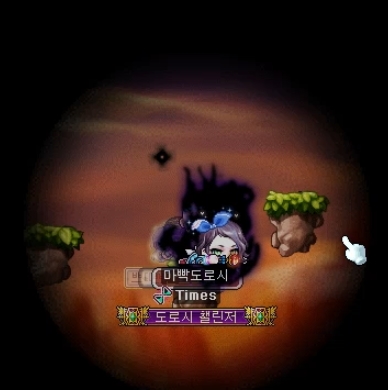
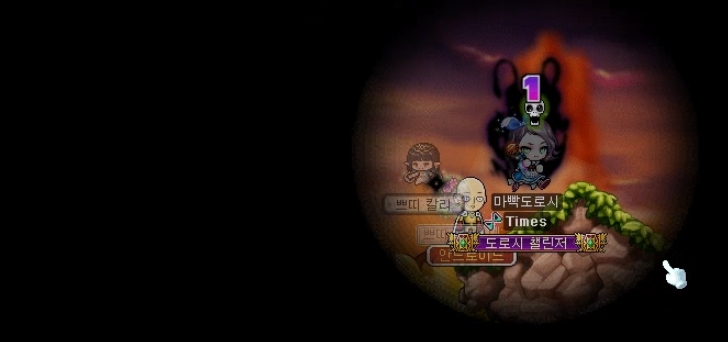
When you enter the final third section, Confusion is applied on top of Darkness. Confusion is a debuff that reverses your directional inputs
Because of this, you need to keep holding the down directional key in this section so that your jumps function normally. Maintain that state, and only press the horizontal directional keys in reverse
Once you get past the zigzag platforms, two triangle-shaped platforms and throwing stars appear, but as a concession to the Darkness + Confusion debuff, no more throwing stars appear after you clear this section
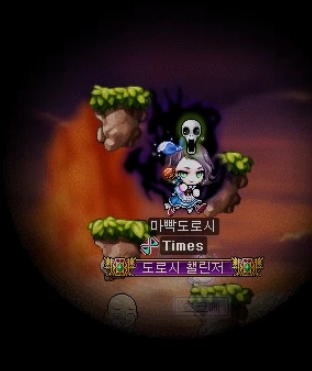
After the triangle section, zigzag platforms appear again, but unlike the first two sections, the reversed inputs make it easy to get mixed up here, so early on it is common to fall by jumping either too early or too late. This is simply something that improves with familiarity
If you climb through the zigzag section and pay a little extra attention to the platform in the middle that is slightly farther away, another close zigzag sequence follows, and clearing that will finish Floor 43 as well
Thank you for reading