DNF Mobile 4th Anniversary Next Highway Beginner’s Guide
네오필

One of the biggest events in DNF Mobile’s 4th anniversary is Next Highway. You can create a character, hit the level cap of 85 in just 30 minutes, and even start running farming dungeons right away. In this guide, I’ll go over it step by step and point out a few things new players could easily miss.
Creating Your Character and Preparing Your Setup

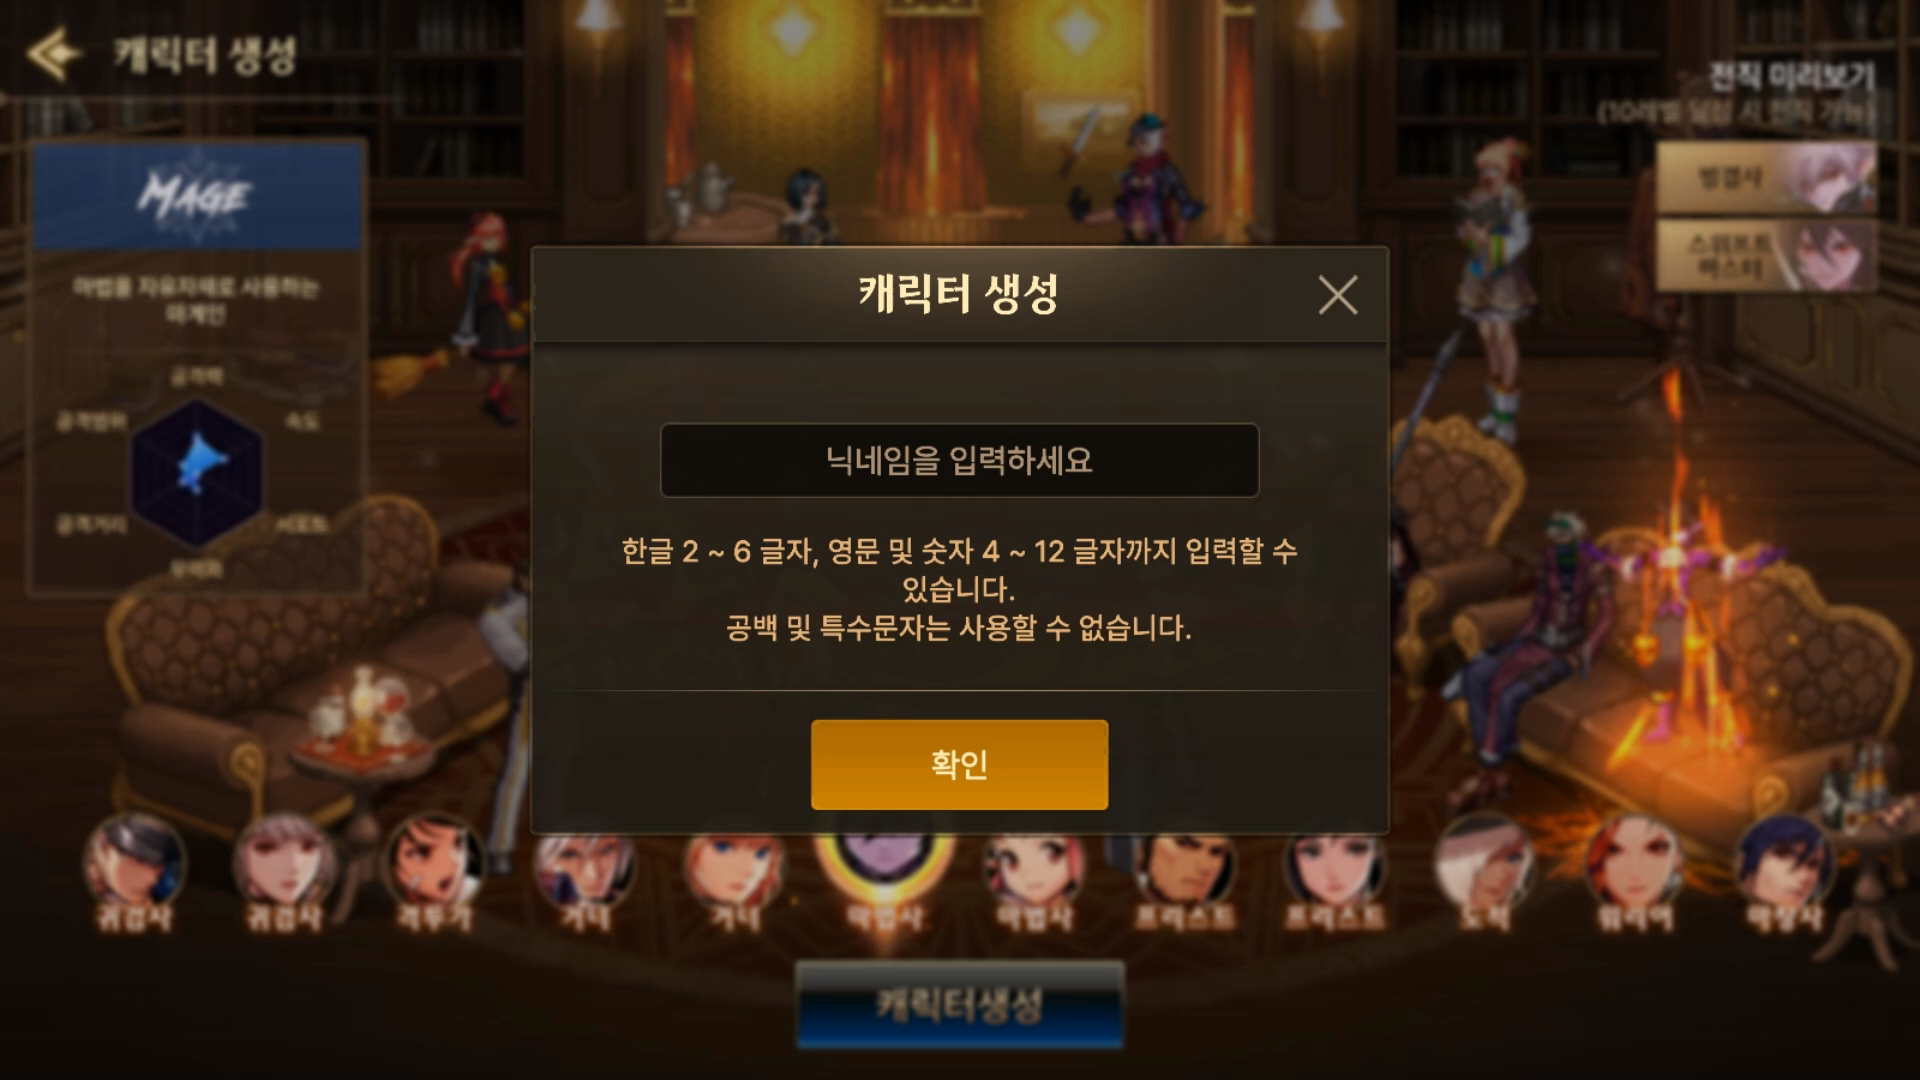
First, create your DNF Mobile character.
The classes currently considered the strongest are Glacial Master, Female Mechanic, Blade, and Male Spitfire. For beginners, I recommend Glacial Master and Female Mechanic. They are relatively easy to play, and since they are Intelligence-based characters, enchant card prices are lower.
Since the 4th anniversary gift box gives you one class change ticket, you can also pick whatever looks appealing first and change classes later.
Just keep in mind that if you switch from an Intelligence character to a Strength character, you will need to redo your magic seal and enchantments.

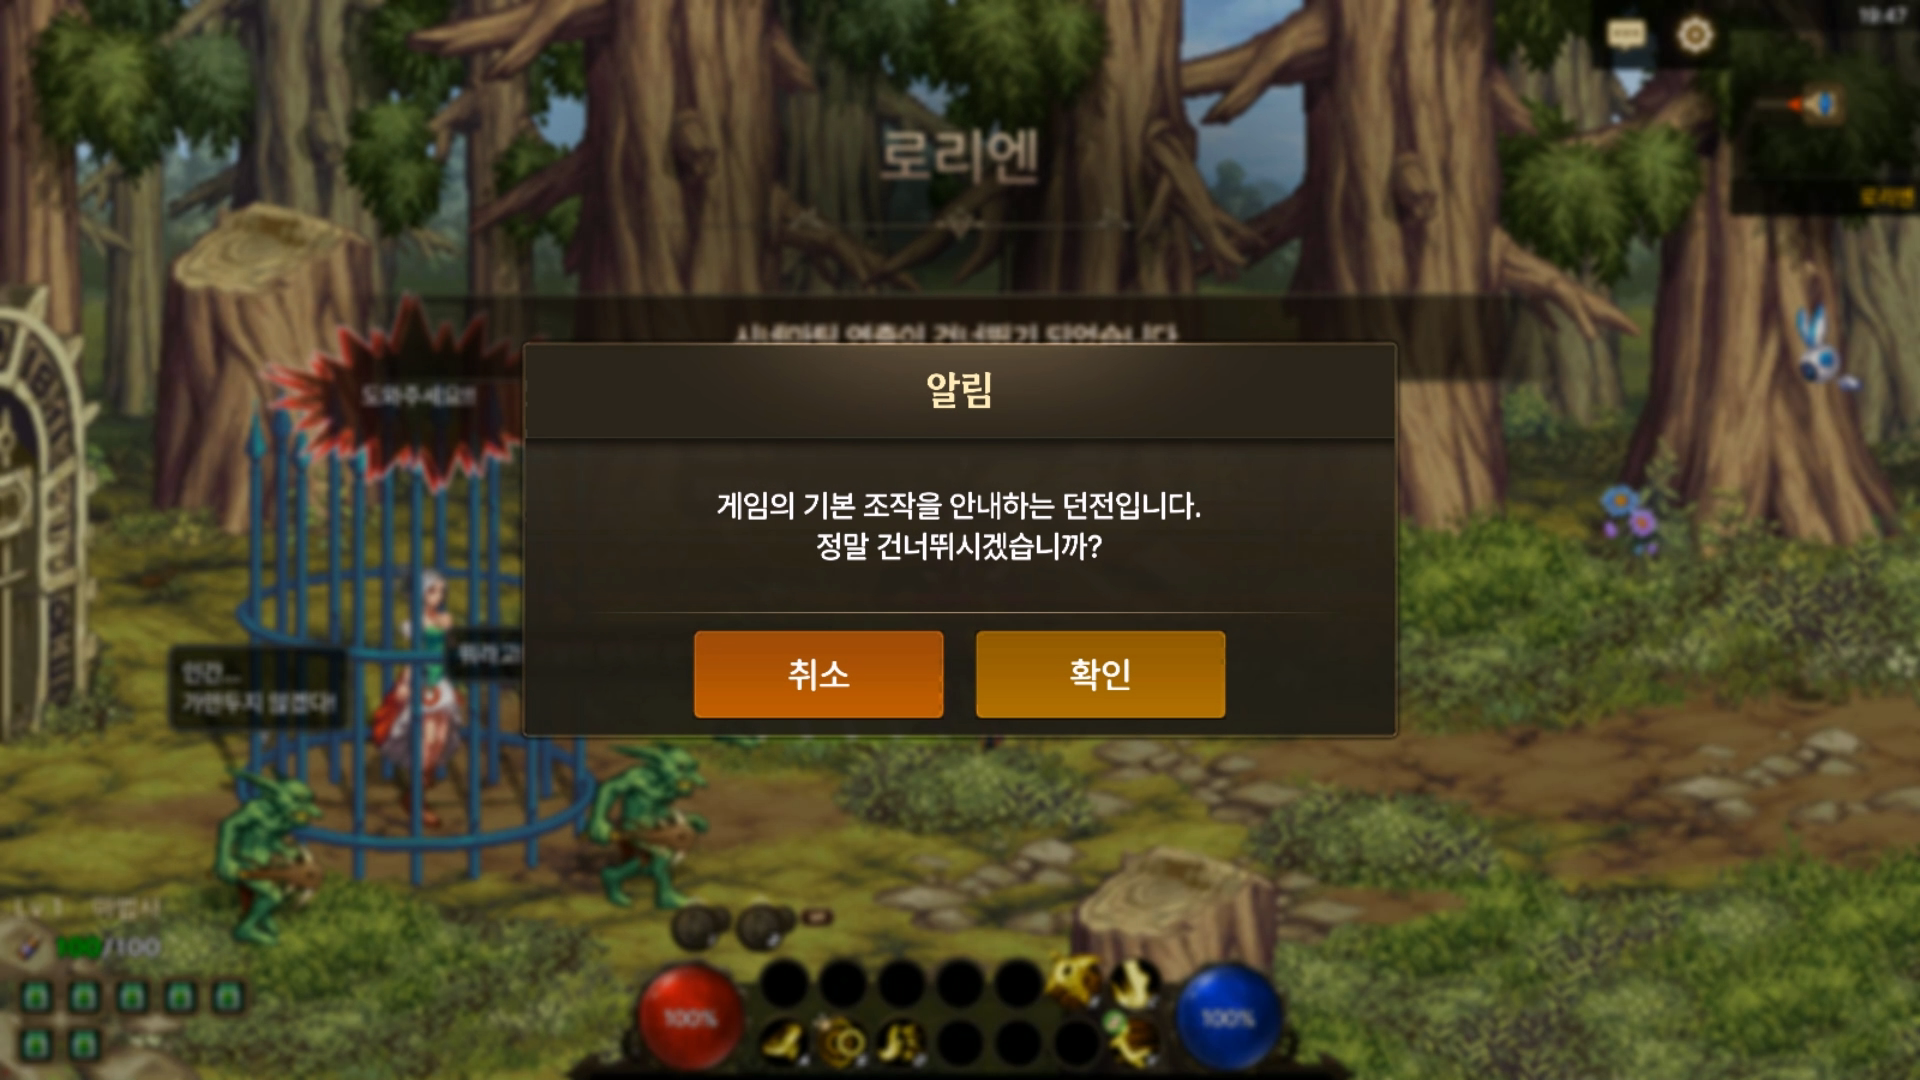
When you log in, you will start in Lorien Dungeon, the tutorial. You can skip it by pressing ESC.

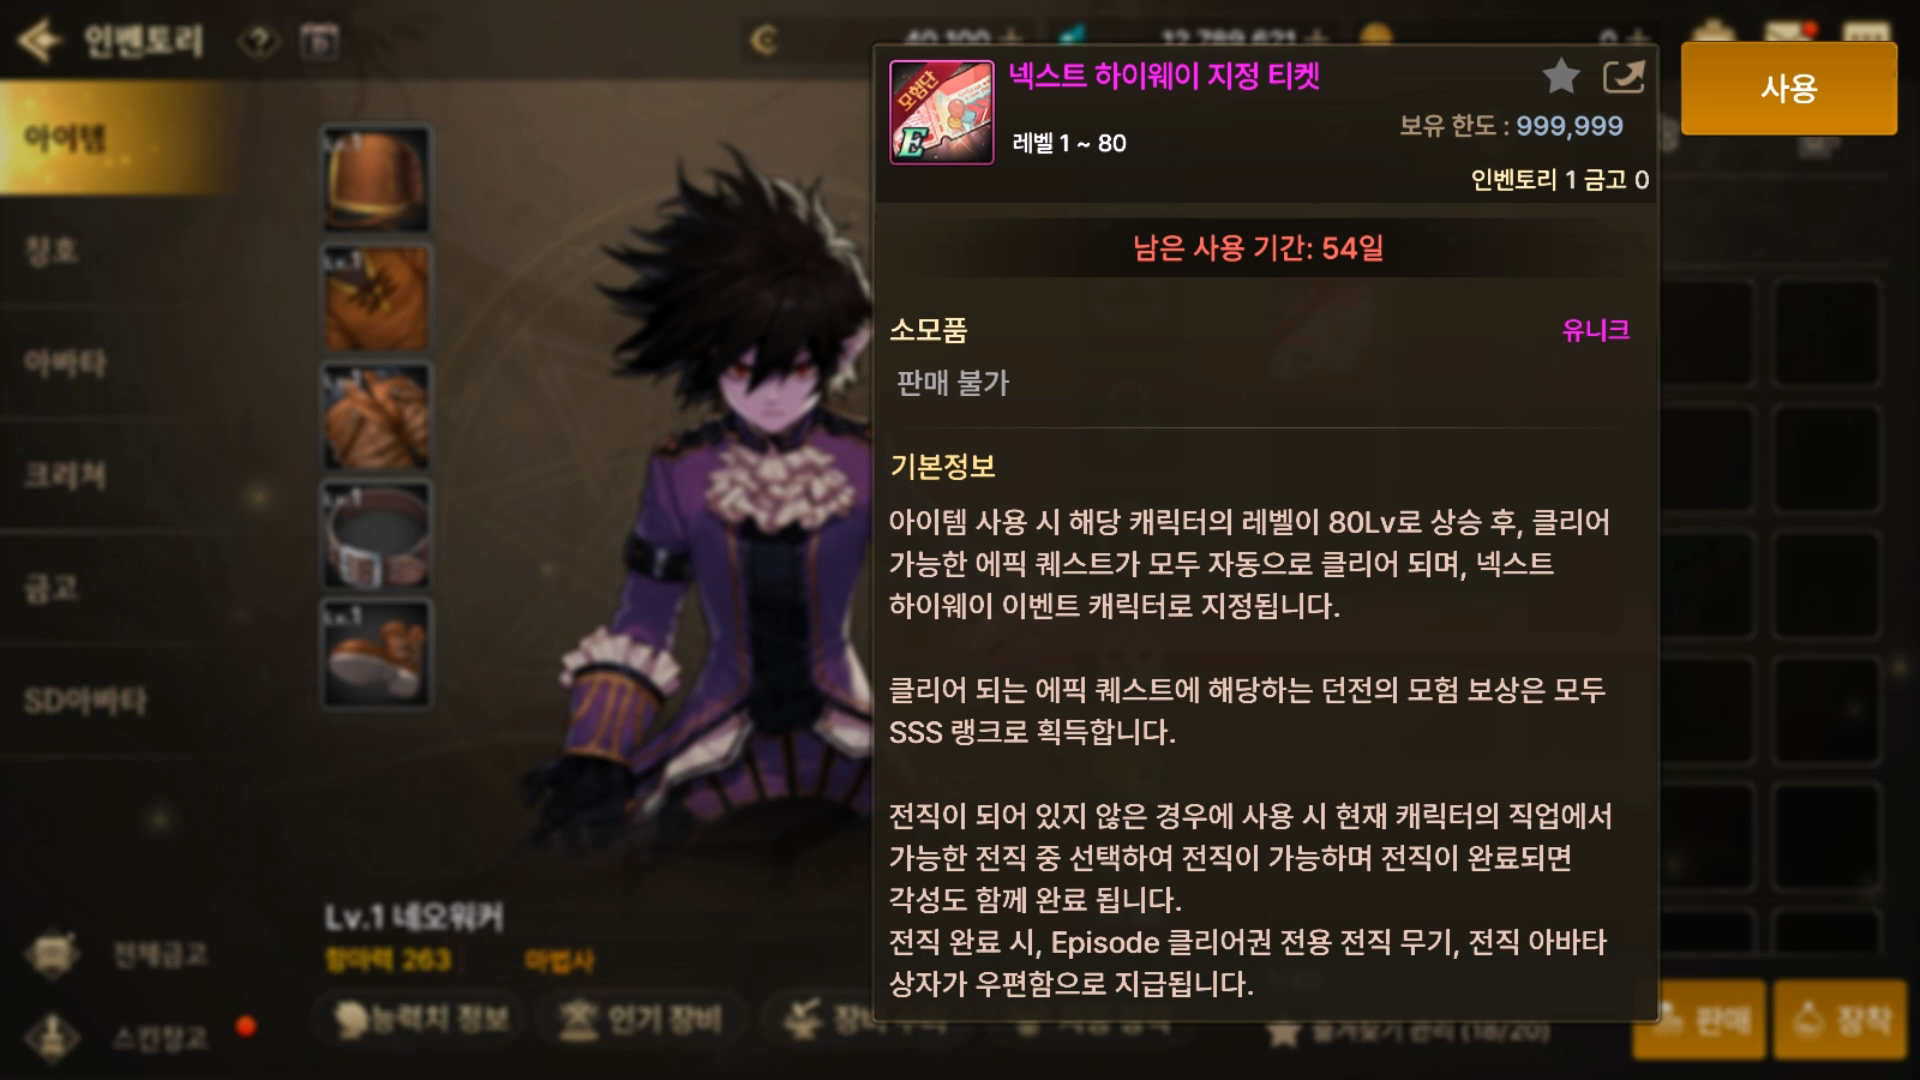

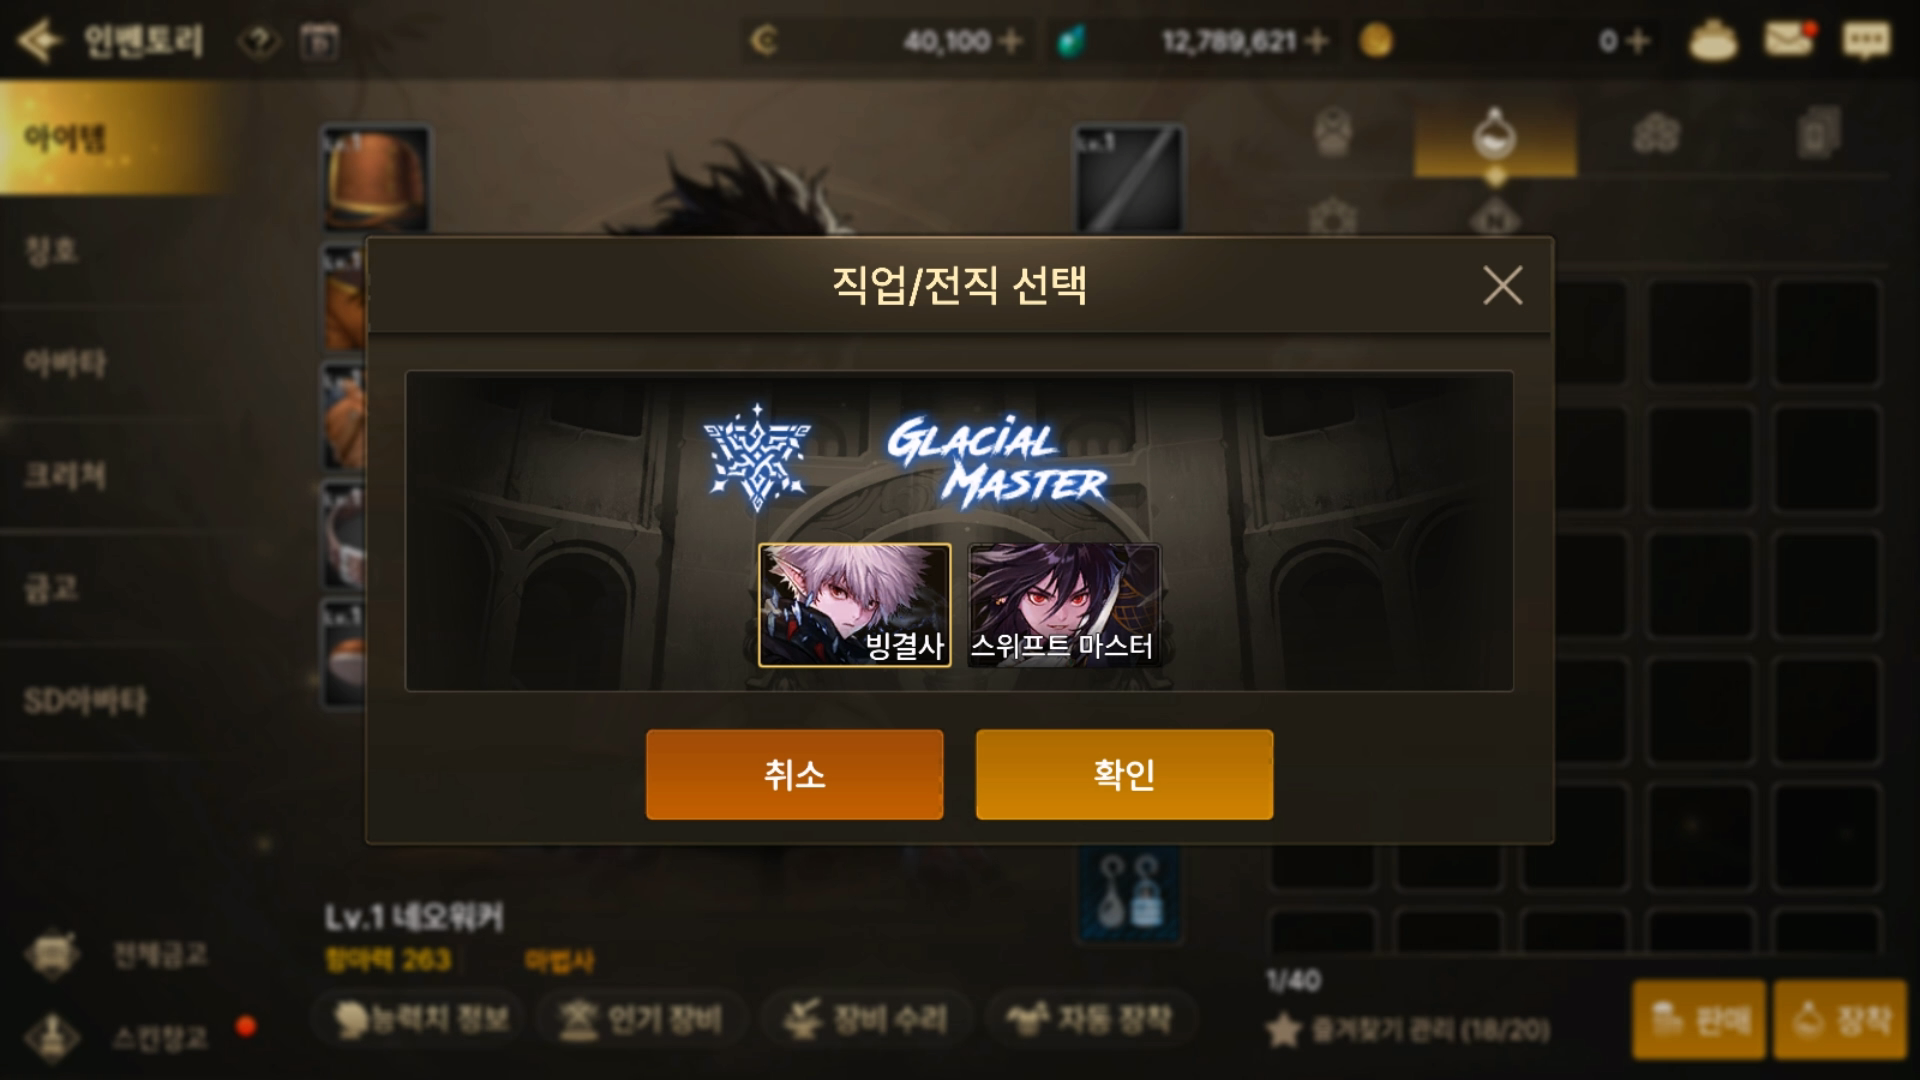
Once you reach Seria’s room, use the Next Highway designation ticket and select your advancement.

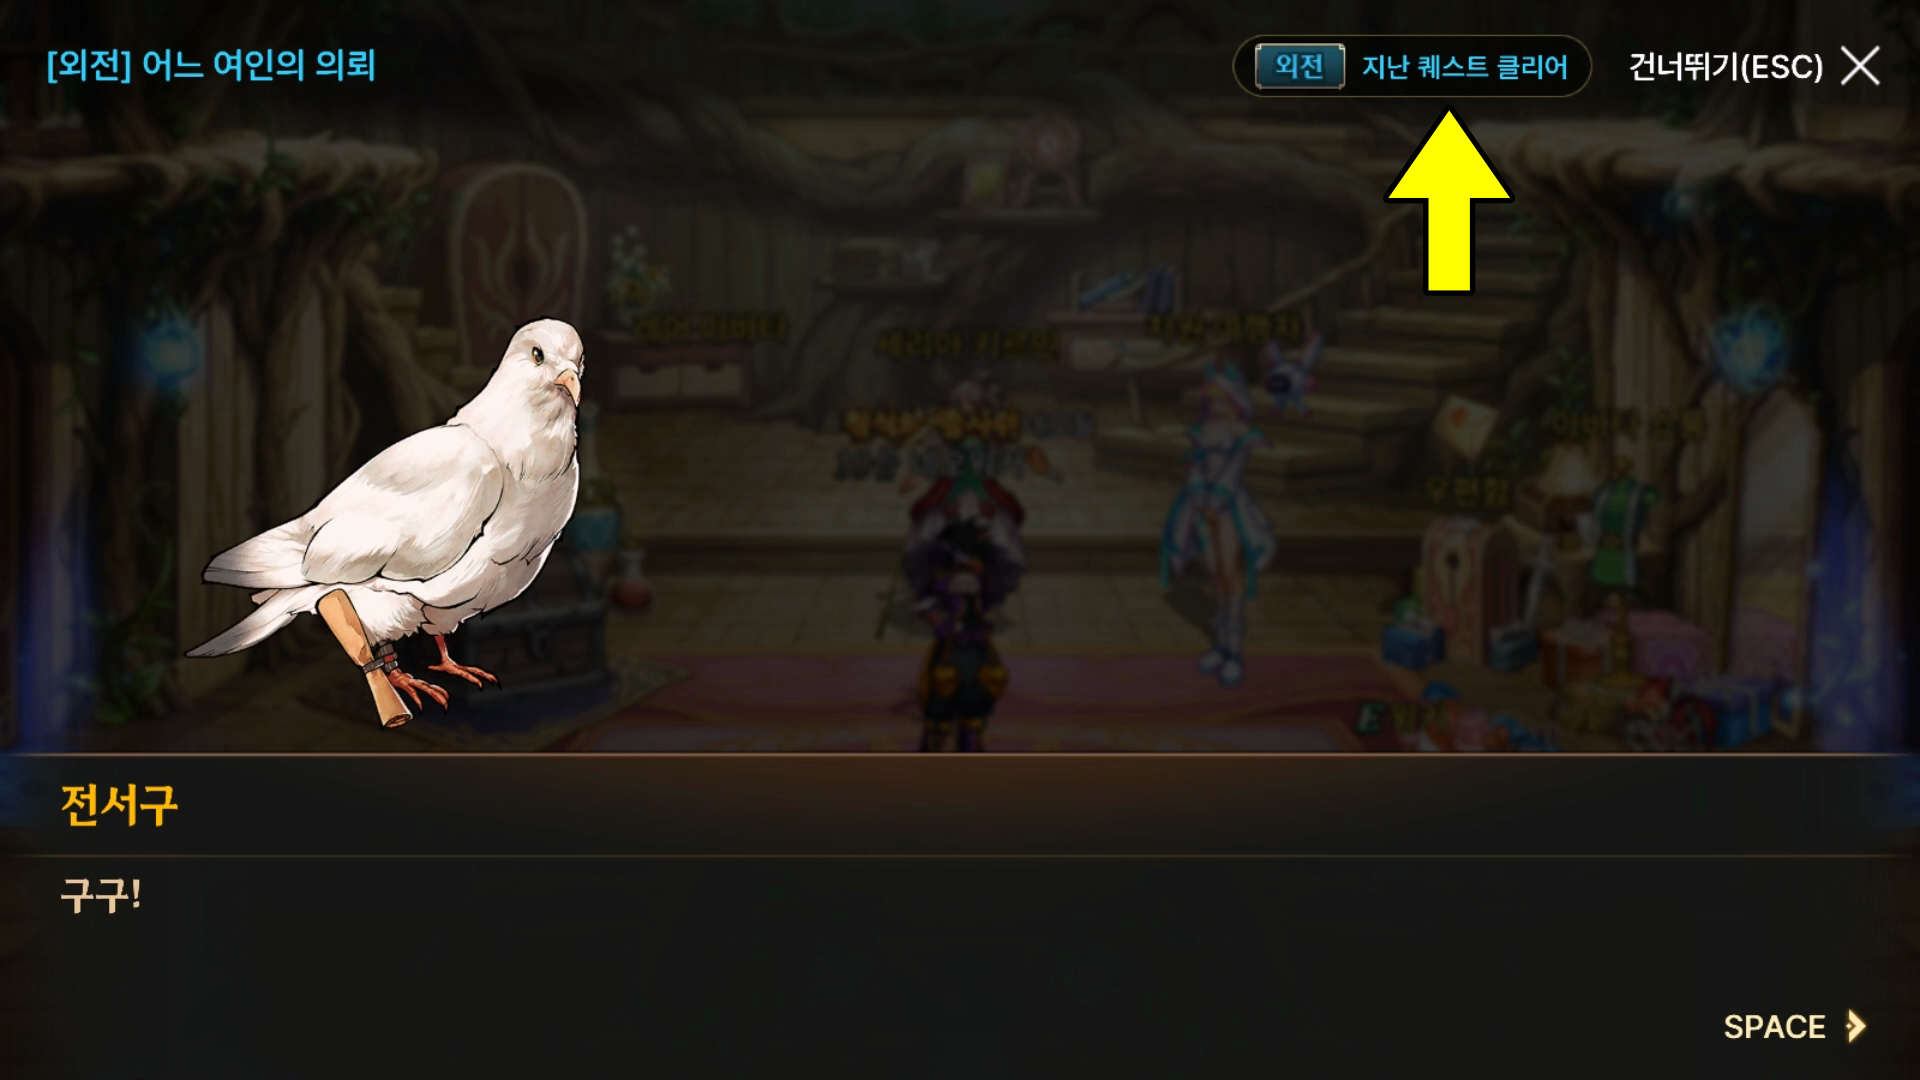
If you want to read the quest story, you can keep going normally. Otherwise, you can skip it by clicking the Clear Previous Quest button in the top right.

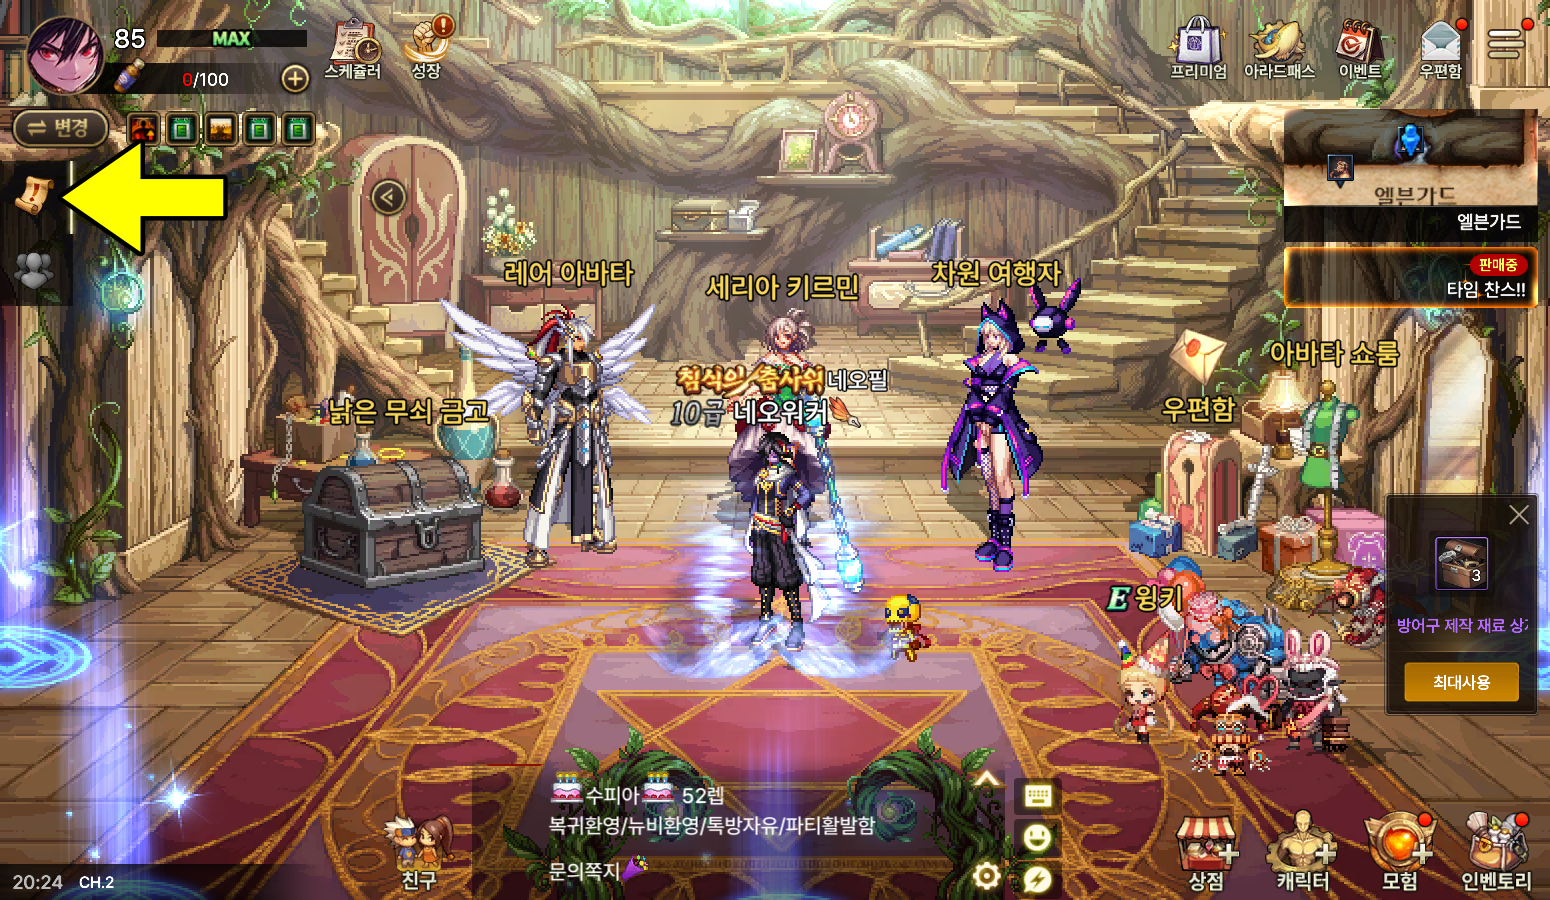
Then click the scroll icon on the left side of the screen.

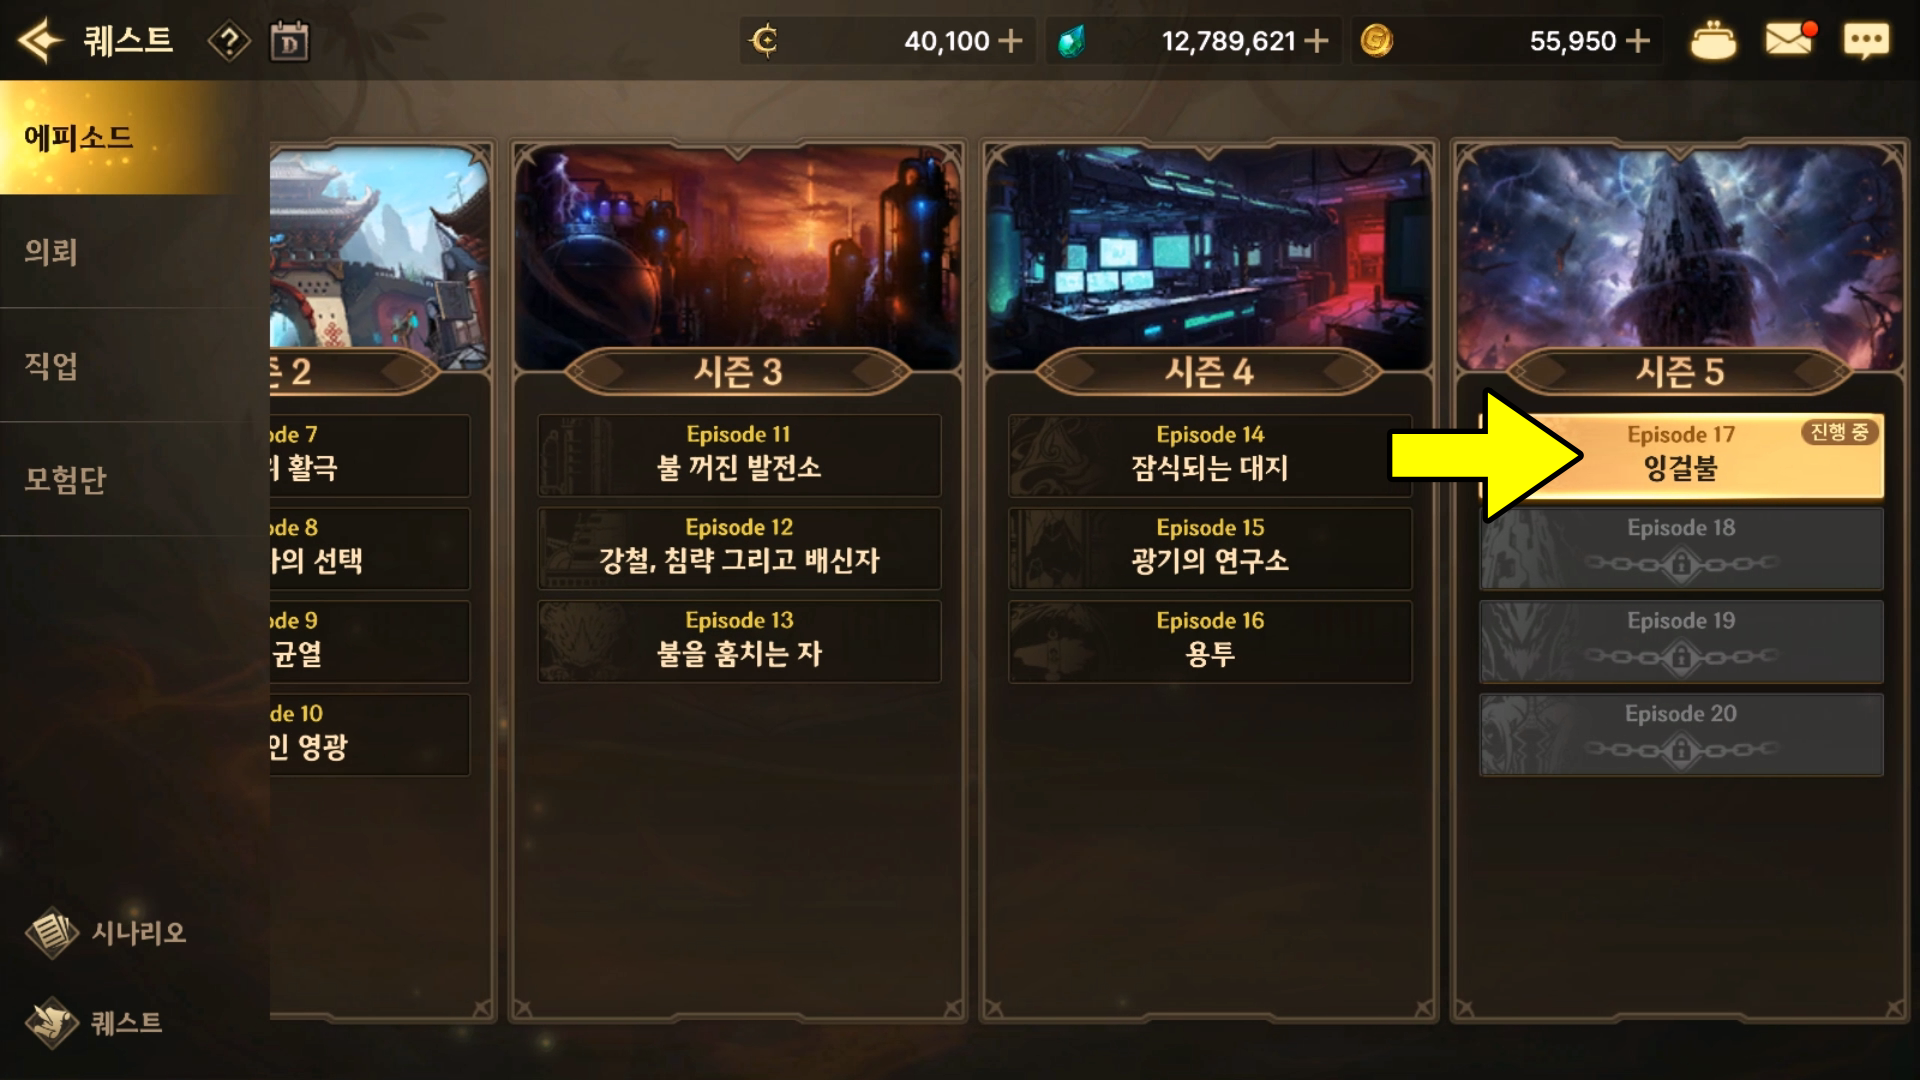
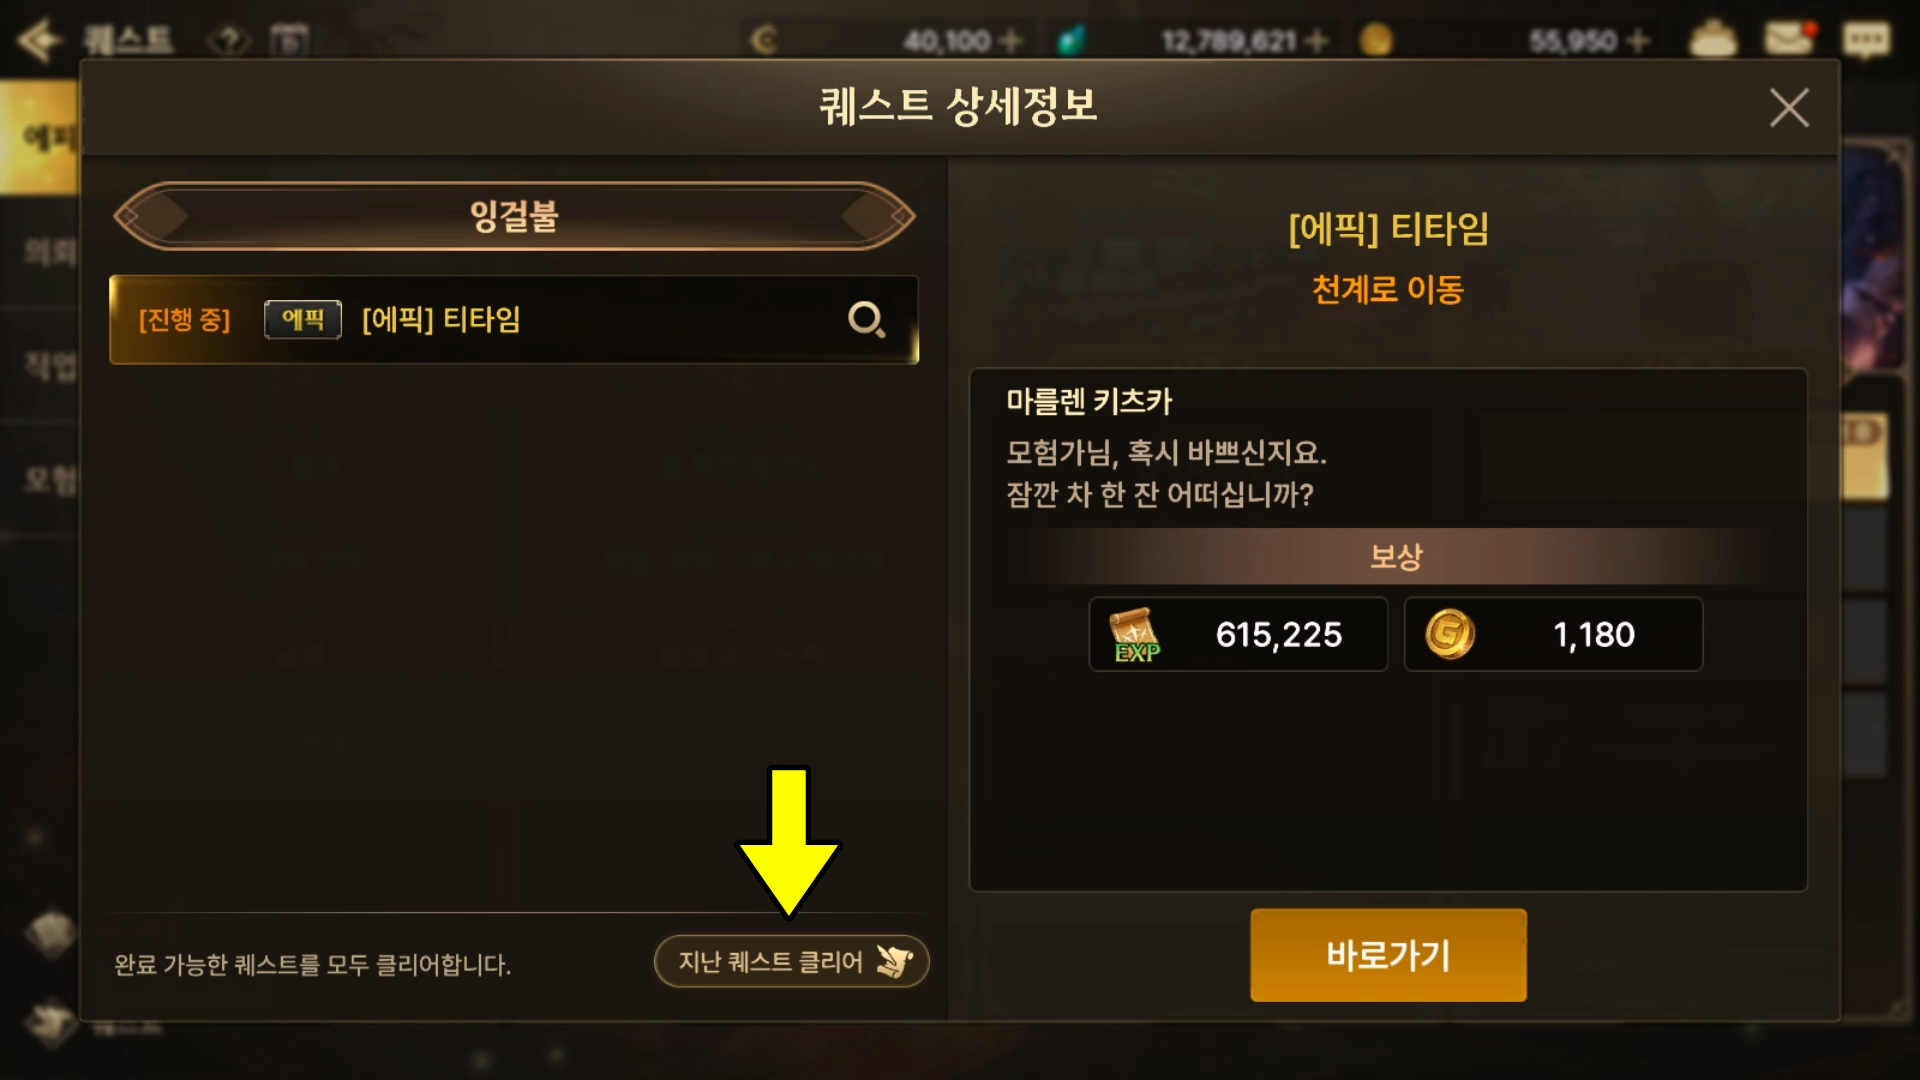

Select the Episode and Request Quest section at the very end, then use Clear Previous Quest.
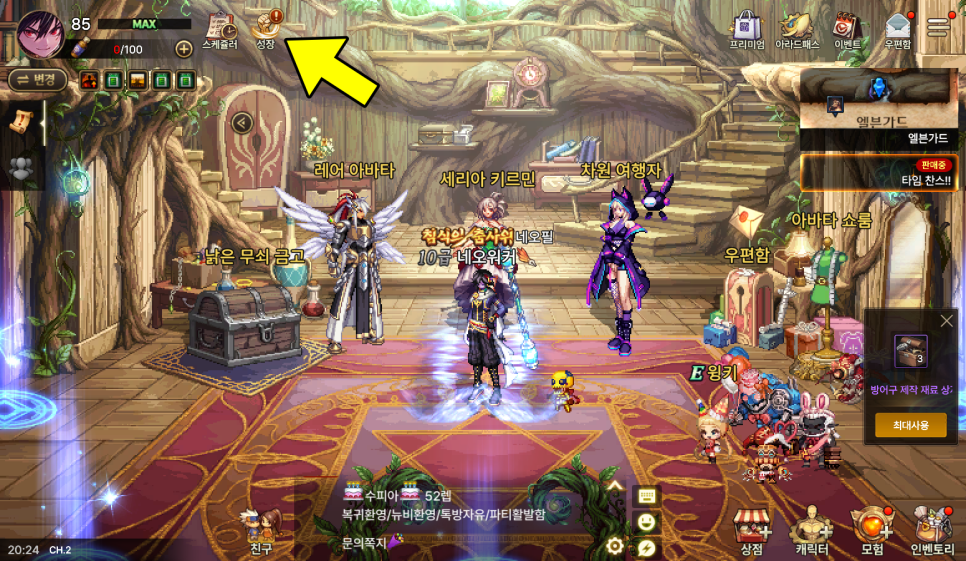
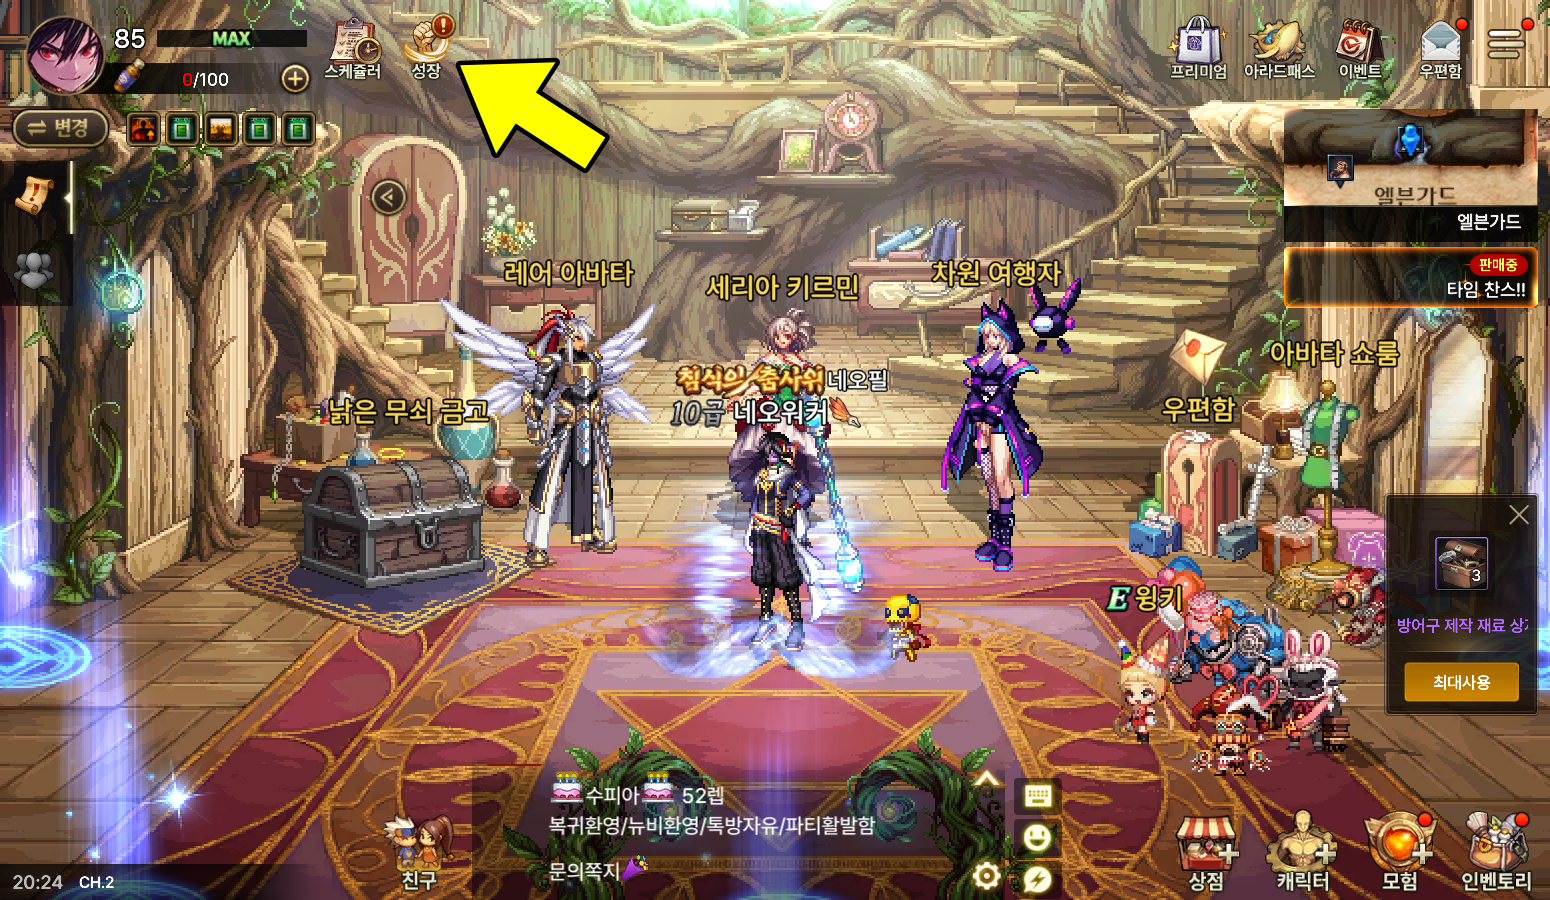

Before you start setting everything up properly, go to the Growth menu at the top, then open the Growth Comparison tab.
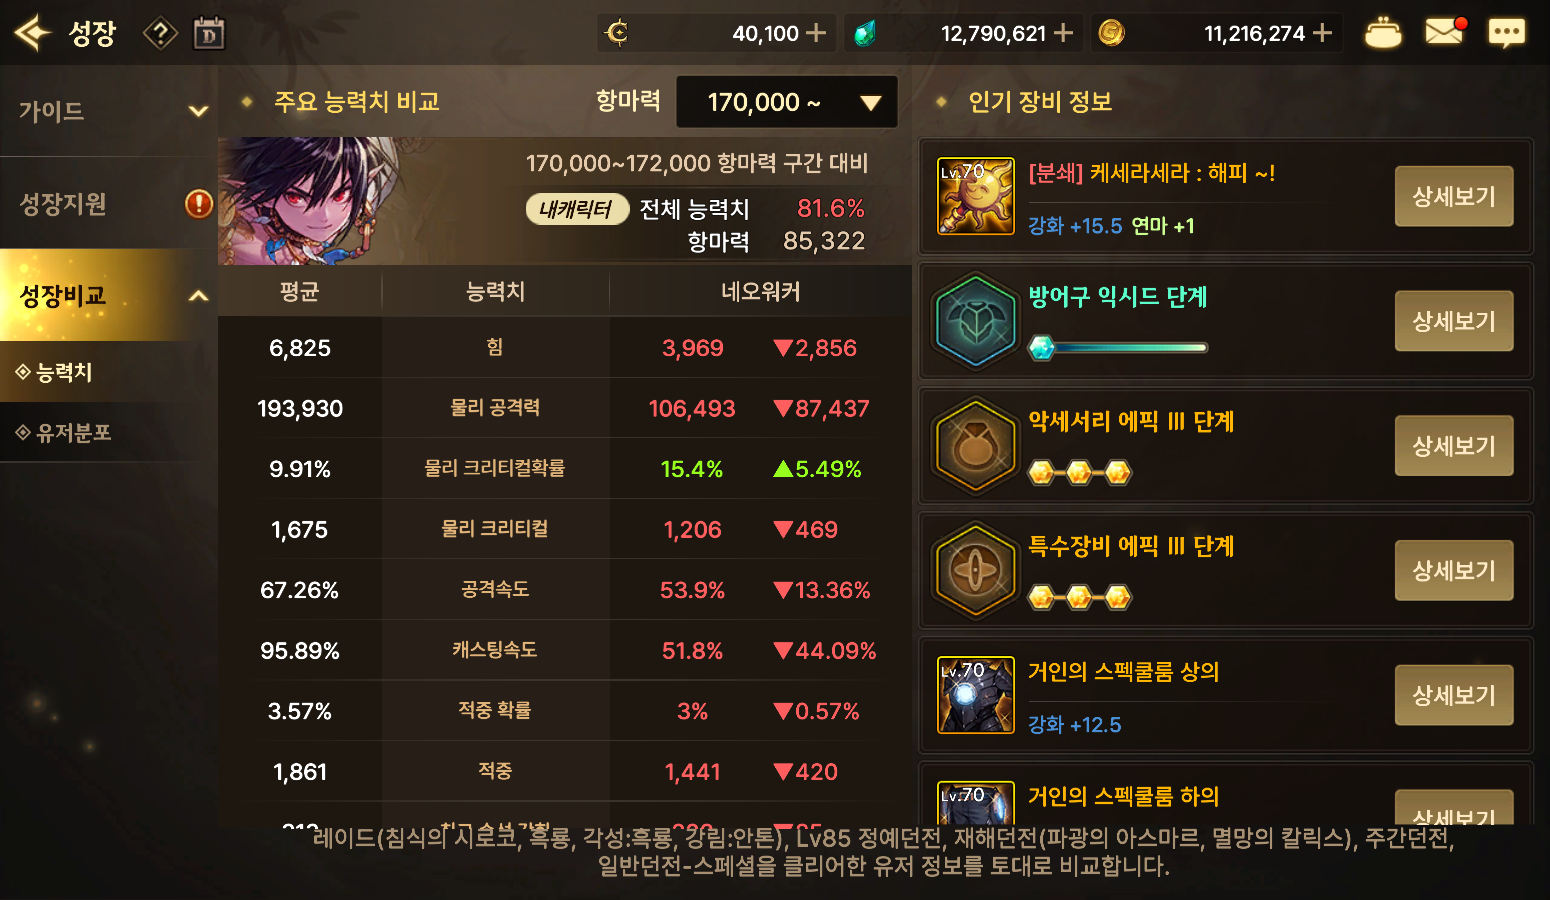
If you set the Combat Power range to around 170,000–180,000, you can check the gear and builds most commonly used by average fully built players.
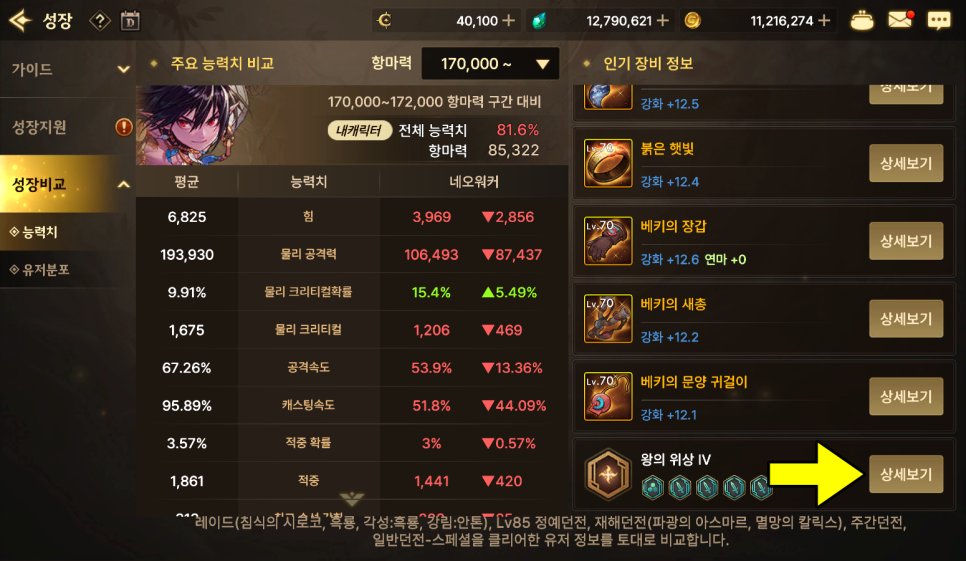

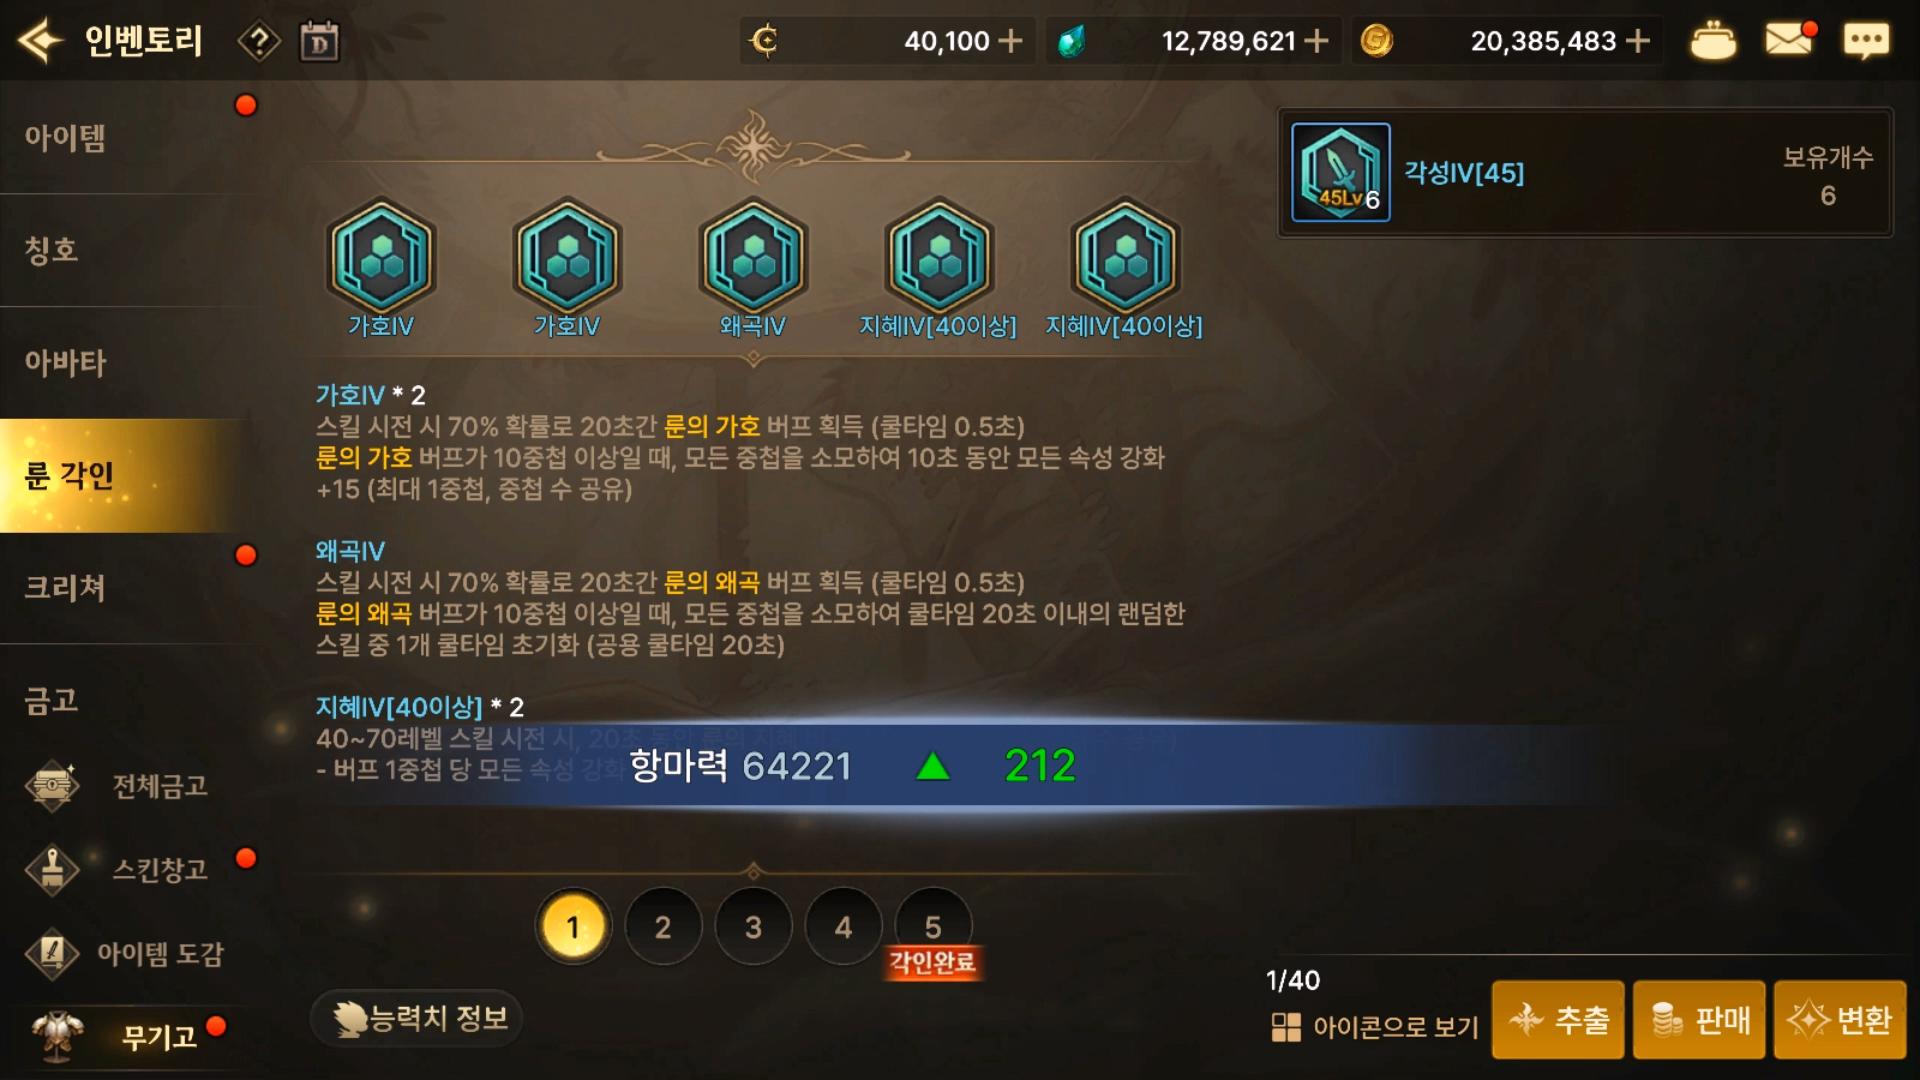
Here, click Detailed View in the Rune section at the very bottom.
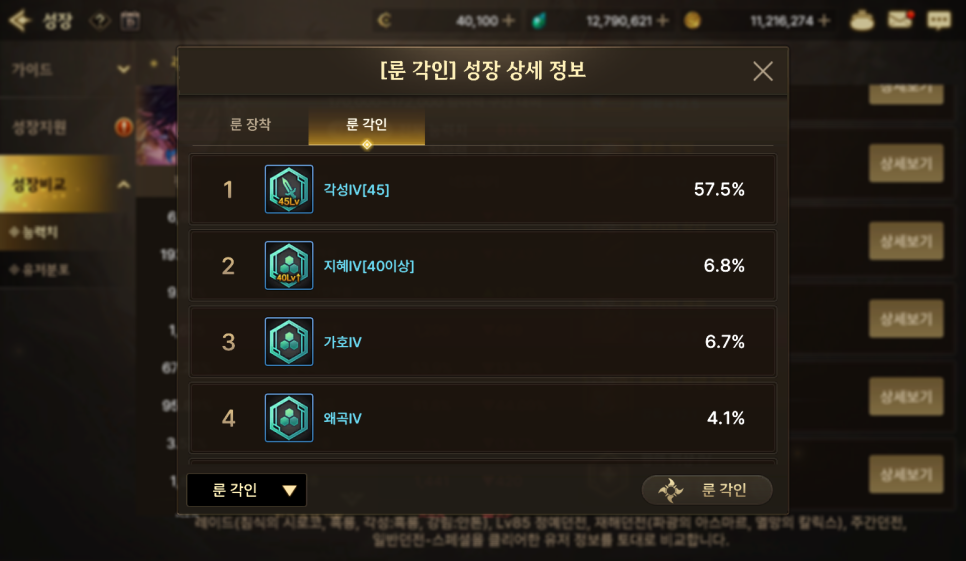

Check which runes are used most often in Rune Equip and Rune Engraving.
For Swift Master, the most commonly used one is Awakening 45.
Growth Missions

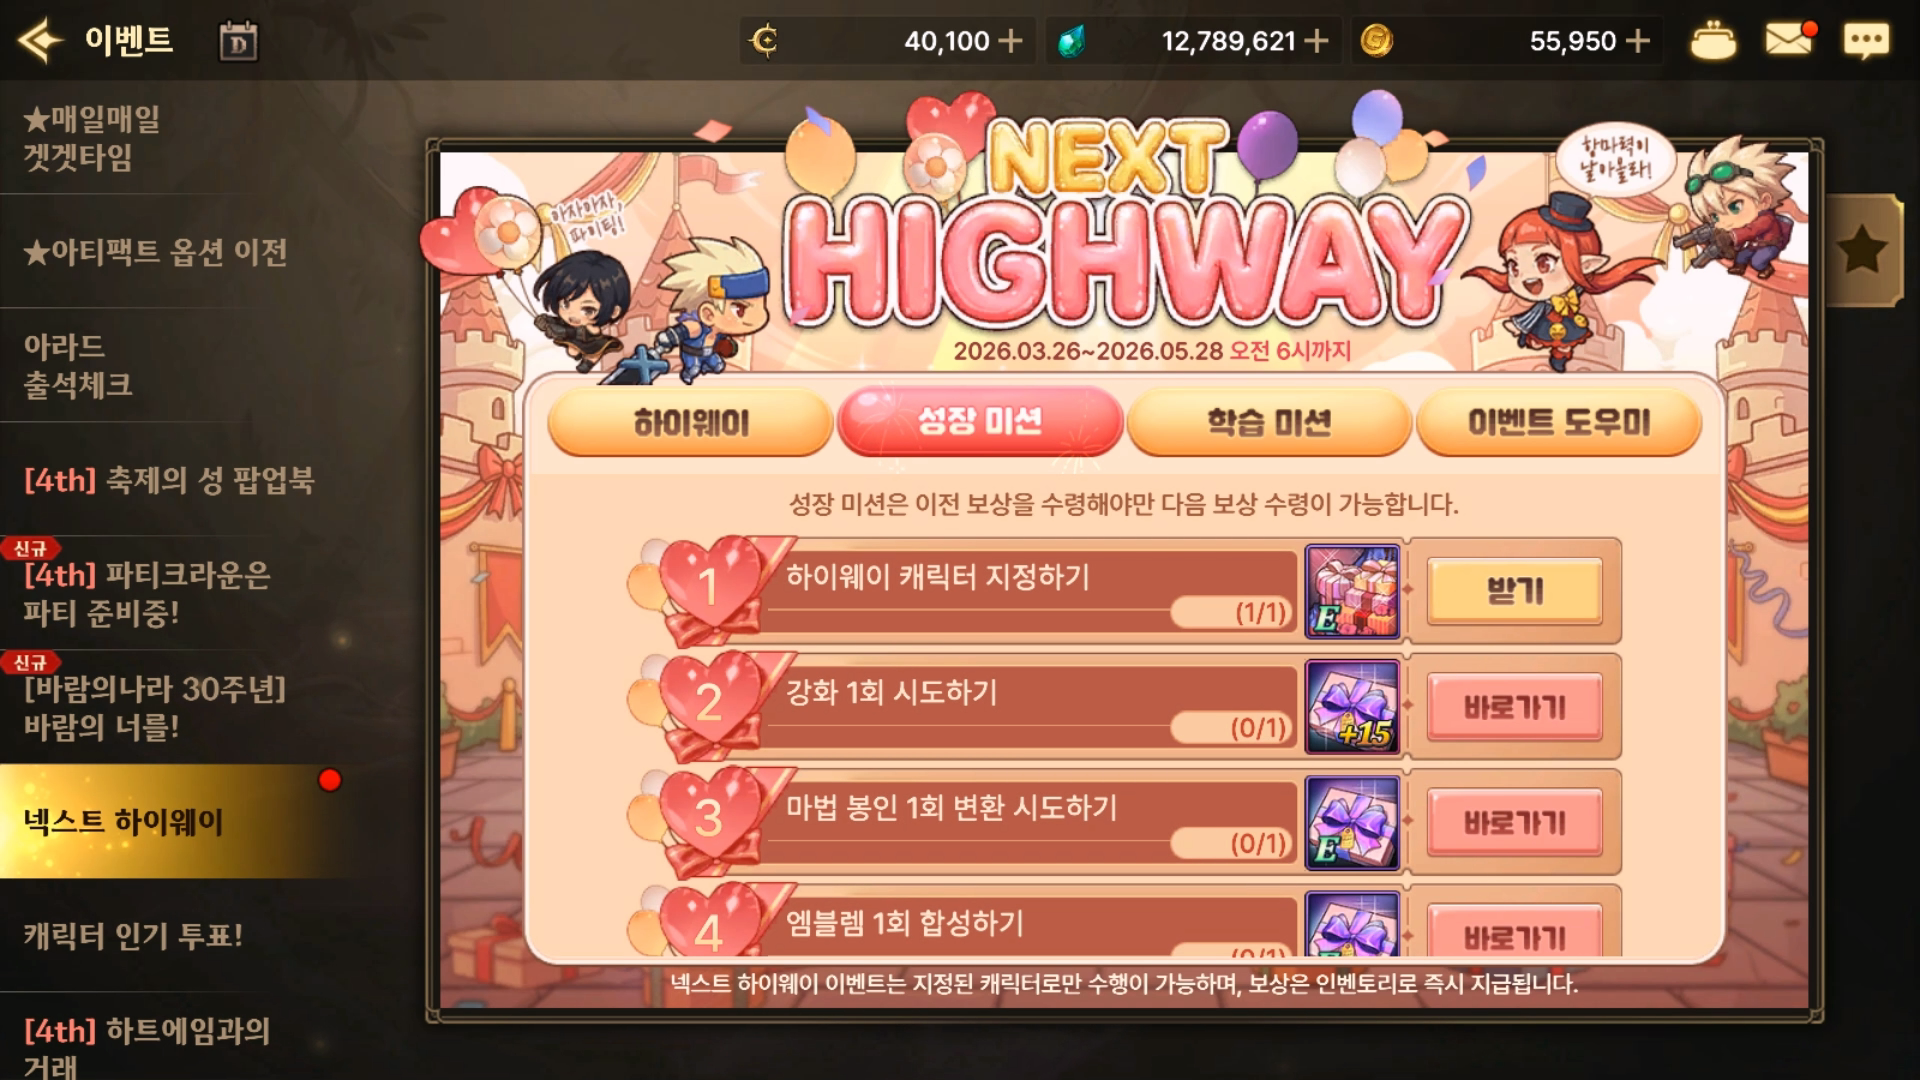
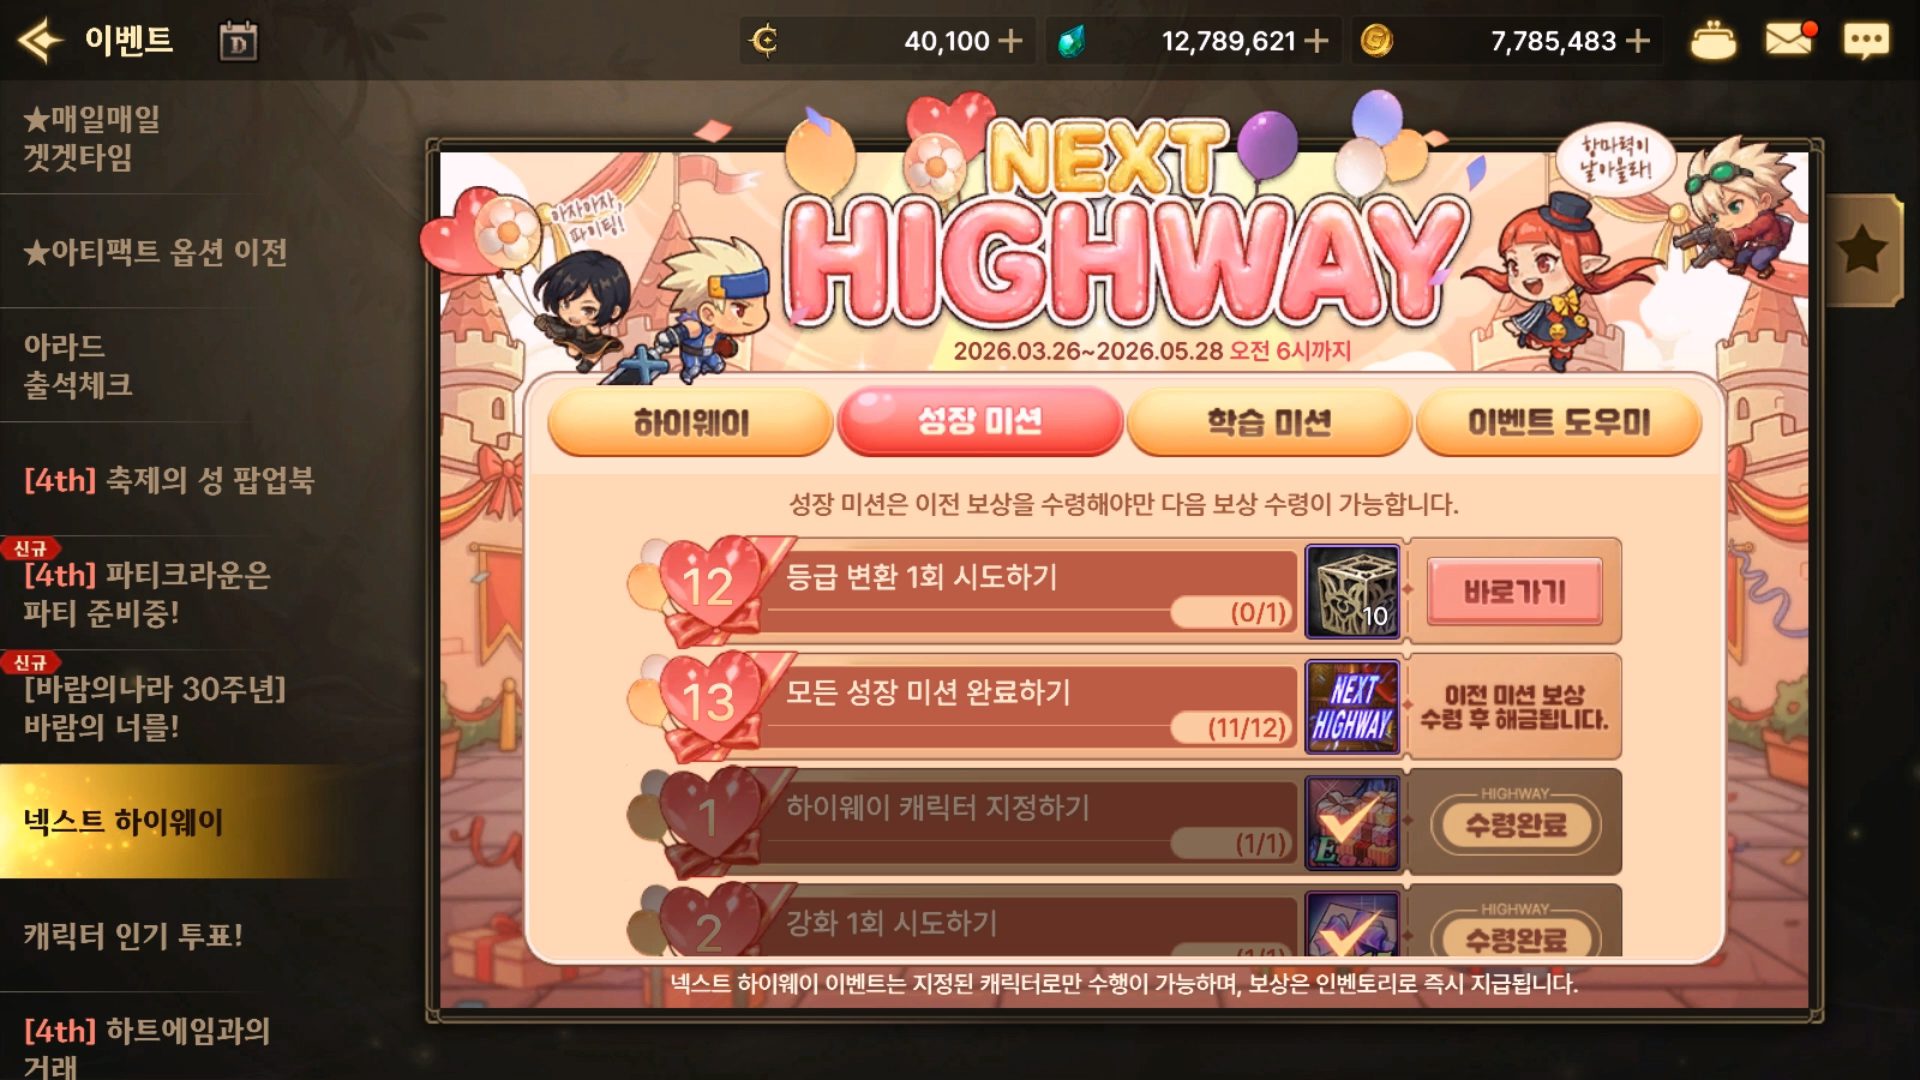
Now go to the event menu, select Growth Mission in the Next Highway tab, and claim the first gift.

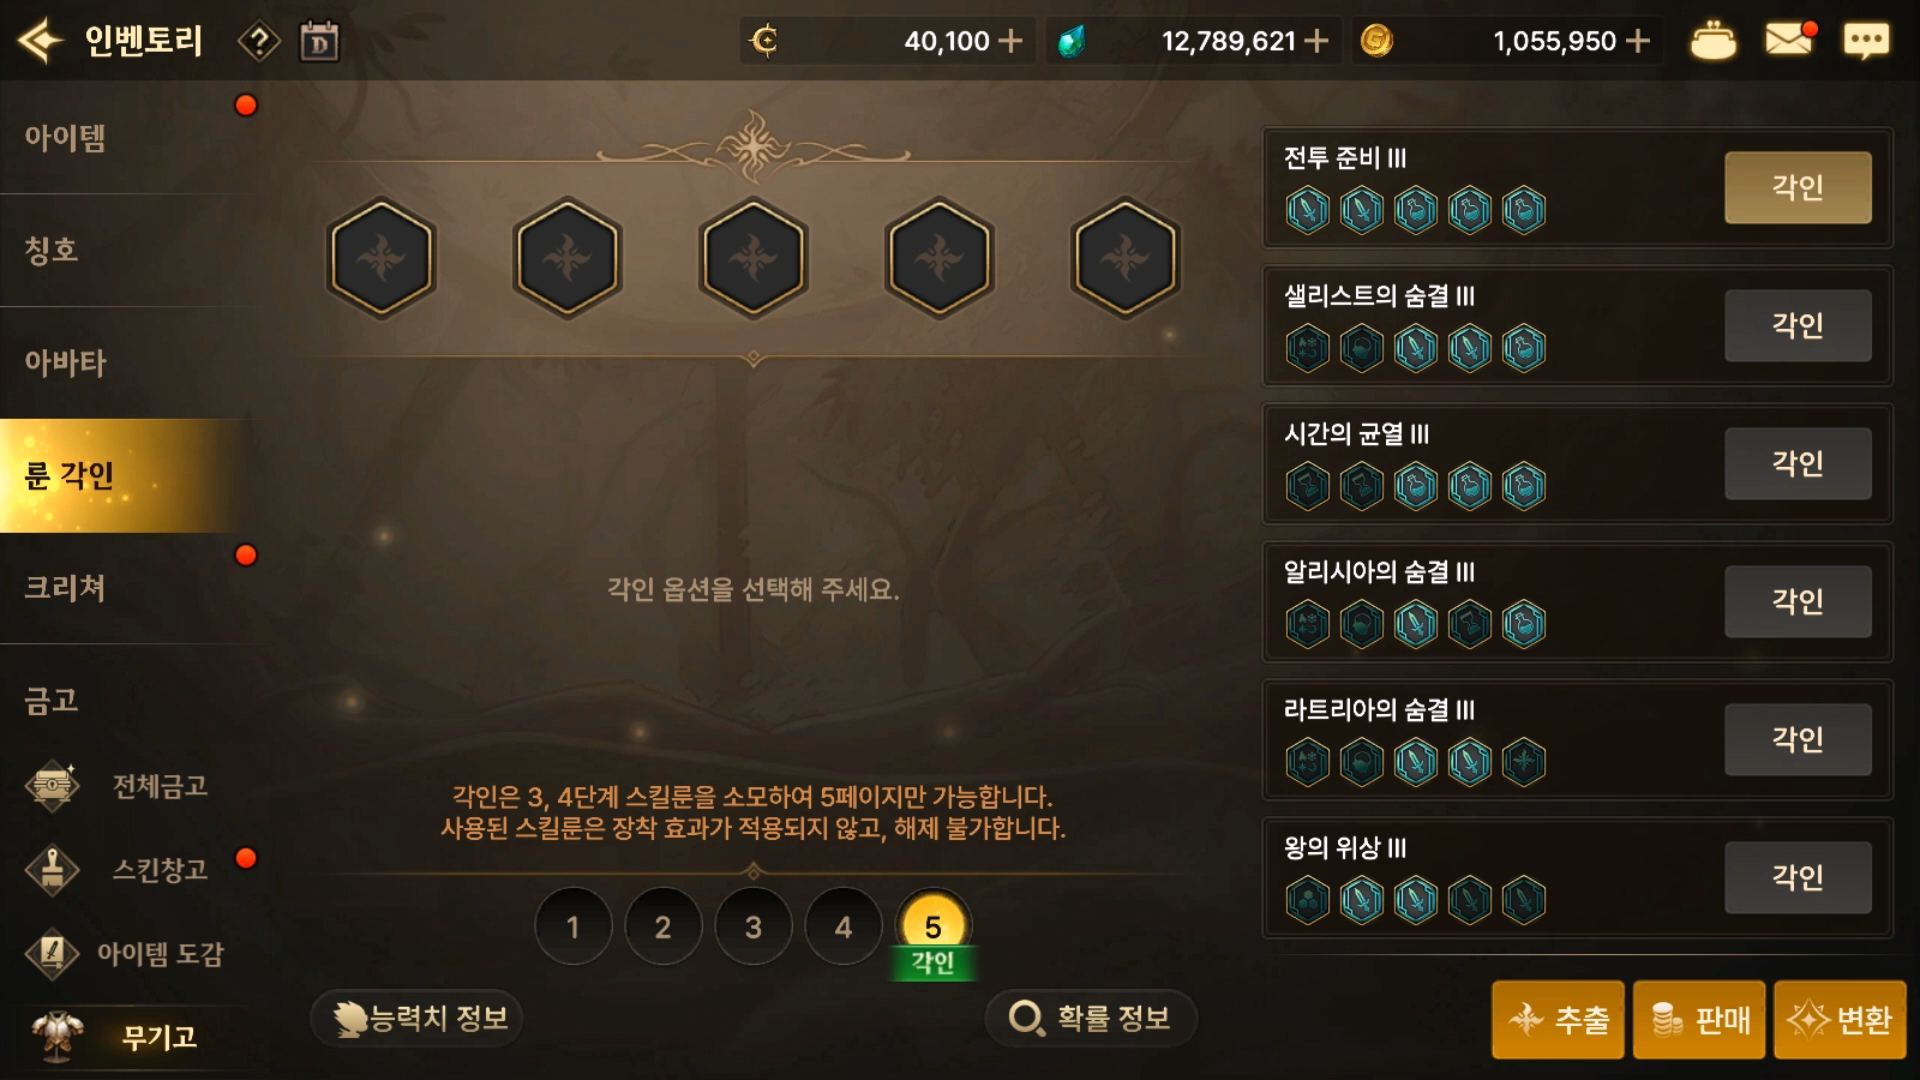
For the Brilliant Skill Rune Selection Box, choose the rune you checked earlier. For Swift Master, that is Awakening 45. Then claim the Battle Prep Skill Rune Engraving Box and immediately do the rune engraving.

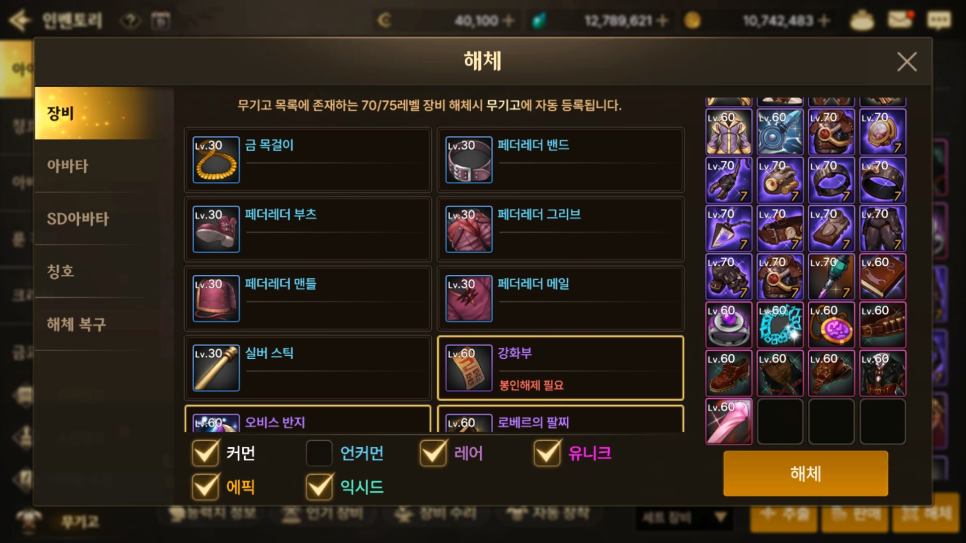
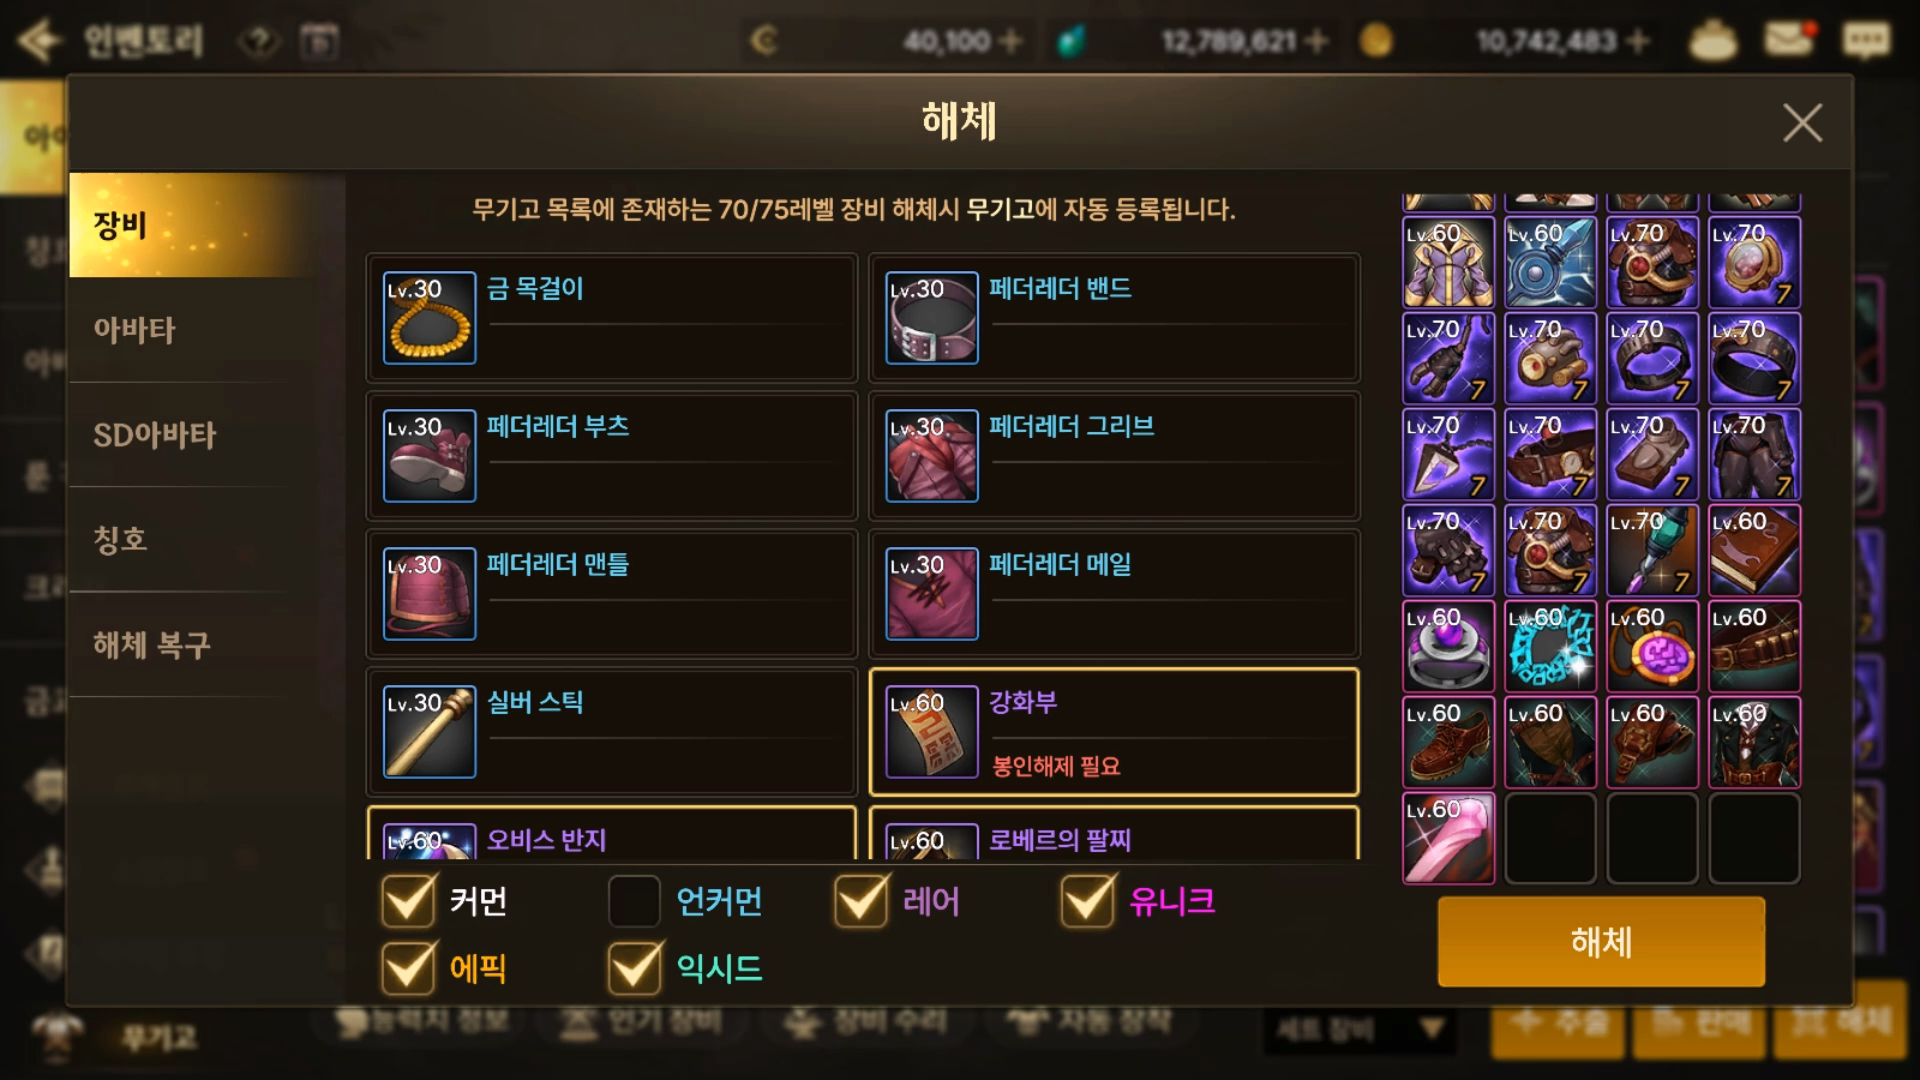
You should have a full Rare gear set and one Unique armor piece in your inventory.
Transfer the Unique armor, and later, if you get Epic or Exceed gear, do the same thing.

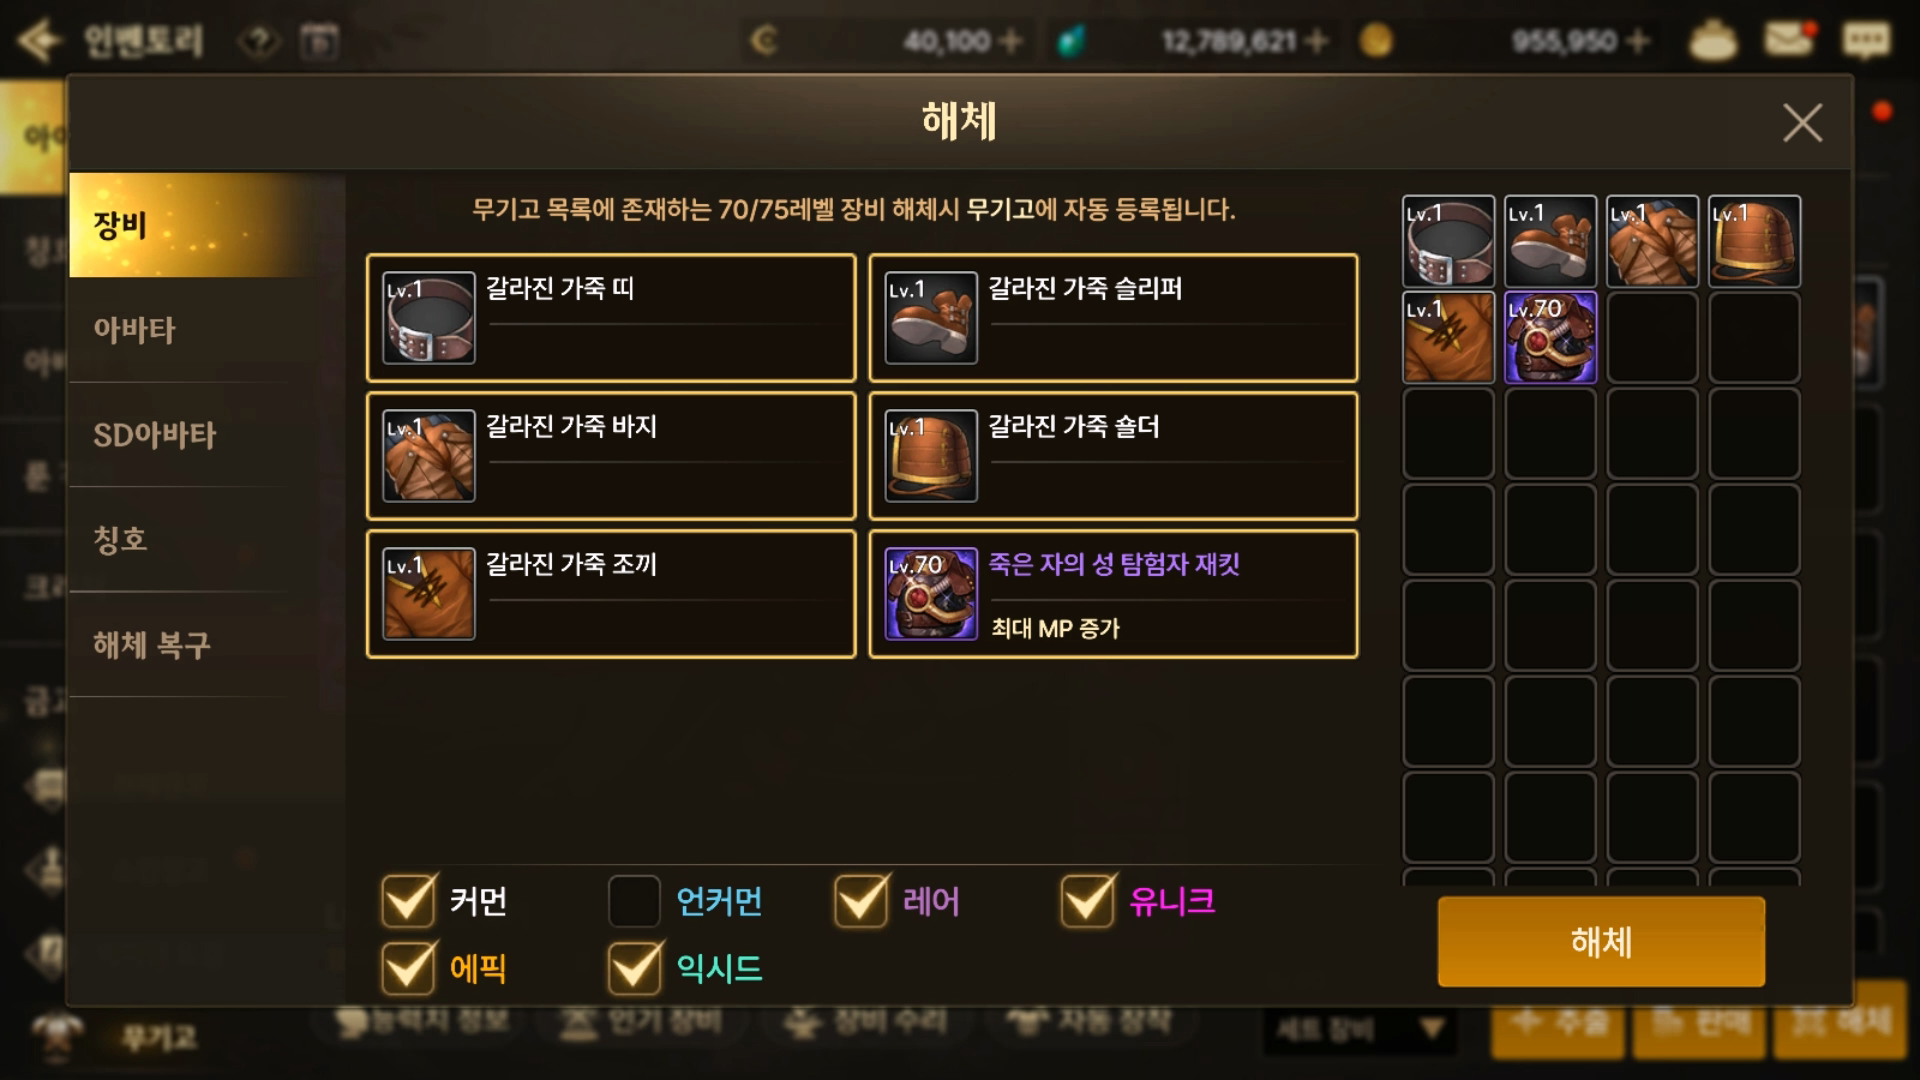
Sell any unused Uncommon gear, and dismantle the rest.

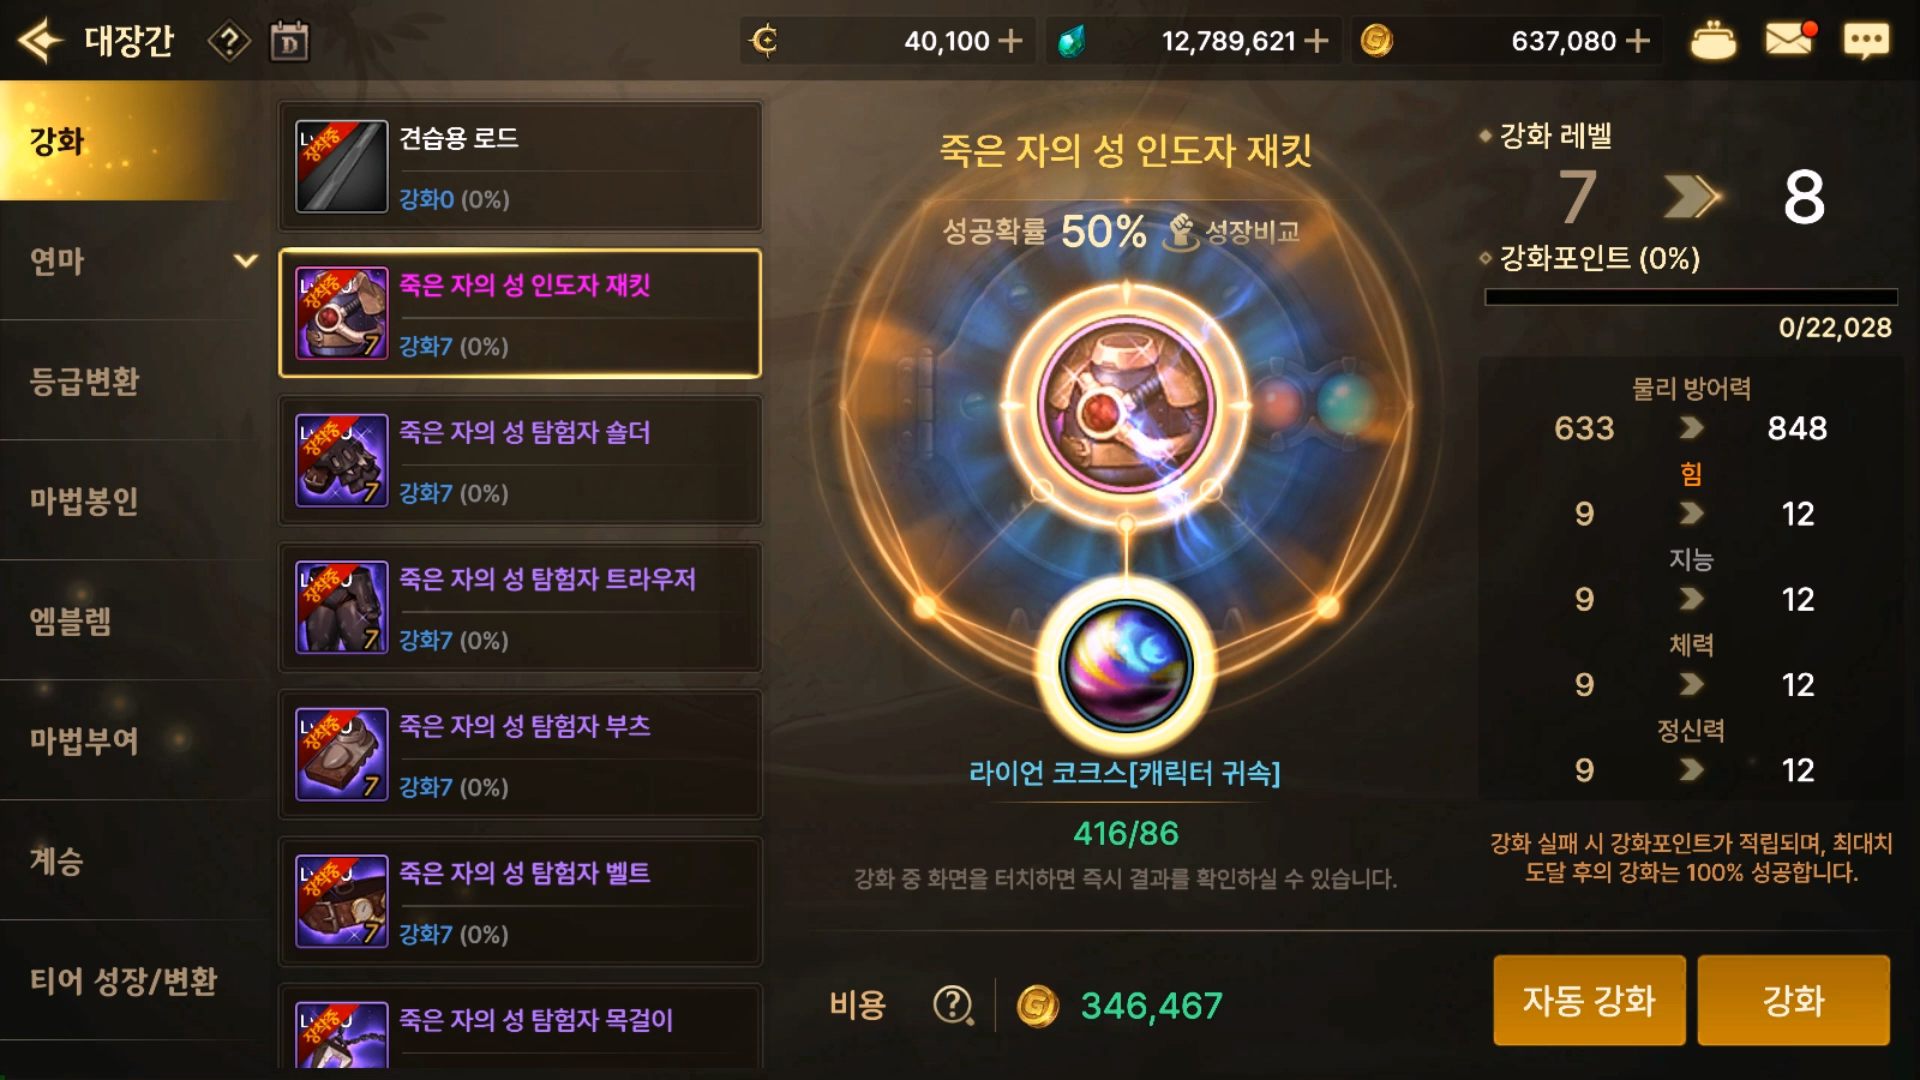
To progress the mission, enhance anything once.
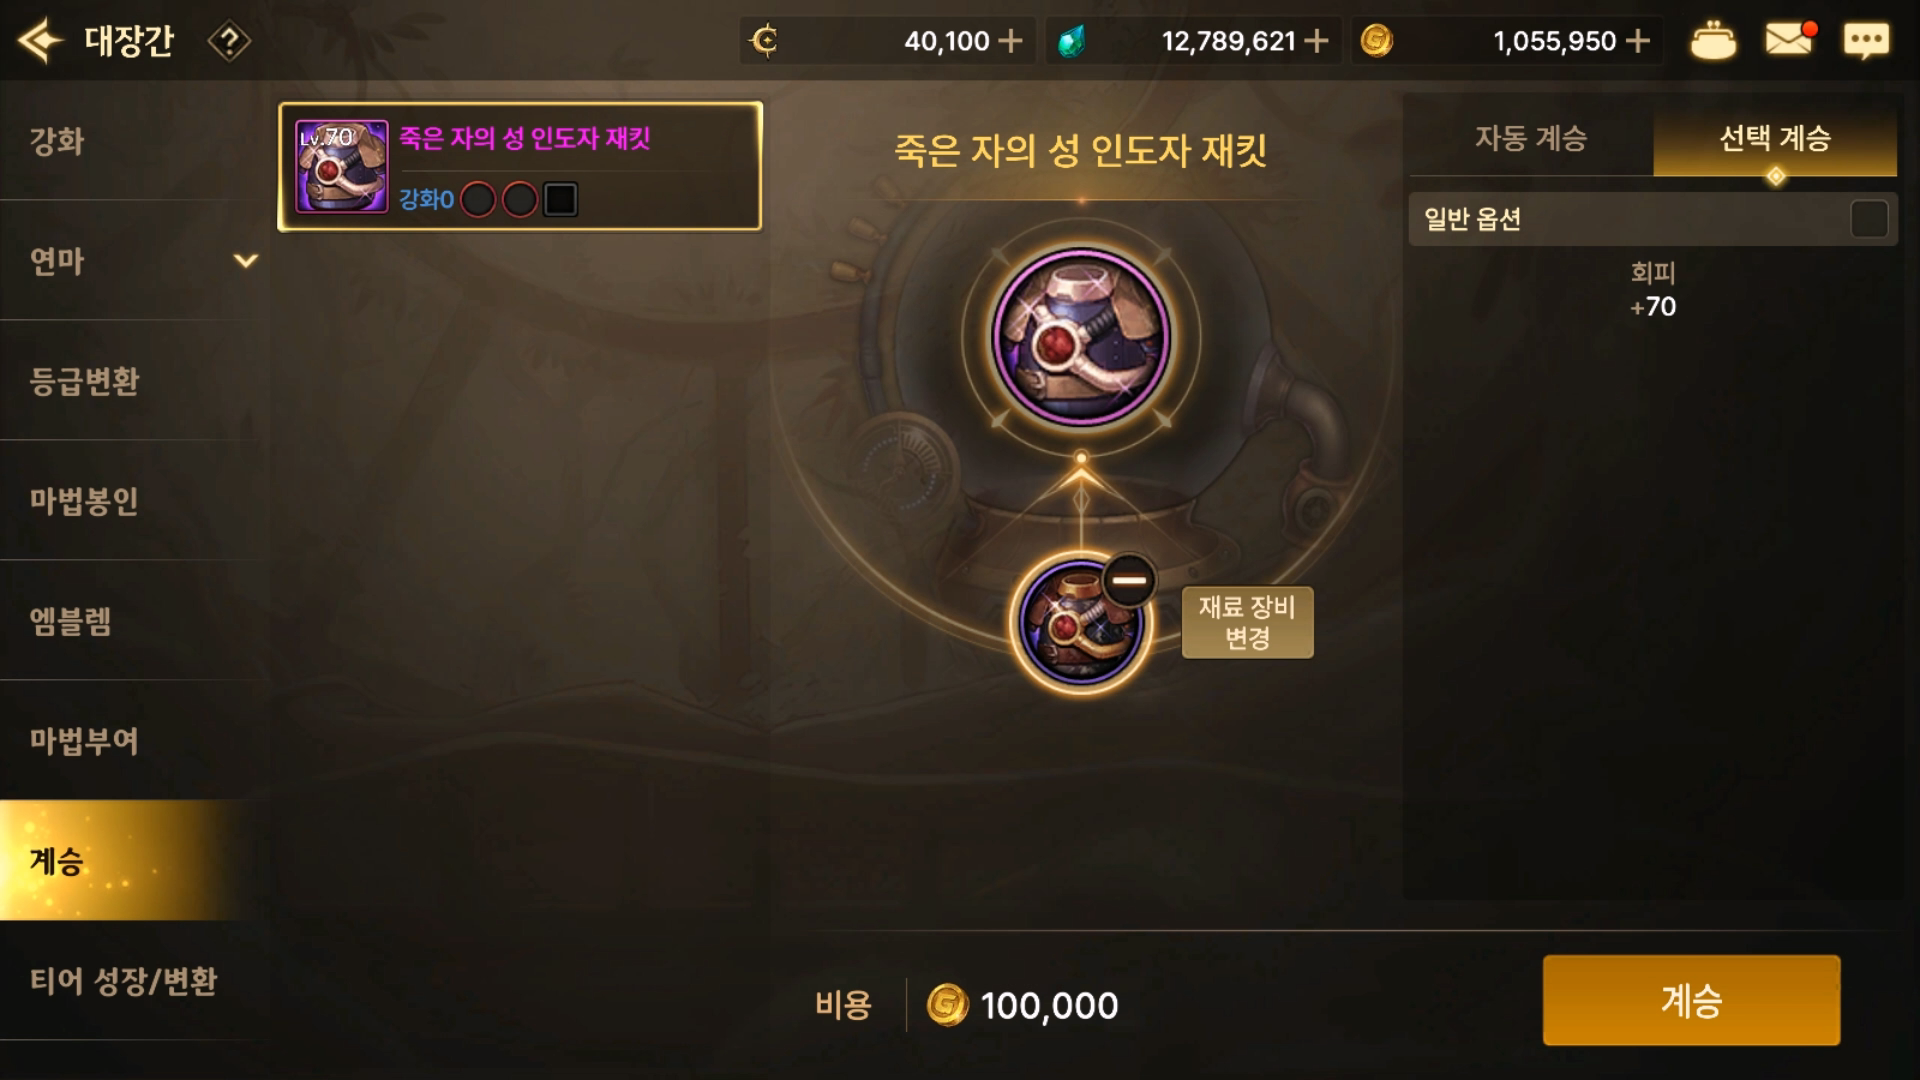
Then go back into Growth Mission and claim the +15 weapon.

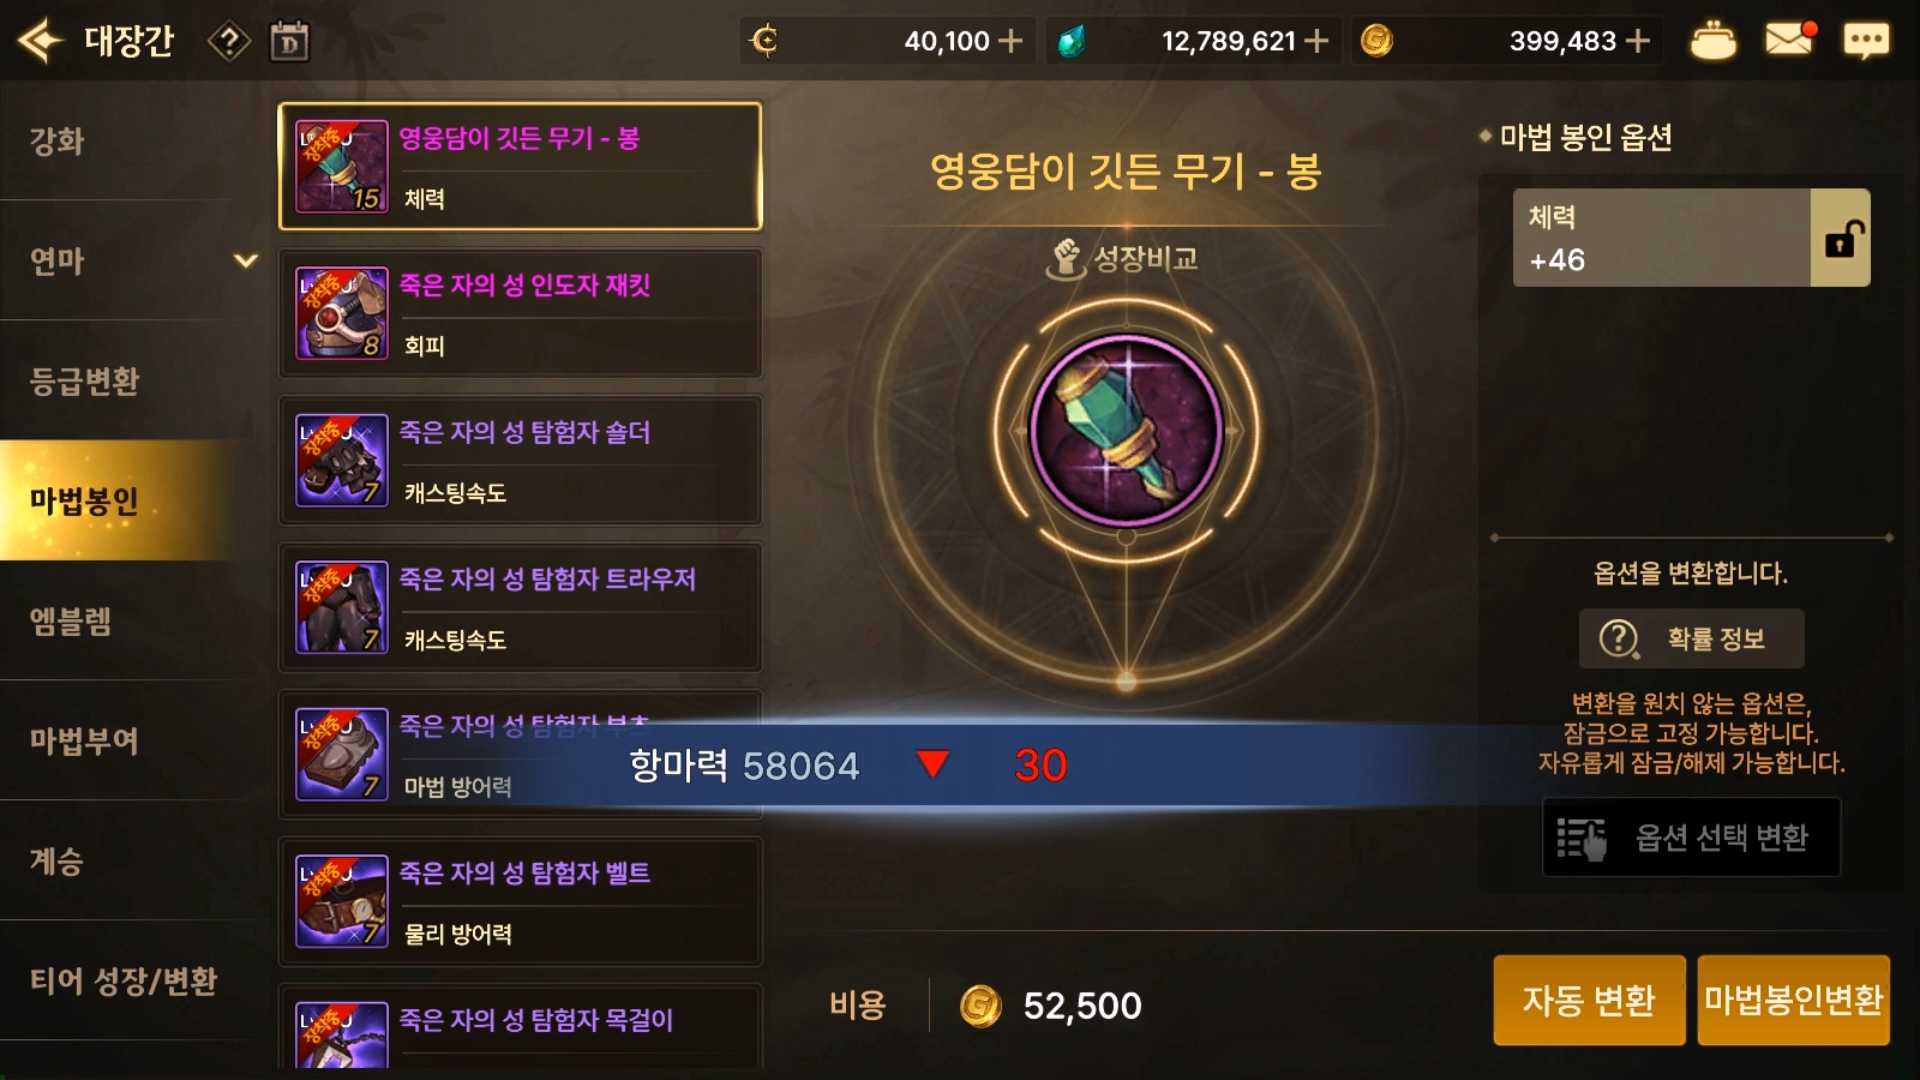
Press Magic Seal Conversion once.
You will have to do it again later once you switch to Epic gear anyway, so one press is enough here.


Go to Emblems and combine two level 5 ones.

It does not matter if it fails, because the completion reward gives you a full set of level 6 emblems.
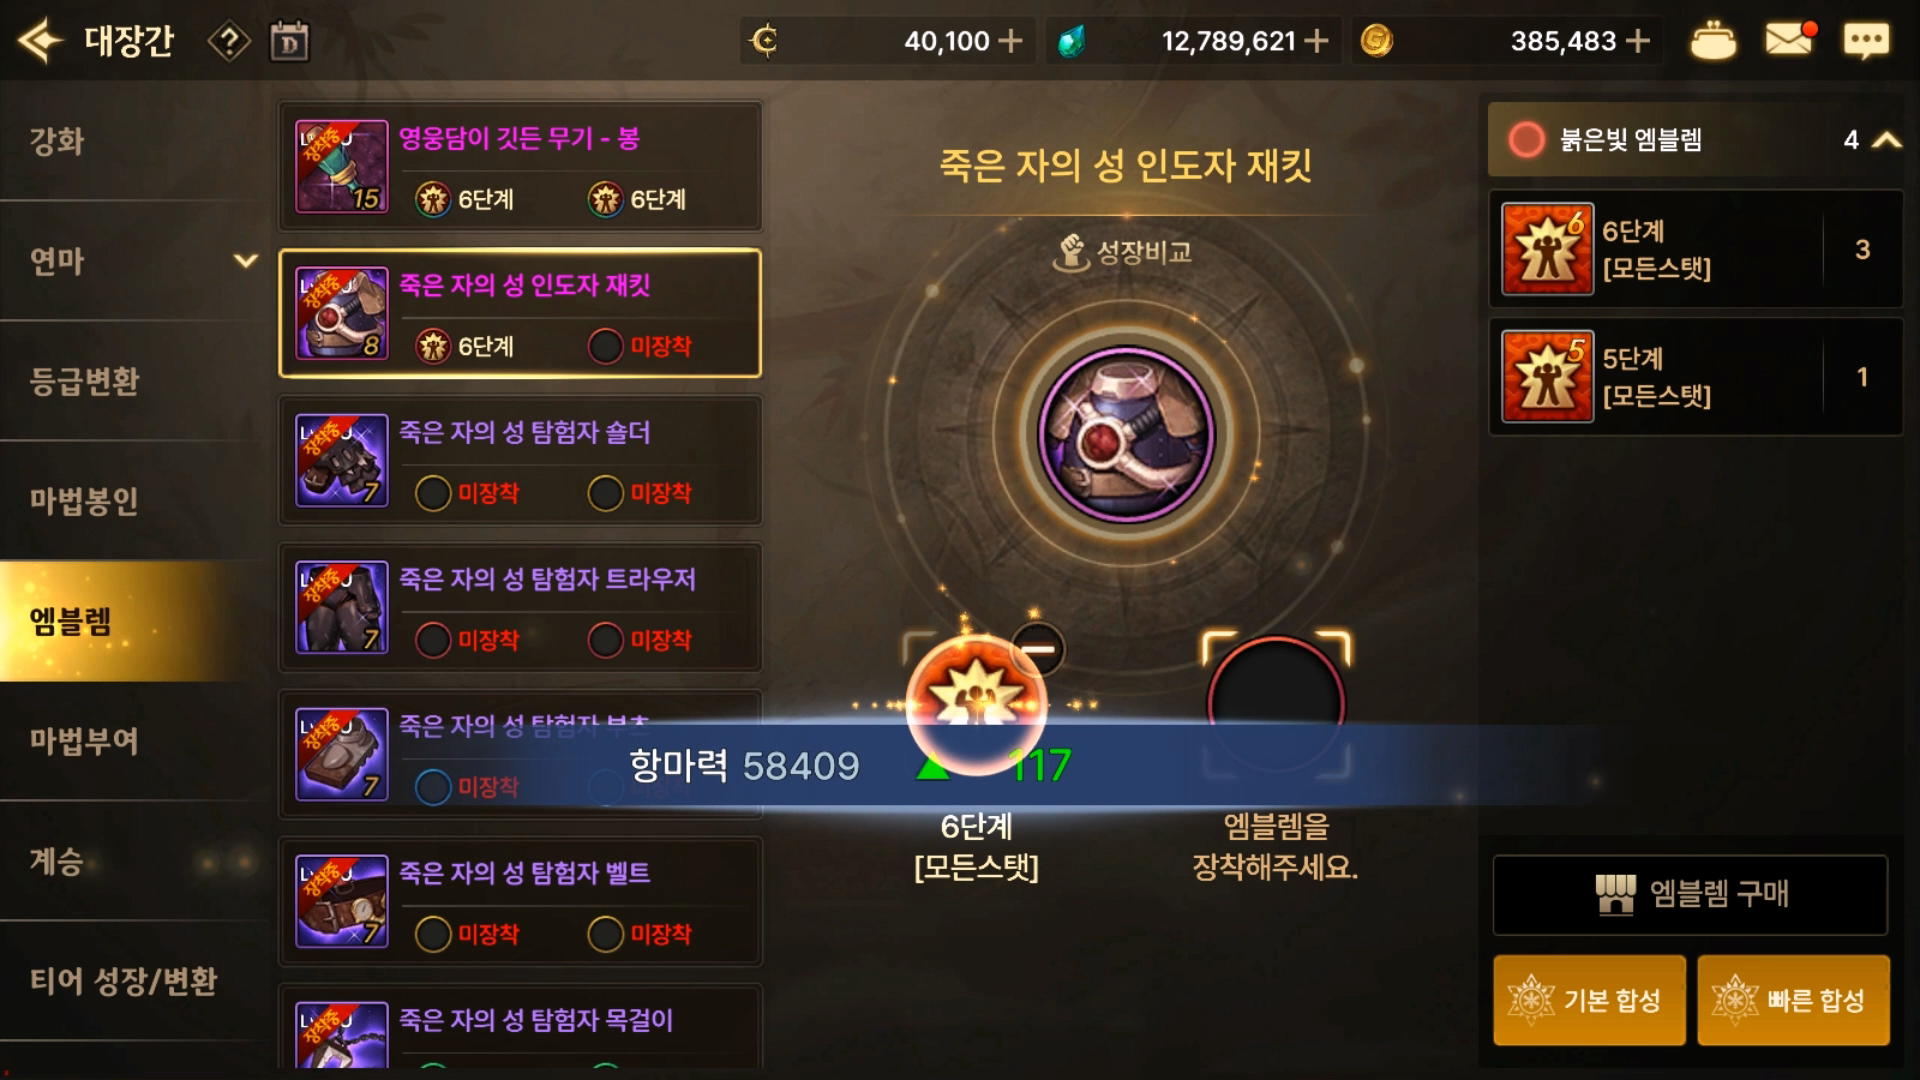
Equip the full set of level 6 emblems.

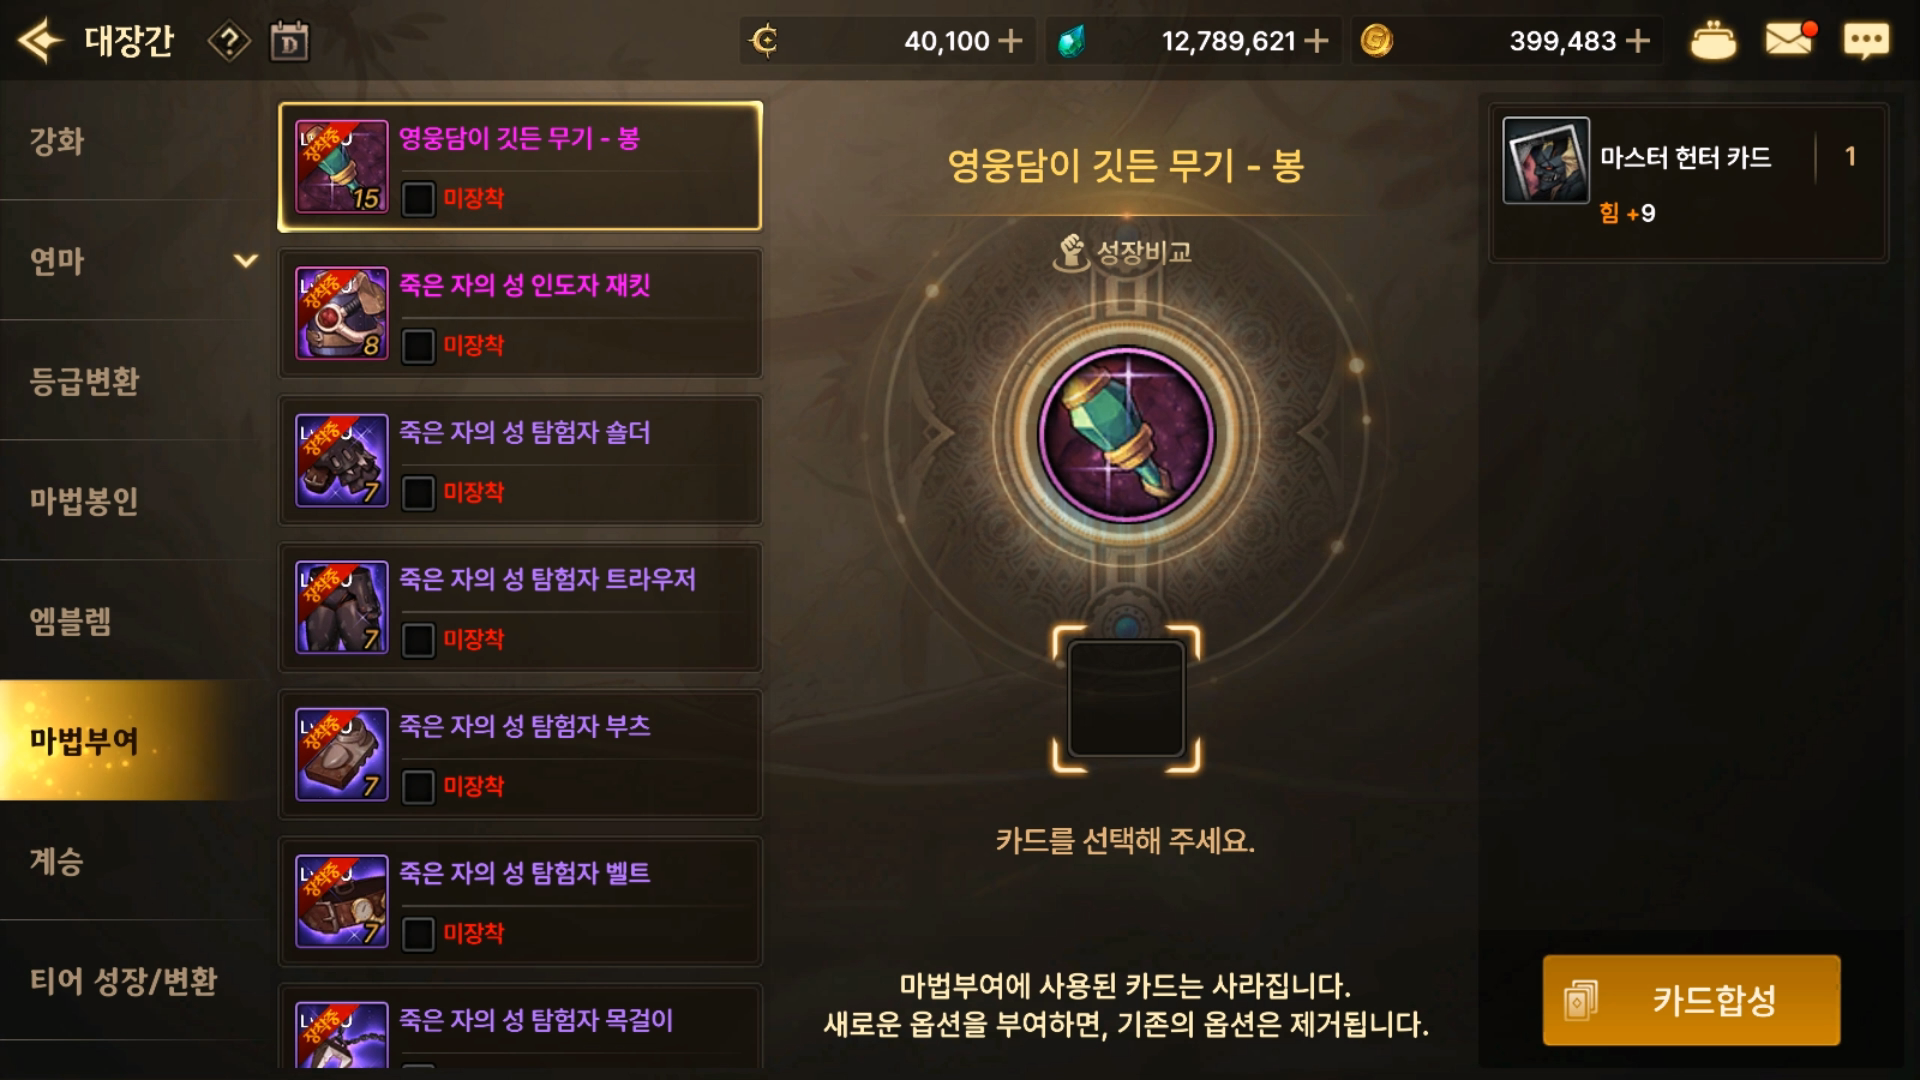
For enchantments, just use any card for now.
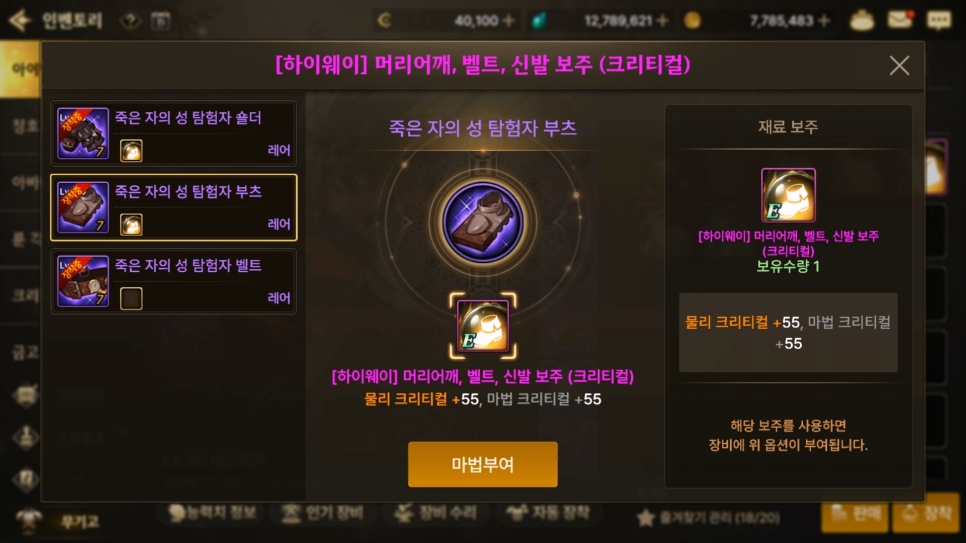

Likewise, use all the beads you received as completion rewards.
Your weapon element can be anything, but Water and Dark are relatively cheaper when you start matching elemental enhancement.
Some classes have their own built-in element. For example, Enchantress should choose Dark, so it is a good idea to open the skill window and check.
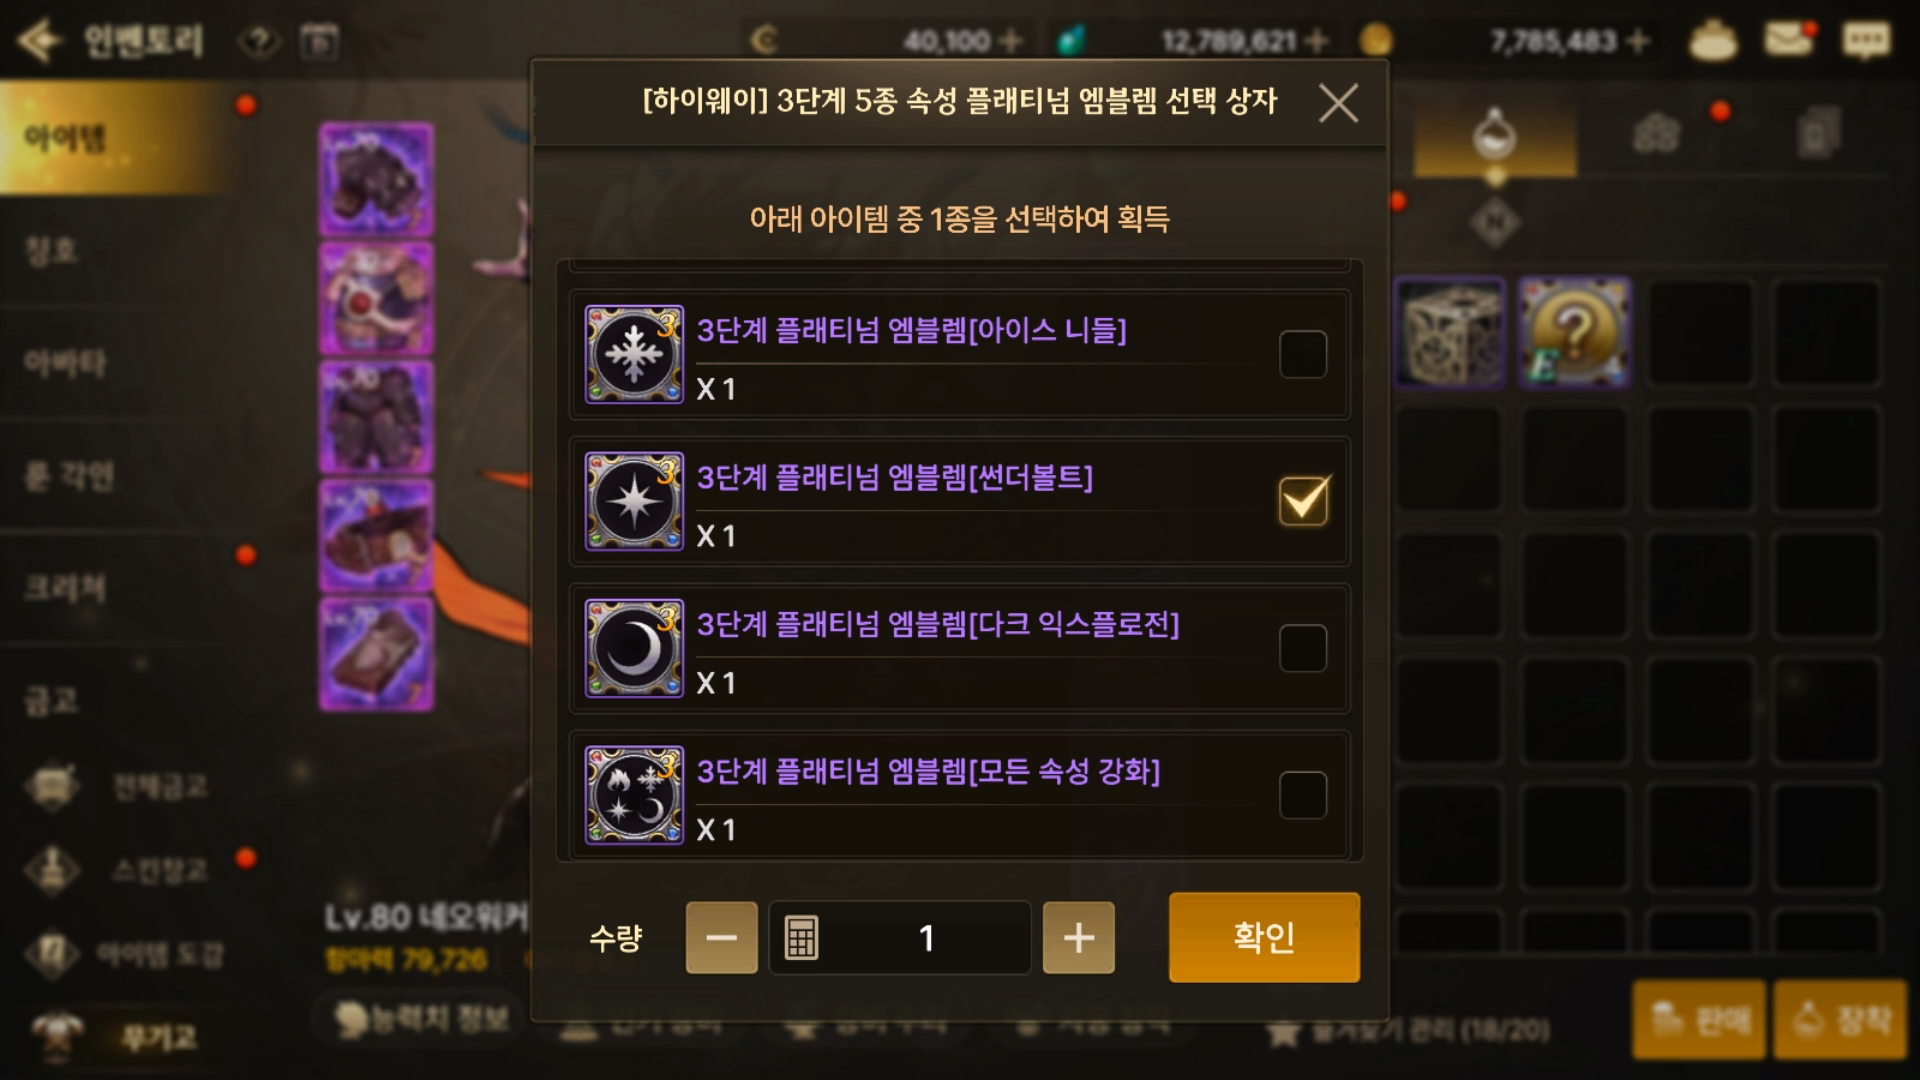

Match the 4 Elemental Platinum Emblems to the same element you chose for your weapon.
Fire is Fire Explosion, Water is Ice Needle, Light is Thunderbolt, and Dark is Dark Explosion. Personally, I do not recommend All Element.
You may only see 3 slots for elemental emblems at first, but once you get the title later, you will be able to equip all 4.

For the 20 Brilliant Skill Rune Boxes, choose the Awakening rune for the specific level you checked earlier.
For the 5 Charming Skill Rune Selection Boxes, take 2 Protection, 2 Wisdom, and 1 Distortion.

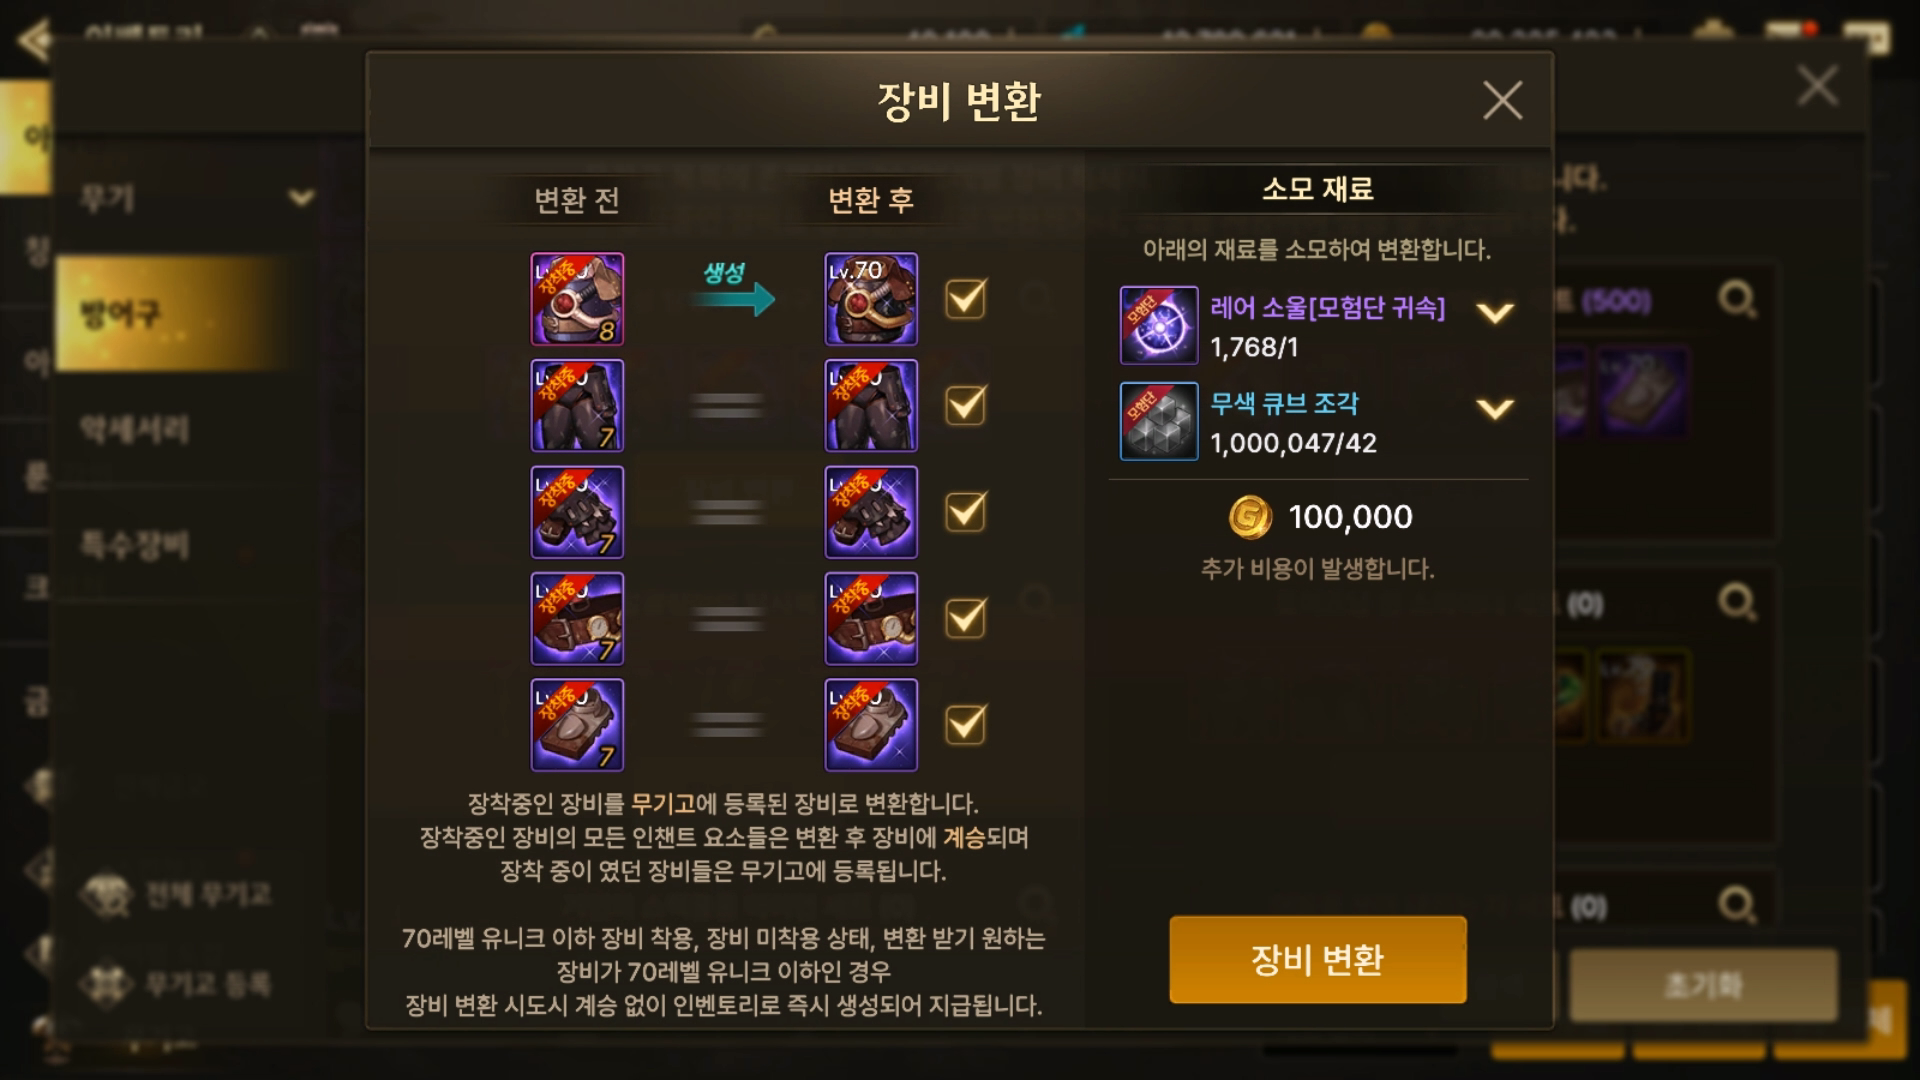
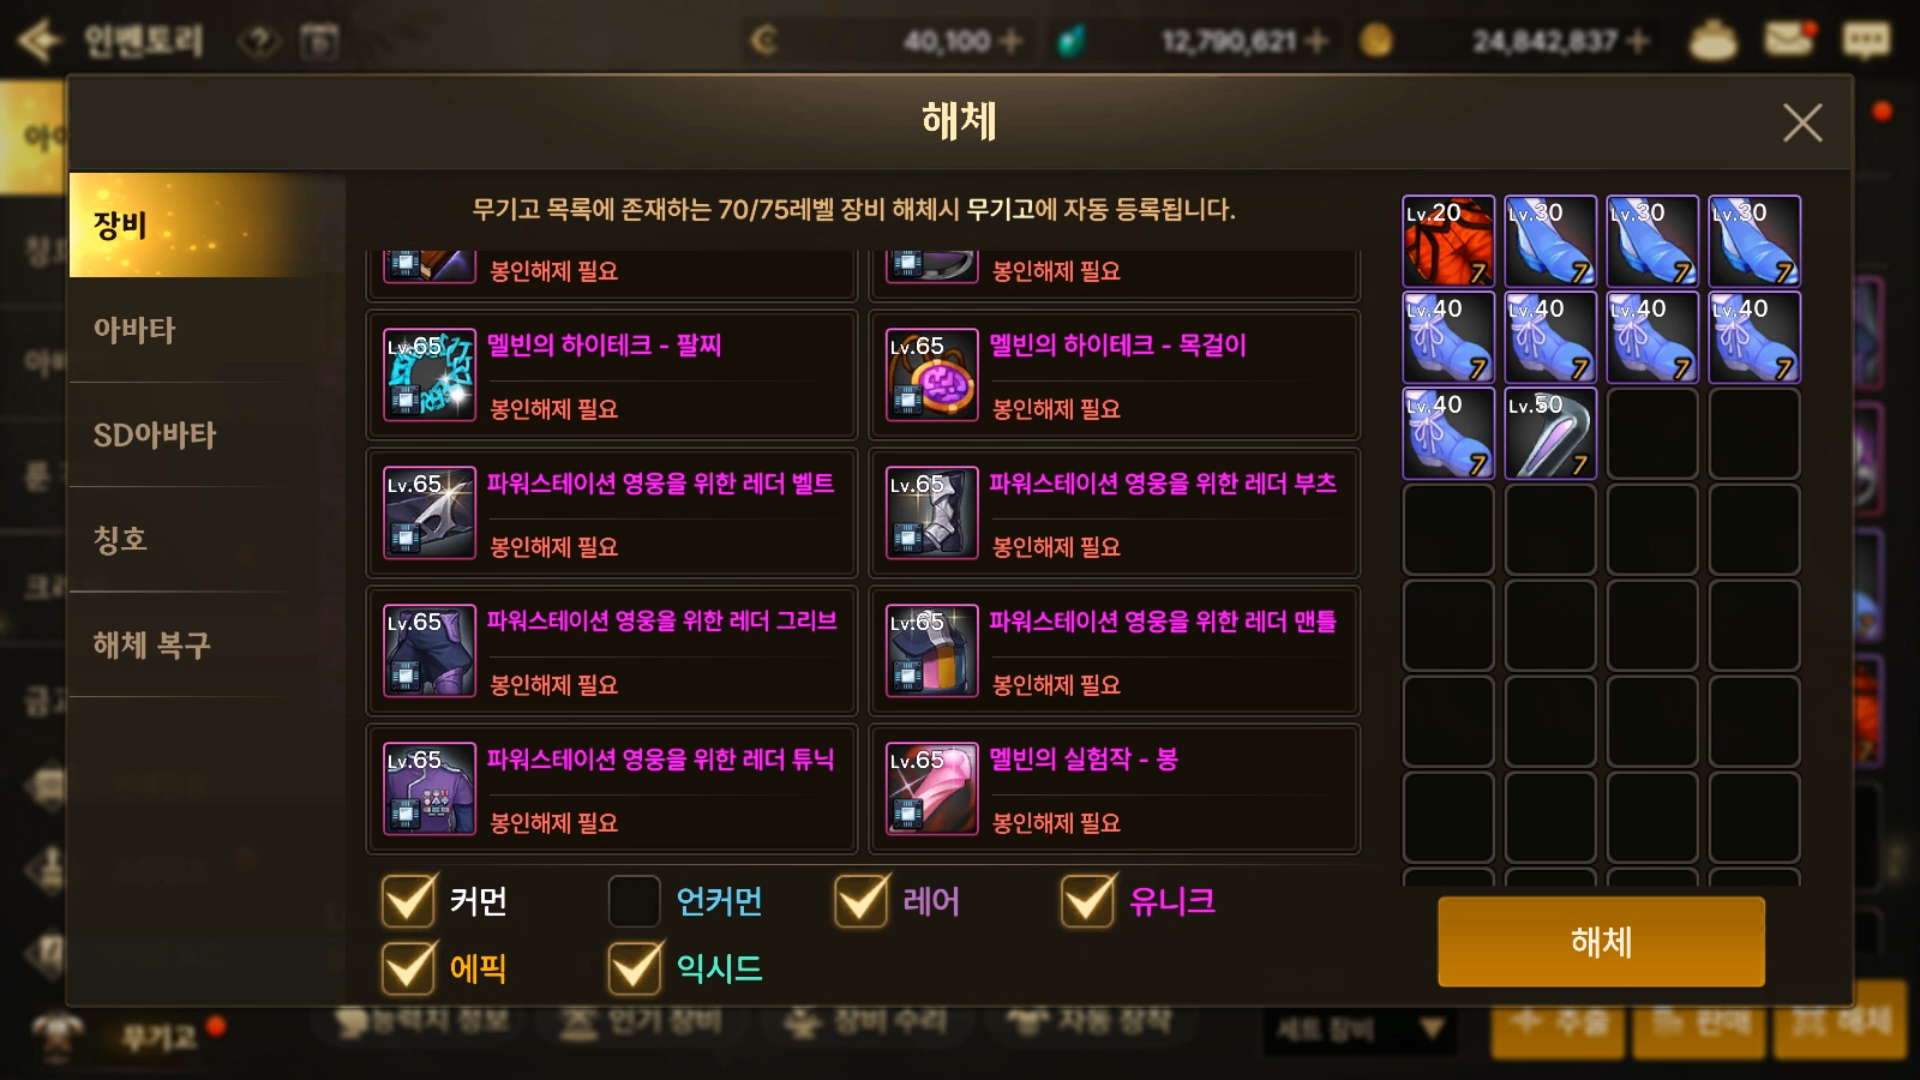
For the equipment conversion (creation) mission in the Armory, create the Rare armor you dismantled earlier, then dismantle it again.


Next, go to the Training Journal in the menu and activate all 4 options shown there.

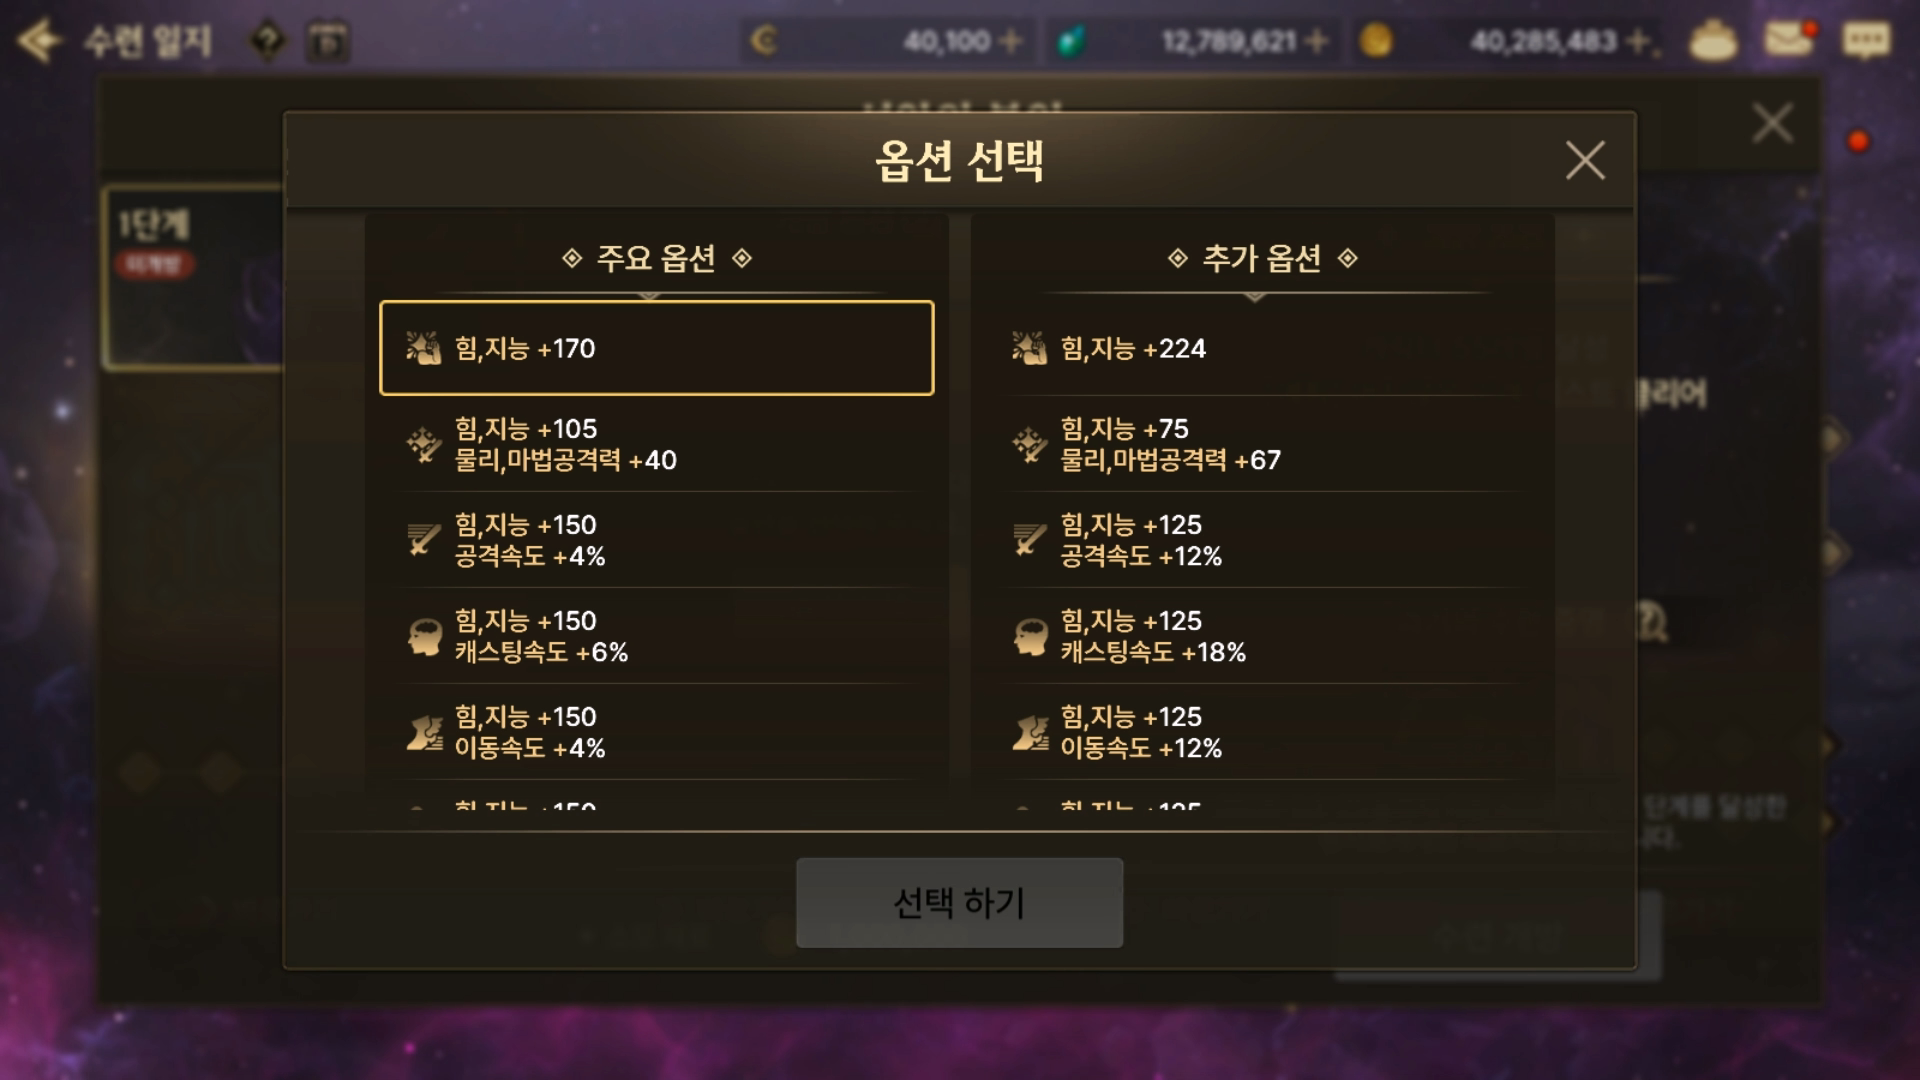
For Castle Seal, Strength/Intelligence is the safest choice, but if movement feels too sluggish, attack speed, cast speed, and movement speed are also fine.
You can change it freely at any time.

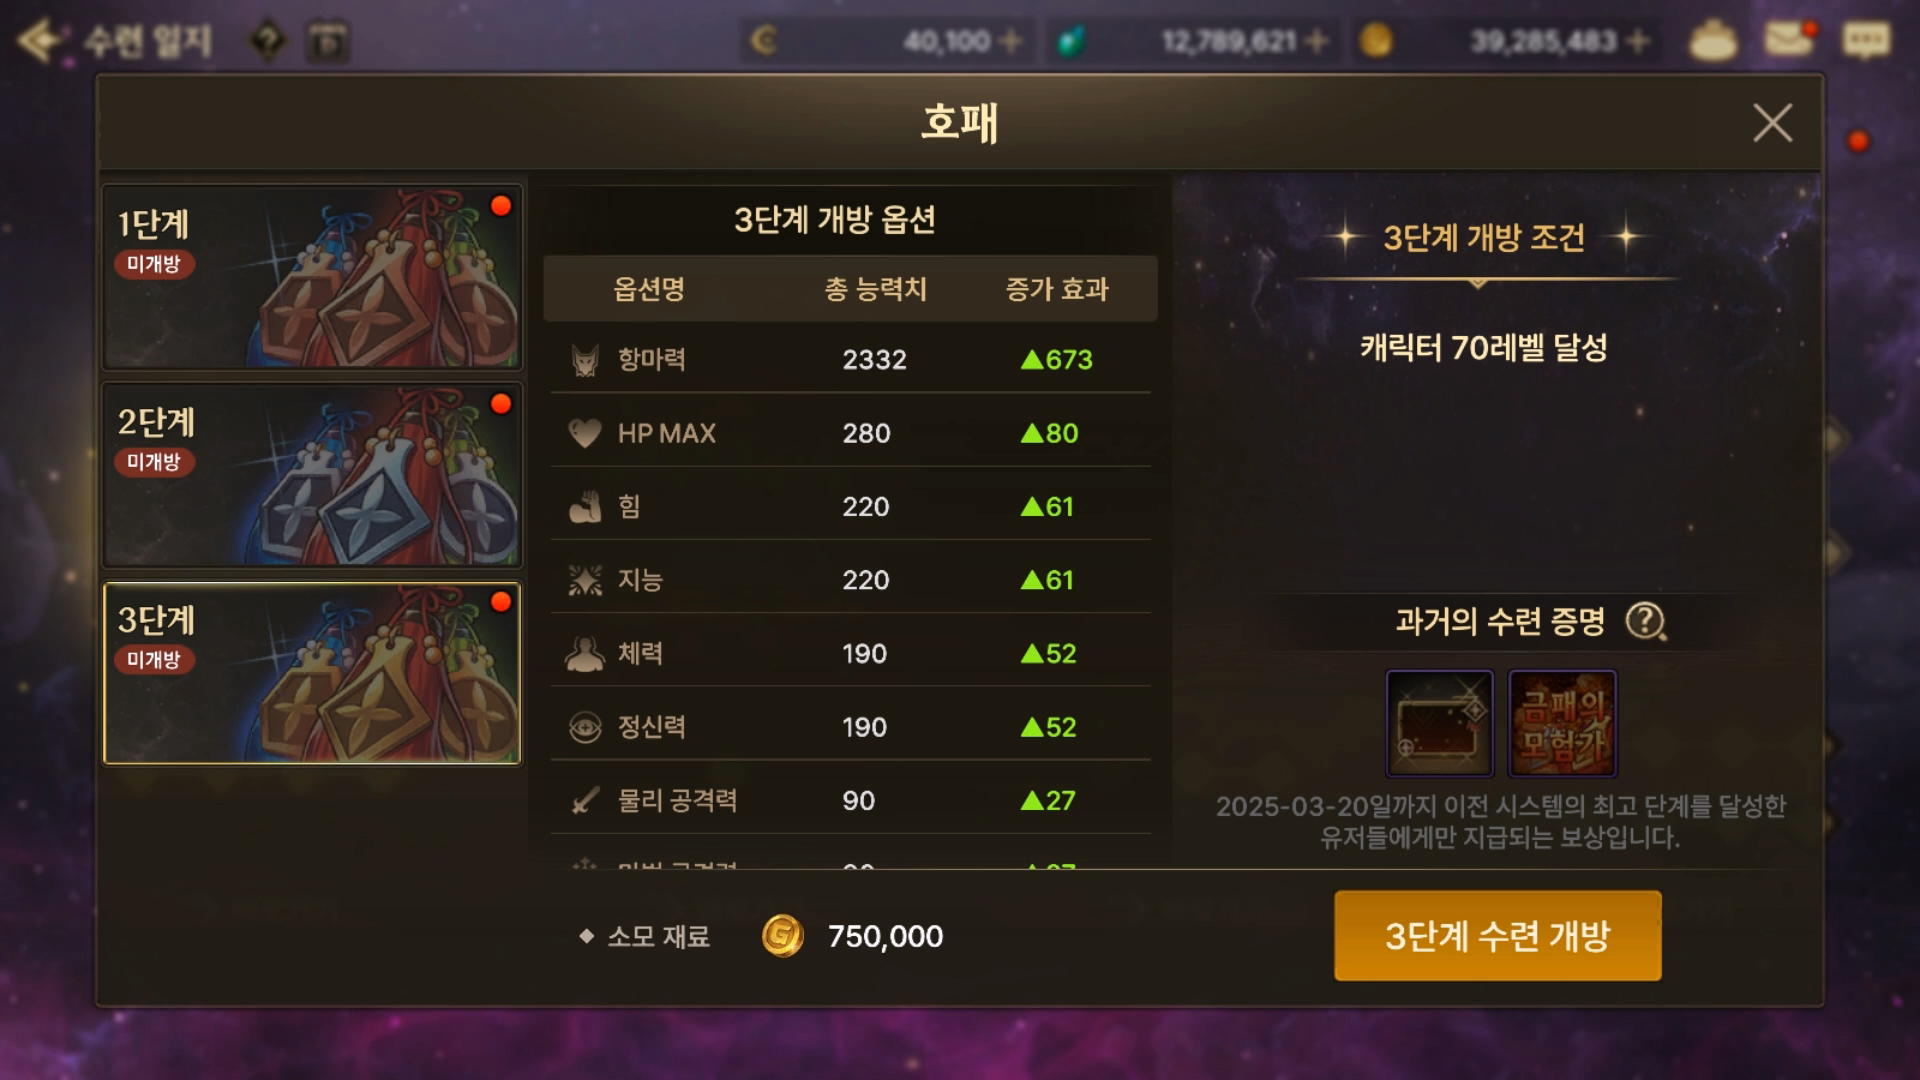
For the insignia, click stage 3 right away to unlock it, and stages 1 through 3 will all open at once.
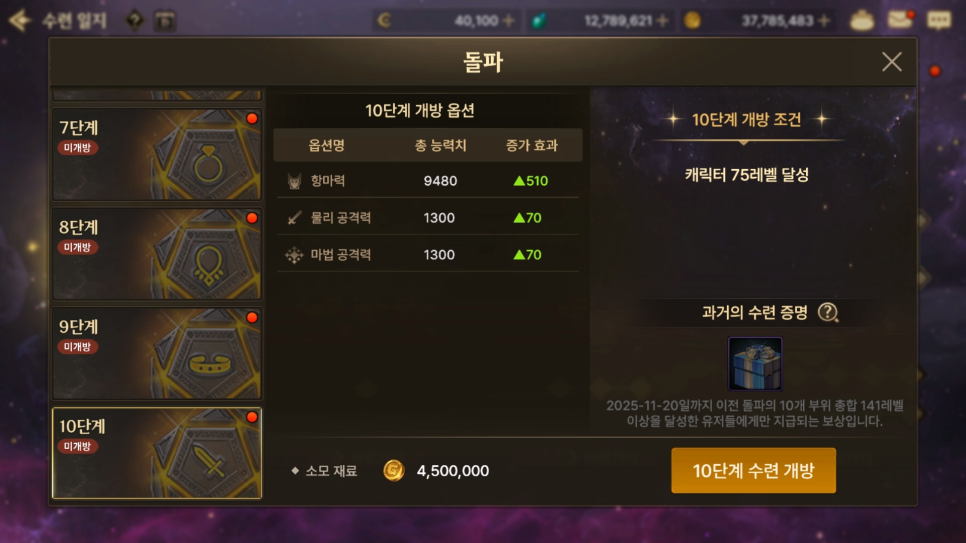

You can also unlock Breakthrough by clicking stage 10, which opens stages 1 through 10 all at once.
It costs 30 million gold, but the game gives you that gold specifically for this, so there is no reason to hold back.
As a reward, you can also get a weapon skin avatar.

For the final Try Grade Conversion task, wait until you get an Epic item and then complete it.

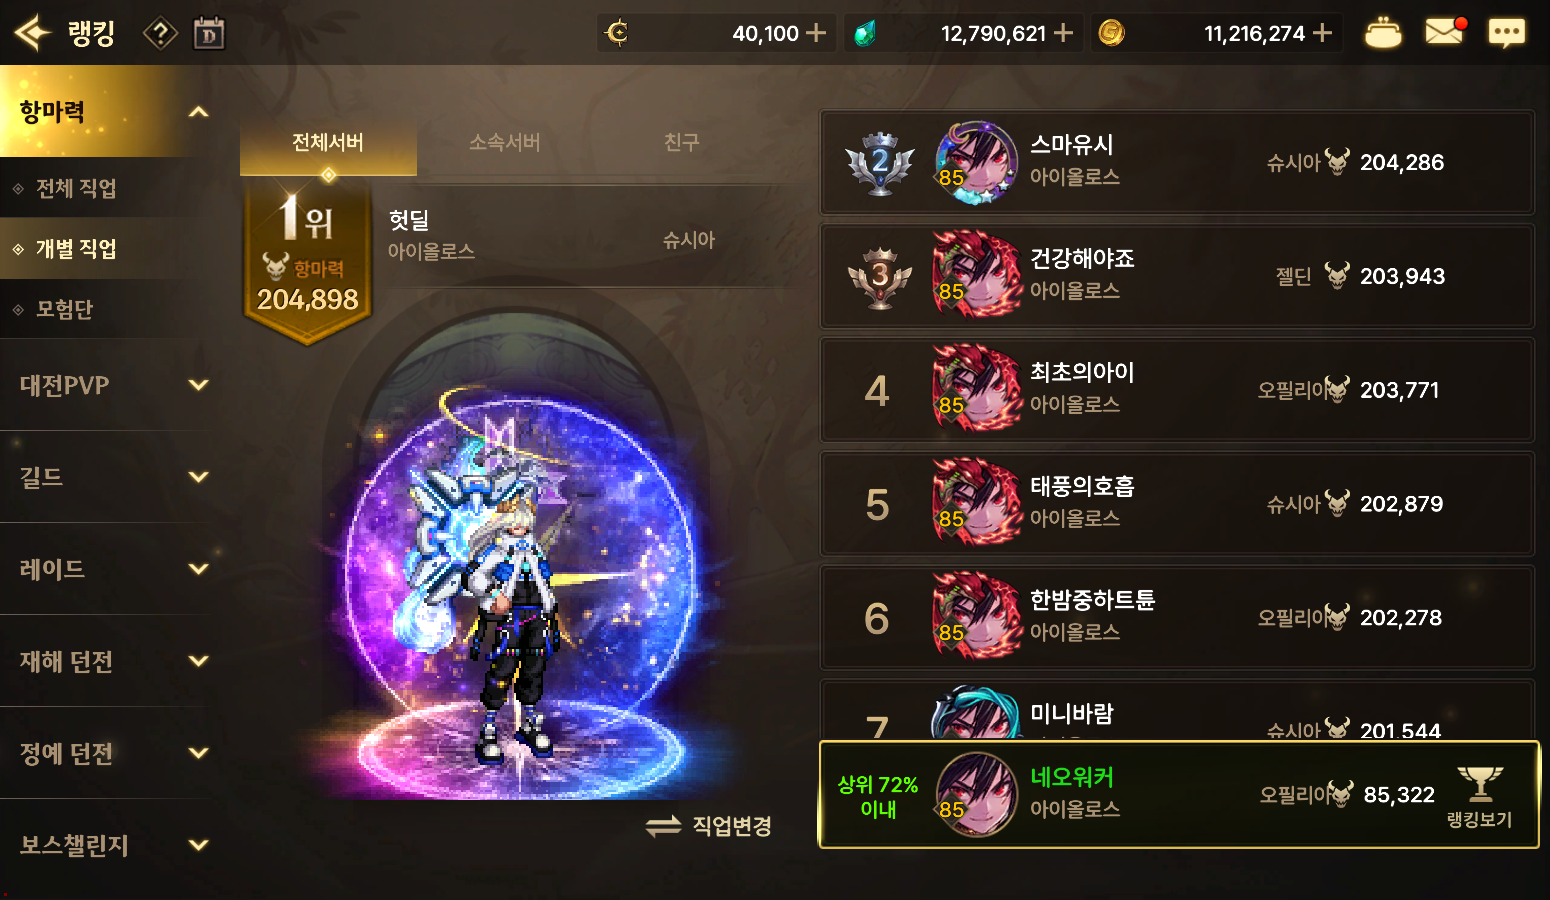
Now go to the Ranking menu to set your skills.
In the Combat Power tab, select the individual class tab.
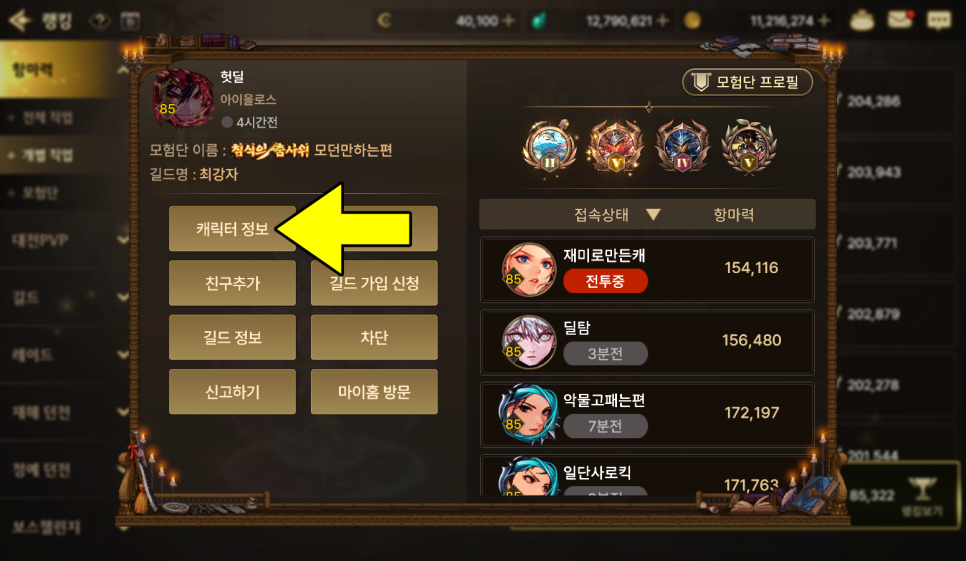
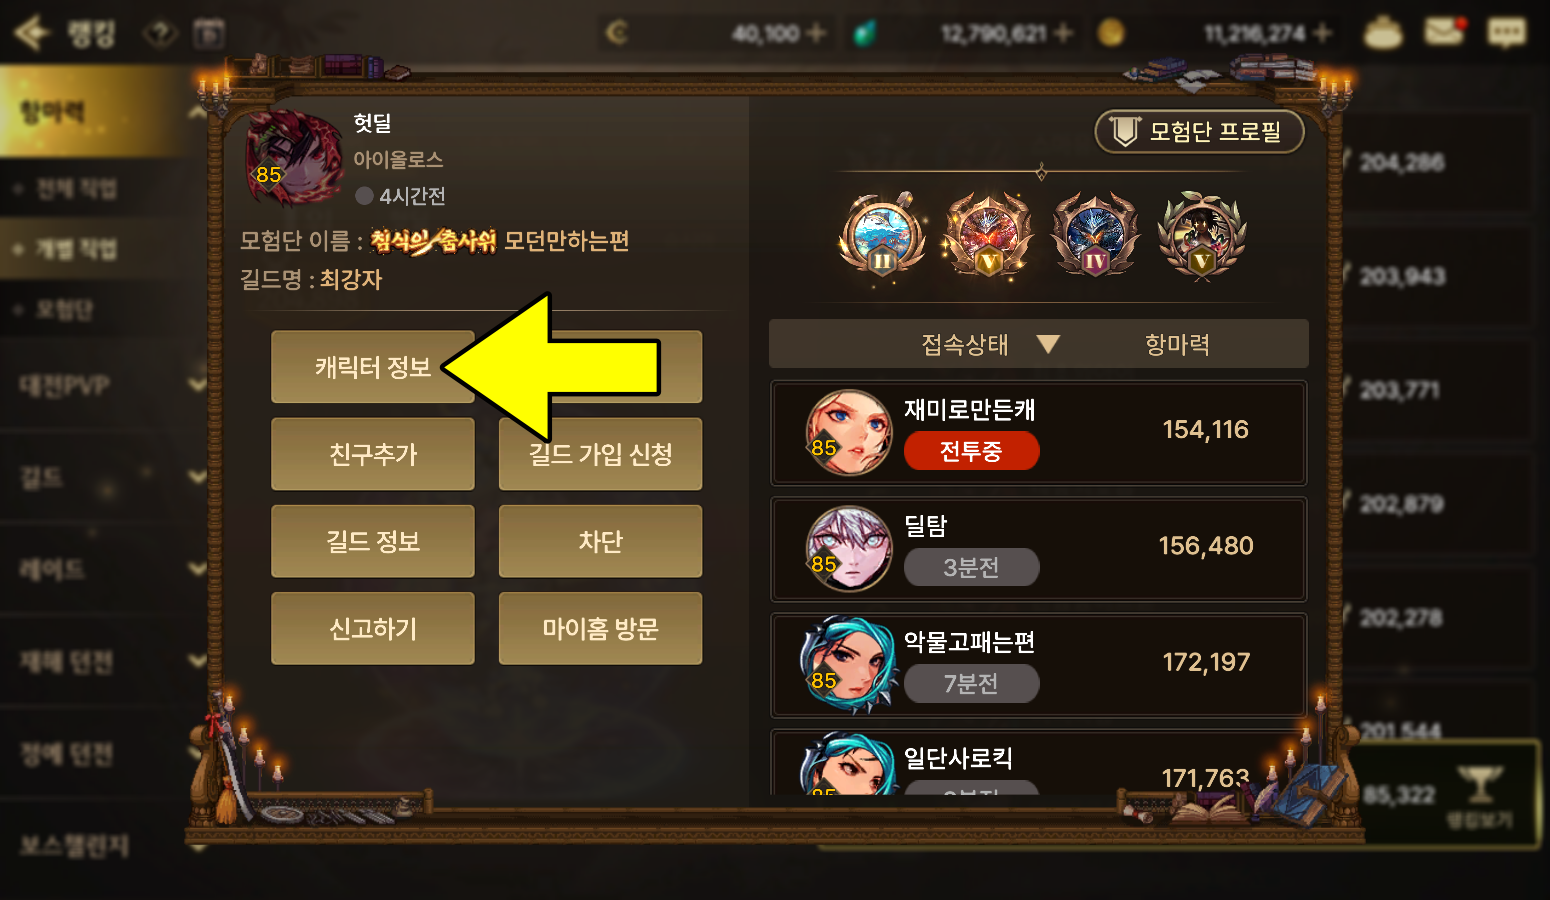
Click on any player and open Character Info.

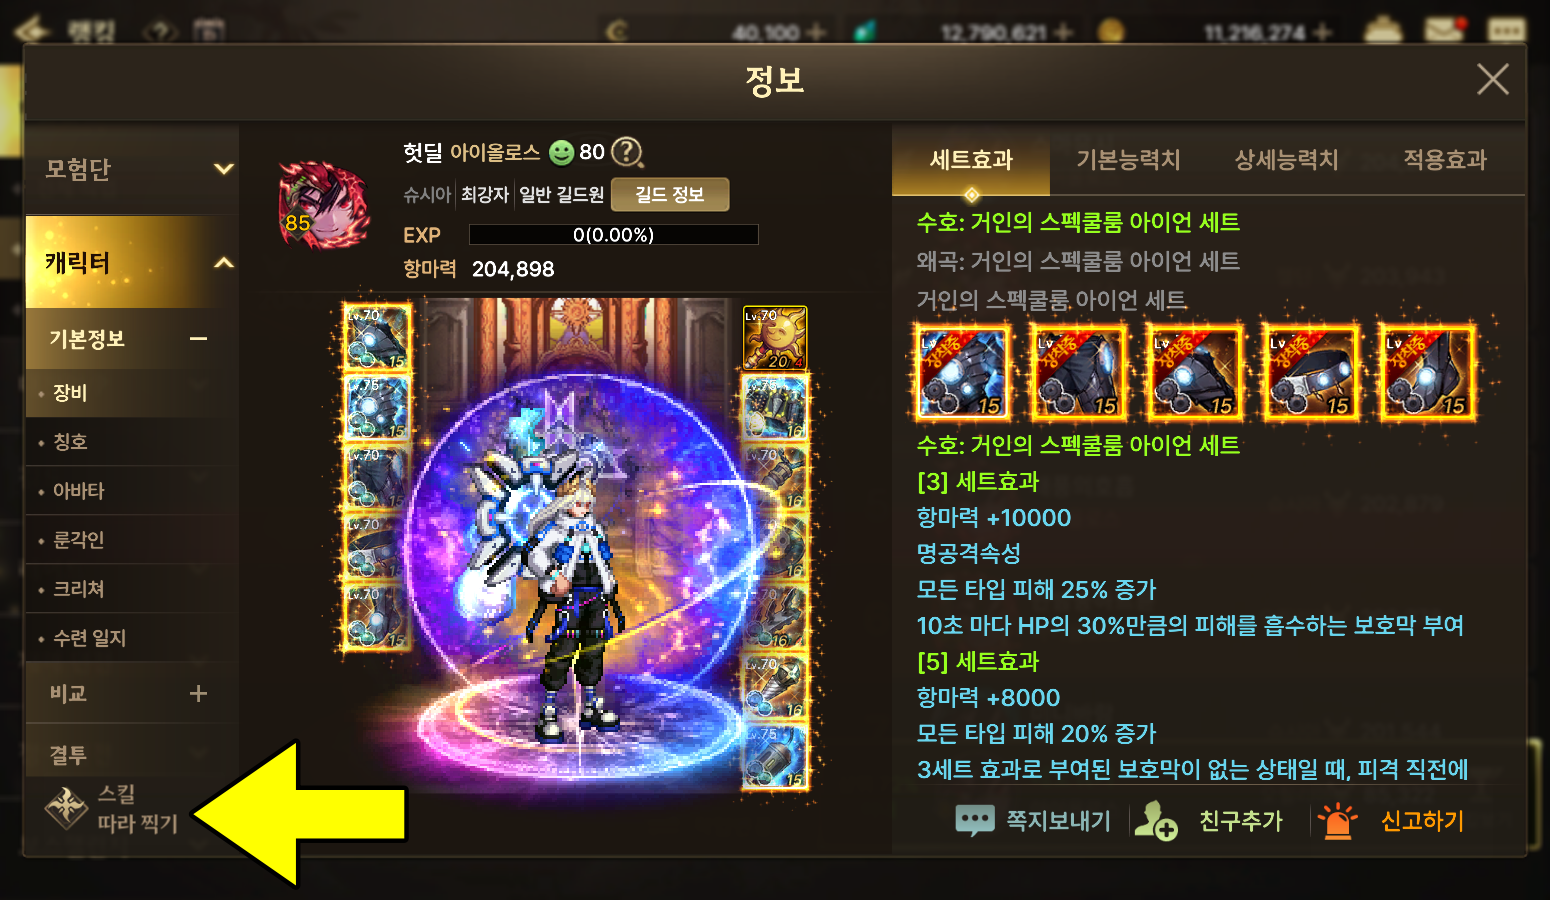
You can use their gear and rune setup as a reference, then go to Copy Skill Build in the lower left.

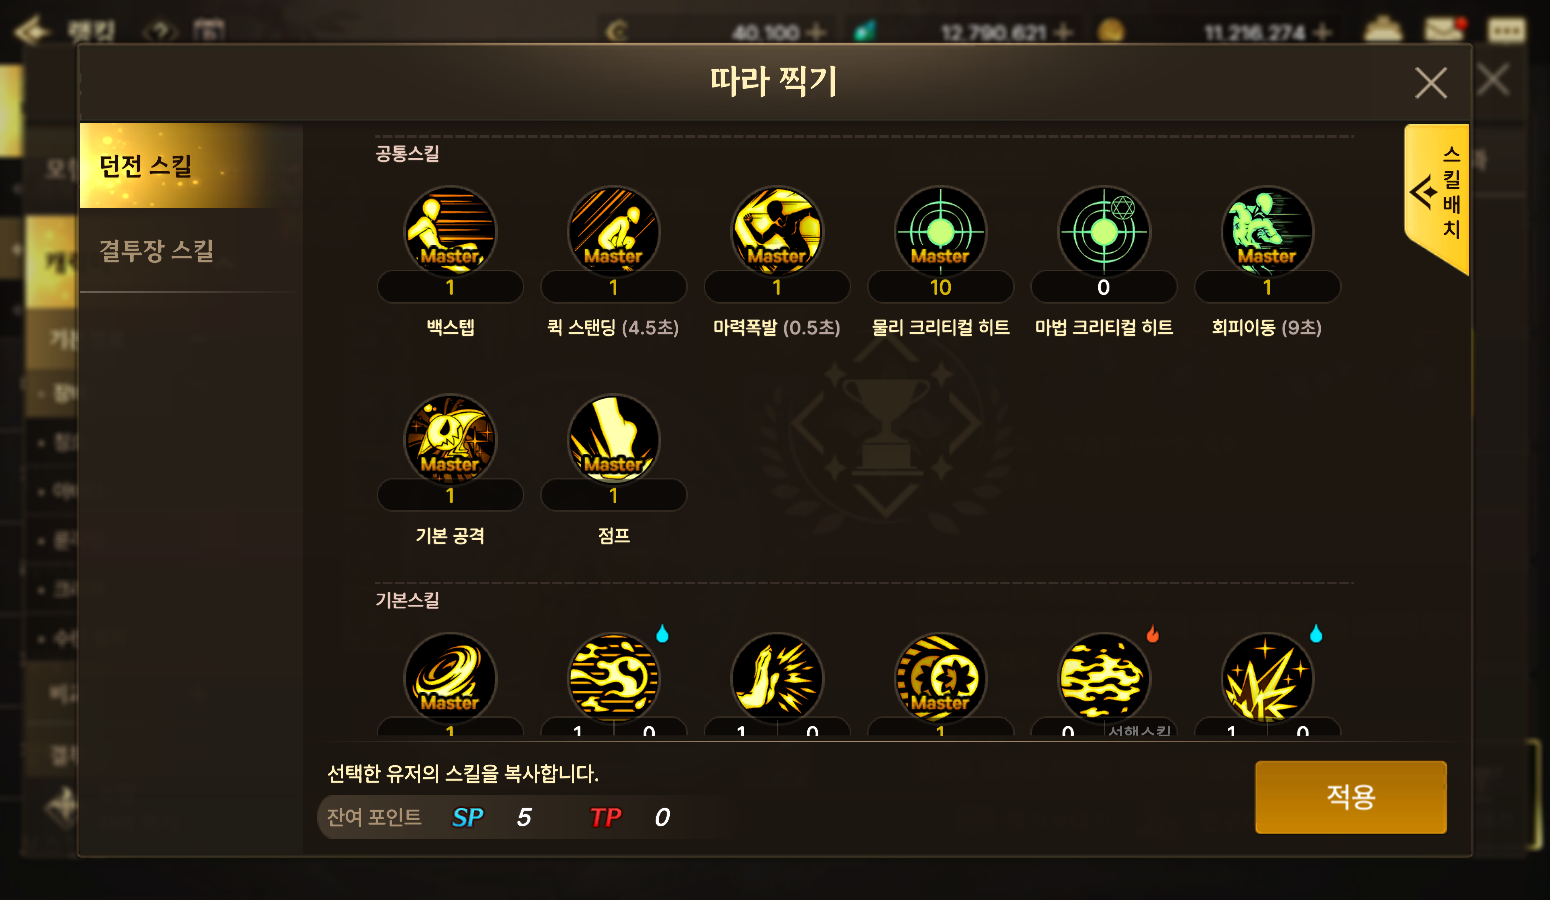
From here, just press the Apply button.
Use it first, then adjust it little by little to match your own preferences.

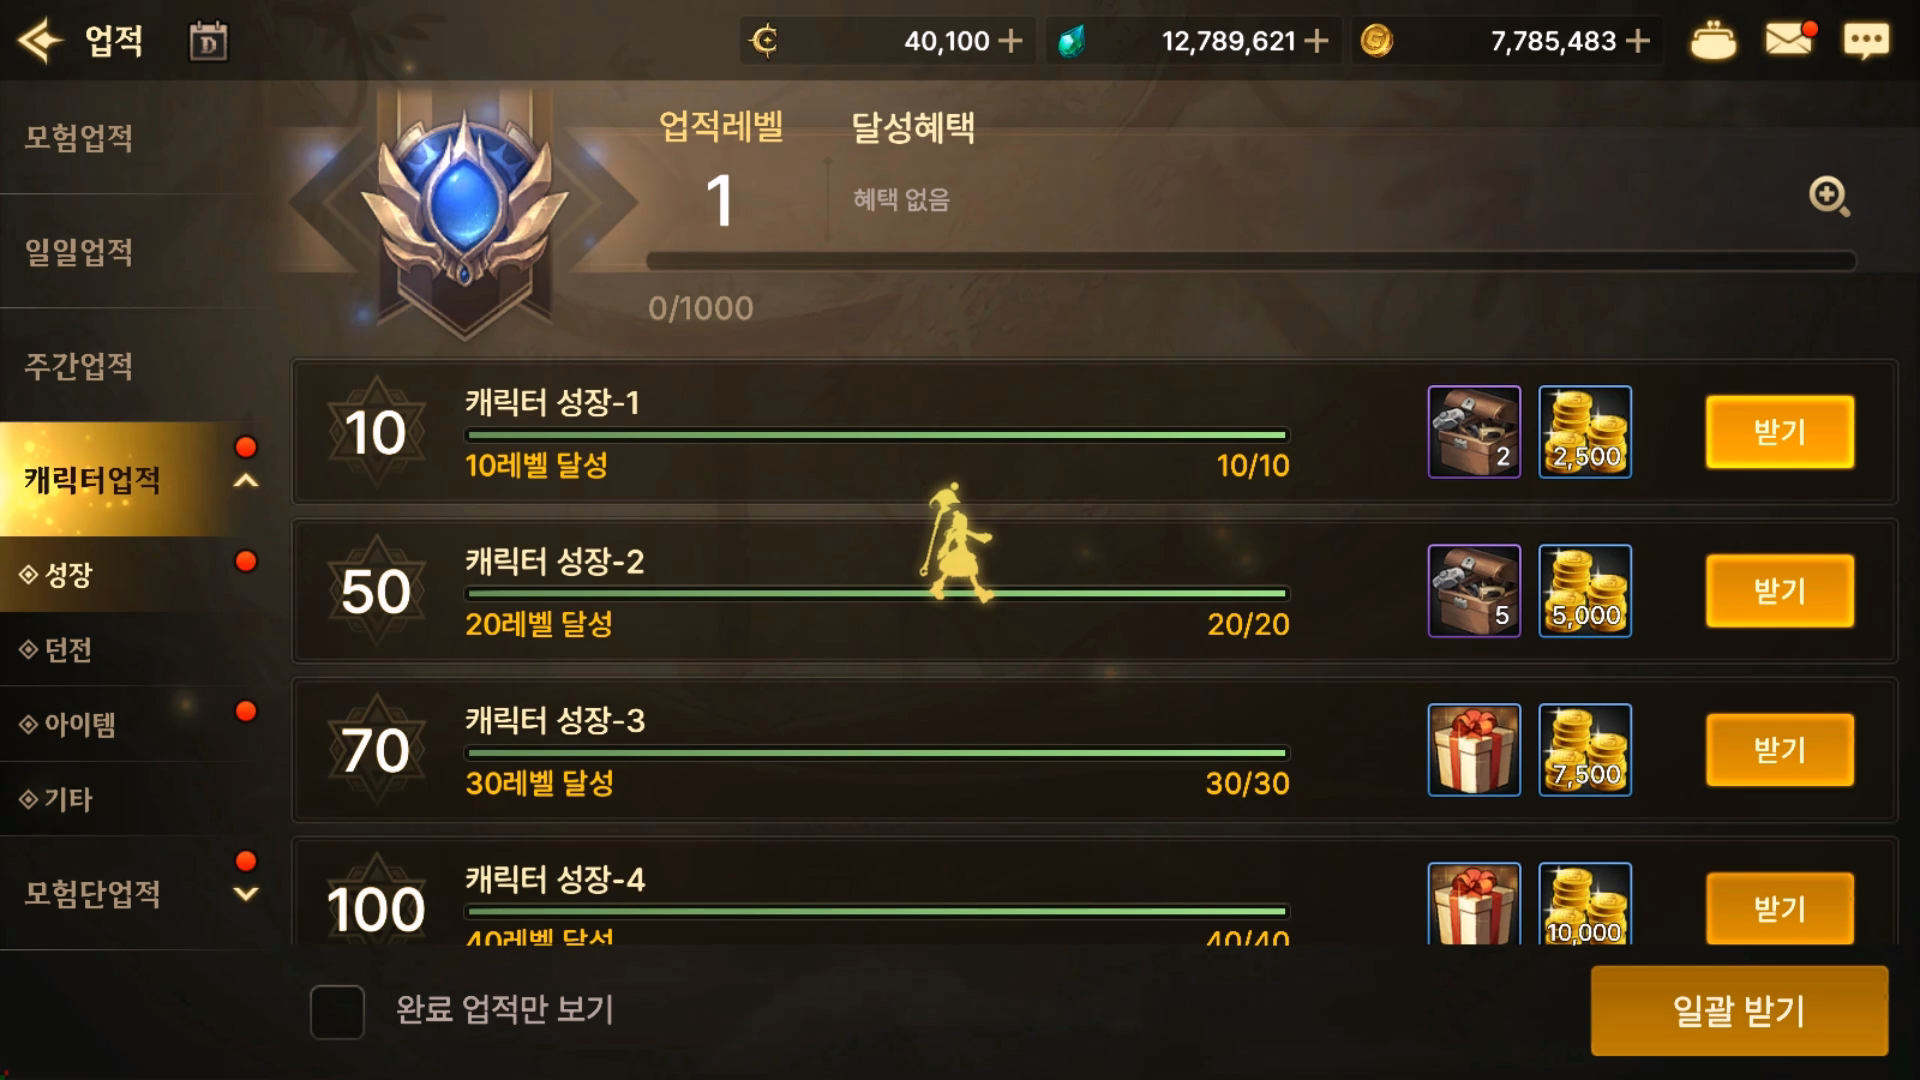
Next, go to Achievements and click Claim All.
After opening all the boxes, sell the Uncommon and Unique items for gold, and dismantle the rest.

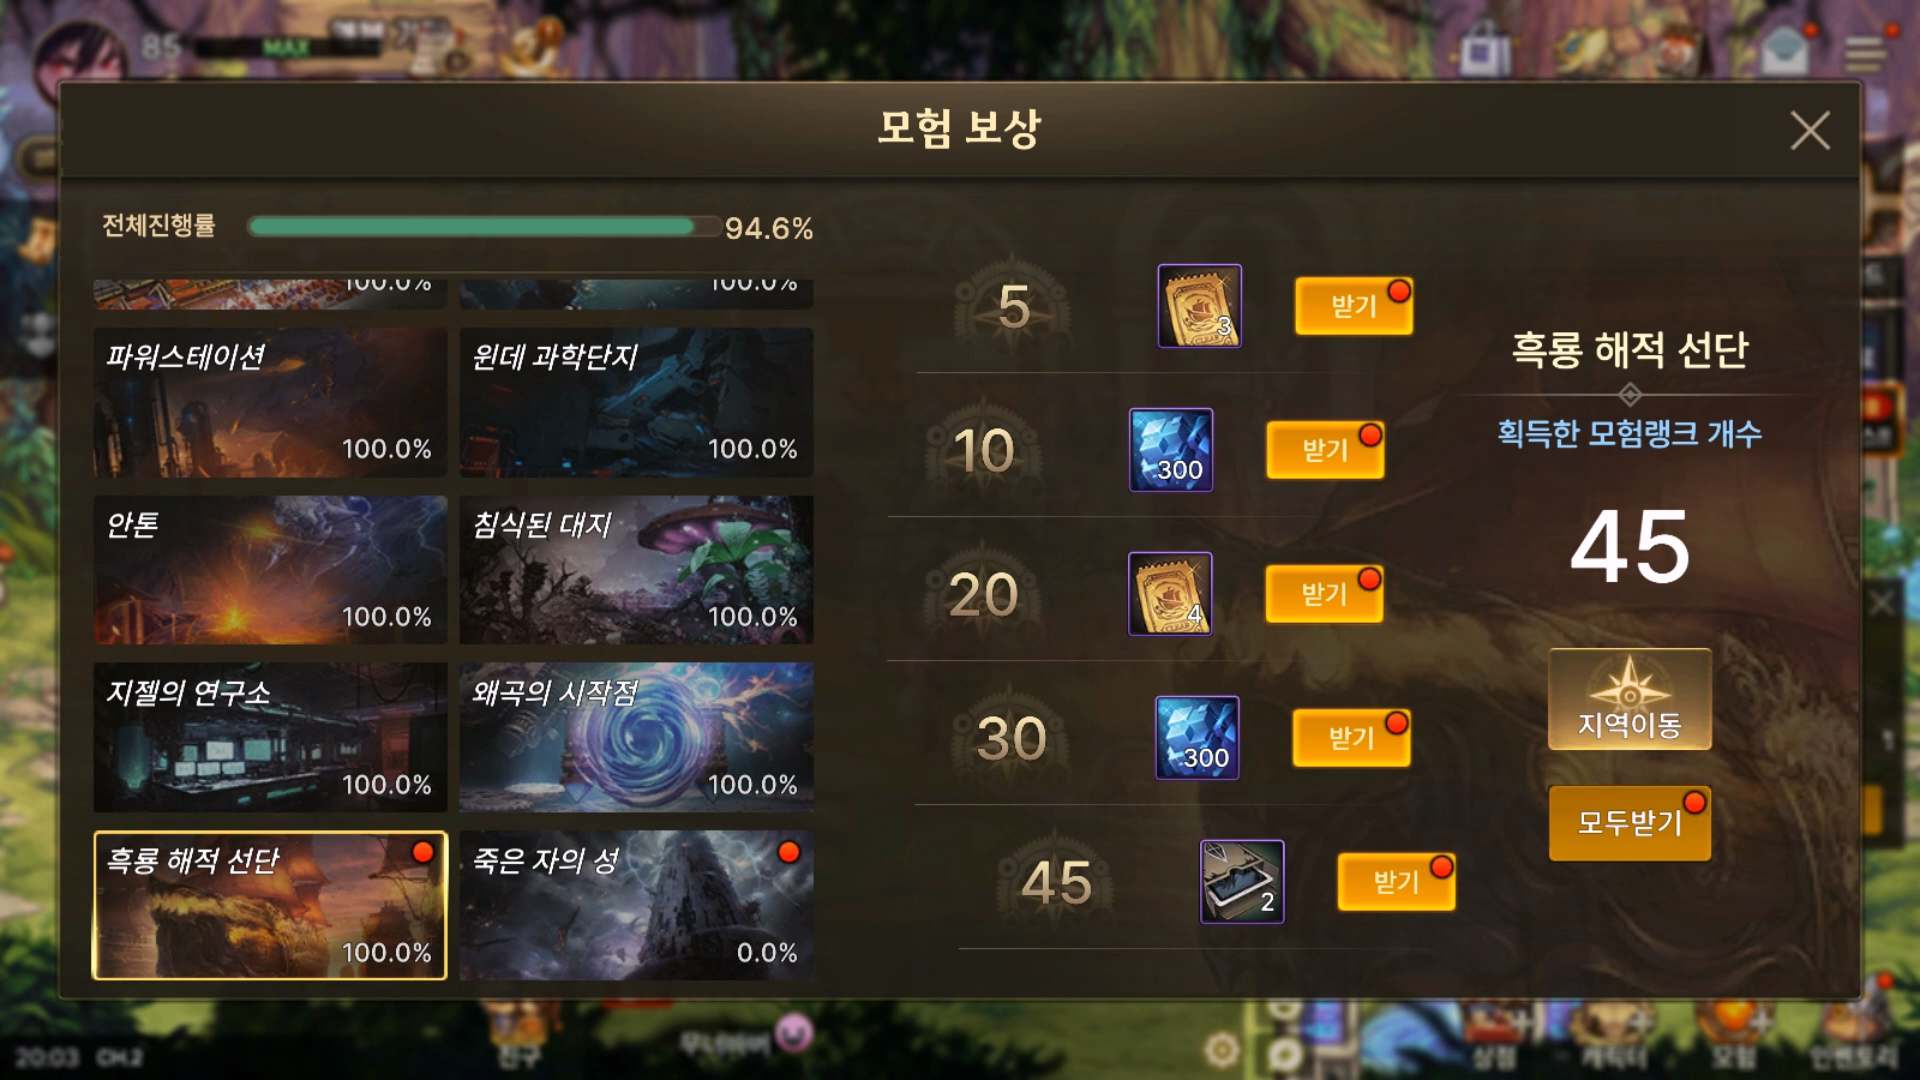
Next, go to Adventure Rewards and claim everything except Castle of the Dead.

Again, dismantle enhanced Rare gear to collect Ryon Coke, and sell level 65 Unique gear for gold.


Go to the 4th ANNIVERSARY DM tab in the event menu and claim the gifts.
If you plan to spend money and aim for a final endgame setup, put them in the account vault and give them to an alt later. If you plan to play free-to-play or low-spend, you can use everything on this character now.
The gifts are a near-endgame setup and are enough to enter the Sirocco Raid without any issues.
Learning Missions
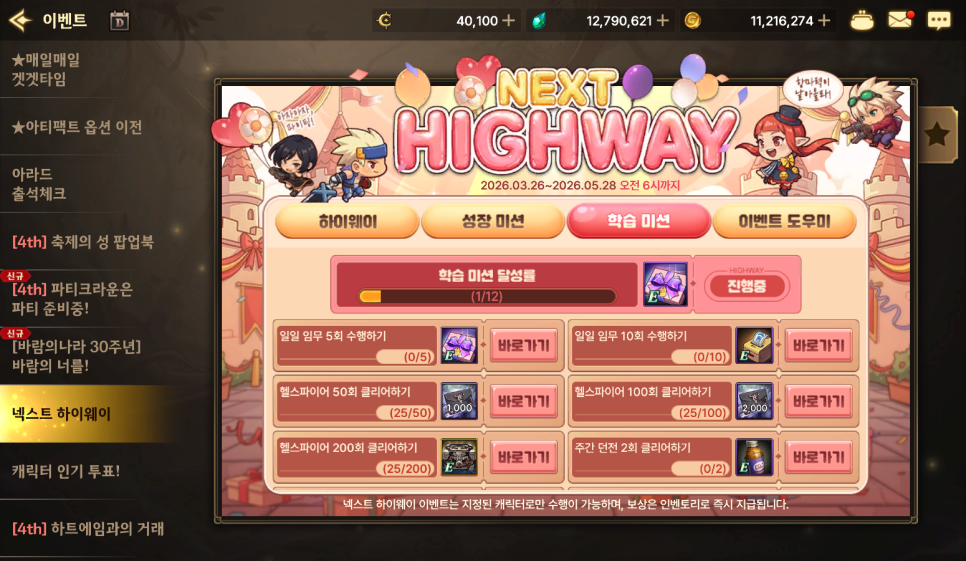

Now you can work through the Learning Missions in Next Highway.
The daily task means clearing a farming dungeon once each day, and you also need to progress the Hellsfire clear mission alongside it.
So run a farming dungeon once per day (20 fatigue), and spend the rest on Hellsfire.

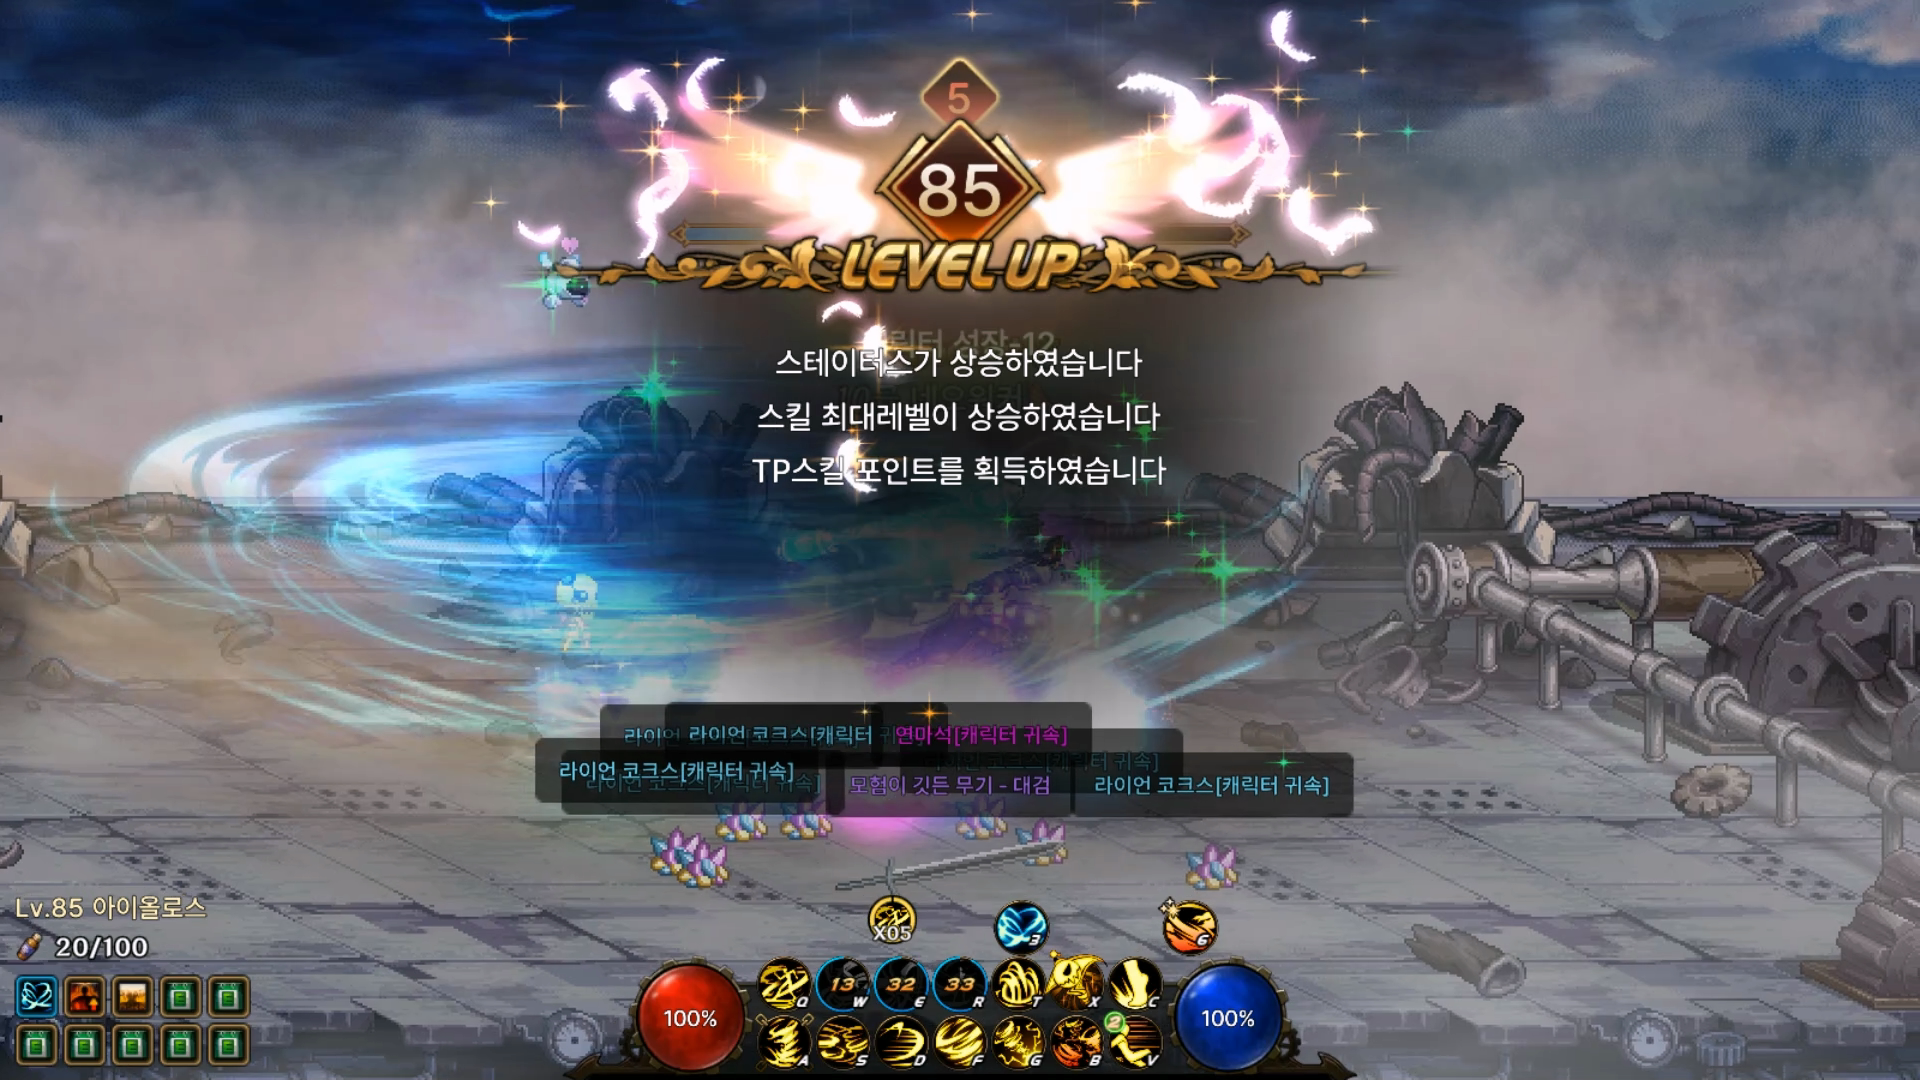
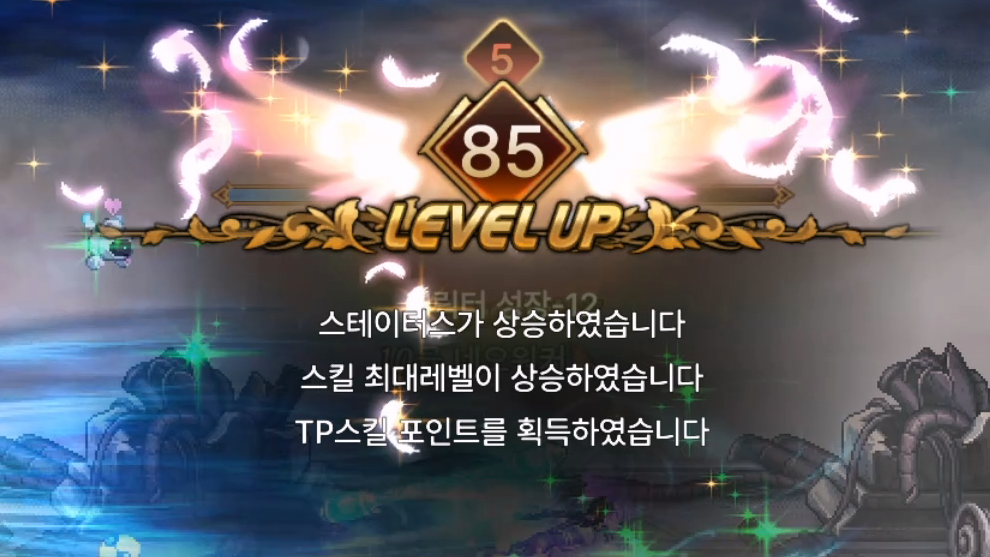
At level 80, doing this for just one day will get you to the level 85 cap.

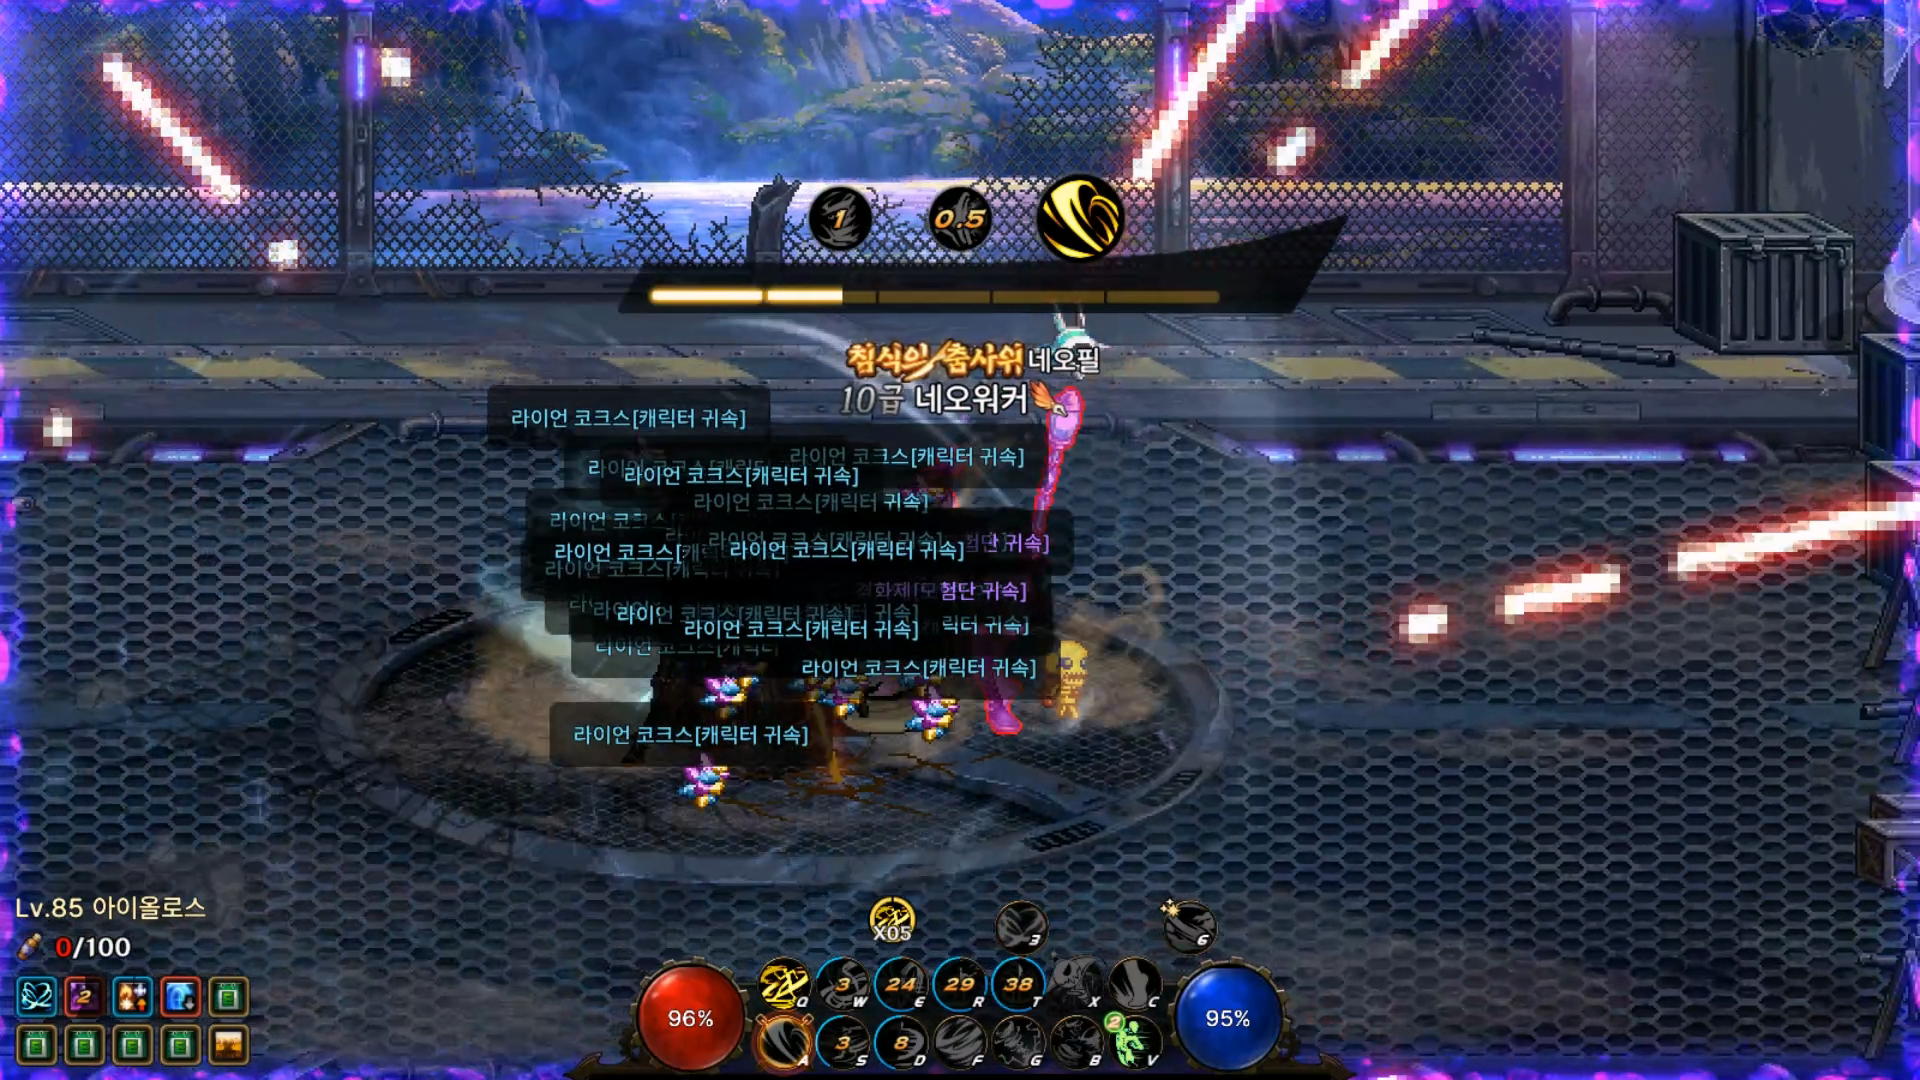
If you want to farm a bit more, go to Secret Operation: Imperial Laboratory stage 4 and use all of your invitations.
You can collect a bit more Ryon Coke there.
Of course, do not spend fatigue here—only use invitations.

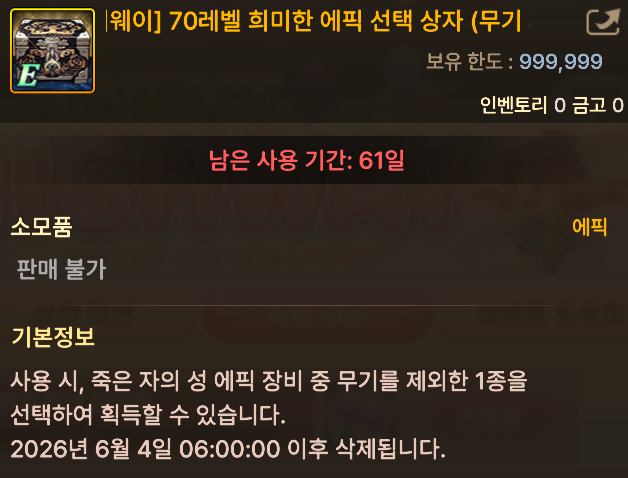
The Epic Equipment Selection Box from the Hellsfire 200 clear reward should be saved until you already have 4 of the 5 armor pieces from the same set and need the last one to complete it.

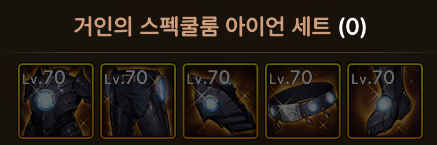
The recommended armor is the Giant set, which drops a bit more often in the farming dungeon Luke Linze. It keeps Super Armor up at all times, so you do not get staggered or knocked down while fighting bosses, which makes it much more comfortable to use.
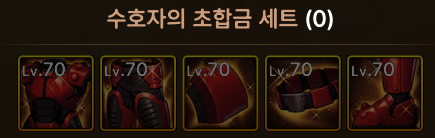

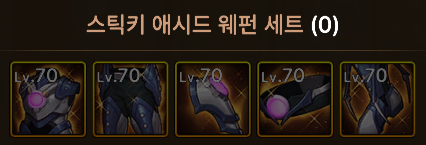

Synergy characters (Crusader, Enchantress, Nen Master, Dark Templar, Witch, Soul Bender, Mistress) should collect the Guardian or Sticky set.

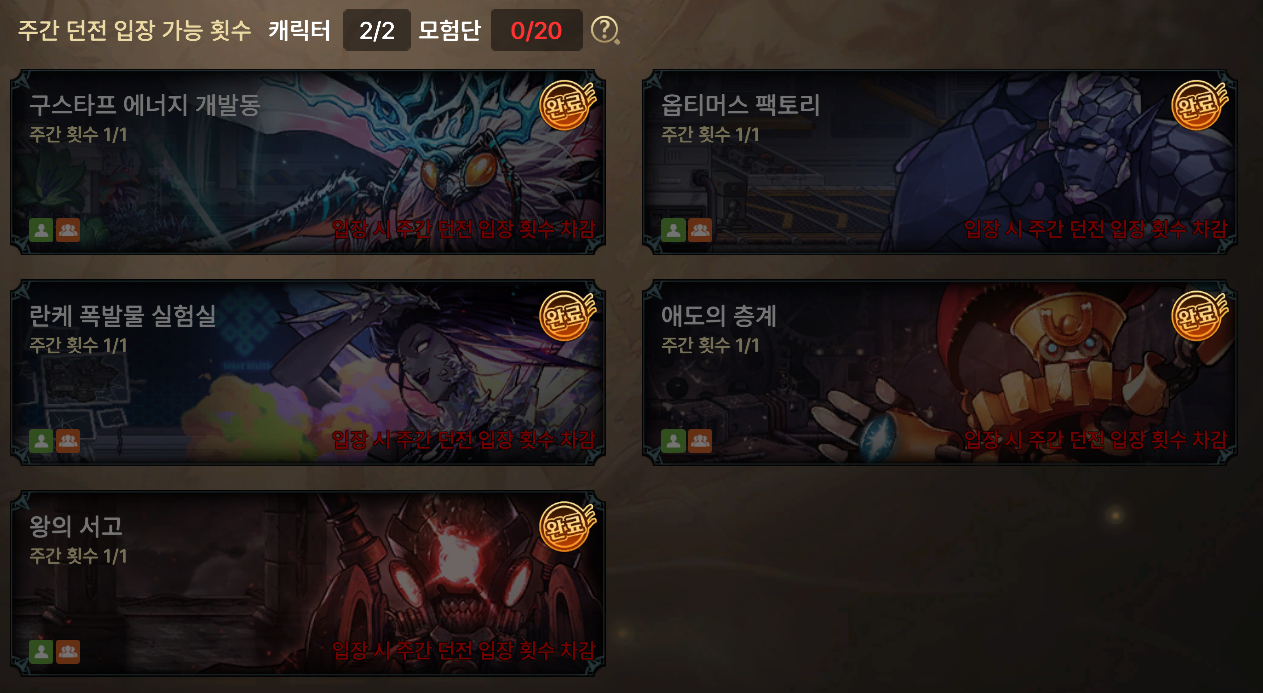
Weekly dungeons reset on Thursday, so raise your Combat Power as much as possible by Wednesday, up to 160,000, then run the highest weekly dungeon you can enter.

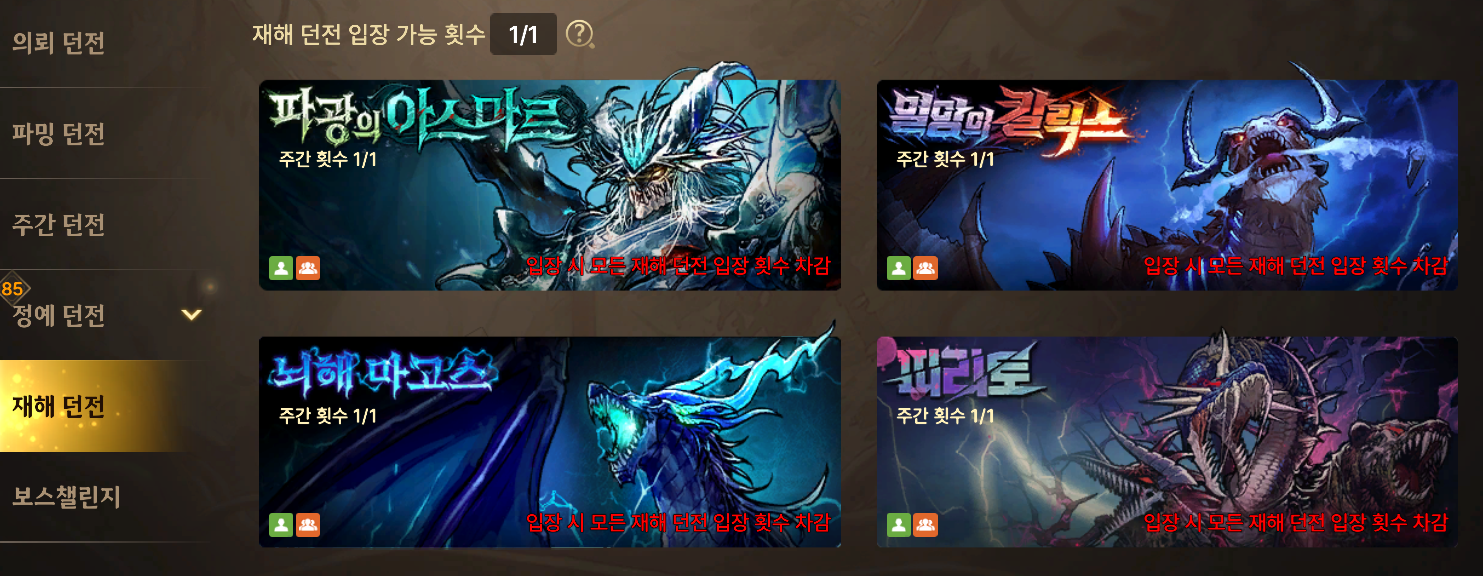
Disaster Dungeons do not use up an entry count if you enter and leave immediately, so you can at least claim the rewards first.
These also reset on Thursday, so make sure to do them by Wednesday.
If you have only just finished Highway, Magos or Calix are reasonable choices, and you can also test them lightly in Practice Mode.
Closing

That wraps up this beginner guide to DNF Mobile 4th Anniversary Next Highway.
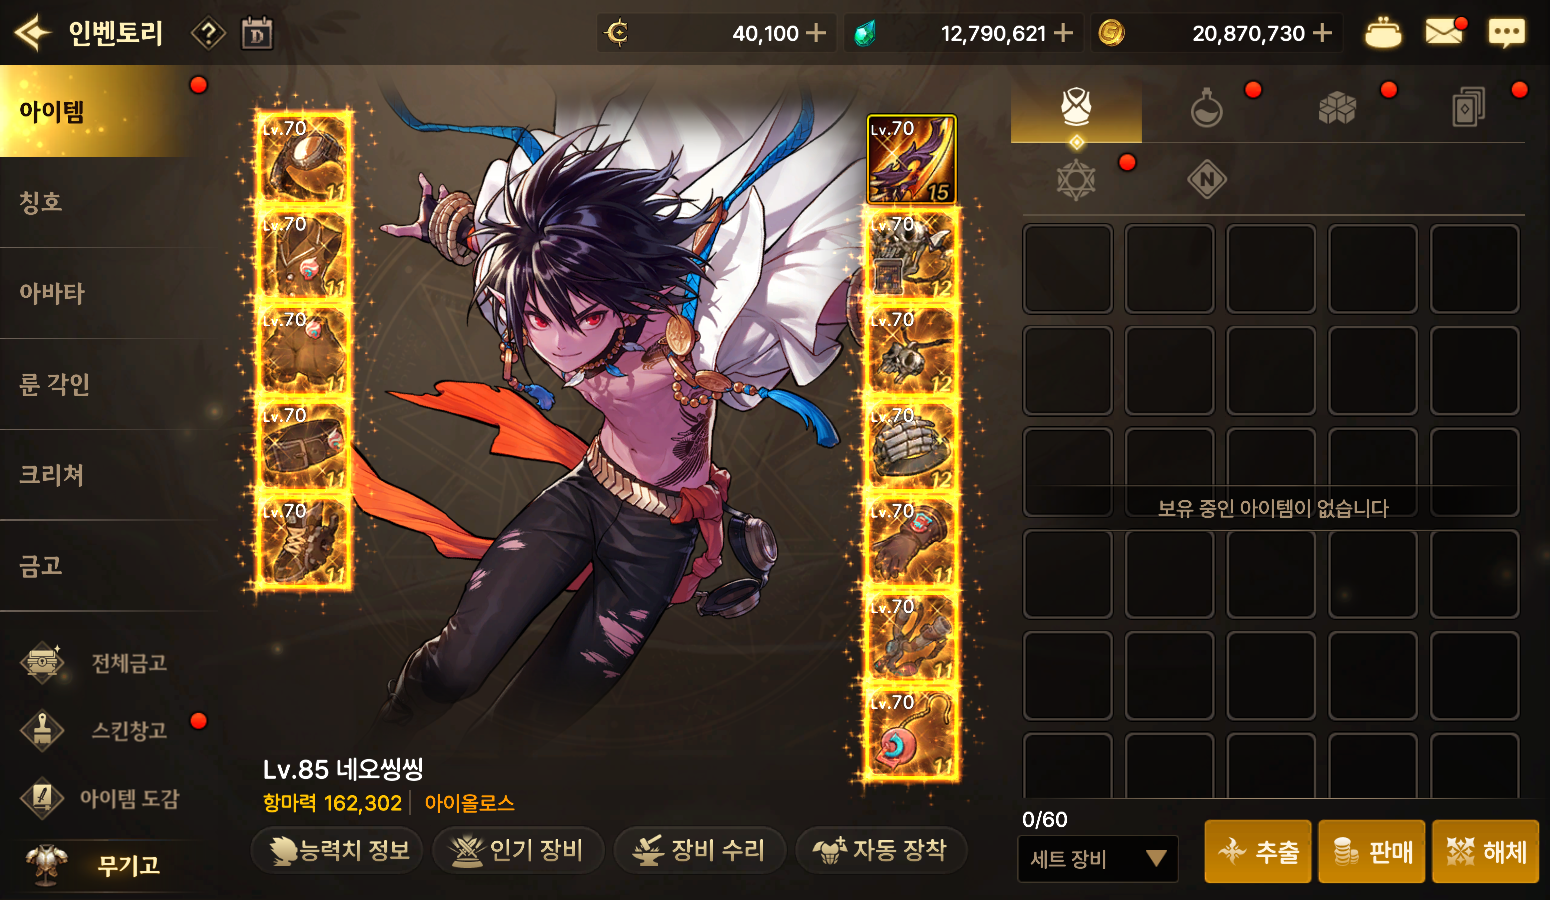
Once you fill every slot with Epic gear, your Combat Power will be around 150,000–160,000. If you then get Radiant Epics and Exceed gear, your Combat Power will rise sharply, letting you enter Elite Dungeons and the Sirocco Raid.
After that, once you have built up enough catalysts, try pushing your weapon to +16, and use your remaining Ryon Coke to enhance your armor and keep improving your build.