Arcane River Weekly Content Summary for MapleStory Newbies #춘곤증
마빡도로시

Hello
This time, the keyword is spring fatigue, so I wanted to cover content that takes a bit of focus while you are doing it but can still be finished quickly. MapleStory's Arcane River weekly content fits that description perfectly. Players who are already used to it can practically clear it with their eyes closed, but for newer players, these weeklies do require some concentration at first and can be a little confusing until you get used to the flow

That is mainly because there are 6 different types in total, and each one works in a completely different way. If this is your first time seeing them, having to search up each one separately can be a hassle, so this post is organized to let you quickly pick up only the most important points for each weekly
Main rewards and basic information

The rewards from these weeklies are EXP and the regional symbol, but at the moment the EXP is not really the main point. With this update, the number of symbols awarded per run has increased from 40 to 80, and since you can clear each weekly up to 3 times per week, that means you can earn as many as 240 symbols every week. If your Arcane Symbol is not maxed yet, this is content you should definitely be doing

Once you enter a higher region, you gain the option to instantly complete the previous region's weekly content. However, the first clear each week must still be done manually, and after that you can choose to use instant completion on your 2nd or 3rd clear. Do note that instant completion does not give EXP
The number of instant completions available depends on how far you have progressed into higher regions, and you can receive up to 2 in total. For example, for the Vanishing Journey weekly, you gain 1 instant completion when you enter Chu Chu Island, and then gain 1 more when you enter Lachelein
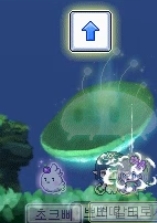
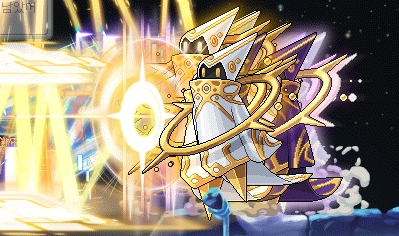
Vanishing Journey Weekly Quest: Erda Spectrum

You can enter Erda Spectrum, Vanishing Journey's weekly quest, through Nina
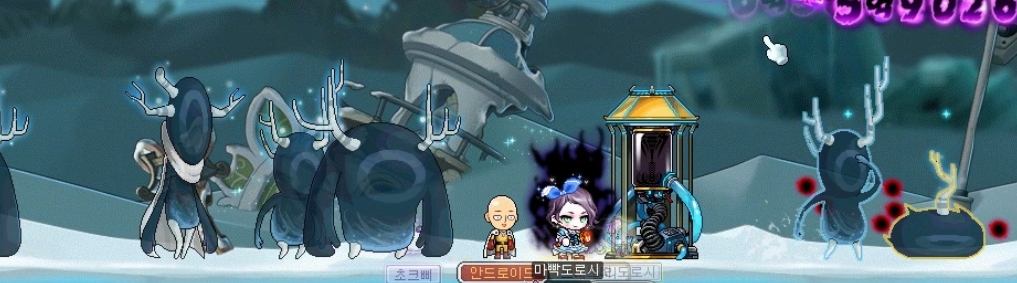
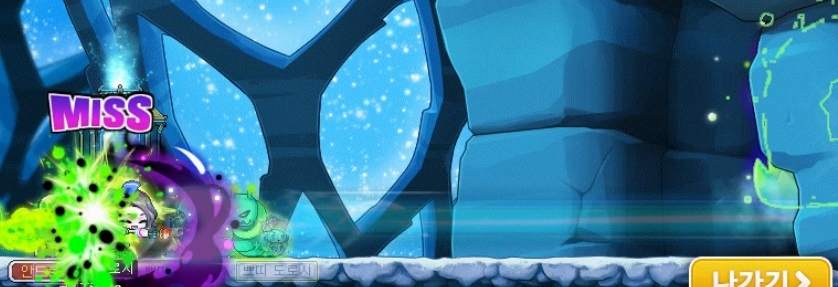
This weekly is divided into 2 stages. First, after entering, defeat the Erdas

Once the Erda collected in the UI reaches around 60, use the Harvest key in the center to activate the condenser
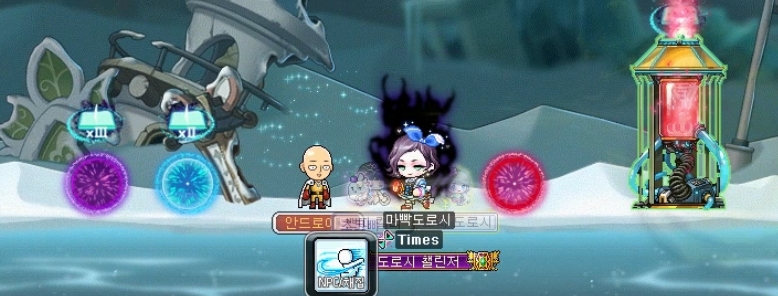
After the Erda condenser is activated, attacking it will summon a ball-shaped Erda onto the field, and the ball's color will match the color shown at the moment you hit the condenser

Use the knockback skill available with the spacebar to push these balls into the matching colored area to earn points. Blue and red are worth 1 point each, while purple is worth 2 points, and purple scores no matter which area you push it into. You pass once you reach a total of 10 points
If a ball is sitting on this platform, which appears from time to time on the map, the ball will disappear. So if one appears under a ball you are pushing, your priority should be to push that ball out of the area first to save it. In Stage 1, even if you run out of Erda midway, you are not kicked out, and the Erdas simply respawn, so you can keep repeating the process
In the past, the next map changed depending on the color of the ball used at the end, but currently it is fixed to the stage below
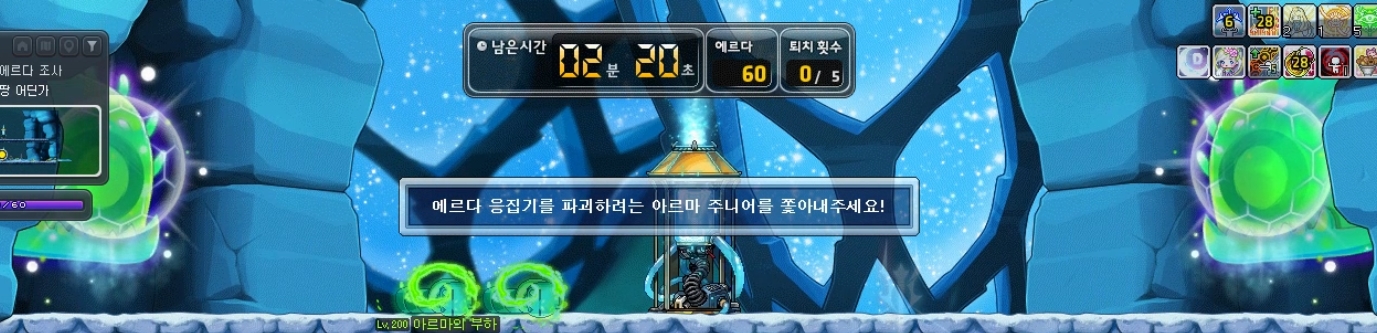

When you enter, Arma Junior appears at random from 1 of 4 caves, and you need to push it back into a cave using the skill activated with the Harvest key. Push in 5 of them to clear the stage

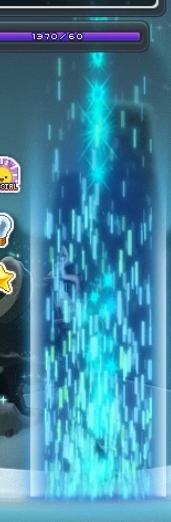
This laser fires continuously while you hold down the Harvest key on top of the condenser. Firing it consumes Erda, so refill your Erda by defeating the larvae. When Arma Junior has its shield up, it is invincible anyway, so that is a good time to kill the larvae, and you can also place summons in advance
Since you are removed immediately if Arma Junior reaches the condenser, just keep holding the key and pushing steadily. Its movement speed is slow, so this stage is generally not too difficult to finish
Chu Chu Island Weekly Quest: Hungry Muto
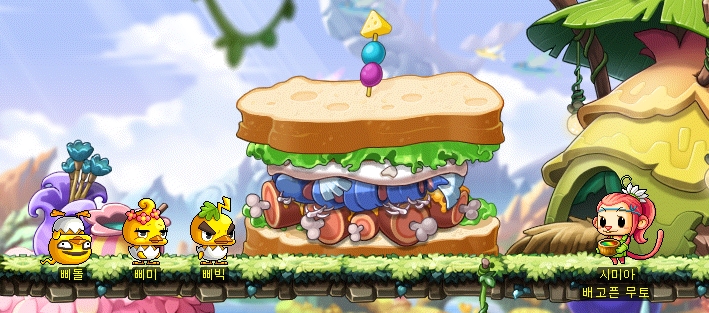
You can enter Hungry Muto, Chu Chu Island's weekly quest, through Simia
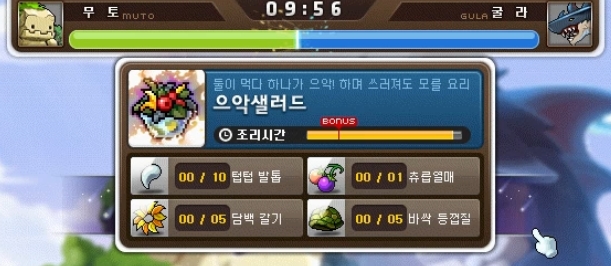
The goal here is to gather ingredients, bring them to the center, and cook dishes to fill Muto's gauge. At the moment, making around 2 dishes is usually enough for a comfortable clear
The first thing to know is the recipes. In the past, there were hidden recipes that did not tell you the ingredients, so you had to memorize everything, but now all recipes are shown, so there is nothing you need to remember separately
That means the only thing worth memorizing is where each ingredient-dropping monster is located, and since those locations are fixed every run, it is fairly easy. They are as follows
-
Feather: upper center, 1st platform
-
Claw: upper center, 2nd platform
-
Hoof: platform immediately to the left
-
Banana Peel: platform immediately to the right
-
Mane: far left, 1st platform
-
Webbed Foot: far left, 2nd platform
-
Paw: far right, 1st platform
-
Shell: far right, 2nd platform
-
Slurp Fruit: random among the 8 areas above
For Slurp Fruit, a message will appear saying the Slurp Tree has appeared, and it will spawn randomly in 1 of those 8 areas

Ingredients are not picked up by pets, so you need to collect them yourself. If you do not have a pickup key assigned, you can use the number 0 key on the keypad to pick them up

You can only carry 1 type of ingredient at a time, so after picking up the required amount, move back to the center, hand it to Simia, and then go out again for the next ingredient. There is no extra key input needed for this; just return to the center. If you have a portal-type skill, placing it in the center makes moving back much more convenient
At the location where the Slurp Tree appears, repeatedly pressing the pickup key can sometimes cause the Slurp Fruit you just collected to disappear, so that part needs a little caution


If you drop down into the sea at the bottom of the map, you will be moved to the ends of the left or right first platforms, so it is useful to take advantage of that
Lachelein Weekly Quest: Midnight Chaser

You can enter Midnight Chaser, Lachelein's weekly quest, through the Dream Rag Doll


There are 9 rooms in total, and you move between them using portals. In each run, 9 objects are placed across the rooms in different locations

The 9 objects are the music box, chest, statue, clock, sofa, piano, bed, wardrobe, and mirror


The rag doll will call these objects out in a different order every run. You need to move around first, remember which room contains which object, and then visit them in the announced order
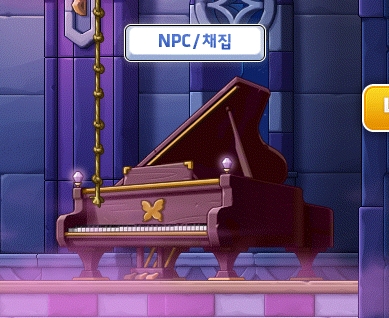
Go to the room containing the correct object, defeat all the monsters there, and then press the Harvest key next to it to mark that room as cleared

Repeat that 9 times, and once every room has been checked off, the weekly is cleared
Arcana Weekly Quest: Spirit Savior

You can enter Spirit Savior, Arcana's weekly quest, through the Escaped Stone Spirit

The clear condition is to earn 10,000 rescue points

You earn rescue points by rescuing Stone Spirits. Attack a bound Stone Spirit to free it, then press the spacebar in front of it to add it to the count above your head. The score you receive depends on how many rescued Stone Spirits you turn in at once, as follows. In most cases, you will gather 5 at a time and repeat that 4 times
-
1 spirit: 400 points
-
2 spirits: 800 points
-
3 spirits: 1200 points
-
4 spirits: 1800 points
-
5 spirits: 2500 points
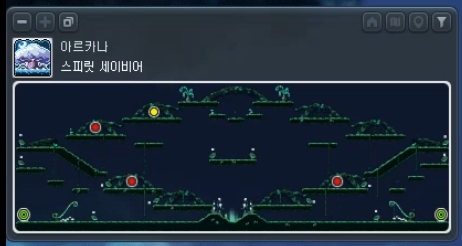
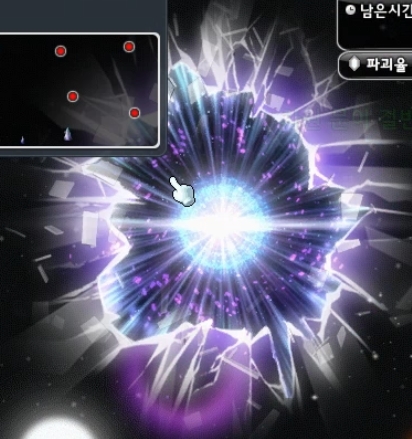
The Stone Spirit locations are marked by fixed red dots


After stacking rescued Stone Spirits, you need to bring them to the lower middle area at the exact center of the map for the points to be counted


As soon as a Stone Spirit is released from its bind, an untargetable Toxic Spirit begins chasing your character. If it touches you, you lose all of the Stone Spirits you were carrying. The Toxic Spirit gets faster as more Stone Spirits are released from bind. This weekly used to be fairly notorious, but with this March update its speed was reduced, so it is much more manageable now
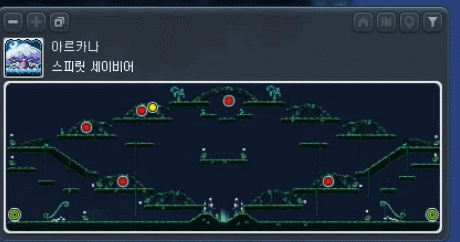
This is its speed at 5 stacks

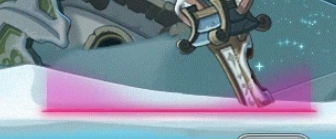
If you use these springs placed around the map, your character will bounce upward as shown on the minimap above. If you want a safer route, use the springs at both ends

If you watch the Toxic Spirit approach like this and then take the spring toward the center at around this point, you can continue safely from there with consistency. If you already have all 5, go straight to the bottom center right away, as shown in the gif above. If not, move in the opposite direction to finish stacking more, then come back using the same method. That said, you do not have to force 5 every time, so adjust depending on the situation

This enemy only causes flinching when it hits you and has no other effect

Lastly, bound Stone Spirits disappear quickly once they are freed, and the Toxic Spirit speeds up based on how many have been released from bind, not how many you are currently carrying. Because of that, it is better here to attack from close range and free them one at a time with single-target skills rather than wide-area attacks. If possible, it is also better to turn off projectile-type skills
Morass Weekly Quest: Enheim Defense

You can enter Enheim Defense, Morass's weekly quest, through the Mysterious Researcher

When you enter, you will see your HP and a yellow gauge bar at the top

The gauge reaches MAX every time you defeat 10 monsters, and once it is MAX, you can fire the laser
You can fire the laser by pressing the Harvest key at these magic stones on the left and right sides of the map


The monsters that need to be defeated with the laser are marked by red dots on the minimap like this, and their positions can also be seen directly as shown below. Just move in front of them and fire

These monsters do attack your tower, but in practice you do not really need to worry about that. A total of 9 monsters spawn, and the 1st through 8th monsters shown above each die in 1 laser shot

The slightly larger 9th monster dies after 3 laser shots. Once you defeat that one as well, the clear is complete
Esfera Weekly Quest: Protect Esfera

You can enter Protect Esfera, Esfera's weekly quest, through Schmitt
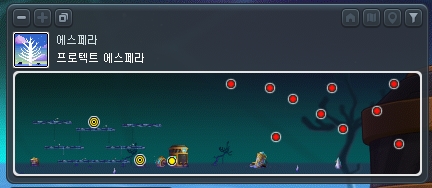
Your objective is to destroy all 10 Dimensional Portals marked by the red dots on the minimap
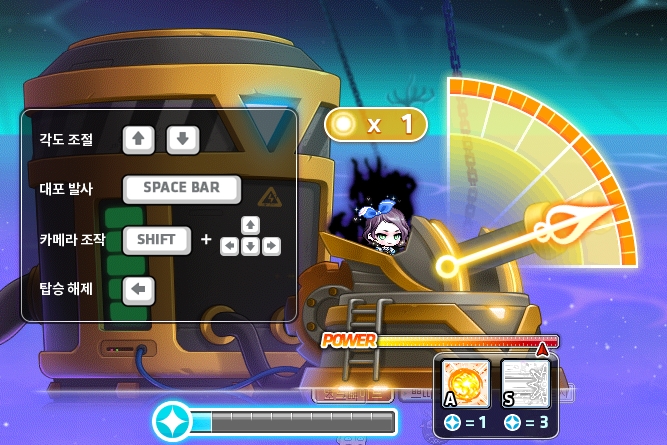
These cannot be destroyed with normal attacks. Instead, you need to sit here and fire shells at them

The gauge used to fire these shells increases by defeating the monsters on the left side of the map, and it appears to go up by 1 segment for every 15 monsters
Once you get a feel for aiming at these Dimensional Portals, it becomes much easier. If you really feel like you cannot get used to it at all, though, you can refer to this consistently well-loved guide written by another player, which should help

Also, the line shown when you enter refers to an item that monsters can drop after 3 minutes have passed. Picking up that item will destroy some of the Dimensional Portals, but since it does not instantly clear the stage or anything similar, and the drop rate is not especially high, it is hard to consider it a meaningful source of help in practice
Thank you for reading


![[메이플] #밸런스 게임 5가지 모음! 당신의 선택은?](https://peak-file.nexon.com/uploads/20250831_1234_7c0-e7da-4f2a-9be3-7fdc789f5ce0)