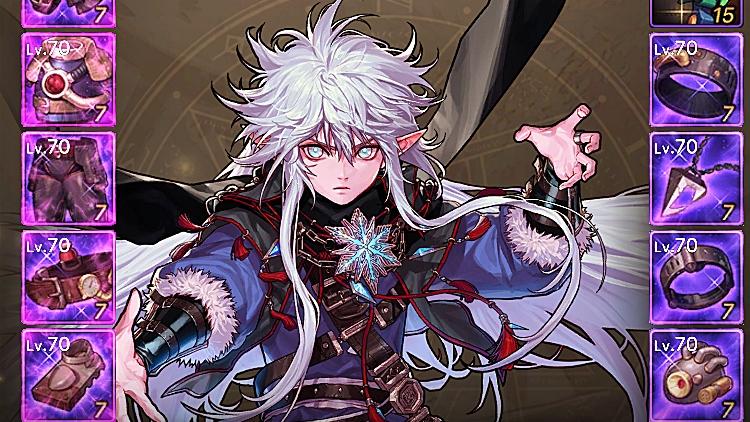
Blue Archive - Yesod Total Assault: Lunatic Clear Review
베르니카


With demanding mechanics that include an instant-kill pattern,
the Yesod Total Assault is still
putting many sensei through agony
and driving them to give up.
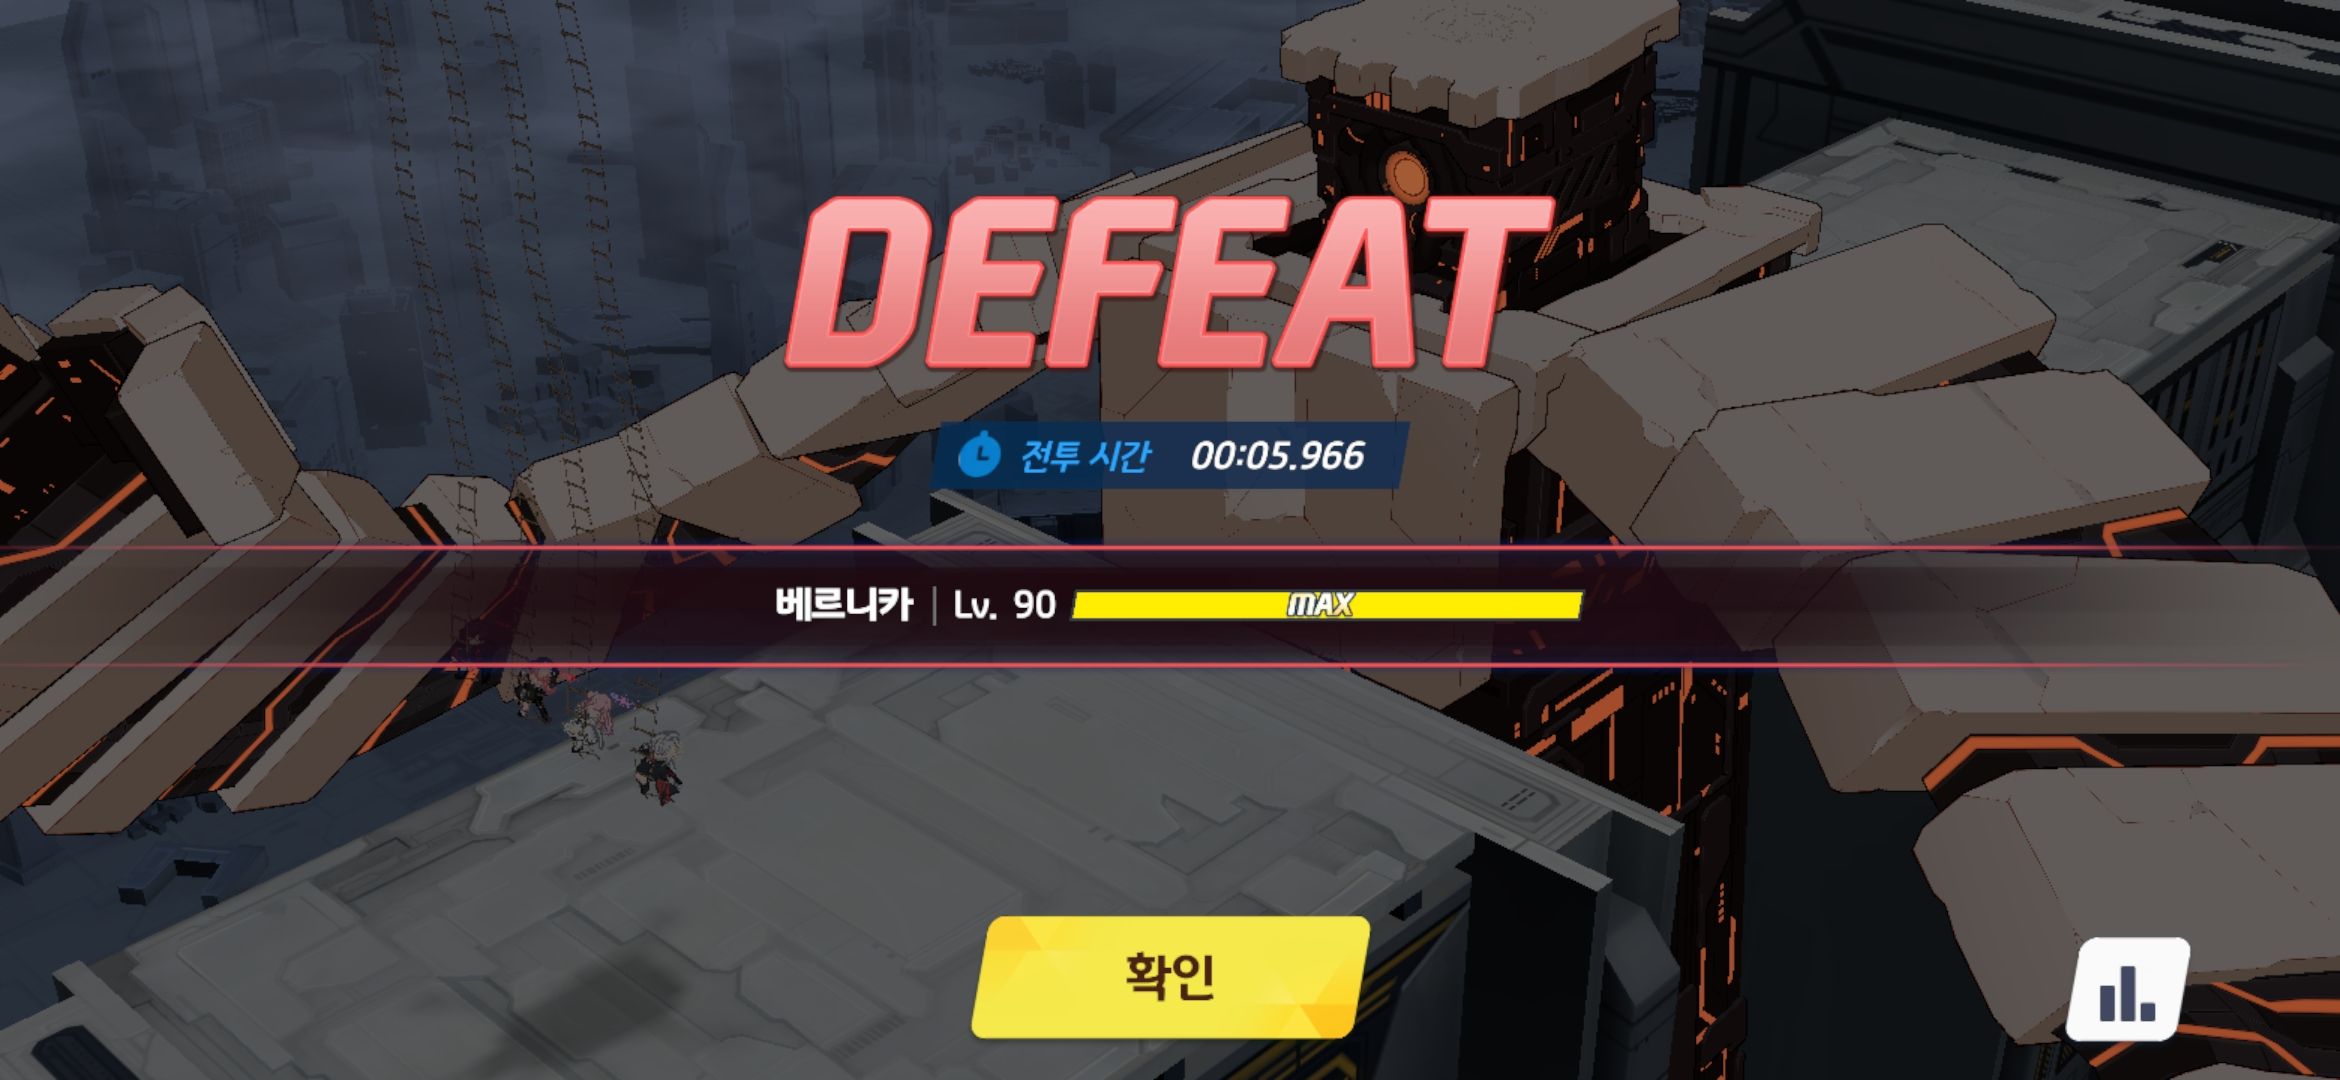
I spent two consecutive days, Thursday and Friday,
burning through tickets as I worked out a strategy,

and today I finally cleared the highest difficulty, Lunatic,
on my first ticket.


Experienced sensei seem to finish Phase 1
with 2 teams,
but I could not manage that,
so I ended up needing 3 teams.
<Phase 1>

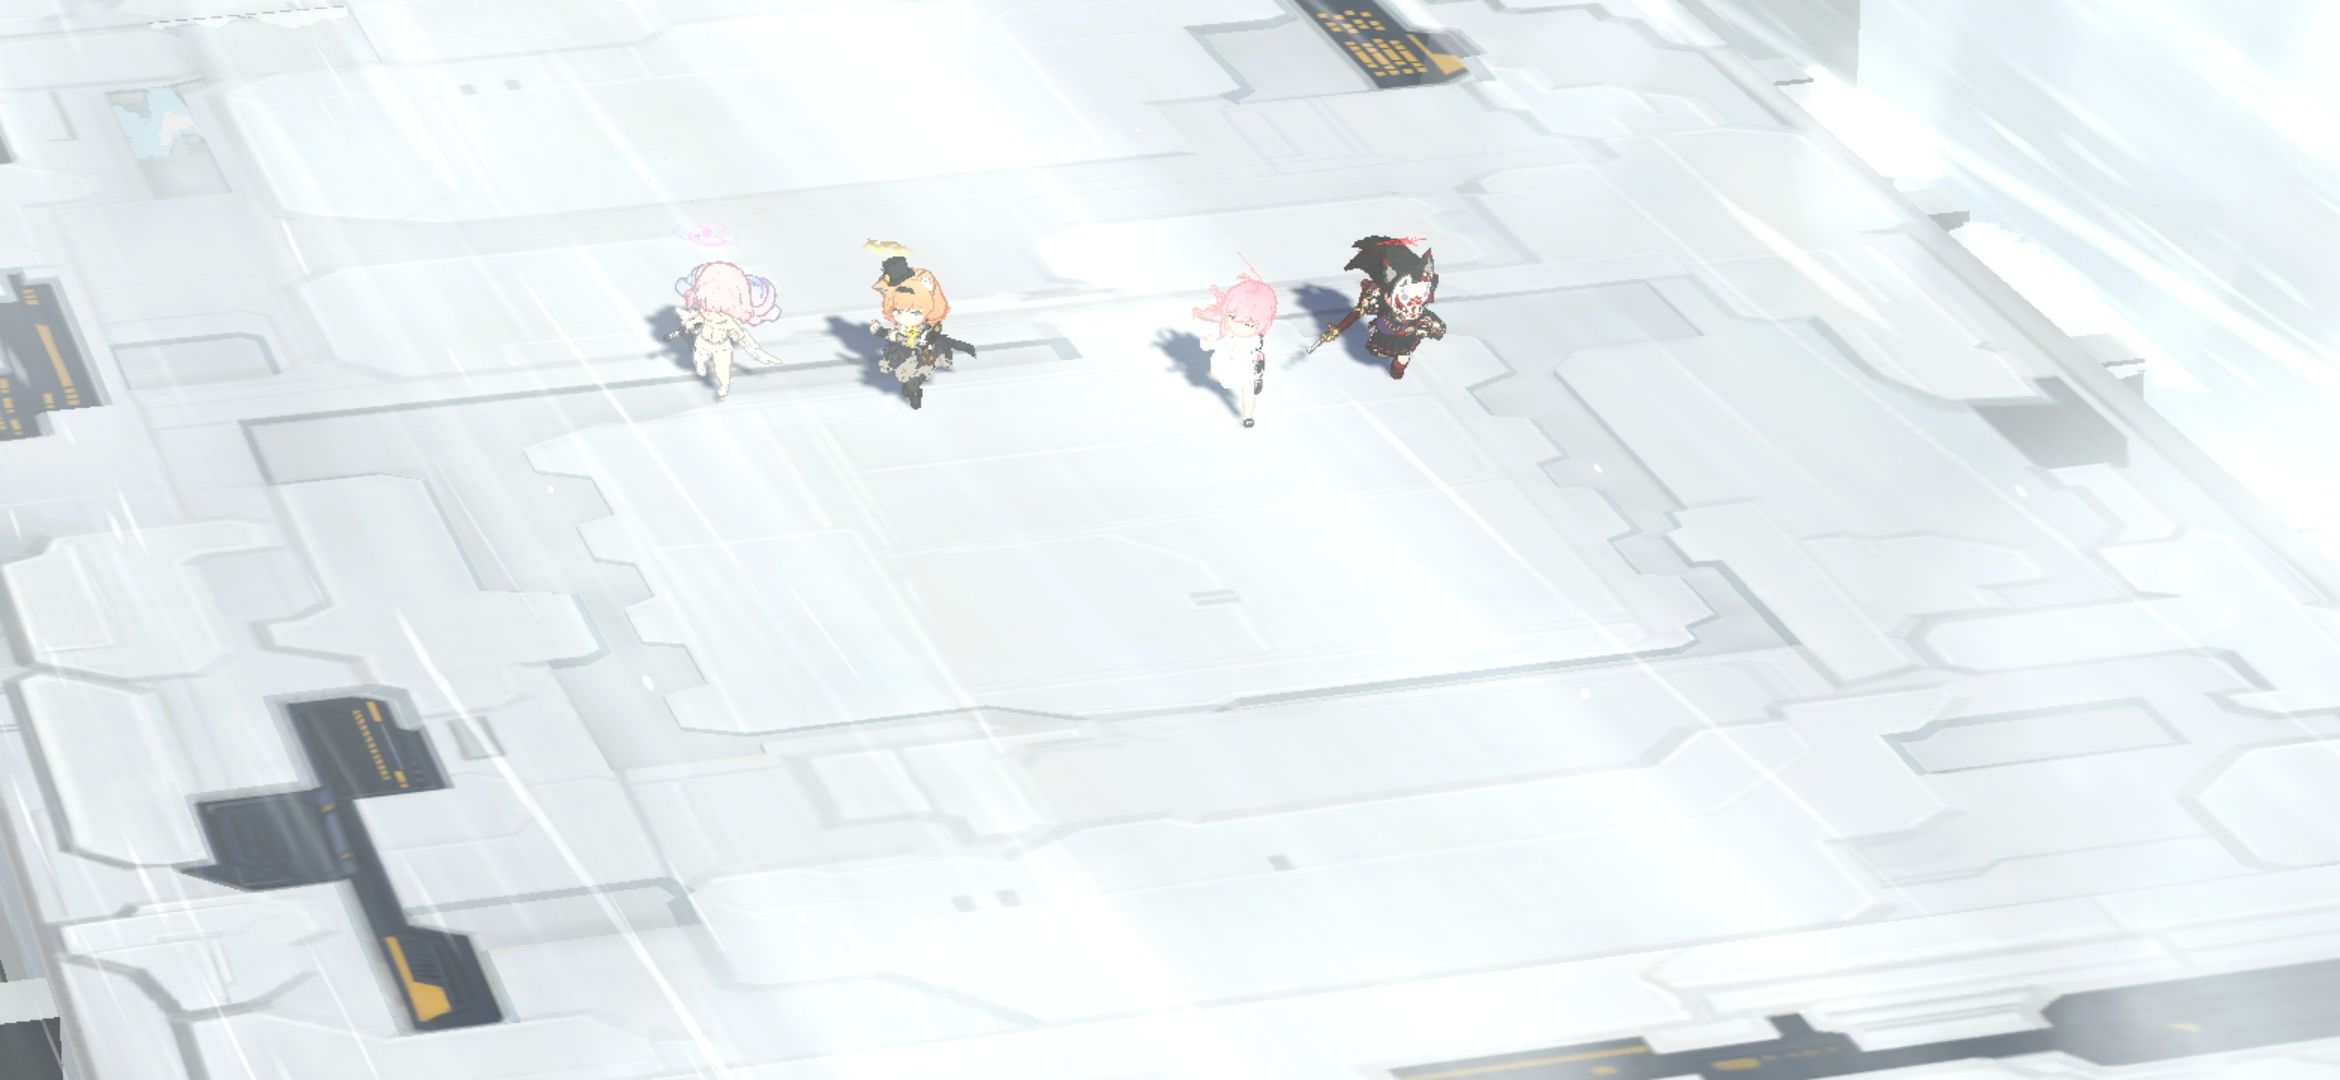
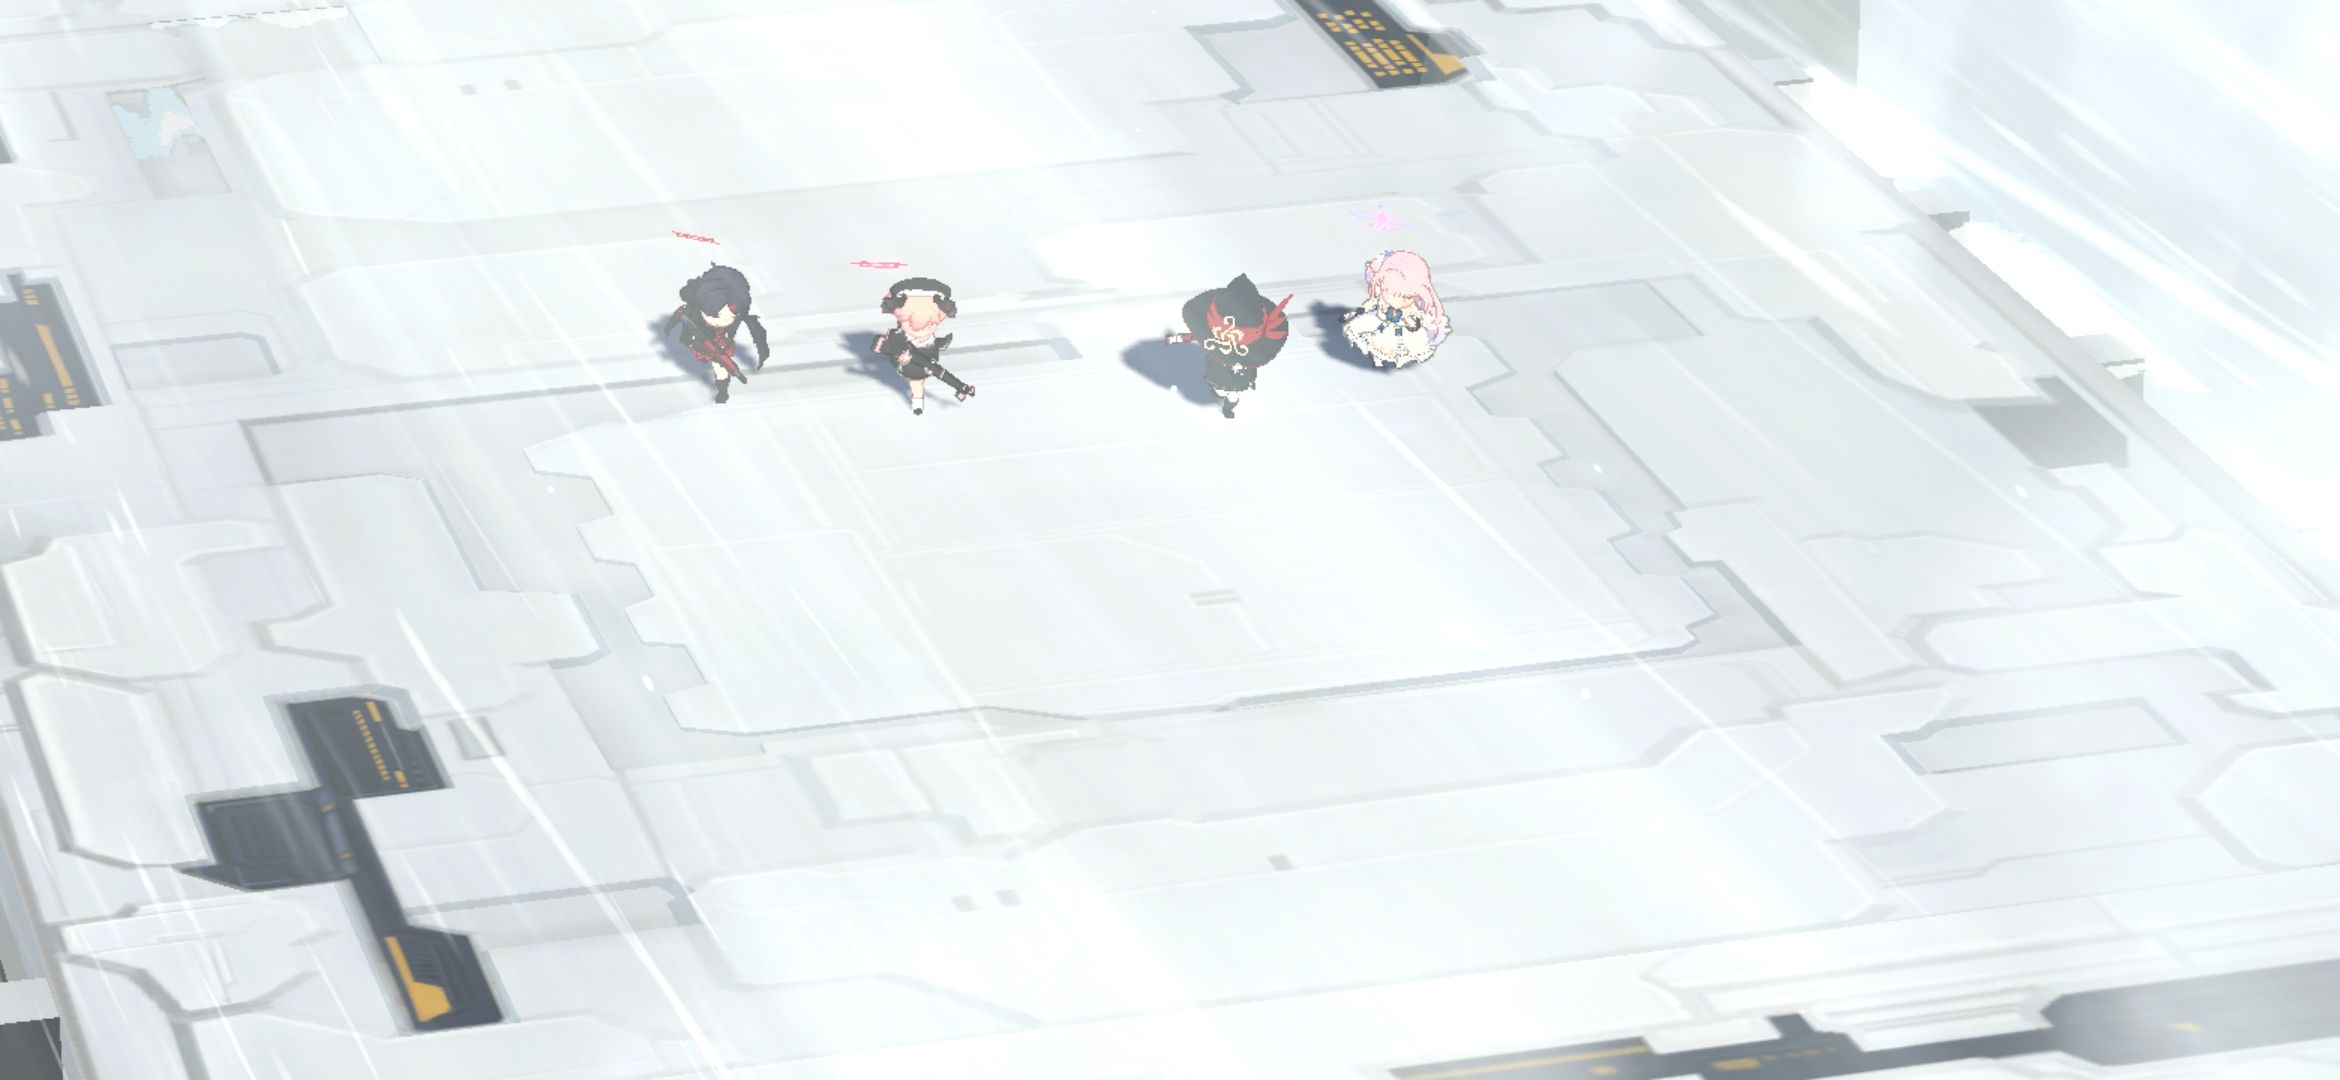
Team 1: Wakamo Team
This team took the most resets,
and as the main team responsible for
the largest share of the damage, it was a struggle to get right.
Wakamo's Light Armor leaves her vulnerable to extra damage here,
putting her on the verge of a helicopter evacuation, while Hanako (Swimsuit)
was sometimes barely hanging on as well, which made this particularly difficult.
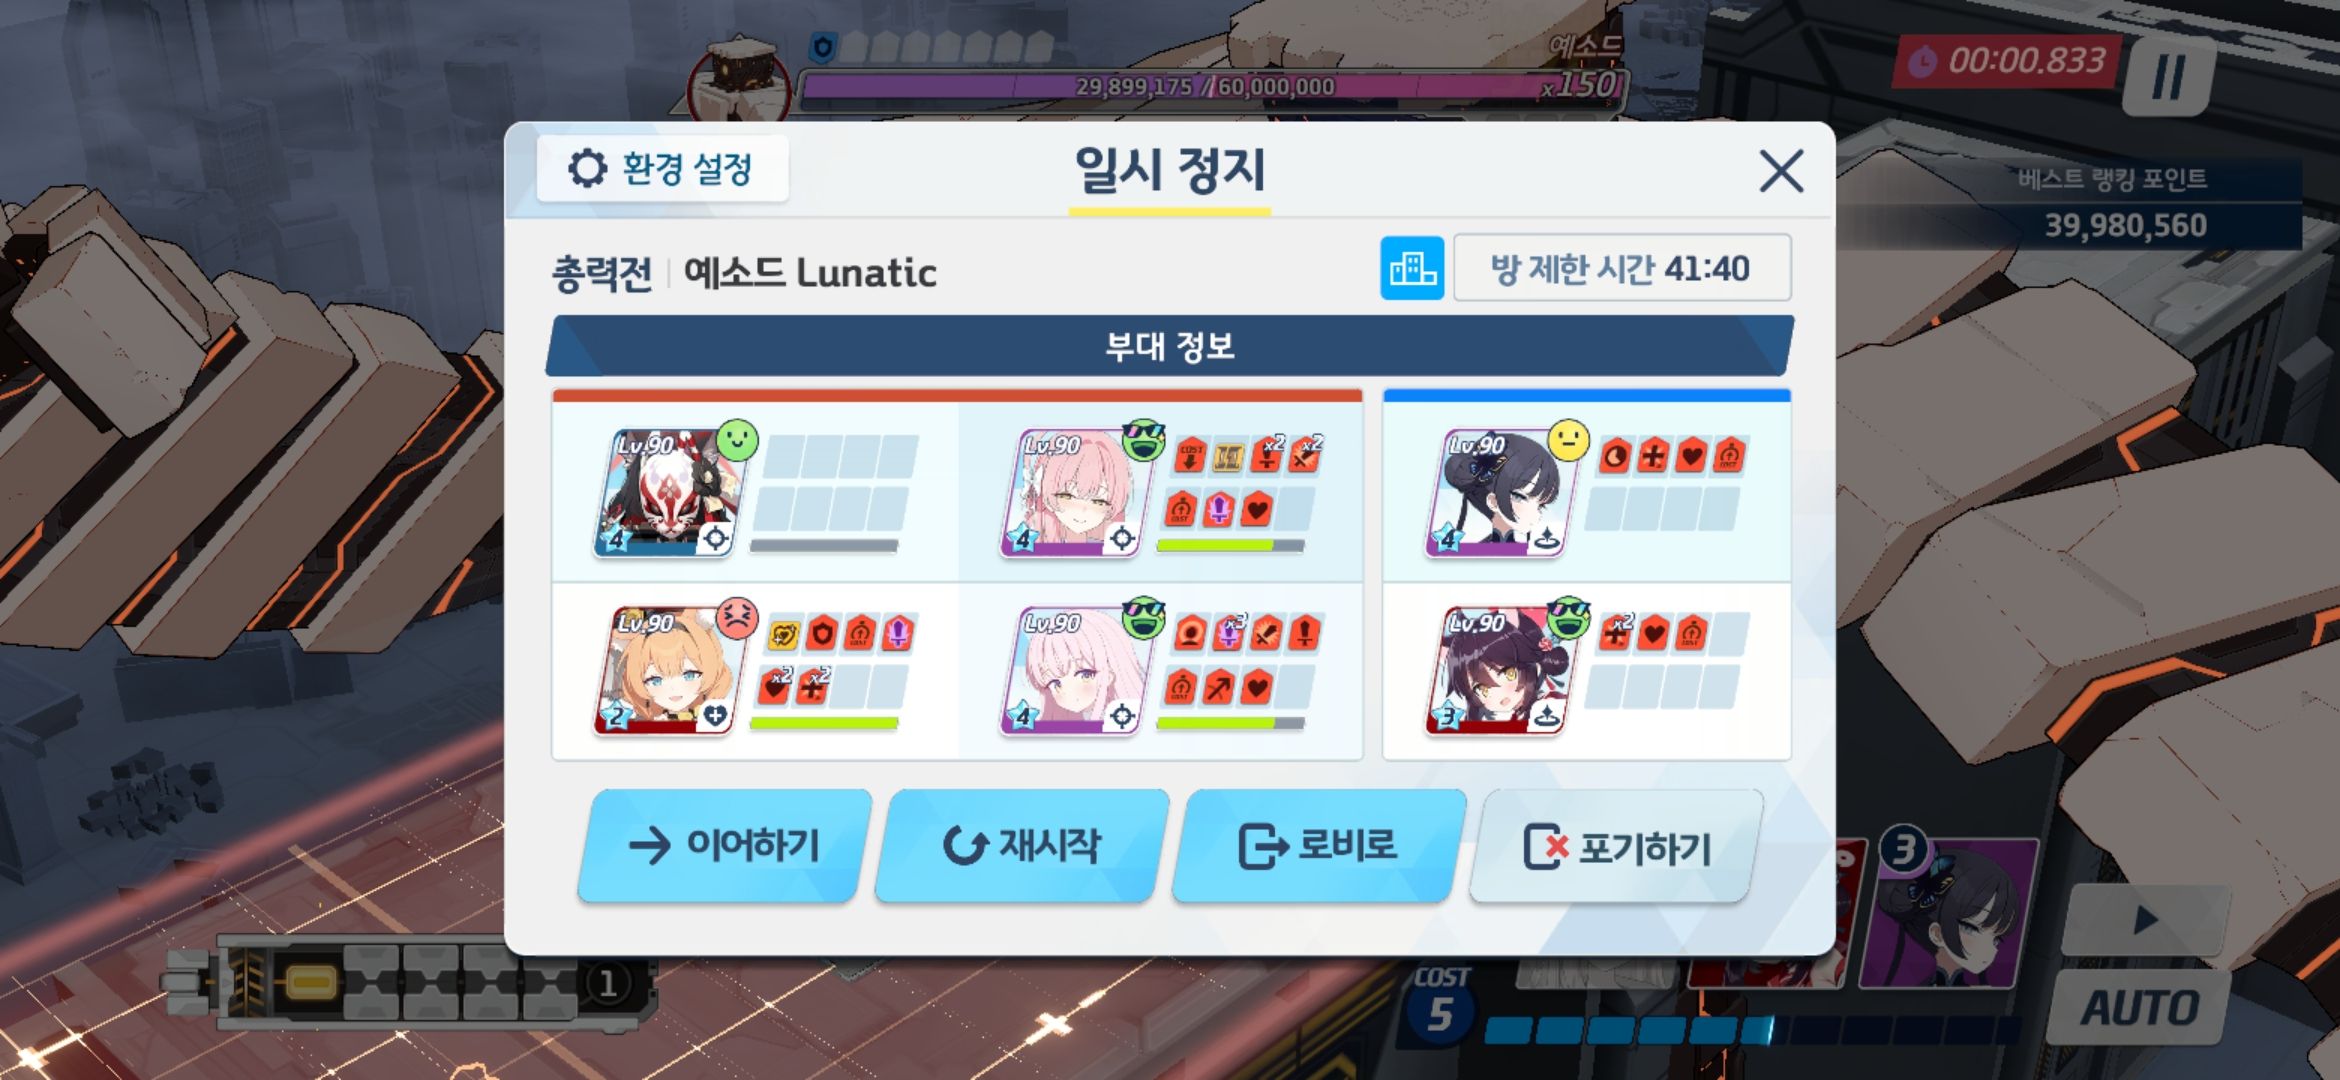
I used the Wakamo team to bring Yesod's HP
down to half before retreating.
(300=>150)
 Given Yesod's mechanics, resets consume
an enormous amount of time, so pushing beyond
this point would have been risky.

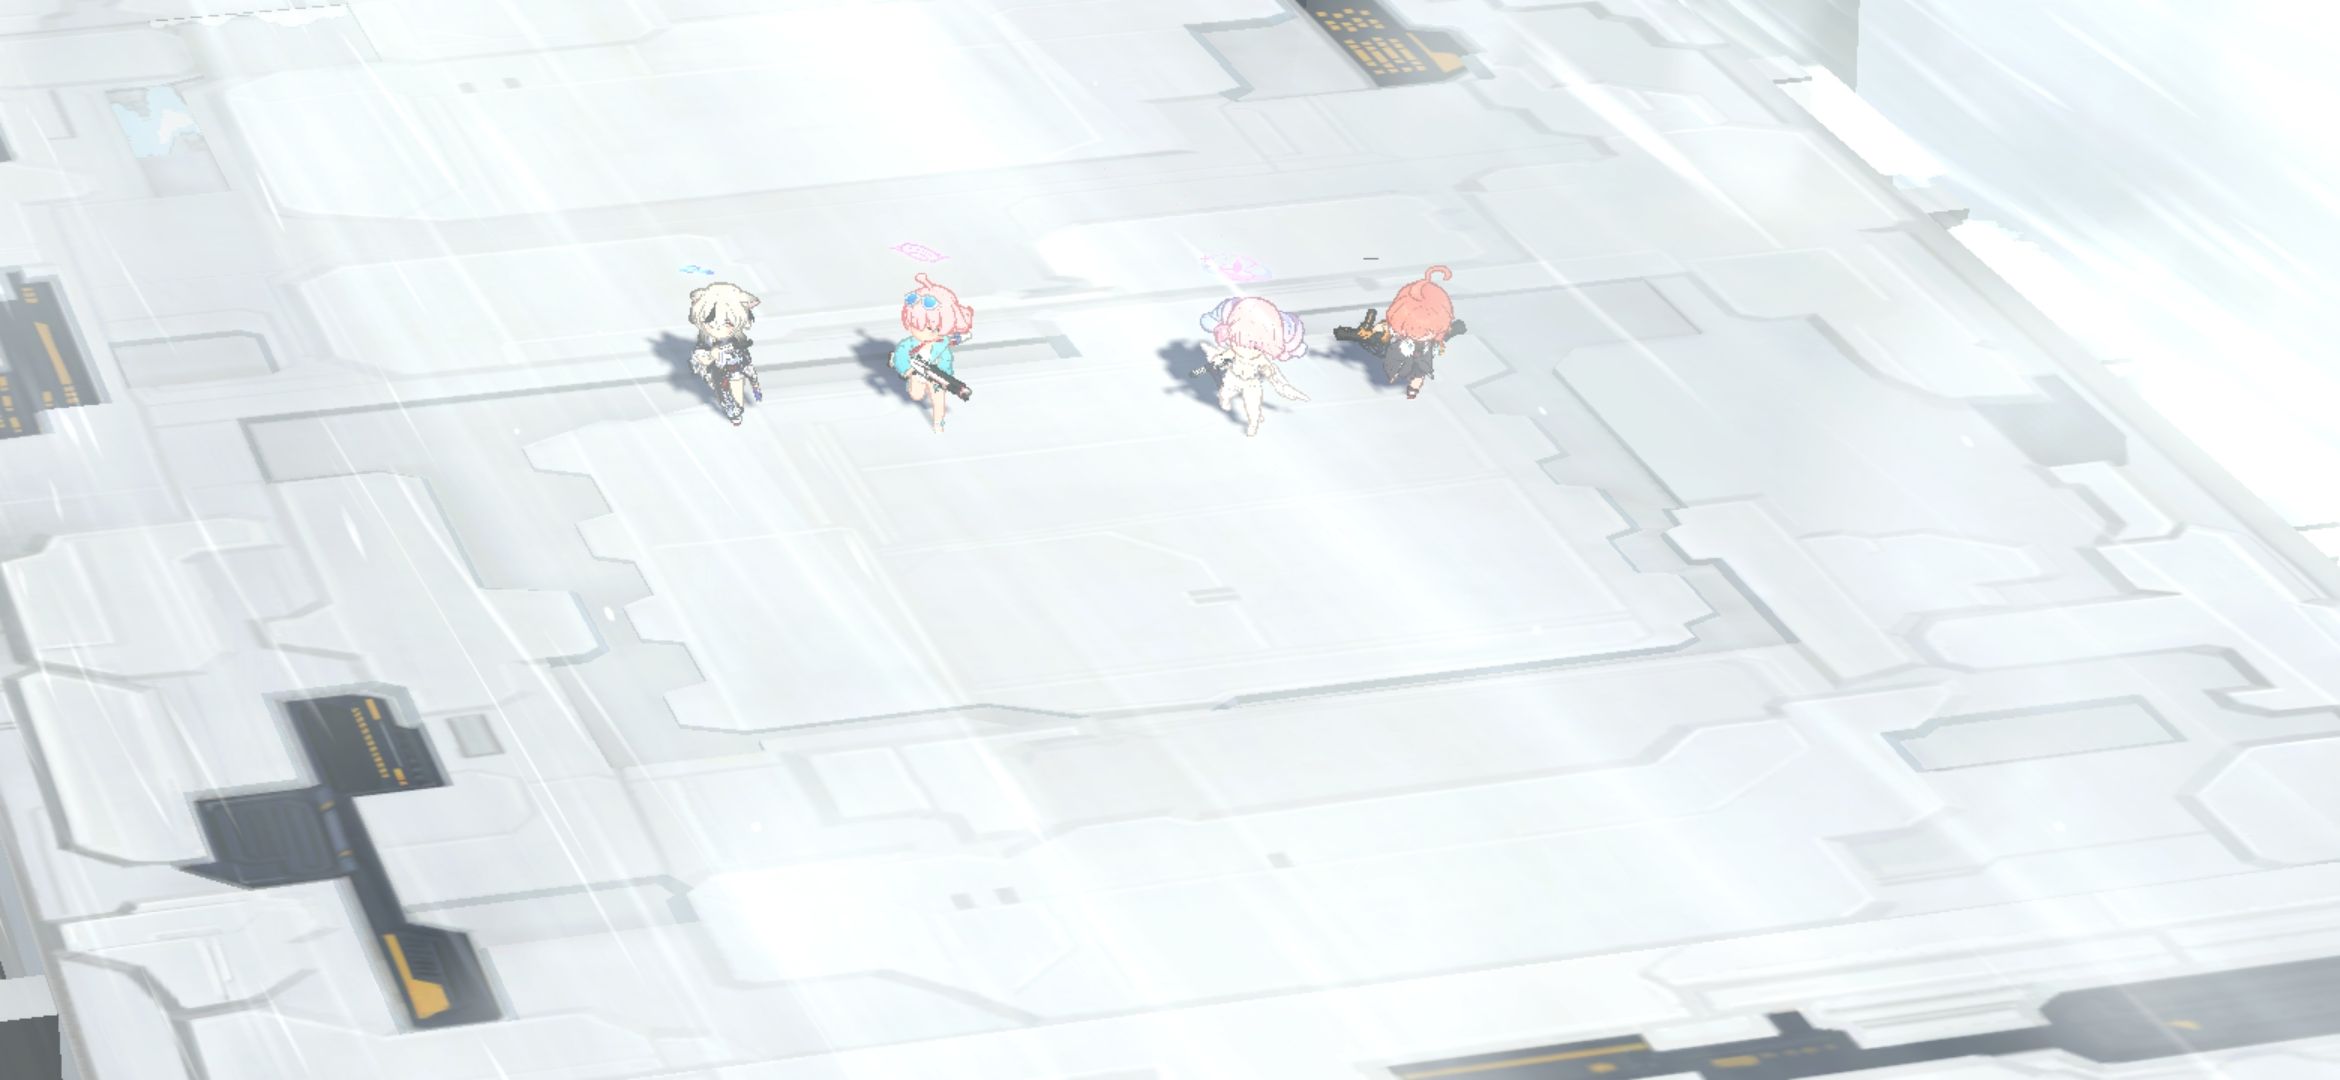
Team 2: Eri Team
I based this team on a guide posted online,
then heavily reworked the setup to suit my preferences and gave it a try.
Magical Reisa will see use later as well, so I had no concerns about that investment,
but I built Eri solely for Yesod.

To bring Yesod's HP within range
for the school-uniform Neru team to finish the phase,
I reduced it from 150=>109.

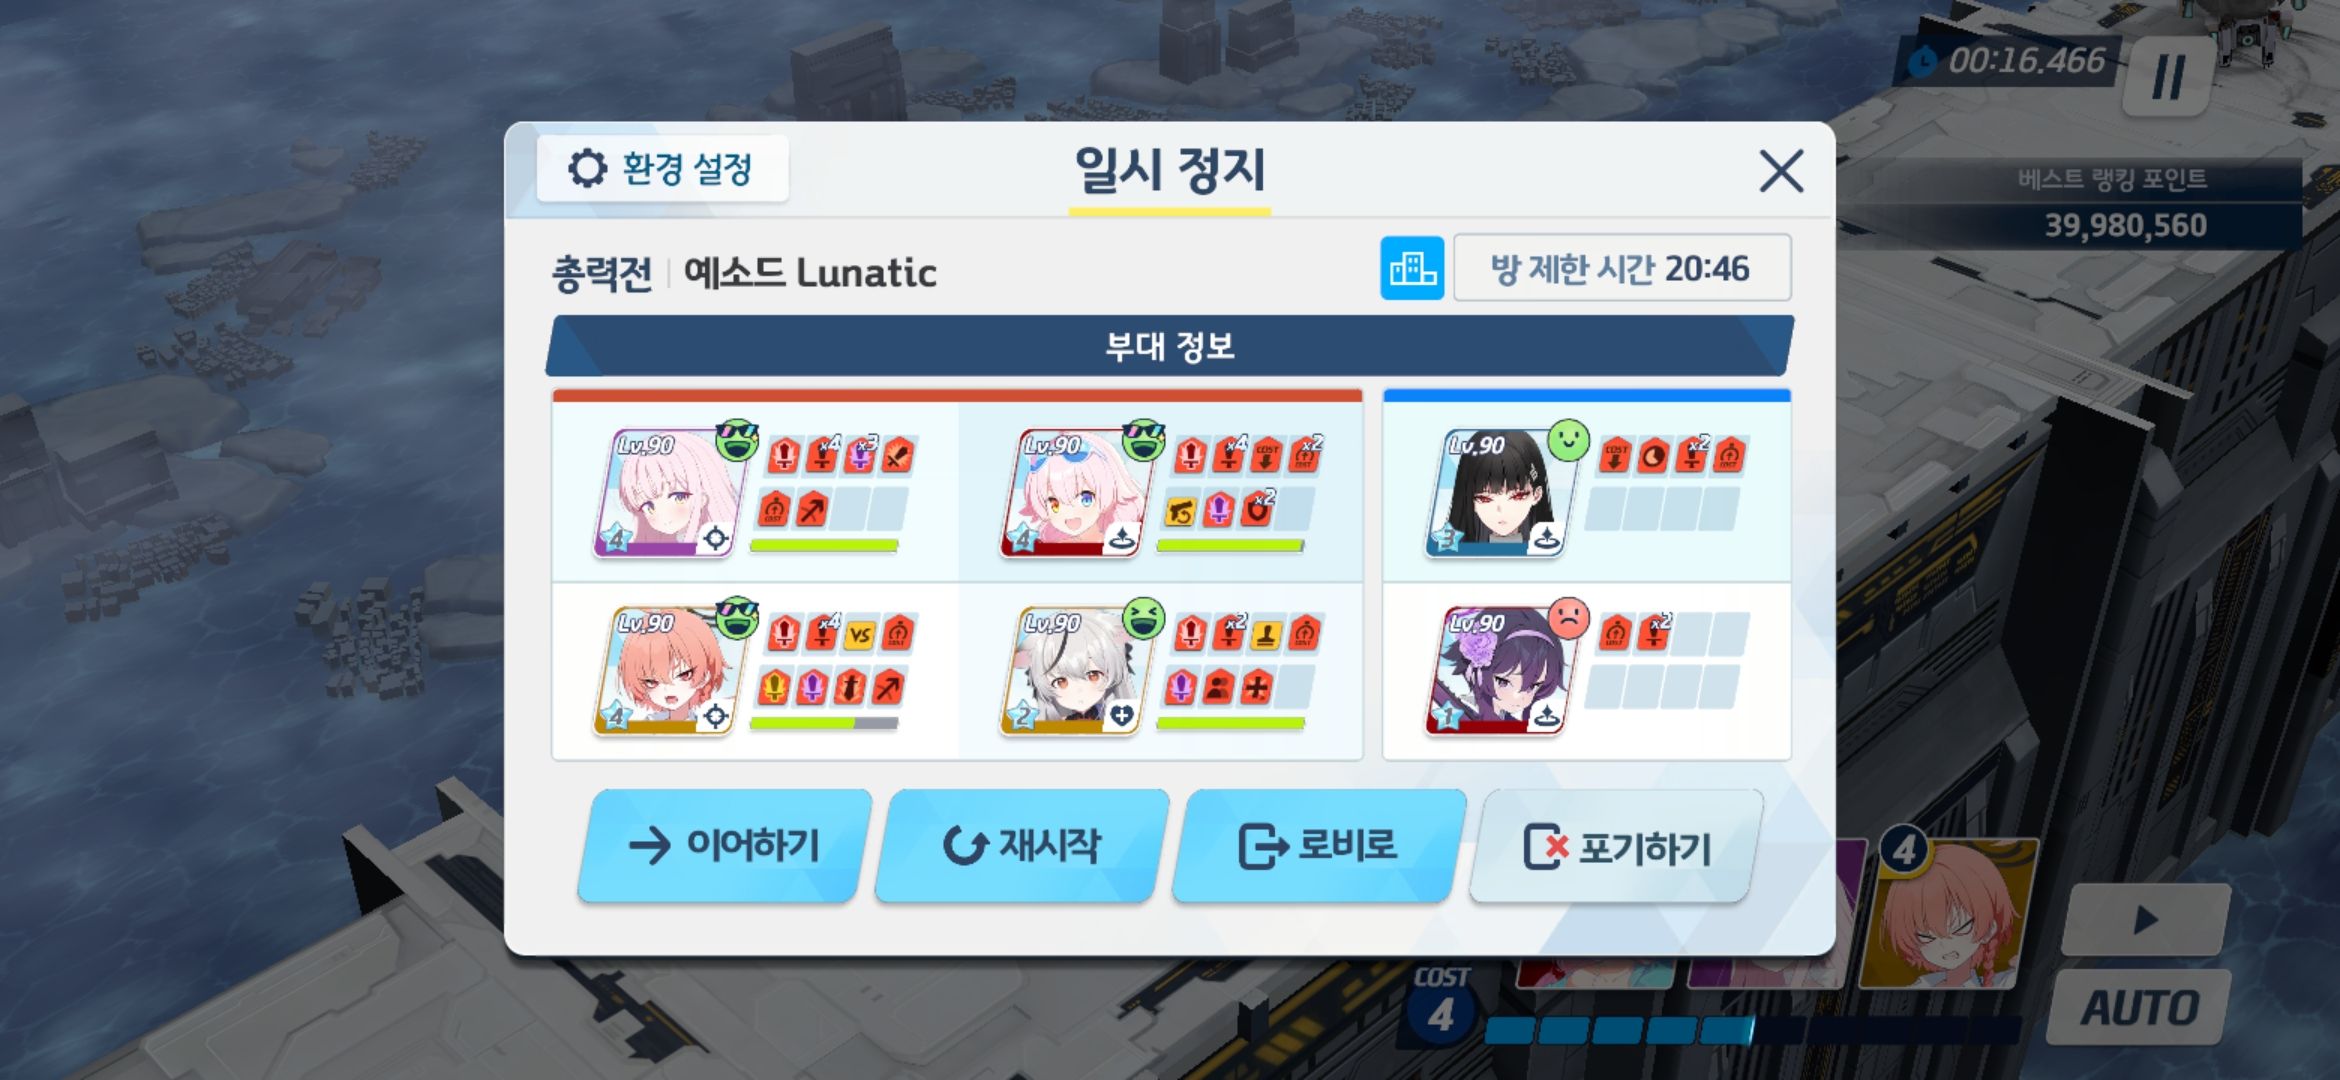
Team 3: School-Uniform Neru Team
This school-uniform Neru team
consists entirely of specialists assembled
to finish Yesod's Phase 1.
Unlike the Wakamo team,
every Striker has Special Armor or Elastic Armor,
which halves the damage from Yesod's attacks,
making this team much easier to keep alive.
After several resets, the school-uniform Neru team
managed to finish Yesod's Phase 1.
< Phase 2 >

Team 4: Magical Suzumi Team
While Yesod's Phase 1 is brutally difficult,
Phase 2 is relatively easy.
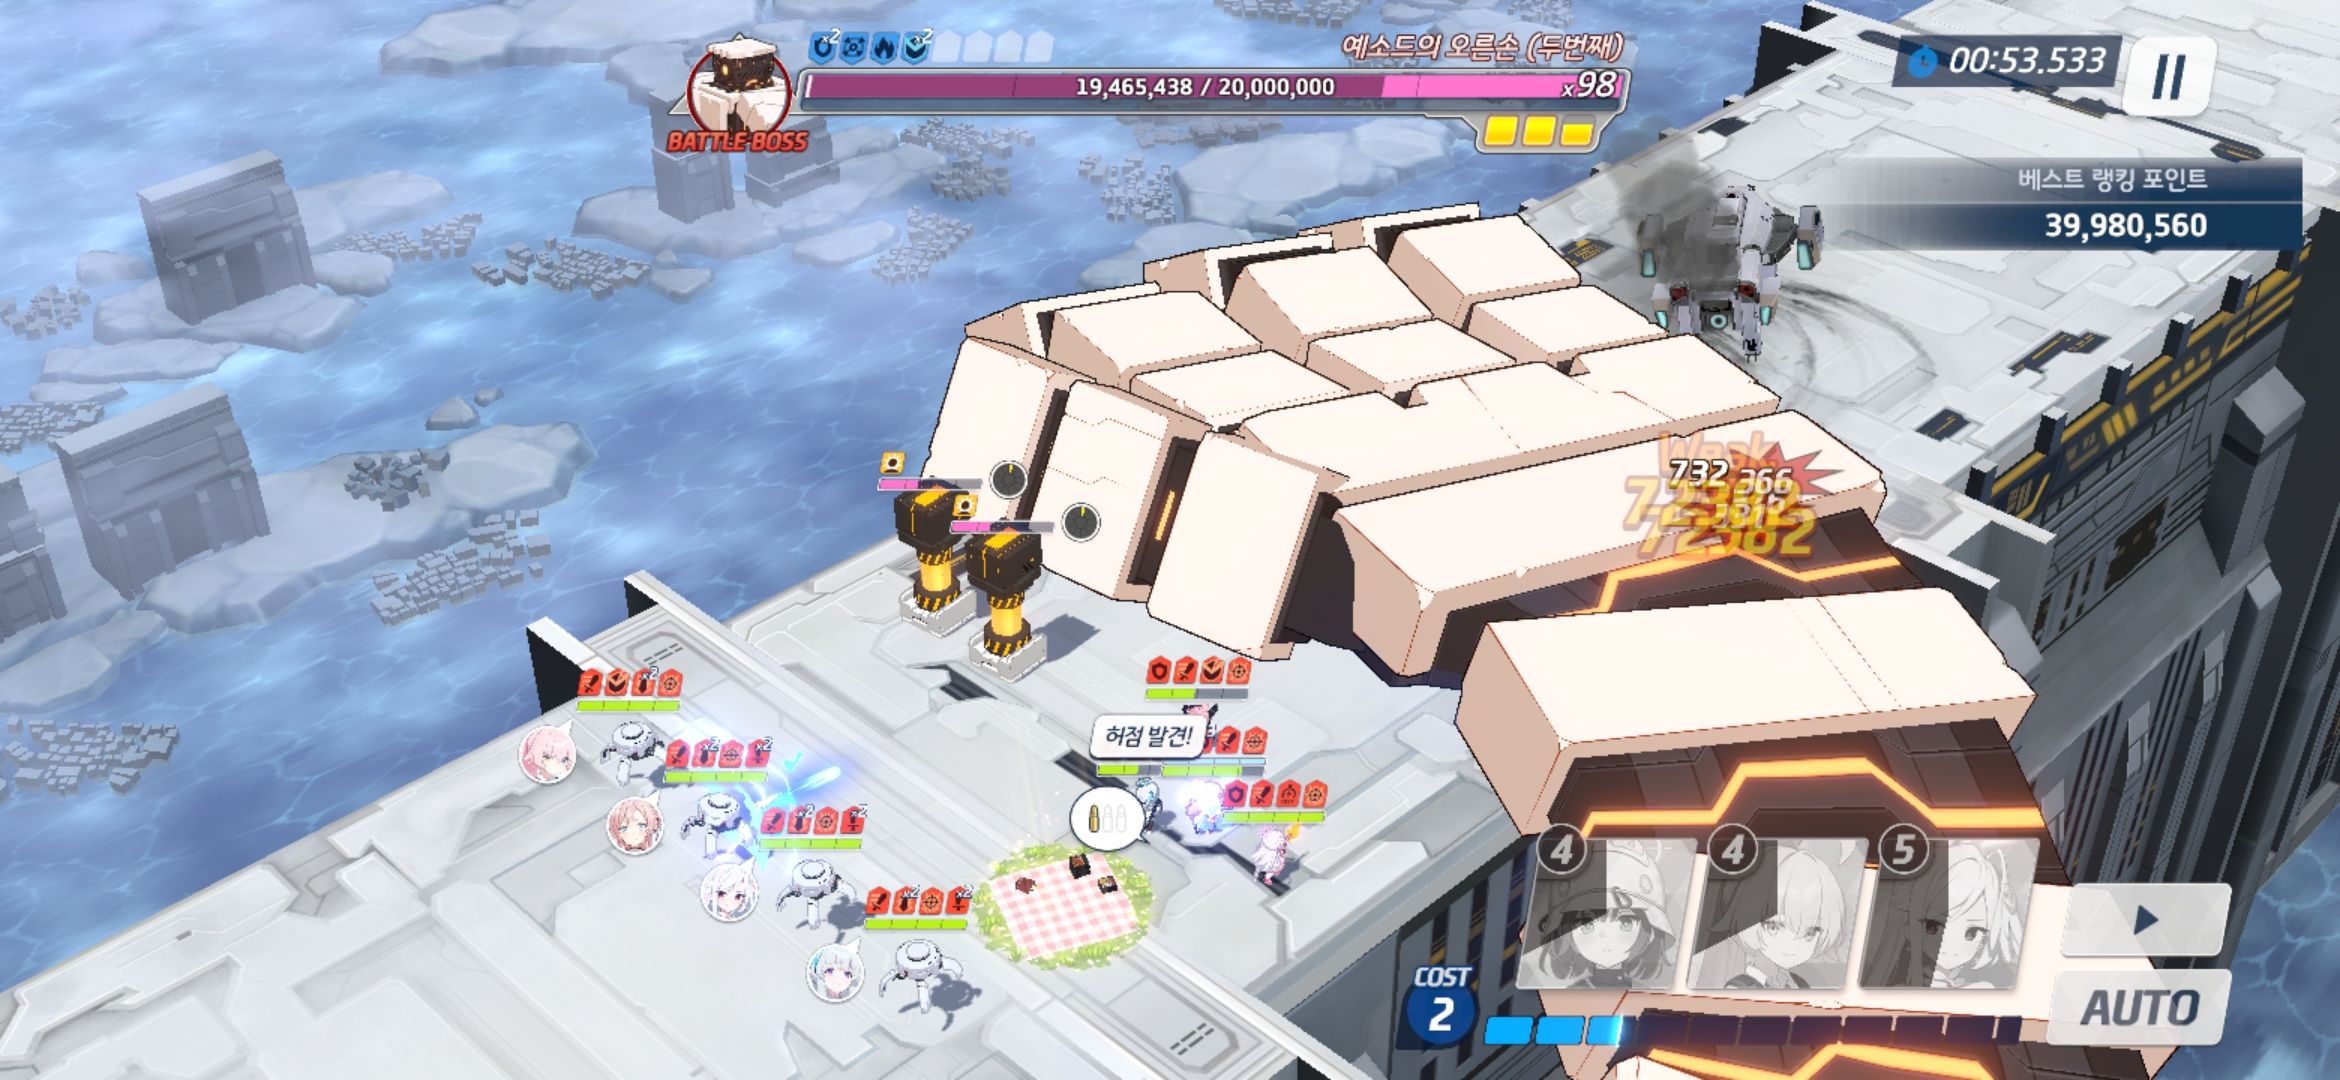
The drones handle the damage,
so as long as the students cover buffs / CC / survival,
securing the clear is straightforward.
I was still stuck on Phase 1 yesterday
and had not even seen Phase 2,
but when I finally attempted it today,
I cleared it on my first try.
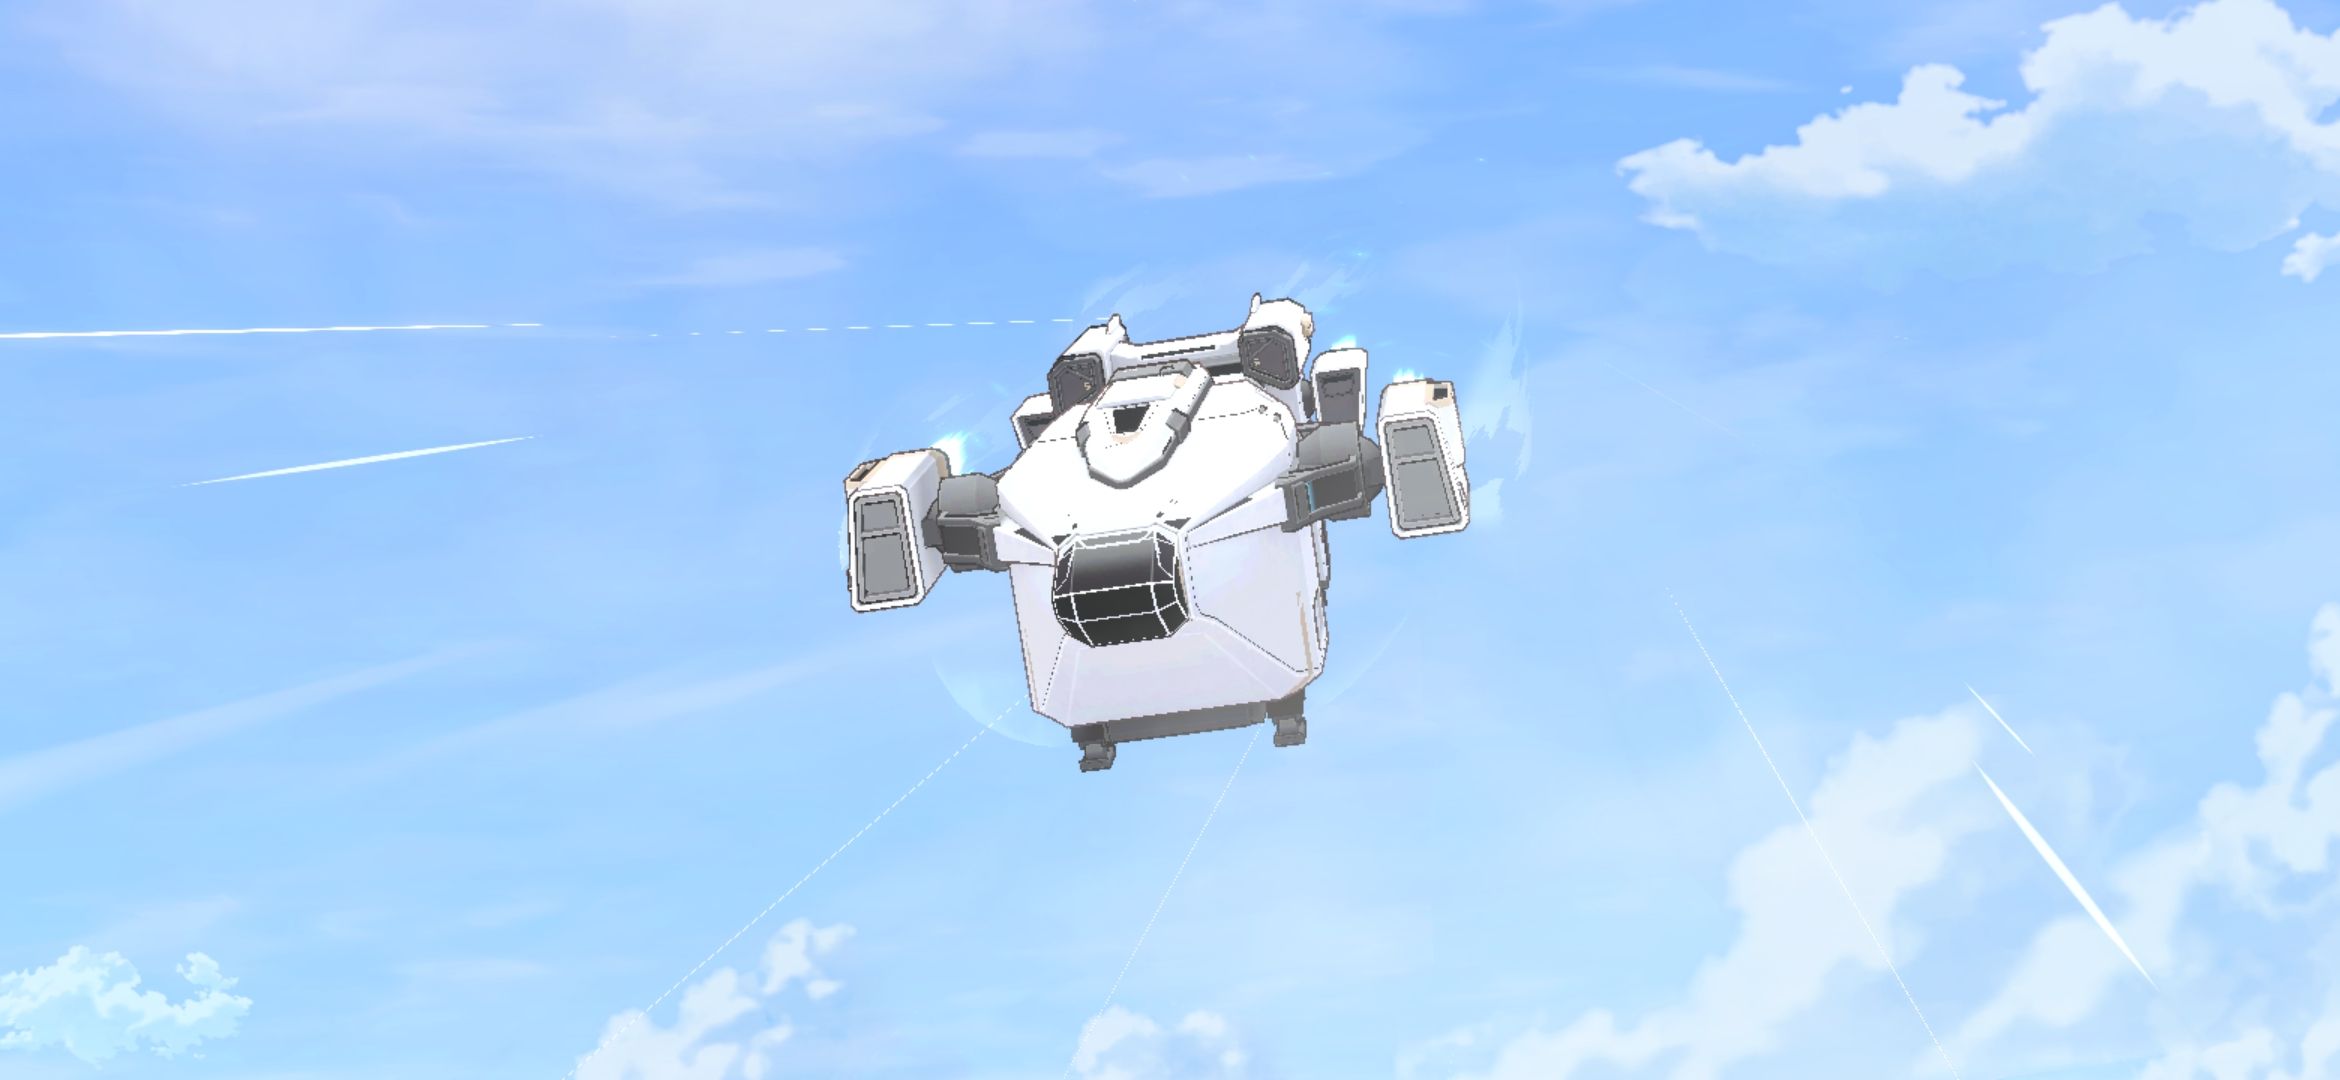
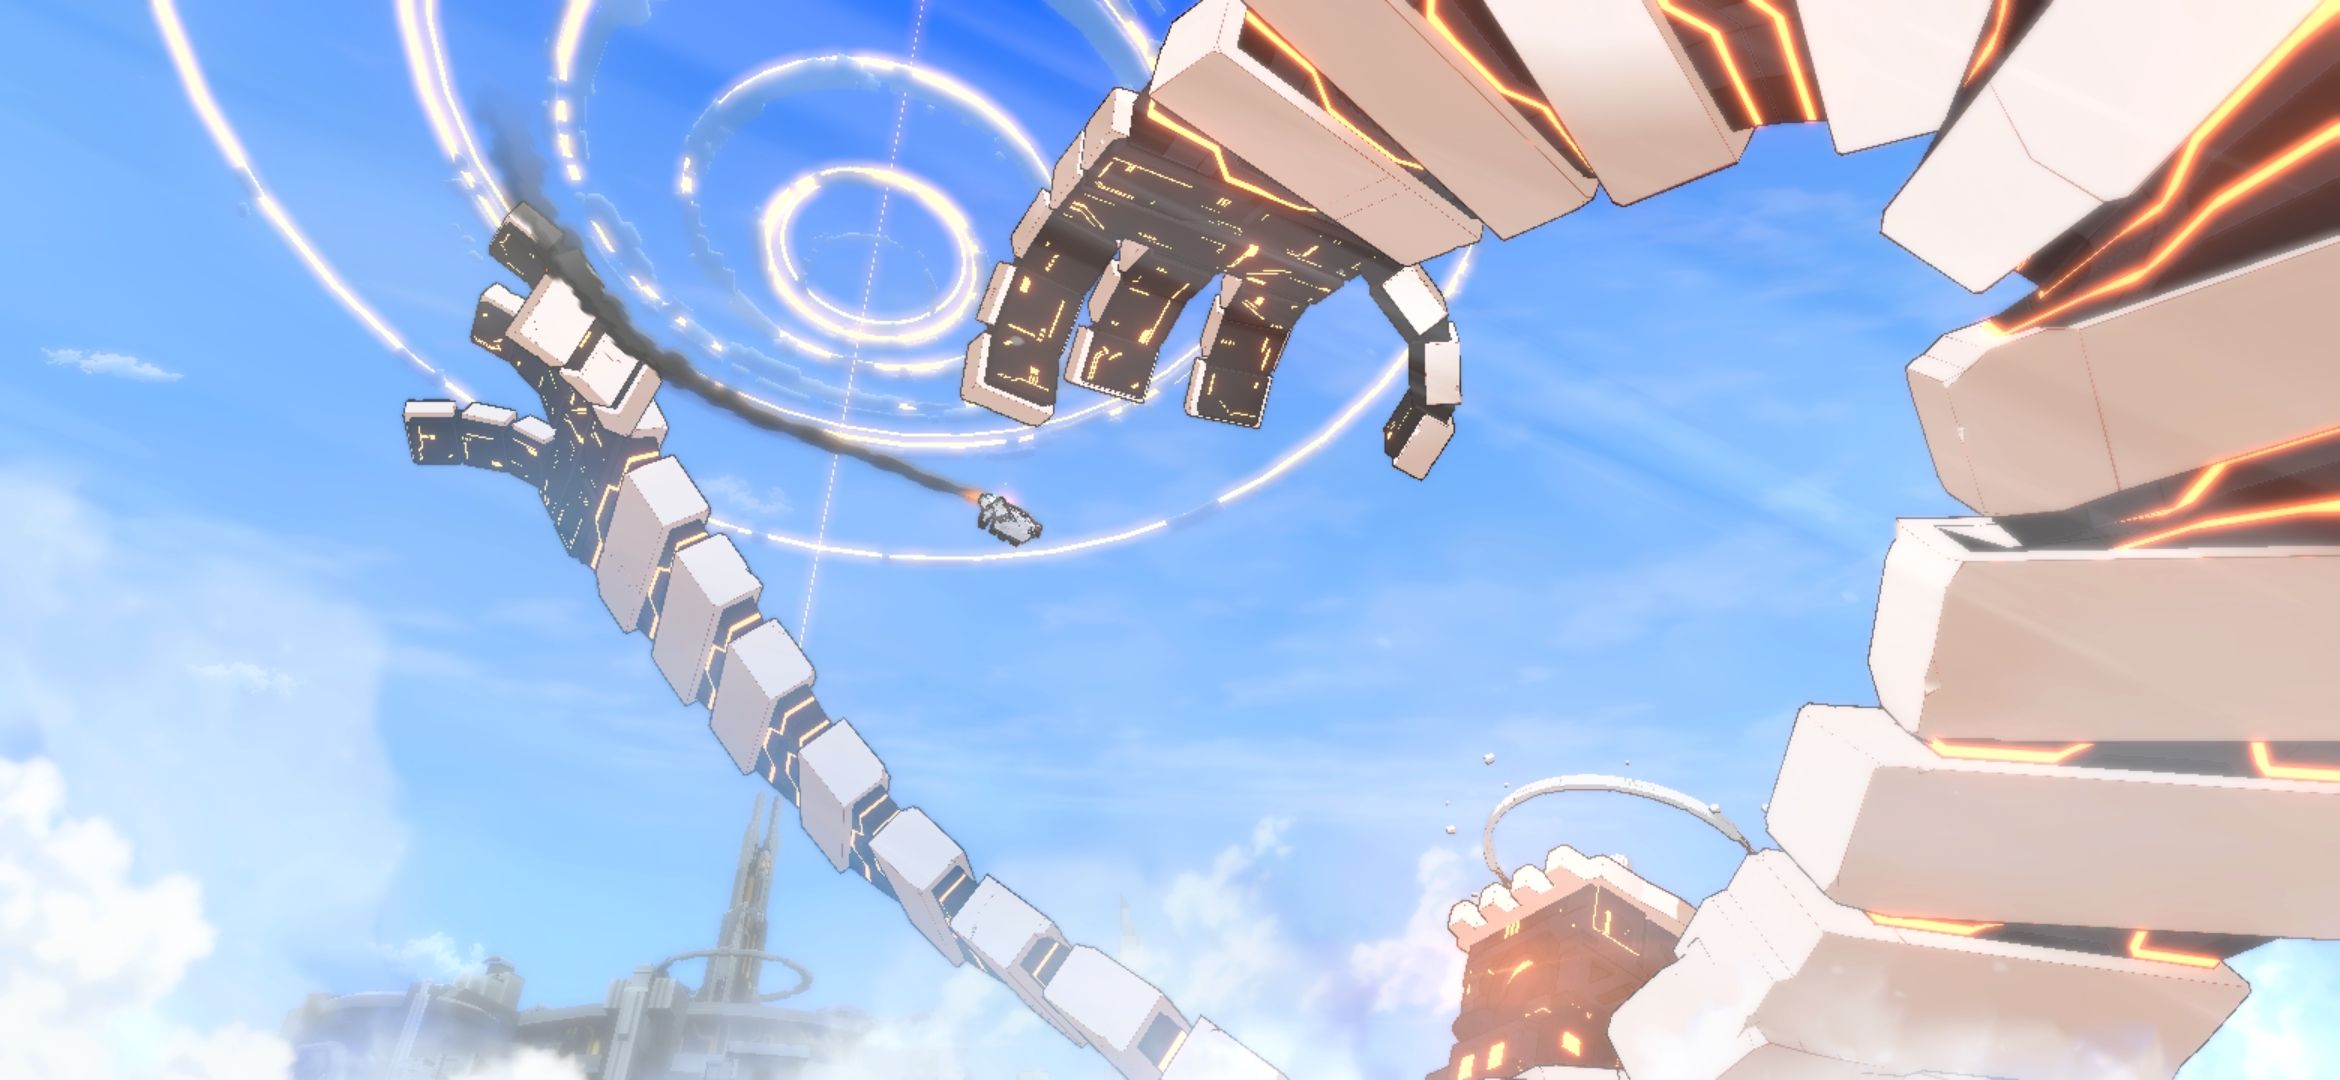
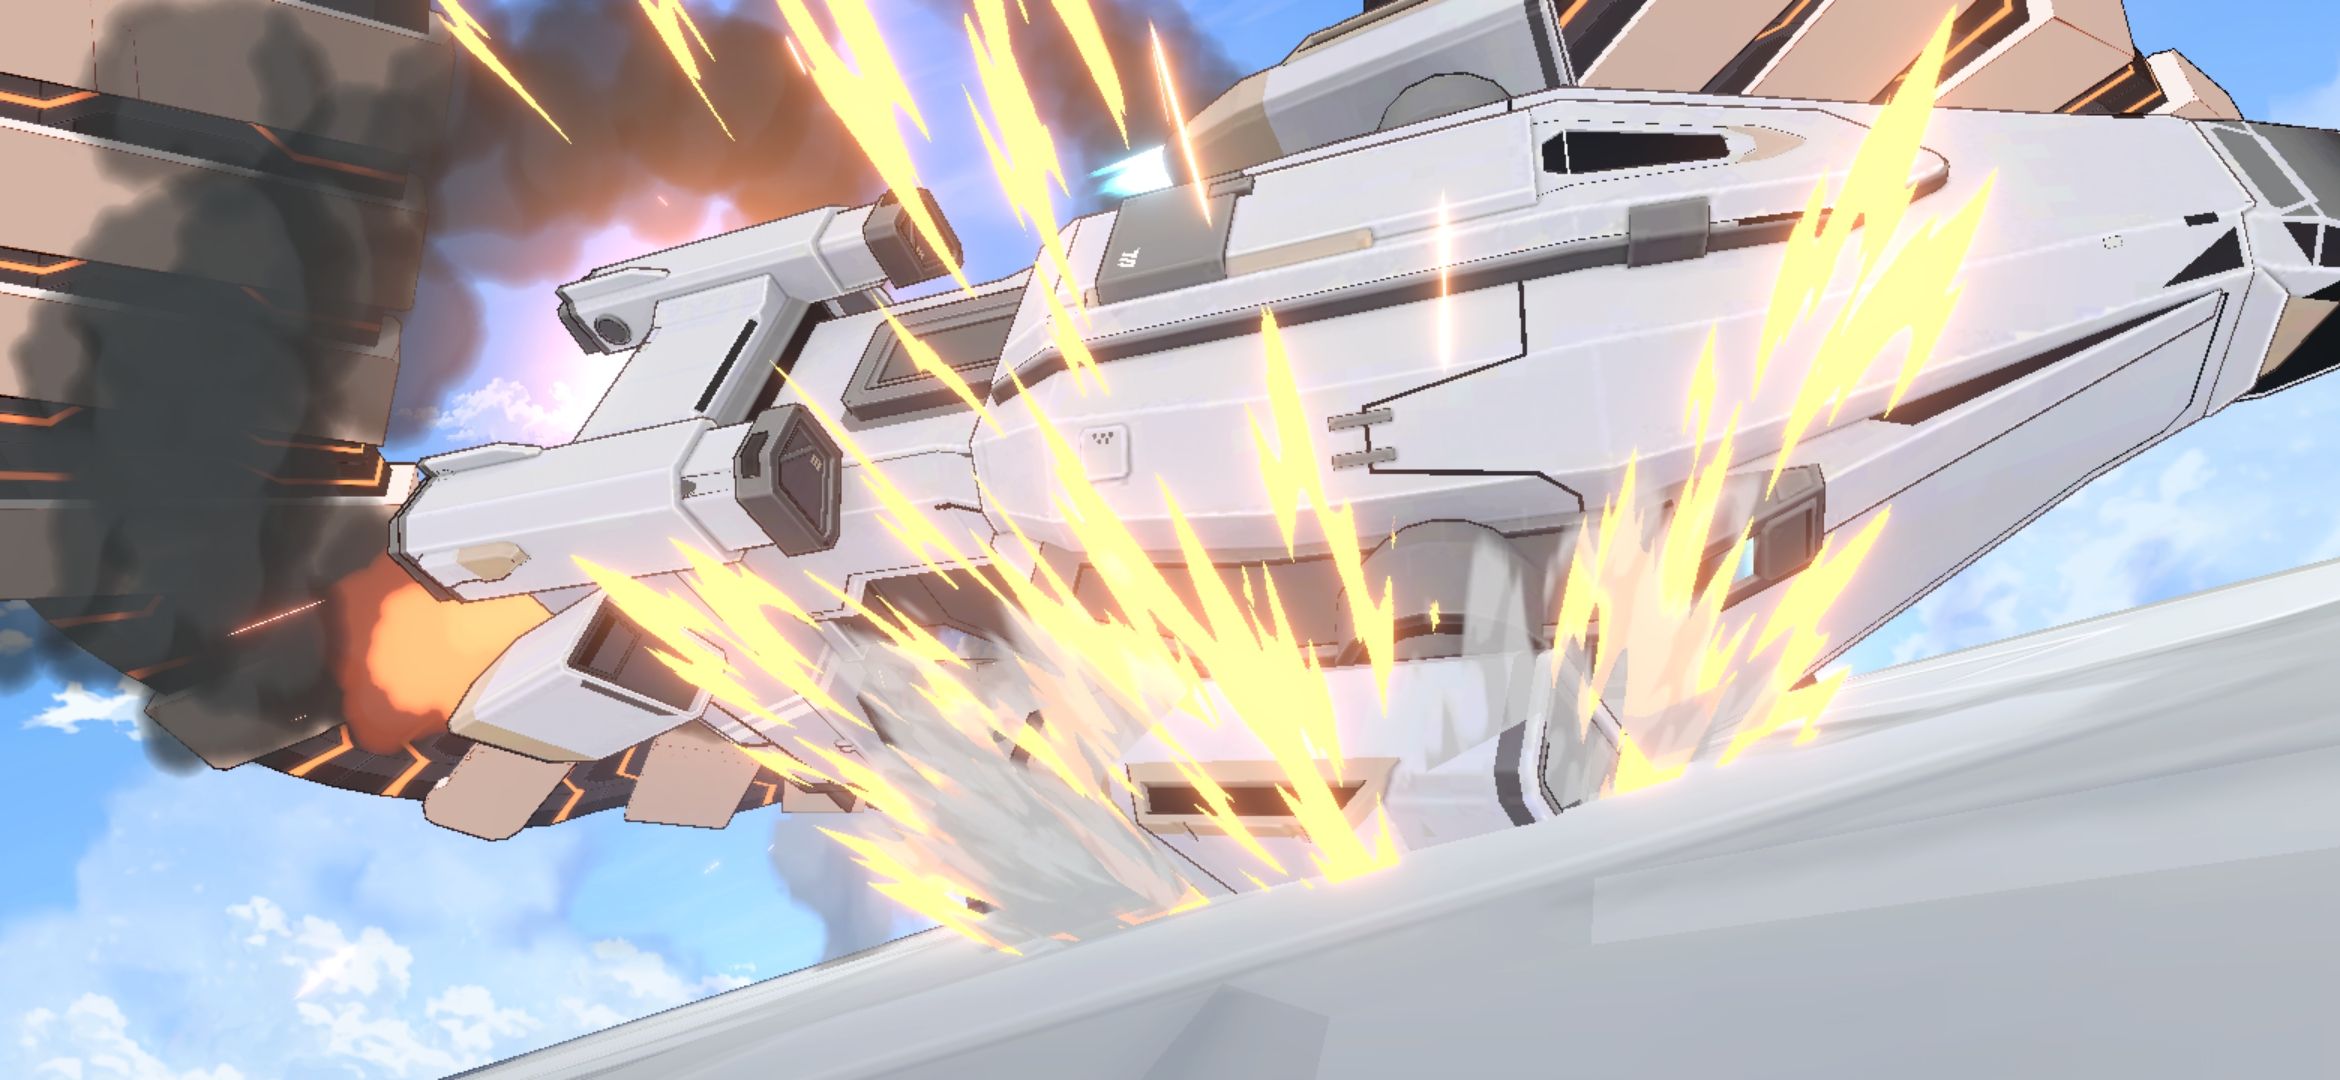
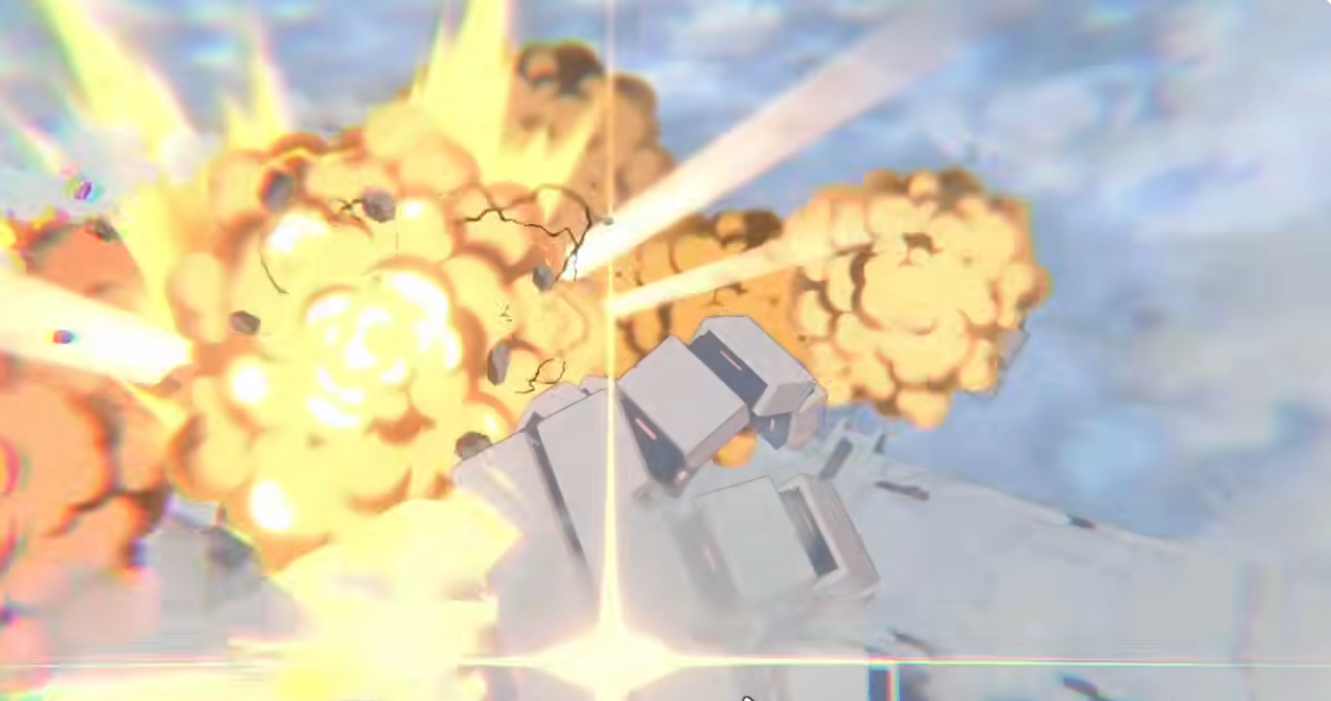
< Reflections on Tackling Yesod >
Yesod had a reputation as one of
Blue Archive's more demanding Total Assault bosses.
While working through the fight,
there were times when I wondered,
“Was this really designed to be cleared?”
You have to secure a clear
within the 60-minute time limit,
but since the lanterns must be destroyed one at a time,
I had to slow the game down and execute precise inputs
in succession, which left me
utterly exhausted.
Still, the boss follows its mechanics consistently,
and since the timing of incoming damage
and every attack pattern are fixed,
it is ultimately a boss you can clear
if you stay calm and work through the fight.



I would like to thank
the Magical Vigilante Crew & Eri
for their contributions to this Yesod clear,

and now I will return to sweeping Torment
while preparing for the next Grand Assault.
This game includes randomized items.