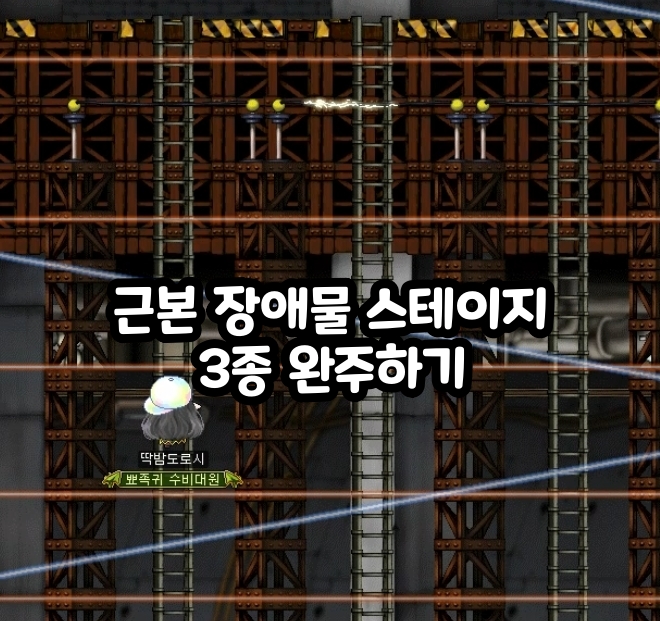
Completing MapleStory’s three classic obstacle stages from start to finish #고난도 업적 달성기
마빡도로시
Hello.
This time, the keyword is a high-difficulty achievement clear log, so I will be writing about clearing an achievement that is not easy to complete.

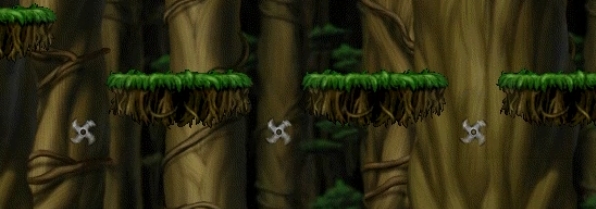
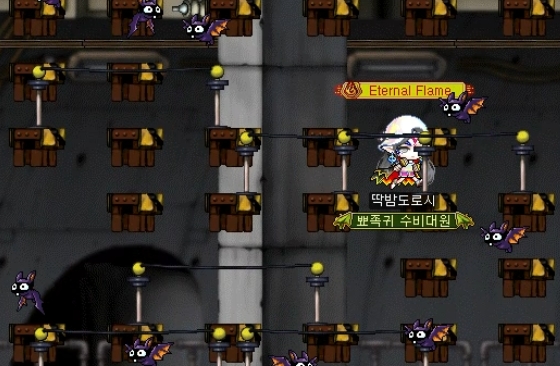
MapleStory has quite a few achievements where even calling them high-difficulty feels like an understatement, as shown above. While thinking about which of those might still be manageable through practice, and could offer a real sense of accomplishment once cleared, the achievement below came to mind.
Achievement for Completing the 3 Core Obstacle Contents

This achievement is very familiar to MapleStory players, but at the same time it is also one that makes you wonder whether you really need to do it. It is earned by fully clearing Forest of Patience, Forest of Tenacity, and Shumi's Lost Coin Quest in the Subway, and as of the date of writing, the achievement rate was only 0.70%, which surprised me personally.


Based on the completion rates for each one, it would be fair to say that Forest of Patience is narrowly the hardest, while Forest of Tenacity is the easiest.
Overall, it is hard to classify these as truly high-difficulty, but since each theme has at least one section that can be tricky, I think they are well worth trying at least once when you have the time.
Before Starting

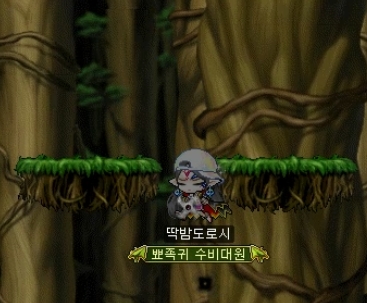
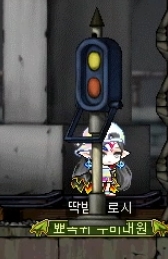
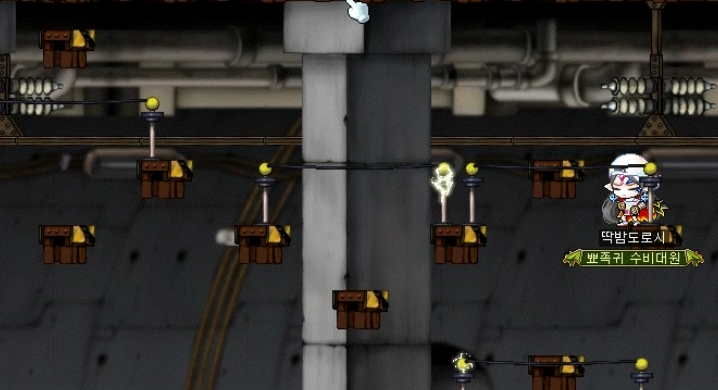
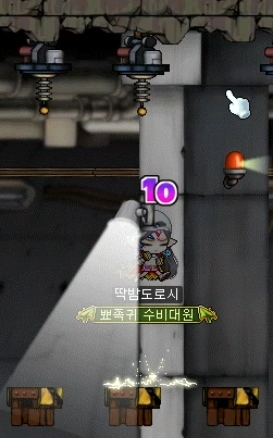
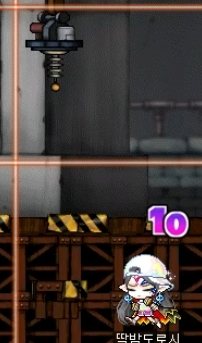
After revisiting these for the first time in a while, the main thing I felt was that I would strongly recommend doing them on your main character no matter what. As shown earlier, I had already cleared all of the quests back in 2022, so this time I went in on a sub character, but on stages where monsters appear like the one above, most attacks show MISS on a main character, whereas on a sub character almost every hit deals 1 damage and causes knockback, so the gap in difficulty is enormous. This is especially noticeable in Forest of Patience, so I really do recommend using your main. I do not know the exact reason, but I suspect character level is probably the deciding factor.

This increased invincibility duration after being hit option can be found on level 100 overall armor equipment items. There is no dedicated filter for it in the Auction House, so if you roll Suspicious Cubes on any Epic equipment, it should show up fairly quickly. In my case, I cleared everything without preparing one, but based on other players' experiences, I do think having it would make things a bit easier.
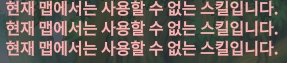
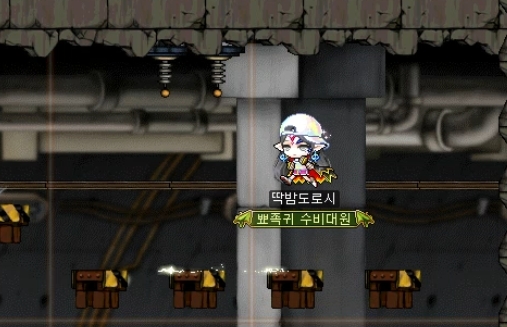
Lastly, on obstacle maps, there are times when you jump, the input seems not to register, and this message appears in the chat window. That happens because a double-jump type skill tried to activate and was blocked. You just need to be careful not to press the jump key repeatedly in quick succession.
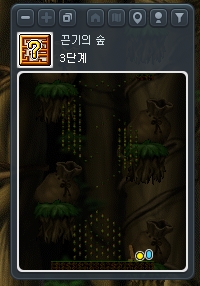
[Forest of Tenacity]


Forest of Tenacity can be entered through a quest in the Sleepywood zone, and it consists of 7 stages in total.
[Forest of Tenacity] Stages 1~2

There is not much in particular to watch out for in stages 1 and 2. You can simply move through while avoiding the fluff projectiles.
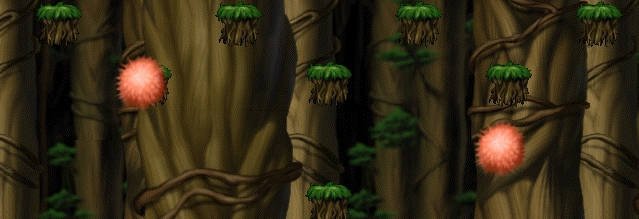
The green fluff moves slowly, while the red fluff moves quickly. In places that look like you should be able to crouch under them, you actually can avoid them that way.

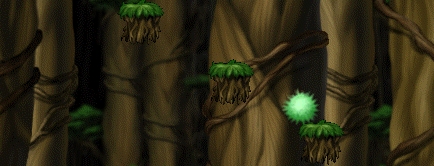
Even when they pass right over your head like this, they will not hit you.
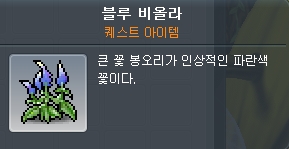
This applies to both Forest of Tenacity and Forest of Patience: you have to get close to the item to collect it. So even at that point, you still need to climb carefully.


[Forest of Tenacity] Stages 3~4


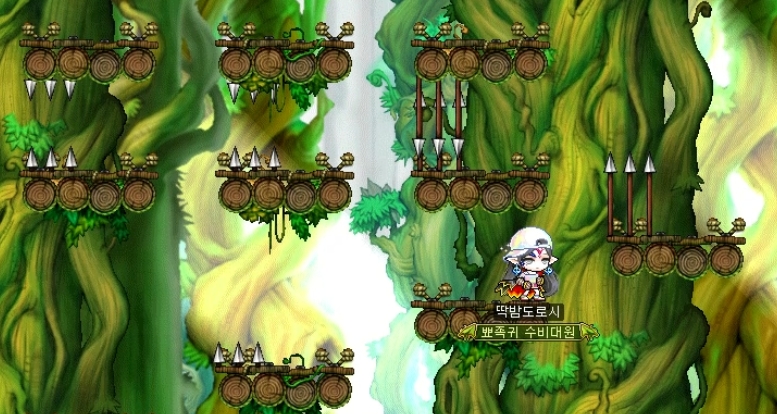
Stage 3 introduces platforms with raised pouches and throwing stars.
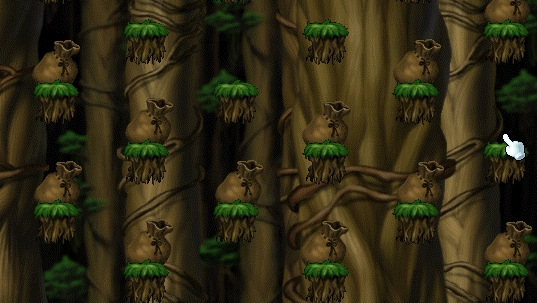
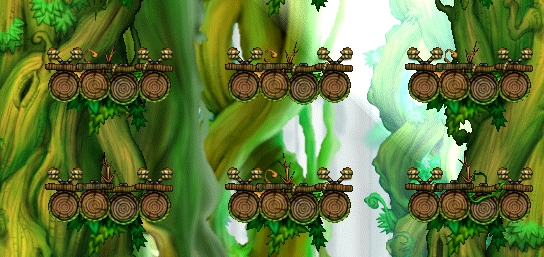
First, among the platforms that appear early on, some have pouches and some do not, and you can only step on the platforms with pouches.

In the second section, you can step only on the platforms whose pouches face to the right.
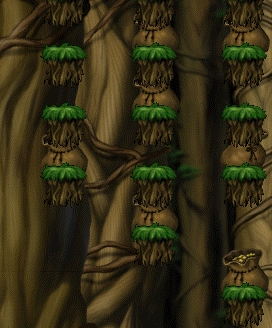
In the third section, you can only step on the platforms with pouches facing to the left. You can use the pouch on the very first platform as your reference.

You can avoid Tobi throwing stars by crouching, or by watching the timing from the rope.

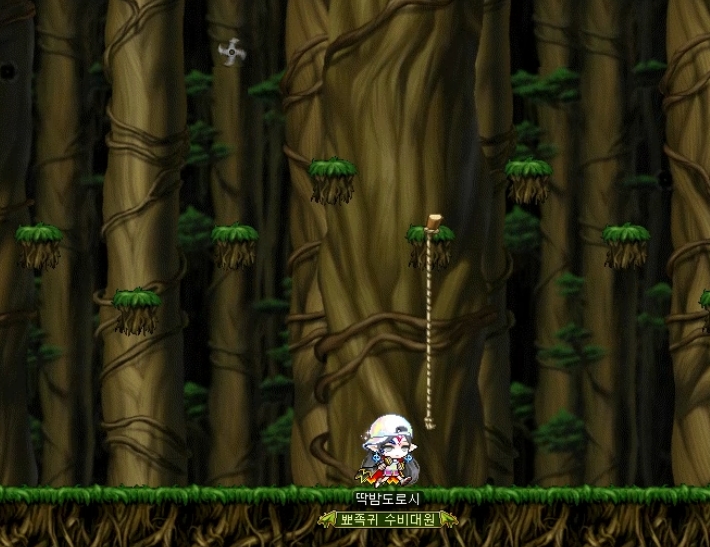
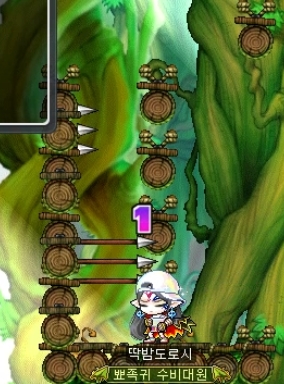
In stage 4, it is easier to start by heading to the right of the rope.
Once you climb up, vertically moving Wolbi throwing stars appear, and these are the ones you need to prioritize avoiding.
If you get hit, you drop all the way down like this. For the fast-moving Wolbi throwing stars, you need to move when the star is down below. If you move when it is up, you will get hit every time.
The saw blades look intimidating, but they are more manageable than the Wolbi throwing stars. Just watch the timing and avoid them as you move.

I found the section directly below where these saw blades appear fairly difficult. Keep in mind that getting hit by a Tobi throwing star does not make you fall immediately, and if you have the increased invincibility duration after being hit item mentioned earlier, I think it will make this part a bit more manageable.


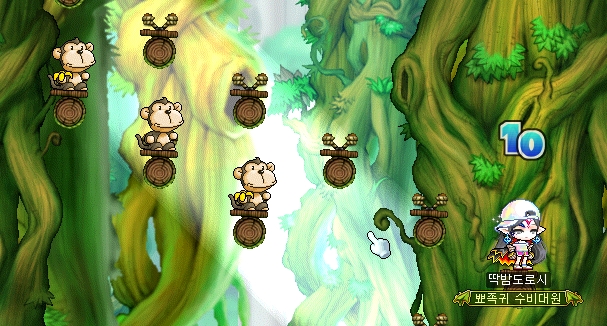
[Forest of Tenacity] Stages 5~7


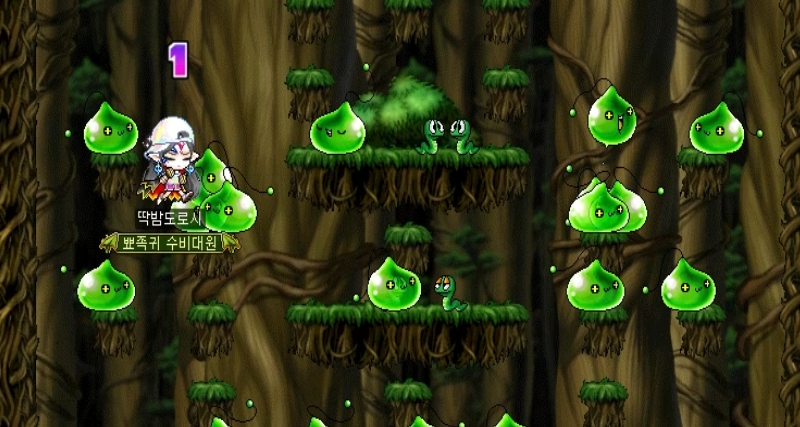
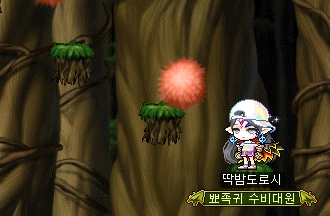
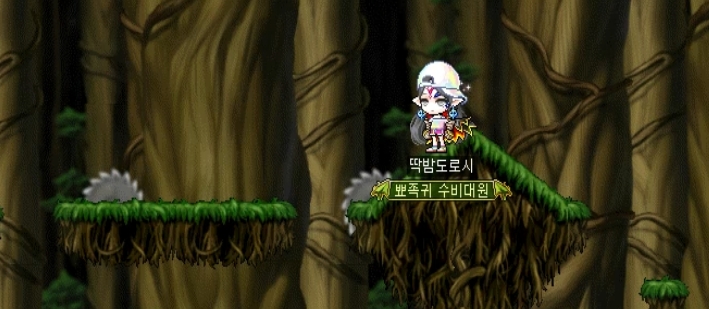
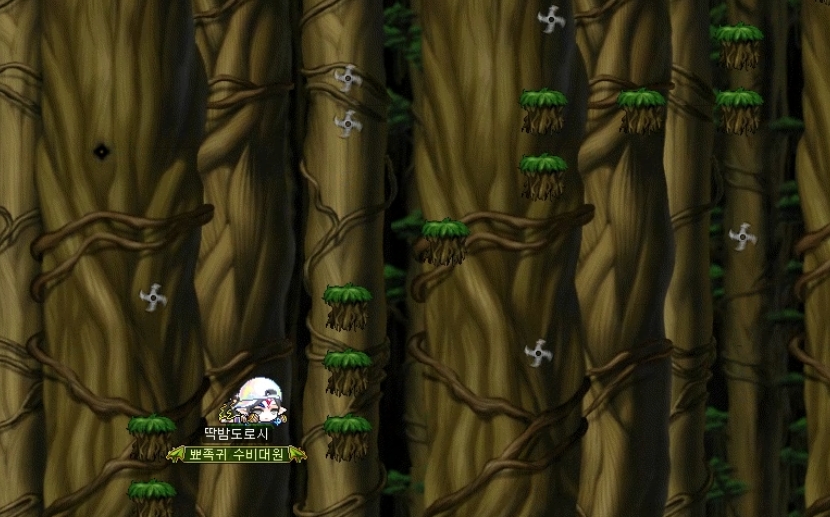
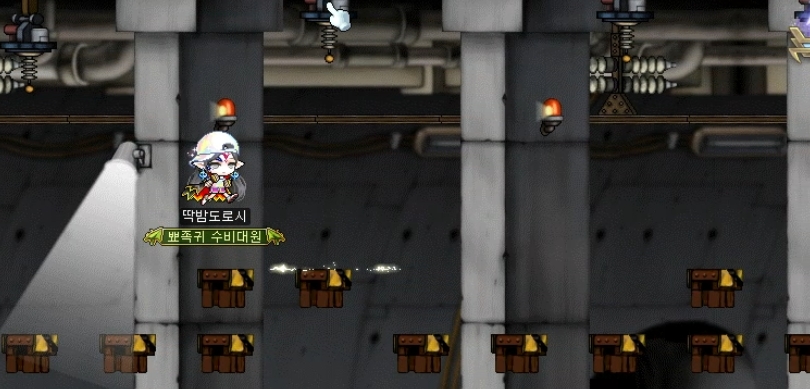
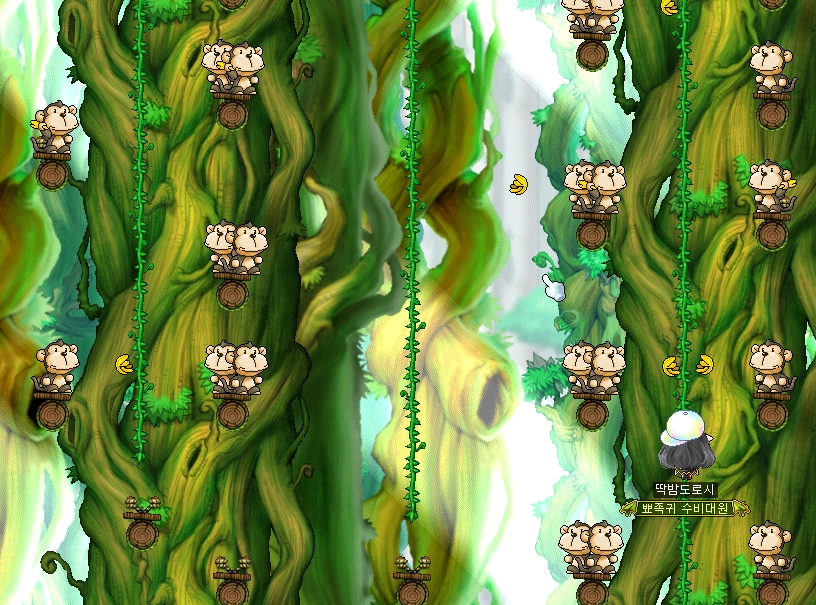
As mentioned earlier, this monster hell at the start of stage 5 should be easy enough to pass if you go in on your main character.
If so, you can more or less ignore Junior Necki in this section as well.
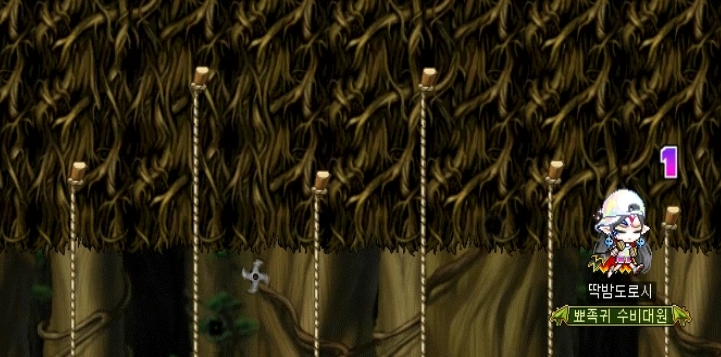
In the rope section at the very top, you can clear it by dodging normally, but you can also get through by grabbing the rope as you are moved after being hit by a Tobi throwing star.
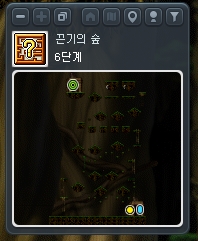
Stage 6 actually feels more relaxed than the earlier stages. Just keep moving while avoiding things properly.

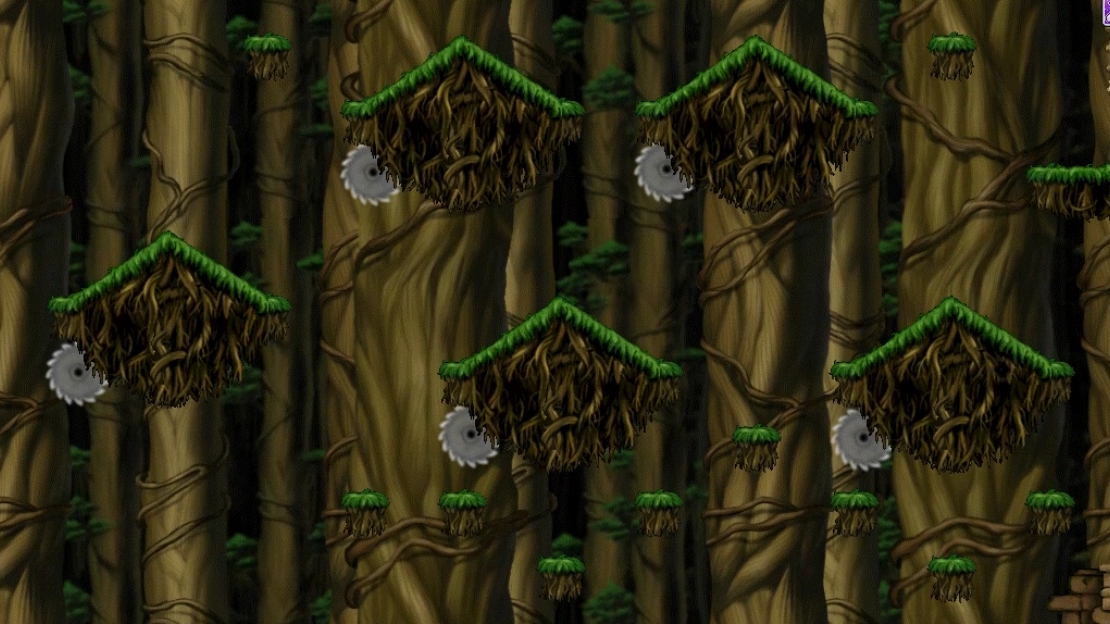
This first saw blade will not knock you away unless you get hit while jumping, so you can crouch to avoid it, and even if you do get hit, you will not fail immediately.
/
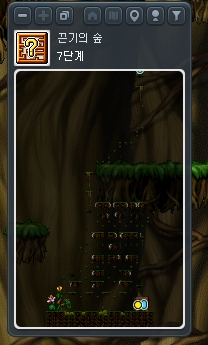

If you fall into that gap at the start of stage 7, you get sent back to the beginning of the map, so you need to go over the platform instead.
The platform that takes you up to the second level is hidden behind the grass.
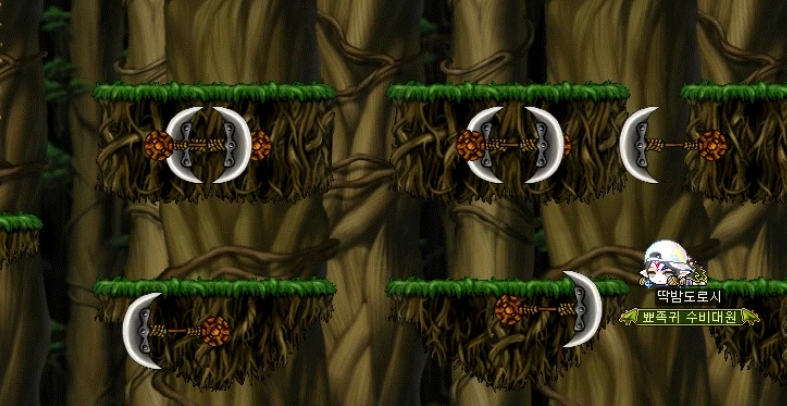
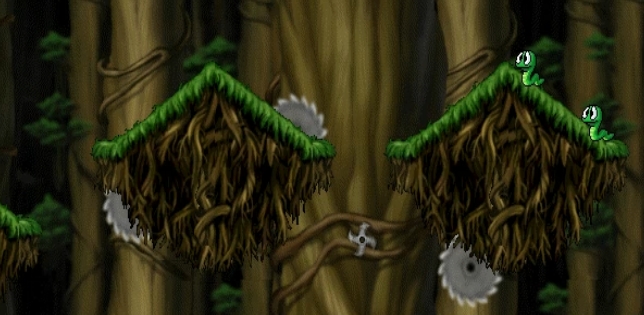
Once you go up, you first have to pass the crescent-shaped saw section. If you crouch properly according to the direction of the saw, you can avoid it, so once you get used to the method, this part goes by quickly. As for the final section above that, you can simply push through while taking the hits.

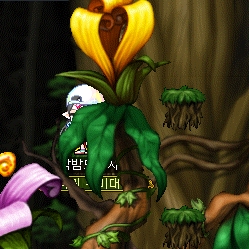
After the saw blade section, Wolbi and Tobi throwing stars appear again at the end. Here, if you stand in the middle of the platform, even getting hit by a Wolbi throwing star will not make you fall immediately, so you can also proceed by tanking the hit.


[Kerning City Construction Site]


Shumi's Lost Coin Quest in the Subway can be accepted from Shumi in that subway map.


After accepting the quest, you can buy a ticket from Bungi and use the turnstile to move to the construction site.
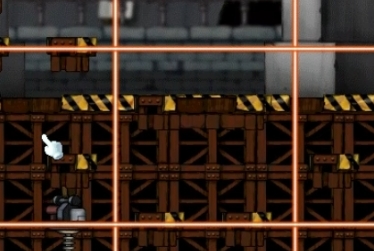
[Construction Site B1 Sections 1~2]
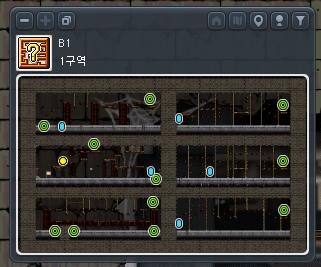
Section 1 of Construction Site B1 is divided into 6 areas in total.

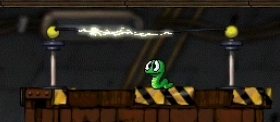
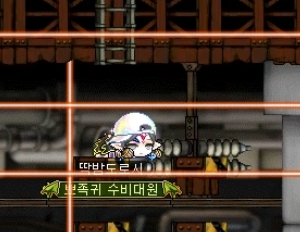
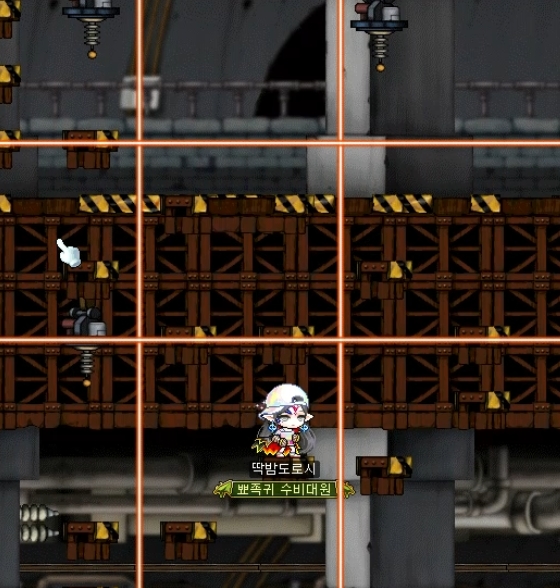
First, these vertically moving electrical wires appear here. You can avoid them by crouching at the right timing, and if you get hit while moving, you do not fall immediately. You need to make use of that.

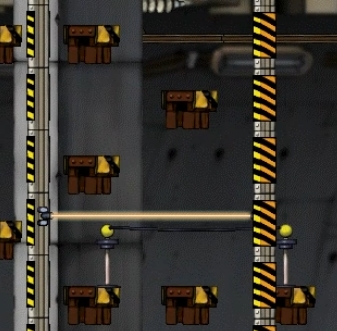
You can avoid these horizontal electrical wires by crouching. However, if there is a platform above those round yellow orbs on either side, you will get hit there.

Right before the portal, there is no need to go back around. You can simply drop straight down. That said, you still need to check the electrical pattern below before moving on.
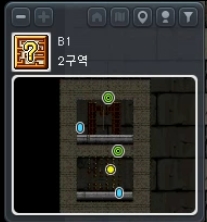
Section 2 of Construction Site B1 features a lot of Stirges and horizontal electrical wires. Here as well, if you do it on your main character, it seems you only need to worry about the wires, so it should feel easier.
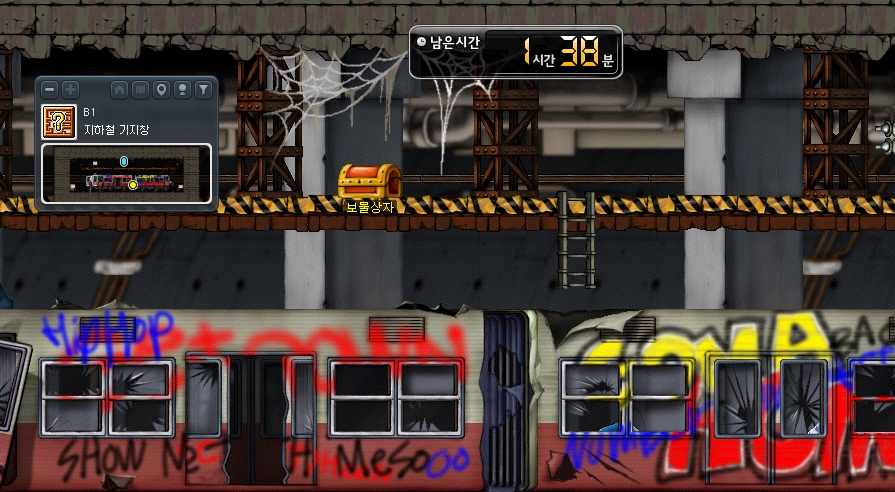
The reward map is the same for all of the remaining construction site stages as well, and you can hunt monsters there for as long as 1 hour and 40 minutes.


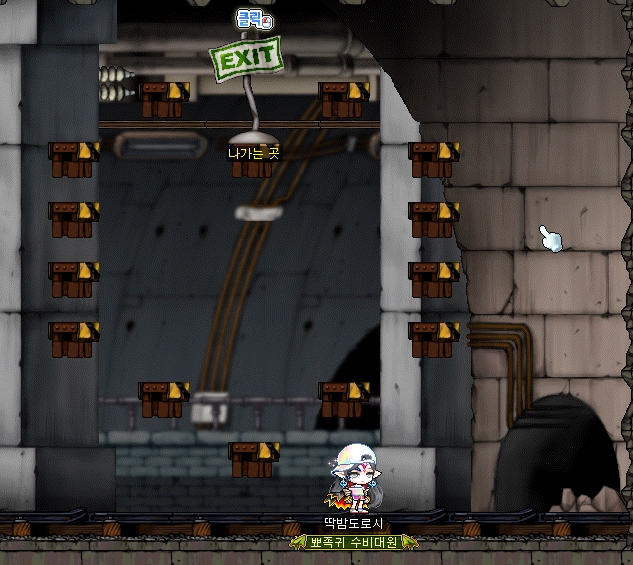
You cannot pick up the coins from below, so you need to go through that portal on the left side of the map.


[Construction Site B2 Sections 1~2]


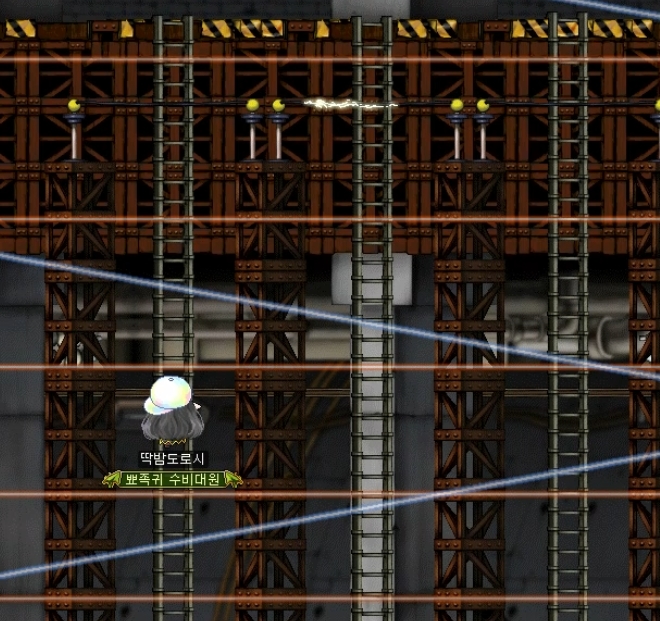
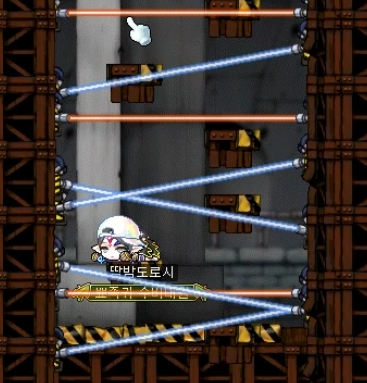
This laser that appears in section 2 is really something you just have to read and avoid. Once it appears, identify the safe zone, and when it disappears, move there quickly. In the example above, that safe spot is under the horizontal electrical wire directly above.
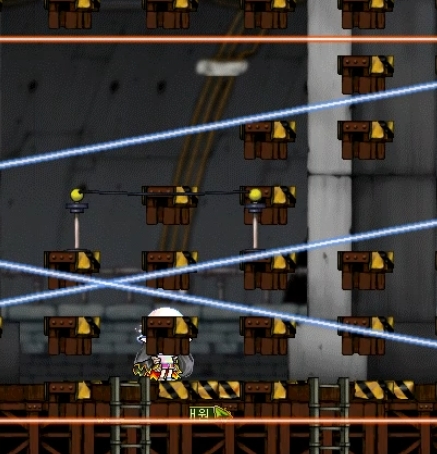
In this case, as mentioned earlier, you still get hit if you stand above the yellow orbs of the horizontal electrical wire, so you should crouch on the upper platform in the middle of the wire.
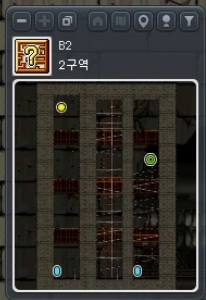
When you reach the very top, it may look like there is no portal, but the far-left platform is the portal that takes you up. If you repeatedly press the up key on any platform, you will move across the upper platforms and eventually be carried to the far-left one, which lets you go up.
If you go up the same way, you will arrive at section 2.
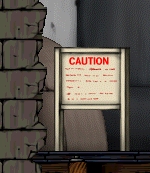
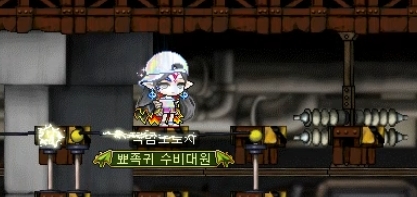
After entering and going straight down, do not press the signboard. Instead, press the up key at the traffic-light-looking object to move sideways.
The movement method here is exactly the same. There will always be a safe zone somewhere you can move to when the laser disappears, and once you are in that safe zone, the laser will never hit you, so you can proceed carefully.
After passing the second section, you go back to the very top again. It looks like you might be able to jump straight to the clear portal here if the jump is good enough, but I failed when I tried it. I would still recommend trying a forward jump, and if it does not work, you can simply climb back up the same way.


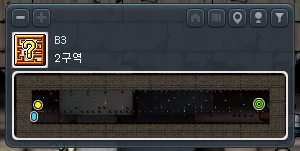
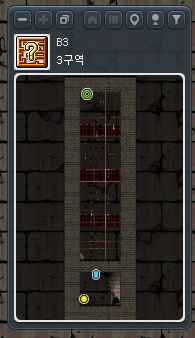
[Construction Site B3 Sections 1~2]


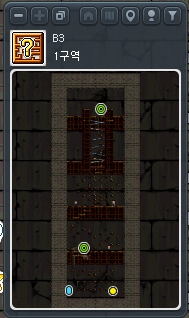
Section 1 is not especially difficult, since it mainly consists of horizontal electrical wires, Stirges, and a laser at the end.
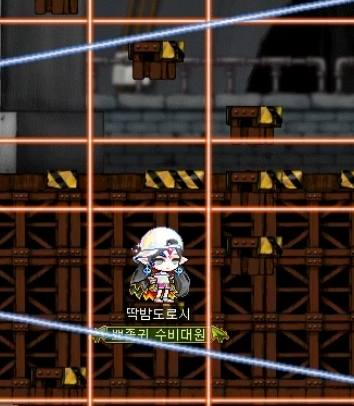
In section 2, electricity that fires from above appears for the first time. If you are on a nearby platform, you can avoid it by jumping, and if you get hit while standing still, you are pushed to the left.
If you get hit while jumping, you stay on the same platform, so this stage is manageable if you watch carefully and move while appropriately taking hits and avoiding them.
Lastly, section 3 begins as soon as you enter by going through the tunnel to the side rather than the signboard, just like before.
The patterns themselves are nothing new, and everything here has already appeared before, but the combination of the laser and the electricity from above made this section tricky for me personally. I think I spent about 20 minutes here alone.
Along with the usual laser safe zones, you also have to avoid the attacks from above at the same time as shown here, so this is something you really need to keep in mind. In the example above, you have to stay crouched to avoid getting hit.
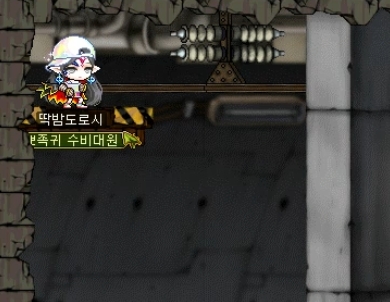
From the platform where my mouse cursor is, the next platform is that camouflage-looking spot on the right. It is not the left side.
For the final section, you can wait here and move when the timing opens up. If the left current hits you, you fall downward, while if the right current hits you, you are moved to the left platform. There are timings when both fire at once, so you need to read them together with the laser before moving.


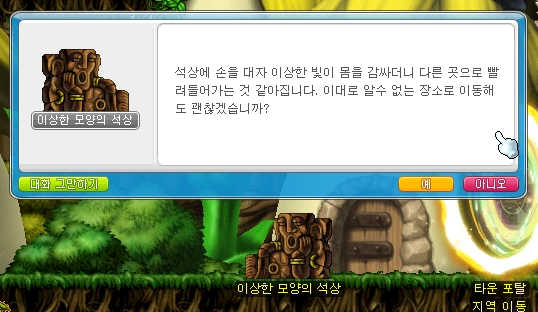
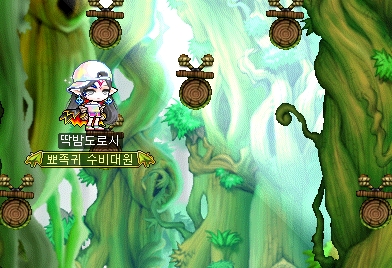
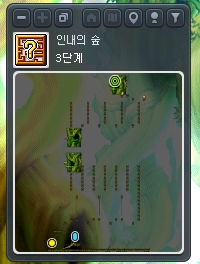
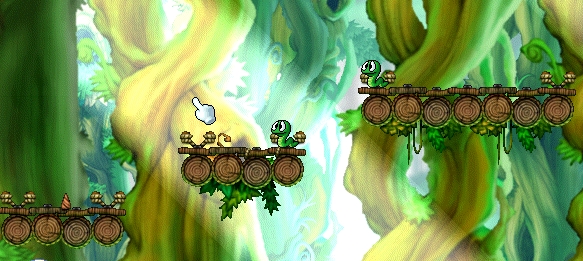
[Forest of Patience]


The Forest of Patience quest can be accepted from Hersha in Ellinia.


After accepting the quest, you can pay mesos to Shane to enter.
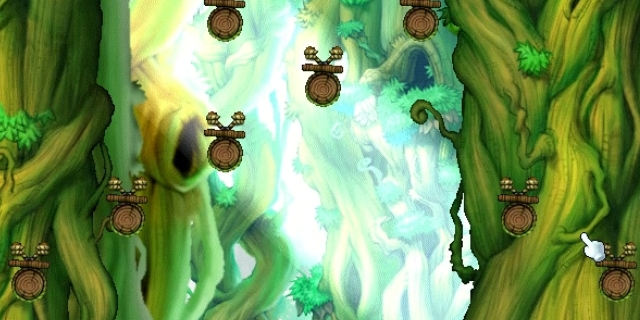
[Forest of Patience Stages 1~2]
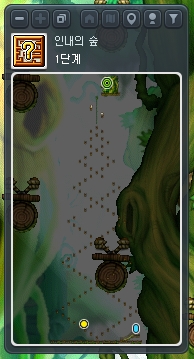
First of all, Forest of Patience differs from the previous two maps in one important way.
In the other obstacle contents, when there is a platform directly below as shown above, simply dropping down without jumping lands you on that lower platform. In Forest of Patience, however, the spacing between platforms is wider, so you fall through the gap instead of landing below. You also need to move slightly farther before jumping, so this is something to keep in mind.
Stage 1 is split into two paths as you climb, and some parts of the platforms are broken, so you need to take the side where the path continues. The order is left - right - right - left.
The Lupin at the end can simply be passed by watching the timing carefully.
Spears will continue to appear from here on as well, and as mentioned earlier, having equipment with increased invincibility duration after being hit should make things a bit easier.
The sideways-thrusting spears will hit you if you climb too slowly, but they will not knock you off, so you can go through without worrying too much.

For the spears that alternate up and down, there is a timing where they come out at the same time if you wait.
As for these floor spikes, taking one hit will not make you fall, so you can cross them slowly while tanking the damage.
You can clear this area slowly and carefully by dodging everything, but on the right and center ropes, you can also use Lupin's banana hit to get across. Even if it fails, there is a large platform below, so you will not fall, which makes it worth trying.

Even if you drop onto the platform where Lupin is standing, getting hit by Lupin will keep you fixed in place there.
Of course, if you get hit by a banana thrown to the left while on the rope on the left side, you will be pushed beyond the safe long platform below, so this is something you definitely need to watch out for.


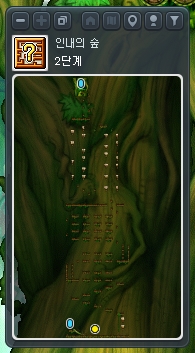
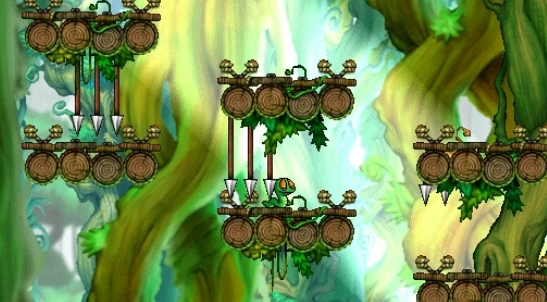
[Forest of Patience Stages 3~5]


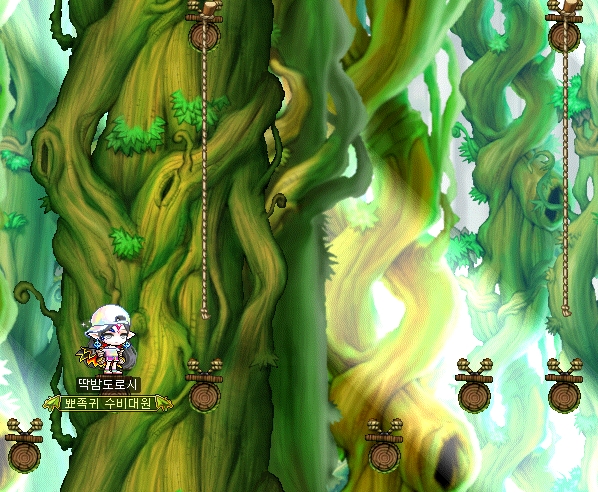
The opening part of stage 3 in Forest of Patience is a very honest section. There are no random elements at all, and it is progressed entirely through jumping.

You have to climb the rope above, move forward, and then jump to reach the platform below, and you need to repeat that around 10 times. Once you get the feel for it, you can get through quickly, but in another sense it is a fairly nasty section.

The banana section at the end can be passed by watching the timing carefully.
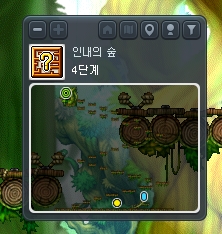
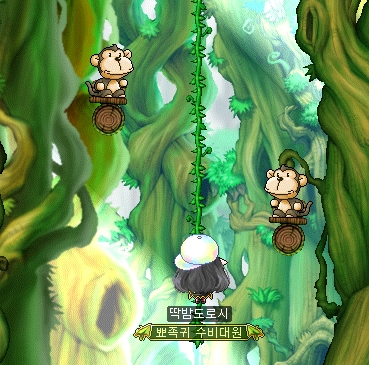
Stage 4 is the kind of stage that, as mentioned earlier, can either make you groan or feel almost effortless depending on the situation.
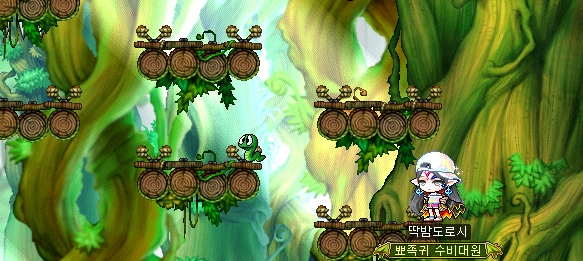
The map is narrow and the layout itself is very simple, with Junior Necki on each platform and spears added as you climb. Still, a map where I struggled for over 30 minutes on a sub character was cleared in one try on my main because Junior Necki's damage could simply be ignored. I can only recommend doing this on your main character.
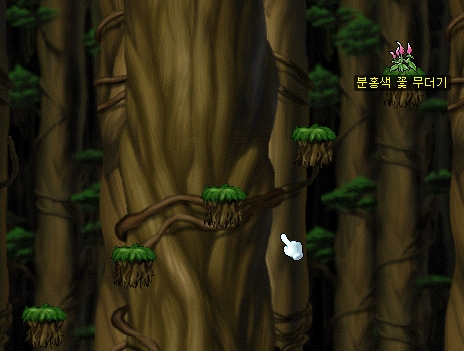
Stage 5, the final stage, is a section where only Lupin appears.

As mentioned earlier, you just need to remember that you have to jump when dropping down from platforms, and since there are timings where the bananas leave openings, you can watch carefully and move through.

You can also pass this final section, where they are lined up across each floor, by watching the timing. Even if you get hit while climbing, you will not be knocked away, so there is no need to worry too much.


Thank you for reading.


![[메이플x모비노기] 효율 극대화! 사냥하면서 은동전 녹이는 #연속 플레이](https://peak-file.nexon.com/uploads/20260417_1227_161c8d7f.png)