Looking Back on My Time Attack Challenges in MapleStory’s The Seed #던전 Time Attack
마빡도로시

Hello.
This time, the theme is Dungeon Time Attack, with a look at time attack content in Nexon games.

In MapleStory, bosses are naturally the most prominent example of time attack content, while the other options play a relatively minor role at present.
There are still three types of content with rankings that update every week, however, and for this article, I will focus on the Tower of Oz, looking back on my experiences attempting timed runs there.
Tower of Oz Ranking Rewards
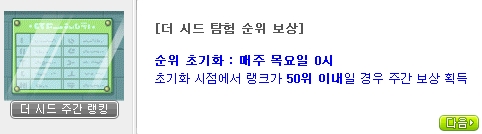
The Tower of Oz awards weekly rewards to up to 50 players based on their clear records.
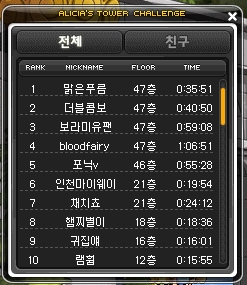
You can check the rankings on the bulletin board in the center of the lobby.


The rewards vary depending on your ranking.


Alicia's Blessing serves the same function as an MVP EXP buff, while the effect item appears above your character's head and provides no stats.

Competition used to be fairly strong, but the incentive to participate in the Tower of Oz has declined considerably, and fewer people are taking part. Looking at last week's Luna rankings at the time of writing, just two players cleared floor 50, while clearing floor 41 alone was enough to place anywhere from 3rd to 9th.
The 1st-place time is still difficult to achieve, even if it does not quite match past records. Aside from 1st place, though, reaching the top 10 is not difficult once you get used to the content, so if a single run guarantees 100,000 points each week, I think it is a worthwhile option when you need something from the shop.
What to Prepare

Since many floors involve mobbing, the more mobbing skills you have, the better. When I used to run this content, Sol Janus did not exist, and the gap in mobbing ability between classes was quite noticeable, though I imagine it has narrowed considerably since then. A summon such as a Lucid Soul of any grade other than Magnificent is also helpful.

Many floors also require you to pick up items, so having a vac pet can make a considerable difference to your run time.

I did not use equipment that extends invincibility after taking a hit, but it can be helpful to have some available if you need it.
Build Your Own Routine for Mobbing Floors & Get Familiar with Obstacle Floors
Quite a few floors in the Tower of Oz require mobbing, including some where defeating monsters is not the stage's clear condition. With large maps to cover as well, you should find a comfortable setup for your portals, summons, and similar skills, and keep their placement consistent from run to run.
-
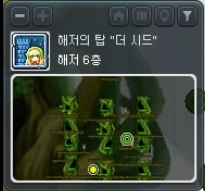
Floor 6: 300 monsters
-
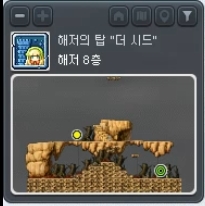
Floor 8: 100 monsters
-
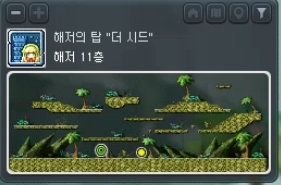
Floor 11: 300 monsters
-
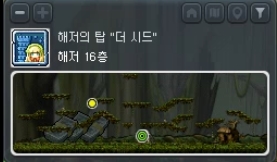
Floor 16: 200 monsters
-
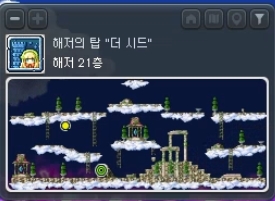
Floor 21: 200 monsters
-
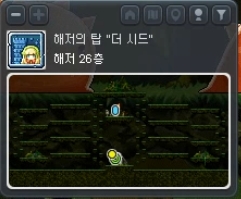
Floor 26: 300 monsters
-
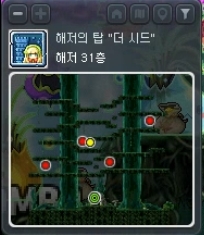
Floor 31: 200 monsters
-
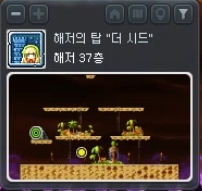
Floor 37: 400 monsters
-
Floor 38: 100 monsters
-
Floor 46: 200 monsters
For the obstacle stages, there is no substitute for repeated practice. Once you know them well enough to attempt timed runs, you will find that the stages with chance-based traps are the real challenge, and repeated attempts are the only way forward.
Rather than covering the basics below, I have revisited a few smaller points that I remember from my past attempts.
Floor 1: Defeat the Large Slime as Soon as You Enter If You Have a Ranged Attack

The small slimes take a little time to spawn, but the large slime can be defeated immediately, so if you have a ranged attack, you can defeat it right away and move on.
Floor 2: Restart If the Cards Are Particularly Unfavorable
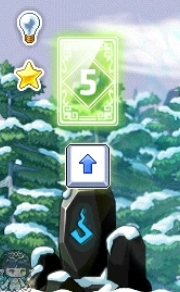
Card numbers are assigned randomly when you enter, so occasionally every card will receive a high number, as shown here. Since this is only floor 2, it is better to leave and try again if the numbers are particularly unfavorable. You need to move as soon as you pick up a card, so it helps to memorize the colors: from left to right, they are green-red-yellow-blue.
Floor 4: You Can Attack the Opposite Side from the Middle

When you need to cross over, you can start defeating the Wild Kargos on the opposite side while you are still on the middle platform.
Floor 6: Do Not Miss King Slime
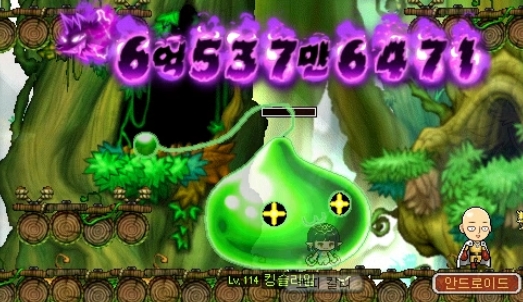
King Slime disappears 10 seconds after being summoned, and missing it means you have to restart, so make sure to defeat it as soon as it appears.
Floor 10: If You Have a Ranged Attack, Defeat the Boss on the Right Immediately and Move On without Collecting the Rewards

This applies to floors 20 and 30 as well as floor 10: these bosses offer little in the way of rewards, so it is best to move on quickly, particularly when you are aiming for a fast time.
Floor 12: Hope You Trigger as Few Traps as Possible

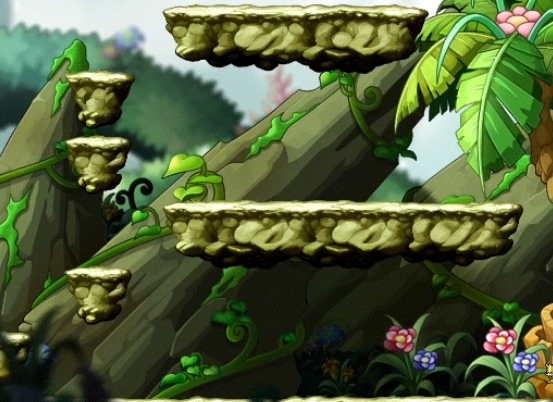
Once you are familiar with the obstacle maps in the Tower of Oz, chance-based traps become the main remaining source of frustration during timed runs. In the 1/2 section near the beginning and the 1/3 section in the middle, all you can do is hope for the best.
There is no need to feel discouraged if this section takes a little longer, or pleased if you pass through quickly. Plenty of chance-based traps still lie ahead, so you need to see the run through to the end; for your own peace of mind, it is best to move on without dwelling on the outcome here.
Floor 13: You Can Defeat All the Monsters from the Middle of the Map & Use Invincibility Skills to Avoid Meteors

Apart from the initial spawn, you can defeat all the monsters from around the middle of the map, and a ranged attack makes this easier.
Invincibility skills, including the one granted by liberation, let you avoid meteors, so activate one after defeating all the monsters and run to the exit. If a meteor looks likely to kill you before then, prioritize using an invincibility skill to avoid it.
Floor 14: Be Careful, as Mistakes Can Seriously Hurt Your Time

It may not happen often, but too many incorrect answers will reduce your remaining time directly, so be careful.
Floor 18: Hope for Good Luck

The worst outcome here is opening every box and finding only 7 coconuts, which is particularly frustrating during a timed run. Each coconut tree provides 1 guaranteed coconut, with 1 tree on the right side of the map and 2 on the left, so it is generally best to collect those guaranteed coconuts as you open the boxes.
If you leave the Lorangs and Clangs alive until the map reaches its spawn limit, no more will spawn. You can handle them however you find most comfortable.
Floor 19: You Can Avoid Obstacles with Invincibility Skills

These cotton balls stun you on contact, but a Will skill lets you avoid the stun, while an invincibility skill lets you pass straight through them. An unlucky hit that knocks you off can sometimes eject you from the stage entirely, so take particular care here.
Floor 22: Falling Below the Clouds Costs 1 Minute, a Major Setback

Falling below the clouds brings up the message shown above and deducts 1 minute from your remaining time, so you need to be very careful.

Most clouds have footholds at their edges, so if you fall along the way, try to use those spots to recover, especially in the final section. You will often fall anyway, but catching an edge can also save you, so it is worth trying whenever possible.
Floor 23: Falling Is a Fairly Significant Setback

Falling here does not carry a separate time penalty, but without a portal checkpoint, you return to the beginning, which can be a considerable setback if you fall near the end.
Setting a portal checkpoint also takes time, though, so for a timed run, the best approach is to memorize the entire route and cross it in one attempt.
Floor 24: A Wrong Answer, Even from a Typo, Ends Your Timed Attempt

Since the revamp, text hints like these have been provided as well, so use them to move on quickly.

A wrong answer costs you a full 5 minutes, as shown here, so you need to be very careful.
Floor 26: Place Your Portal Carefully in the Center
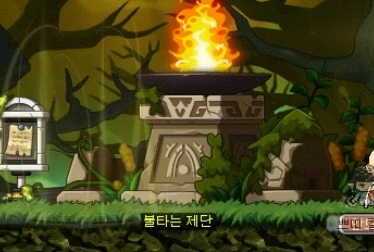
You need to keep returning to the center to summon slimes, so if you have a portal skill, this is a good place to set it up.
Floor 27: Hope for the Best
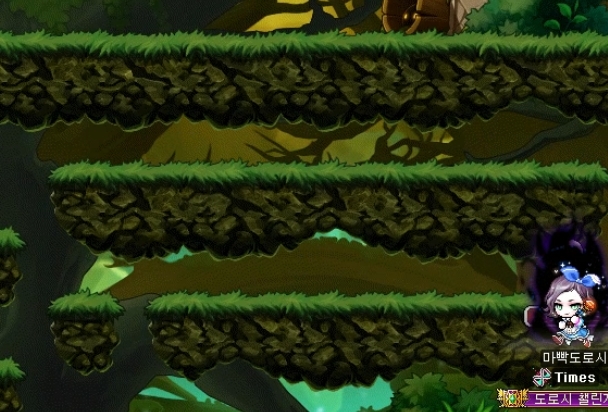


There are no fewer than 3 chance-based traps here, so all you can do is hope for the best.
Floor 29: Start by Trying 2 Sand Crystals

The correct number used to range from 1–7, but the range is now 1–4, so starting with 2 seems reasonable.
Floor 30: Defeat the Lion Before It Escapes

Defeat the lion quickly after it is summoned, before it disappears, as you cannot attack it at all while it is away.
Floor 31: Keep the Fairies in Check While Defeating the Monsters
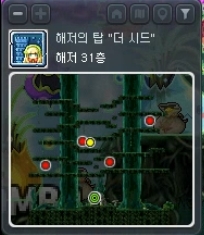
The fairies seal your skills and grant invincibility buffs to the slimes, but reacting to their animations is difficult in practice, so it is better to use an invincibility skill and defeat the slimes as quickly as possible.
Floor 32: Jump and Use the Ascent Skill

Jumping and using the Ascent skill lets you defeat them all quickly.
Floor 33: Restart If the Arrow Layout Is Particularly Bad
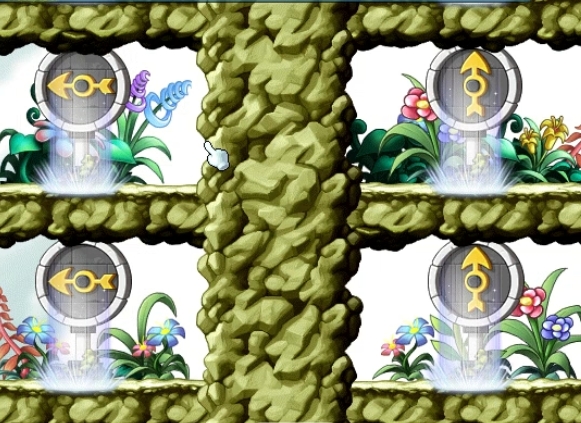
You now receive 6 clockwise and 6 counterclockwise arrows upon entry, so you can usually proceed with the layout you get. If it looks too difficult, re-enter through Alicia's Soul Connector, but be careful not to select the wrong option and return to the lobby.
Floor 34: Getting Hit at the Top and Falling Is Frustrating

You can sometimes get hit just as you reach the top and fall all the way down, so it helps to activate an invincibility skill before going up. Once you have collected everything, simply jump down to land in front of the exit portal.
Floor 36: Take Your Time with Each Attack

Check the message after each attack to make sure the hit registered before proceeding. Since I play in windowed mode, I also used to write down the sequence in Notepad as I went.
Floor 40: Make Full Use of Binds and Invincibility Skills
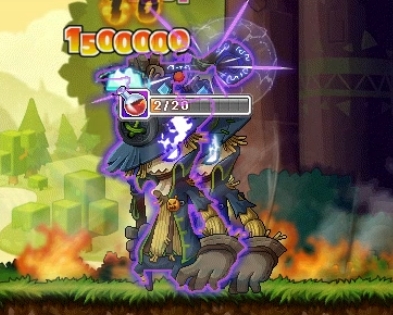
Use the shared knockback skill to push the Scarecrow into the fire quickly, then immobilize it with a bind, an Origin skill, Sol Hecate, or a similar skill when it begins its teleport animation. Keeping it from moving lets you clear the floor a little faster.
A Will skill lets you ignore the Scarecrow's pull, and invincibility skills are also useful because the damage you take increases as the Scarecrow's gauge fills.
Floor 42: Cross the Disappearing and Reappearing Platforms at the Start Calmly
Once you are familiar with this floor, the disappearing and reappearing platforms at the beginning inevitably become its most frustrating section, and the only solution is to stay calm, watch them carefully, and cross. If the platform timing is unfavorable or meteors are in the way, use an invincibility skill to get through.
Floor 48: Use Liberation Invincibility on the Third Level

Once you are familiar with floor 48, you will actually arrive before Fleta, so there is a fixed minimum clear time regardless of how quickly you move, making this floor fairer than maps with chance-based traps. The difficulty of the third level does depend on whether you have an invincibility skill, but now that liberation invincibility is widespread and available across classes, it is best to practice around using it.
Floor 49: Do Not Make a Mistake

An incorrect entry carries a 5-minute penalty, so be careful. The final dialogue option that appears when you click Dorothy's illusion sends you straight back to the lobby, so do not select it out of curiosity.
As for Dorothy on floor 50, accounting for her lack of damage resistance, she has only 2 times Chaos Vellum's HP, so the boss's stats should not pose a problem at present.
Finally, as I mentioned earlier, there seems little need to push yourself too hard at present unless you are aiming for 1st place in your world, so I hope you can approach these runs with a relaxed mindset.
Thank you for reading.

![[메이플스토리] 여러 직업을 키우는 재미, 본캐 하나로 끝나지 않는 이유](https://peak-file.nexon.com/uploads/20260923_0543_0a9c5daa.png)